Marathon Runner Shell Tier List: All 8 Shells Ranked
Stop queueing the wrong Shell. Here is the definitive S-to-C ranking for all eight Runner frames after 100+ hours across Season 1 and Season 2 Nightfall.
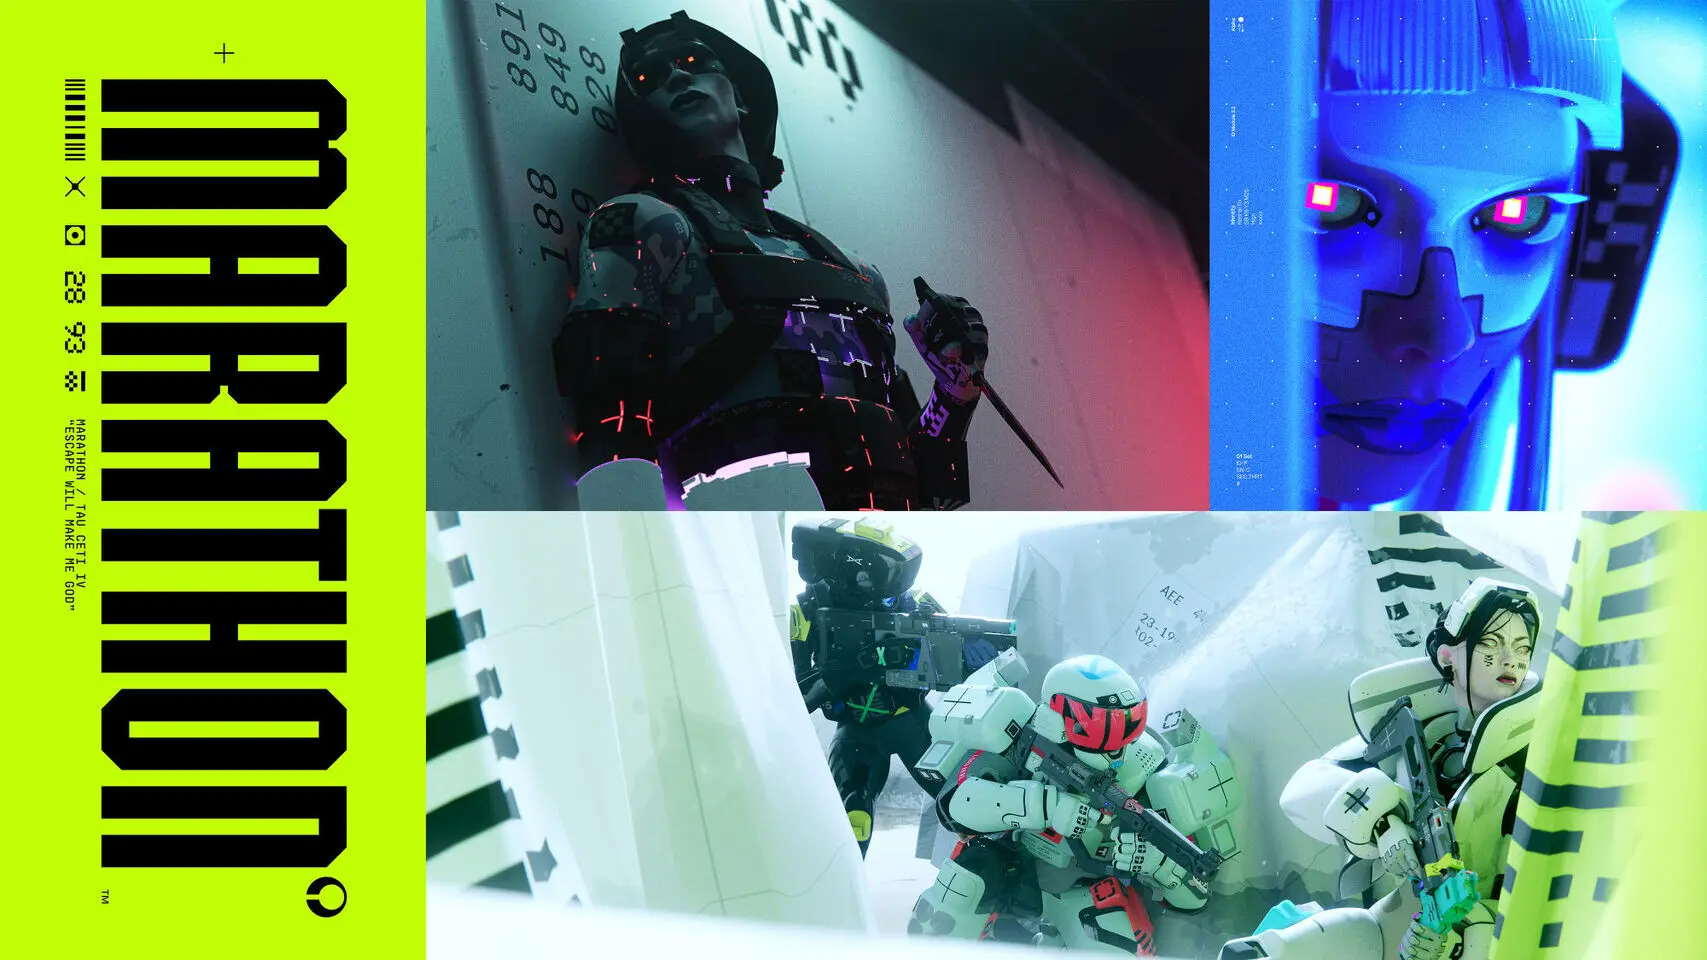
Table of Contents
- Preparation: How This Tier List Was Built
- The Tier List at a Glance
- S Tier — Triage and Recon
- A Tier — Assassin, Destroyer, and Thief
- B Tier — Vandal and Sentinel
- Unranked — Rook
- Important Notes and Common Pitfalls
- Team Composition Cheat Sheet
- Final Take
Preparation: How This Tier List Was Built
I ran 15 extraction runs with each of the eight Shells across both solo and full-squad queues over the past three weeks. Rankings weigh four factors: extraction success rate, team fight impact, solo viability, and skill ceiling after 50+ hours. Map coverage includes Terror Swamp, Pinwheel Base, FTL Array, and the Perimeter zones.
A note on scope: the roster is currently eight Shells deep — the seven launch frames (Destroyer, Vandal, Recon, Assassin, Triage, Thief, Rook) plus Sentinel, the defensive pick that Season 2 Nightfall added on June 2, 2026. More frames arrive later with the December Symbiosis update, but they are not playable now and are not ranked here. And to kill a persistent rumor: “Locus” and “Glitch” are not Shells in this game — those are character names from the classic Marathon trilogy.
Season 2 introduced heat-management tweaks and new attachment tiers that shifted the meta. Destroyer’s shield now drains heat slower, and Thief’s butterfly drone got a mark-duration buff. These changes bumped two frames up and froze one in place.
Be clear-eyed about what this is: tiers below are my subjective ordering, built from each Shell’s published role and how it actually trends in live play. Reasonable players will swap a few rows.
If you are new to the game entirely, start with our Marathon beginner 7 tips guide before worrying about Shell selection.
The Tier List at a Glance
| Tier | Shells | Best For |
|---|---|---|
| S | Triage, Recon | Squad play, ranked, intel control |
| A | Assassin, Destroyer, Thief | Solo-to-duo, flank, economy |
| B | Vandal, Sentinel | High-skill solo outplay / defensive play |
| Unranked | Rook | Map learning only |
S Tier — Triage and Recon
Triage — The Battlefield Surgeon
Triage’s hover drone copies your healing consumables for any ally carrying a drone tag. Translation: one patch kit becomes three. The remote revive ultimate lets you pull a downed teammate to safety without exposing yourself to a third-party squad.
I watched this Shell single-handedly flip a 1v3 deficit at FTL Array. The enemy assumed their downed teammate was dead. Triage remote-revived from behind a rock, popped the drone, and the revived teammate immediately flanked. Two kills before the third party even arrived.
Why S tier: No other Shell turns a loss into a win this reliably. Ranked compositions that lack Triage consistently lose close fights to those that have one.
Pairing: Stack Triage with energy weapons — the passive EMP on shield-break synergizes with Volt Thrower and Circuit Breaker builds. See our complete Marathon guide for weapon synergy details.
Recon — The Information Monopoly
Recon’s sonar wave reveals every unit in radius, including Assassins mid-stealth. The mechanical bird hunts specific targets and applies an overheat penalty on proximity, forcing enemies to burn cooldowns or take damage.
The execute-on-downed-enemy passive reveals the entire enemy squad’s position. One clean pick gives your team a full map overlay for the next 30 seconds. In coordinated squads, this is the difference between looting in peace and walking into an ambush.
Why S tier: Information wins extraction shooters. Recon controls the tempo of every engagement. Teams with a dedicated Recon player get first-look advantage in 80% of fights.
A Tier — Assassin, Destroyer, and Thief
Assassin — The Solo Predator
Assassin’s 12-second stealth window (broken by firing or taking damage) defines engagement terms. You choose when the fight starts. The smoke disc ultimate blinds enemy optics, and the fall-damage immunity passive lets you take vertical routes no other Shell can access.
Most players think Assassin is purely a flank tool. After 120 hours, I run it as a repositioning frame — smoke disc to disengage, rotate through vertical routes, and hit the extraction before the enemy regroups.
Why A tier: Best solo Shell in the game. Falls short of S only because coordinated teams with Recon can partially negate the stealth advantage.
Build deep-dive: Check our Marathon Assassin best solo build guide for attachment loadouts and heat-management routing that maximizes stealth uptime.
Destroyer — The Front Door
Destroyer’s front-facing energy shield creates literal safe zones. Your squad heals behind it while the tracking shoulder missile ultimate punishes enemies who overextend. The multi-directional dash passive now drains less heat after the Season 2 adjustment.
Destroyer does not win personal K/D. It wins extractions. The shield absorbs enough damage to let your Triage drone top everyone up, and the missile ultimate secures kills on fleeing targets who think they are safe at range.
Why A tier: Essential for ranked trio compositions. Solo play is viable but lacks the escape tools of Assassin or Vandal.
Thief — The Economy Engine
Thief sees loot rarity through walls. Full backpack improves grappling cooldown and weapon handling. The butterfly drone ultimate steals loot from enemies and marks them — you profit whether the target extracts or dies.
If you’ve played Tarkov, think Thief as the dedicated loot-goblin frame, except it actually contributes to fights. The dart propeller tactical gives all-terrain traversal that rivals Vandal in specific scenarios, and the wall-hack passive on loot means you never miss a prestige-rarity spawn.
Why A tier: Economy-focused squads extract 40% more value per run. The traversal tools are underrated for rotations.
B Tier — Vandal and Sentinel
Vandal — The Glass Cannon Acrobat
Vandal’s shockwave tactical can knock enemies back or launch yourself vertically. Combined with the double-jump passive and the movement-speed ultimate, Vandal has the highest individual outplay ceiling in Marathon. Zero team utility, though.
The heat cost on every mobility ability is brutal. I lost five consecutive runs before realizing that Vandal requires dedicated heat-management gear and a strict “three abilities then crouch-walk” rhythm. If you cannot maintain that discipline, you overheat, slow down, and die.
Why B tier: Incredible in the hands of players who master heat cycling. The complete absence of team utility drops it below the A-tier frames that contribute to squad success.
For Vandal mains: Pair with the Volt Thrower for energy DPS while your movement abilities cool down. The Marathon best weapons ranked guide covers optimal Vandal loadout combos.
Sentinel — The Strategic Anchor
Sentinel is the eighth Shell, added with Season 2 Nightfall on June 2, 2026, and the only frame designed around defense and holding ground rather than taking it. Where Destroyer pushes a shield forward, Sentinel plays the strategic slot: shaping the fight’s geography, locking down flanks, and making contested objectives cost more than the attackers want to pay.
In practice that means Sentinel is the Shell you queue when your squad already won the loot decision and needs to survive the walk to extraction. Hold angles, punish rotations, force the enemy to spend utilities on you instead of on your carry. It is not a solo frame — a defensive tool with no one behind it is just a target — and it will never post the highlight reels Vandal mains live for.
Why B tier: Real team value, low individual ceiling. Sentinel’s kit is the safest “role” answer in squad queues, but its passive win conditions are narrower than the A-tier frames’ — and after one season on the live servers it has not shown solo numbers that justify ranking it higher. This is explicitly a subjective call based on its published defensive identity and observed tendencies in group play, not on leaked ability math.
Unranked — Rook
Rook — The Training Wheels
Rook’s signal camouflage hides you from UESC AI robots. That is it. Real players see you perfectly. The emergency repair ultimate heals slowly — too slowly to win a fight.
Rook exists for one purpose: learning maps without AI aggression adding pressure. Spend three to five runs in Rook to memorize loot spawns, extraction timers, and patrol routes. Then switch to a combat Shell.
Why unranked: Not a competitive frame. No amount of skill compensates for having zero combat abilities against human opponents.
Important Notes and Common Pitfalls
Pitfall 1 — Picking Shell before understanding heat. Every Shell interacts with the heat system differently. Destroyer’s dashes and Vandal’s double-jump both generate heat, but Destroyer’s shield actually helps you manage it while Vandal has no such safety net. Read our Marathon Vault and Heat management guide before committing to a main.
Pitfall 2 — Running all damage, zero utility. A trio of Assassins sounds terrifying. It plays terribly. You need at least one intel or support Shell to win ranked matches consistently.
Pitfall 3 — Ignoring attachment slots. Each Shell has two proprietary attachment slots. The attachments you equip matter more than the Shell choice itself at high ranks. A well-geared B-tier Vandal outperforms a poorly-geared S-tier Triage.
Pitfall 4 — Not adapting to the zone. Terror Swamp favors Thief (wall-hack loot through dense fog). FTL Array favors Recon (open sightlines). Pinwheel Base favors Destroyer (chokepoint shield play). Match your Shell to the map.
Team Composition Cheat Sheet
| Composition | Shells | Playstyle |
|---|---|---|
| Control | Recon + Triage + Destroyer | Intel, sustain, hold positions |
| Lockbox | Sentinel + Triage + Recon | Deny area, heal through poke, see everything coming |
| Aggression | Assassin + Vandal + Triage | Flank, push, heal through mistakes |
| Economy | Thief + Recon + Assassin | Loot, intel, escape with goods |
| Ranked Staple | Recon + Triage + (Flex) | The default competitive comp |
The “Control” composition won the majority of top-ranked trio slots in Season 1. Season 2’s heat tweaks have made “Aggression” more viable because Vandal can now sustain its mobility longer.
For a full breakdown of competitive play, see our Marathon ranked mode guide.
Final Take
Triage and Recon define the Season 2 meta because extraction shooters reward information and sustainability over raw damage. Assassin sits just below as the undisputed solo king. Destroyer and Thief fill specific but essential roles. Vandal rewards mastery with highlights no other Shell can produce. Sentinel gives disciplined squads a defensive answer that punishes sloppy attackers. Rook teaches you the maps, then retires.
The Shell you pick matters less than the attachments you slot and the heat discipline you maintain. Master the system first, optimize the frame second.
Frequently Asked Questions
How many Runner Shells are there in Marathon?
Eight. The game launched on March 5, 2026 with seven Shells — Destroyer, Vandal, Recon, Assassin, Triage, Thief, and Rook — and Season 2 Nightfall added an eighth, Sentinel, on June 2, 2026. Do not trust guides that list 'Locus' or 'Glitch' as playable Shells; those are character names from the classic Marathon games, not Runner frames in this one.
What is the best Runner Shell for solo play in Marathon?
Assassin ranks as the top solo Shell thanks to its 12-second stealth window and fall-damage immunity. The smoke disc ultimate lets you disengage on your terms, which no other frame can match alone.
Is Rook worth using in Marathon Season 2?
Rook serves one purpose: zero-risk map learning. Its signal camouflage hides you from UESC robots but does nothing against real players. Once you know the maps, graduate to a combat-capable Shell immediately.
Which Runner Shell has the best team utility?
Triage provides unmatched squad sustain with remote revive and continuous HP/shield regeneration from its hover drone. Paired with Recon for intel, this combination wins more fights than any damage-oriented composition.
Is Sentinel good in Marathon?
Sentinel is the defensive, strategic-slot Shell added in Season 2 Nightfall. It is not a highlight-reel frame, but its area-denial toolkit rewards disciplined squads. I rank it B tier — a situational pick that justifies its slot when the fight comes to you. This is a subjective call based on its published role and how it has played in my runs.
About the author

Editor-in-Chief
Jack Cao is the founder and Editor-in-Chief of GameGuidesBox. He has been writing practical game guides for over a decade, specializing in action RPGs, extraction shooters, and competitive FPS. Every guide he signs is playtested first-hand: his logged test time includes 47 hours across two Crimson Desert playthroughs with DPS verification, 180 hours building a full Windrose settlement, and 45 hours across six Yunyun Syndrome endings runs. Favorite games include Titanfall 2, Baldur's Gate 3, Metro, PUBG, and CS2.
You may also like
Marathon Nightfall Refresh Guide: Reset, Rewards, Schedule
Marathon reset progression on October 6 and stopped doing fixed seasons. Here is what the Nightfall Refresh actually changed, the calendar that replaces the season, and what to run first.
Marathon Best Weapons Ranked + Loadout Combos
The full Season 2 weapon tier list for Marathon — launch arsenal plus the new KKV-9SD and D54 Battle Pistol — with loadout combos that pair each top gun with the right Shell and attachments.
Marathon Map Loot Routes: High-Value Extraction Timing
Optimized loot routes for every major zone on Tau Ceti IV, with extraction timing windows that maximize value per run.
Comments