Mortal Shell II Malborn Offspring: Hardest Boss Build, Phase Breakdown, and Stealth Tactics
Widely called harder than the final boss, Malborn Offspring walls endgame players. We break down both phases, the Shell that trivializes it, and the resurrection window you must exploit. Click to crack it.
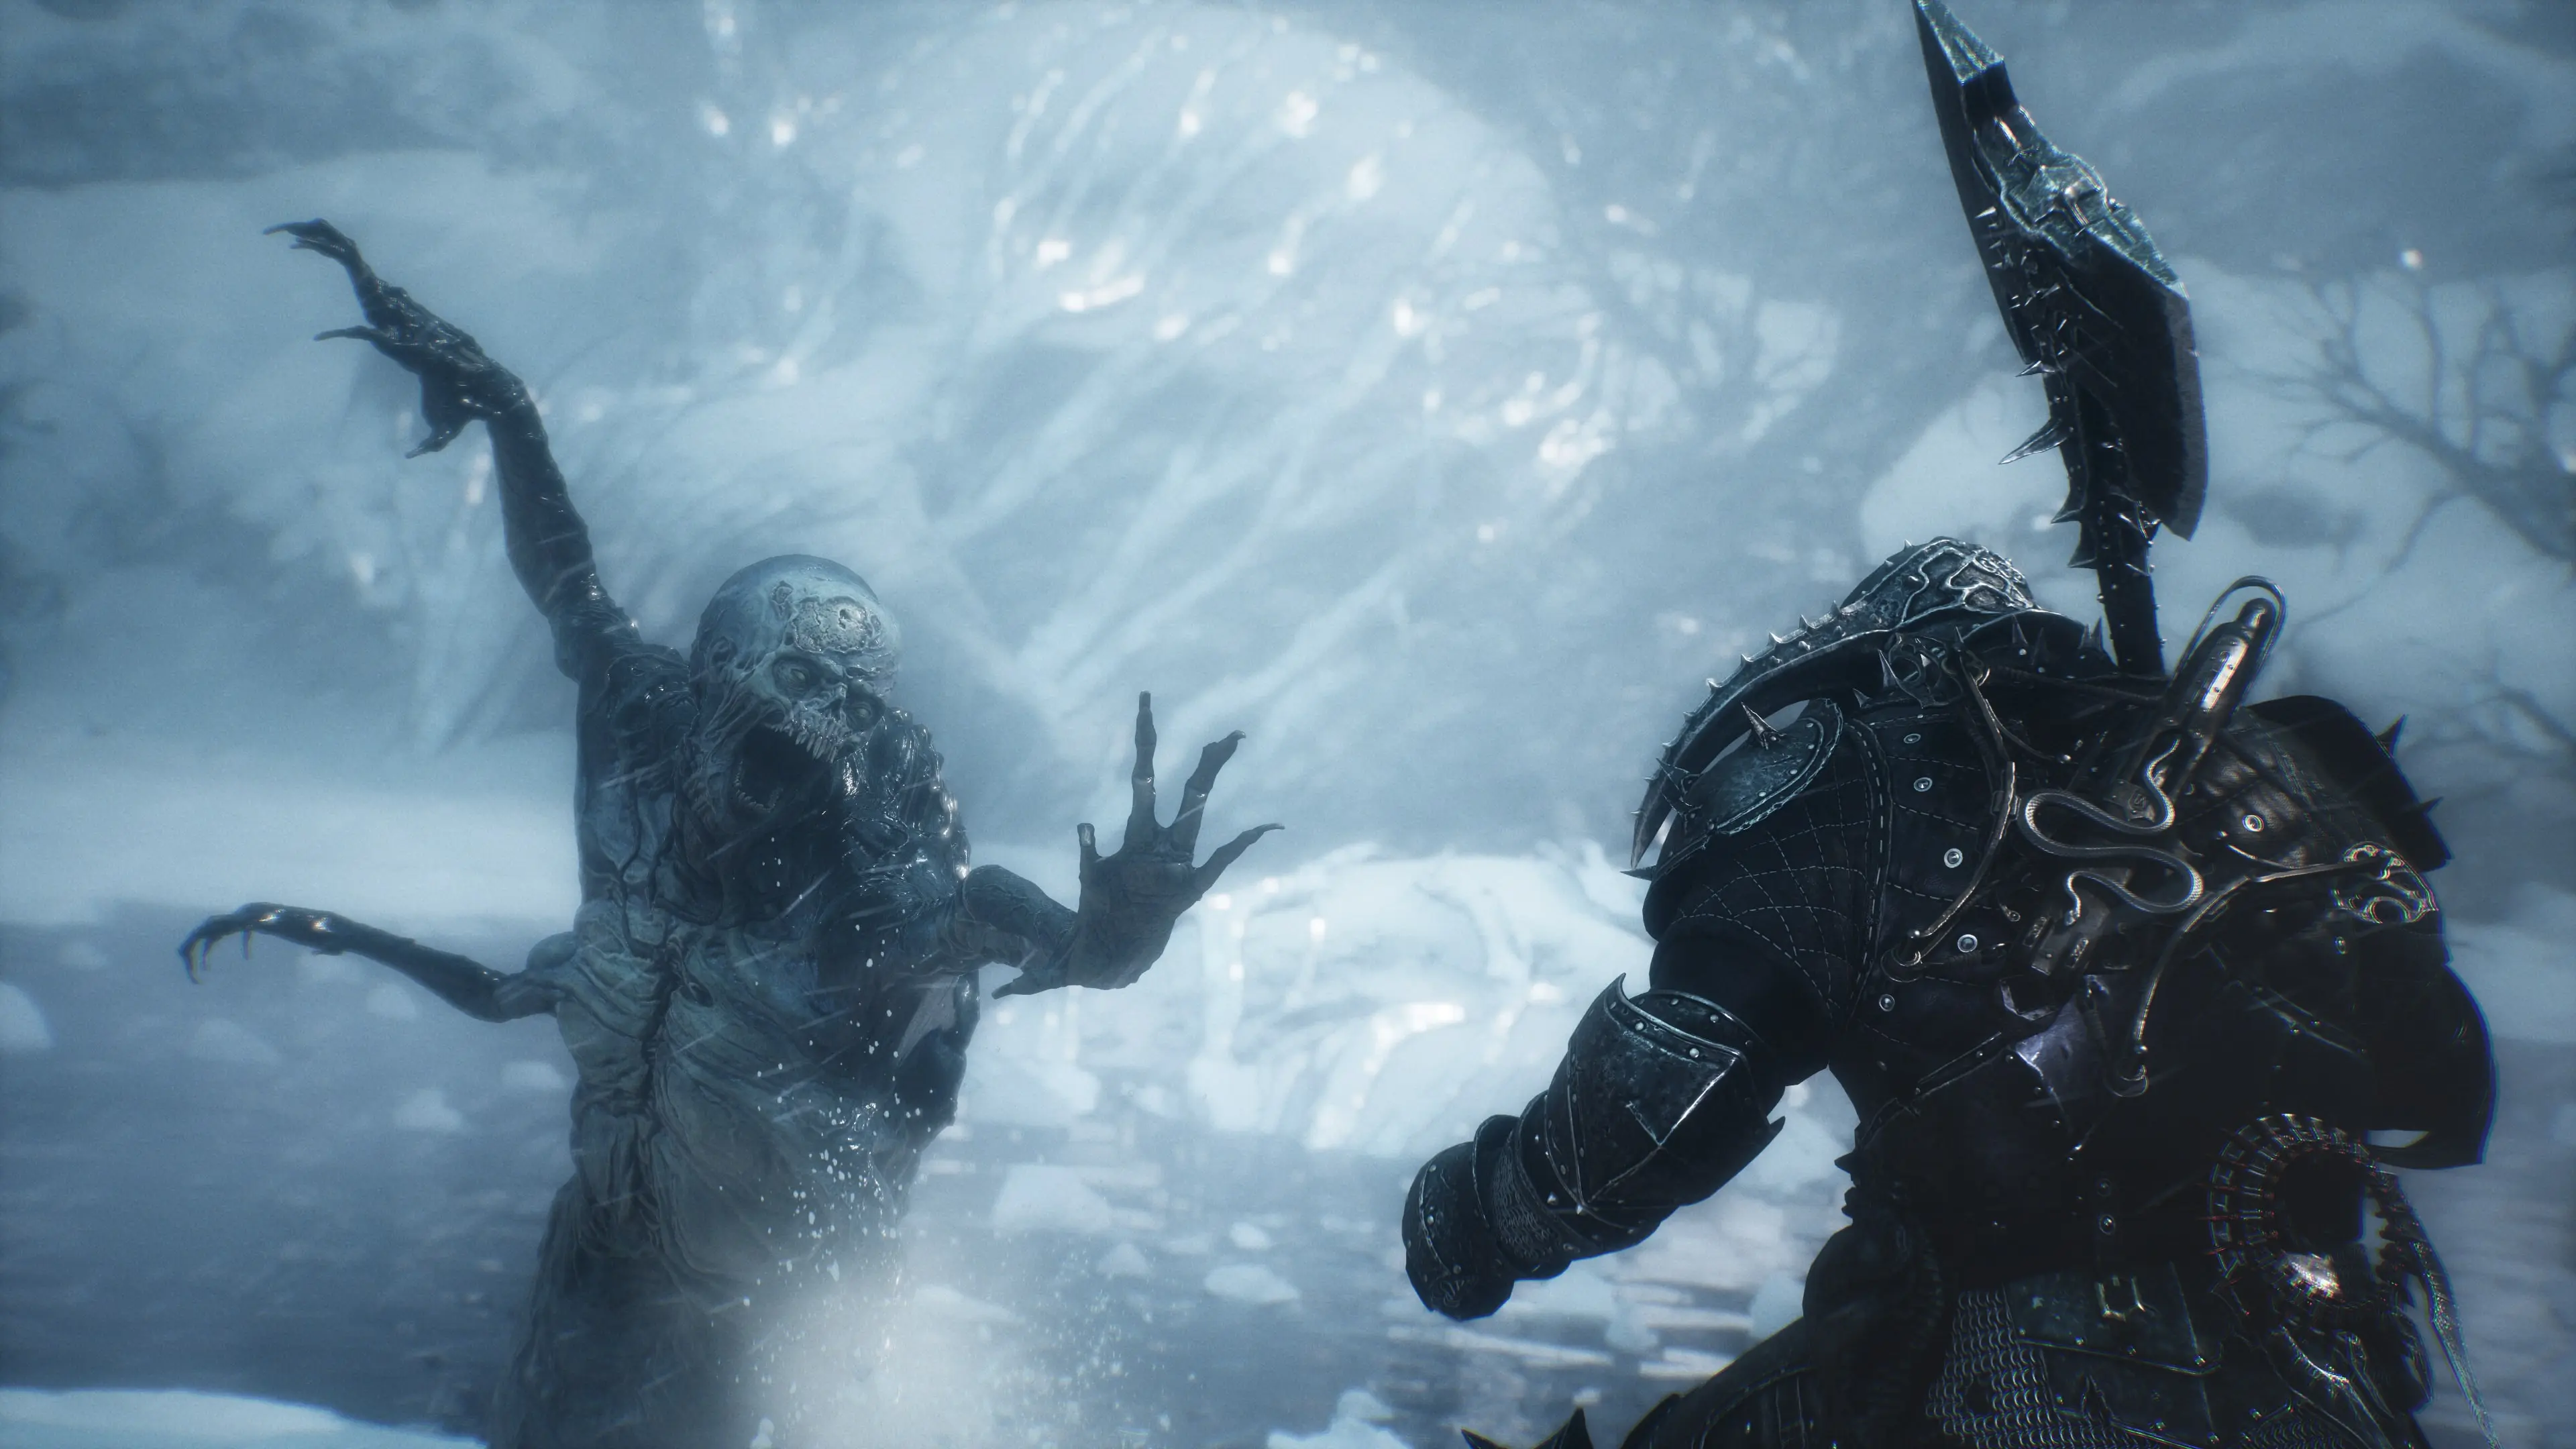
Mortal Shell II Malborn Offspring: Hardest Boss Build, Phase Breakdown, and Stealth Tactics
Malborn Offspring is the fight that makes players question their life choices. It is one of three tendril guardians in the Unfound Path, and almost every guide agrees it is harder than Zmey himself: two health bars, no summon support, and attack chains that are genuinely difficult to memorize. This is the endgame check. Treat it like one.
Table of Contents
- Preparation: Shell, Mitigation, and Gear Check
- Core Walkthrough: Reaching and Phasing the Offspring
- Important Notes: Red Circles, the Resurrection Window, and Lightning
- Rewards, Trophy Value, and the Rotate-and-Return Trick
Preparation: Shell, Mitigation, and Gear Check
This is not a fight to attempt under-leveled. The assumed loadout is a fully bonded Shell, an upgraded weapon, and level-3 Tarstones.
- Shell pick. Tiel is the standout. His Shadow Dodge makes you invisible, and a Light Attack while invisible triggers Shadow Strike for heavy back damage. Proxima is a viable alternative thanks to Ampereon perks that grant lightning immunity in phase two. Genessa works too, but only through her Faithful Double summons distracting the boss — and note those summons are not available here as a support ally.
- Lightning mitigation. Equip the Galvanic Shard as an Active or Passive for phase two, when the sword deals lightning. You will not need it in phase one.
- No summon. This arena does not offer a spectral Shell ally. Plan to solo the entire fight.
- Stagger focus. Build the Stagger gauge and punish the vulnerable window with a Riposte. Do not trade hits with his strings.
Core Walkthrough: Reaching and Phasing the Offspring
Location: From the Faithful’s Shelter Beacon in the Unfound Path, head up the nearby stairs and cross the narrow stone bridge over the gap. Follow the path on the other side into the boss arena. One guide places the encounter near the Obsidian Vault Beacon instead; both describe the same Faithful’s Shelter approach.
Phase 1 — slow, heavy, unparryable. The Offspring is relatively slow but hits hard. Most of its chains mix parryable swings with unparryable Red Circle attacks — sometimes every third hit in a string. Do not try to parry the Red Circles; dodge them. Look for the safer gaps between its slower swings to build Stagger, then Riposte while it is open.
Phase 2 — lightning and aggression. At half health the sword wreathes in lightning, attacks speed up, and it starts hurling electrified bolts from range. The core loop is unchanged: avoid unblockables, build Stagger, punish openings. Now the Galvanic Shard earns its slot. Dodge to his side — that is where you circle behind for free damage when he is not swinging.
The resurrection window. Once you fully drain the health bar, the Offspring slowly resurrects with refreshed health. Those precious seconds before it fully rises are a free damage window. Keep attacking instead of backing off to heal.
Important Notes: Red Circles, the Resurrection Window, and Lightning
- Red Circle attacks are unparryable. Every third swing in some chains carries the red tell. Read the tell, dodge sideways or back depending on the swing (wide swing = back, overhead = side), never try to guard it.
- Limit healing in phase two. Because he resurrects at full depletion, every heal you burn before the kill is wasted time. Bank your flasks for phase two pressure.
- Side positioning beats face-tanking. His AoE on the ground only bites if the sword connects. Circle to his flank or back while he is committed to a swing.
- Lightning is the real threat, not the sword. The ranged electrified bolts in phase two punish players who stand still. Keep moving and use the Galvanic Shard.
- Harder than Zmey, by design feel. Guides consistently rate this above the final boss because of the no-summon rule and twin health bars. If Zmey fell easily with a stealth Shell, do not expect the same here.
Rewards, Trophy Value, and the Rotate-and-Return Trick
| Drop | Quantity / Note |
|---|---|
| Offspring Trophy | x1 (sells for 5,000 Coin at the Marrow Keep merchant) |
| Gloom | x63,333 |
The Gloom alone is a massive leveling injection — dump it into the Harbinger before any repeat attempt. The Trophy is also tied to the “Giga Chad” achievement for defeating Malborn Offspring.
If the Offspring walls you, use the freedom of the Unfound Path: the three tendril guardians can be fought in any order. Rotate to Orrem or The Monolith, bank more Gloom levels and Tarstone ranks, then come back stronger. There is no penalty for leaving and returning.
Frequently Asked Questions
Which Shell is best for Malborn Offspring?
Tiel is the community pick: Shadow Dodge turns you invisible, then Shadow Strike from behind piles on free damage while the boss whiffs. Genessa's Faithful Double summons also work as distraction, and Proxima's Ampereon perks grant lightning immunity for phase two.
Can I use a Shell summon against Malborn Offspring?
No. Unlike most arenas, this fight does not allow a spectral Shell ally. You are on your own, which is a big part of why it feels tougher than Zmey.
Why does Malborn Offspring come back after I empty its health bar?
At full depletion it slowly resurrects with refreshed health. Those few seconds before it fully rises are a free damage window — keep swinging instead of backing off to heal.
Is Malborn Offspring actually harder than the final boss?
Multiple guides and player reports say yes. It has two health bars, unpredictable five-to-six-hit chains, no summon, and a lightning phase two. Zmey is beatable with a powered stealth Shell and the Endless Core prep.
About the author

Editor-in-Chief
Jack Cao is the founder and Editor-in-Chief of GameGuidesBox. He has been writing practical game guides for over a decade, specializing in action RPGs, extraction shooters, and competitive FPS. Every guide he signs is playtested first-hand: his logged test time includes 47 hours across two Crimson Desert playthroughs with DPS verification, 180 hours building a full Windrose settlement, and 45 hours across six Yunyun Syndrome endings runs. Favorite games include Titanfall 2, Baldur's Gate 3, Metro, PUBG, and CS2.
You may also like
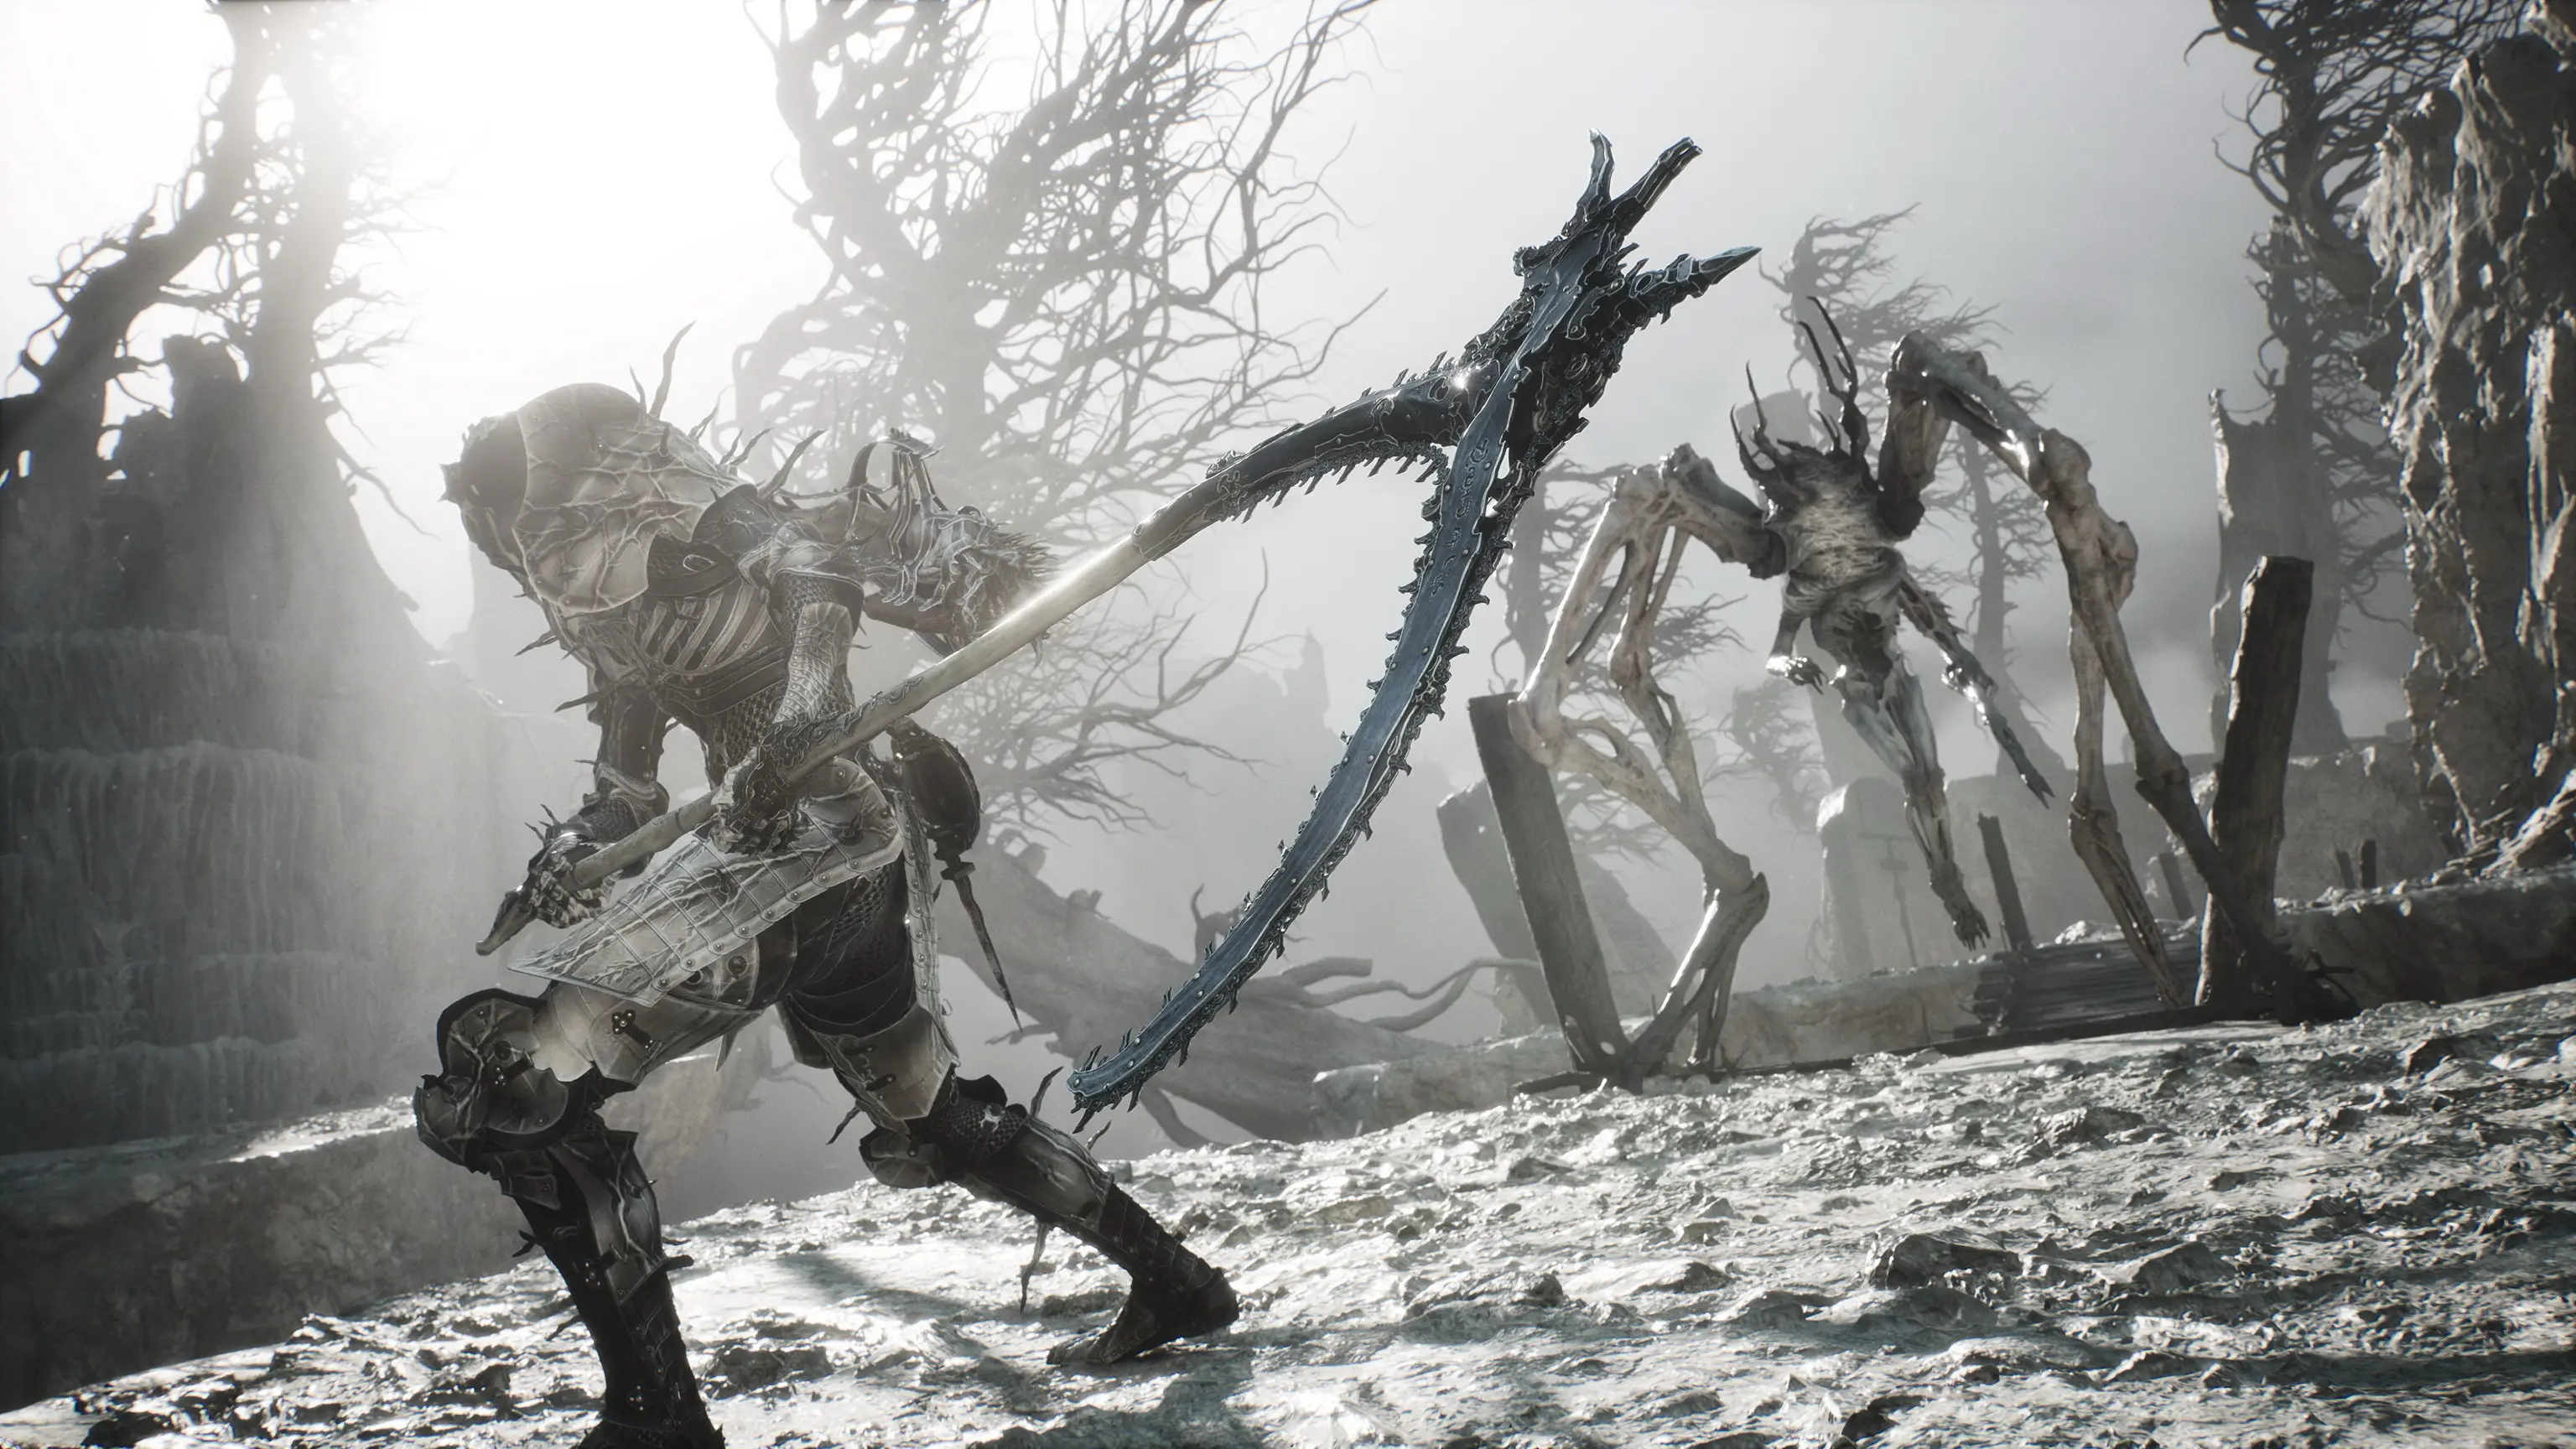
Mortal Shell II How to Respec: Mether's Severance Guide
Mether's Severance turns Mortal Shell II's Glimpse commits into a refundable loop. Here is the exact respec route via Merrick and Zhirelle, what the refund covers, and when it is worth spending Coin.
Mortal Shell II: Every Playable Shell, Ability Tree, and Unlock Location
Confused about which Shell to bond first? We mapped all the playable Shells — the eight permanent bodies plus prologue-only Harros — with their full ability trees and exact unlock routes.
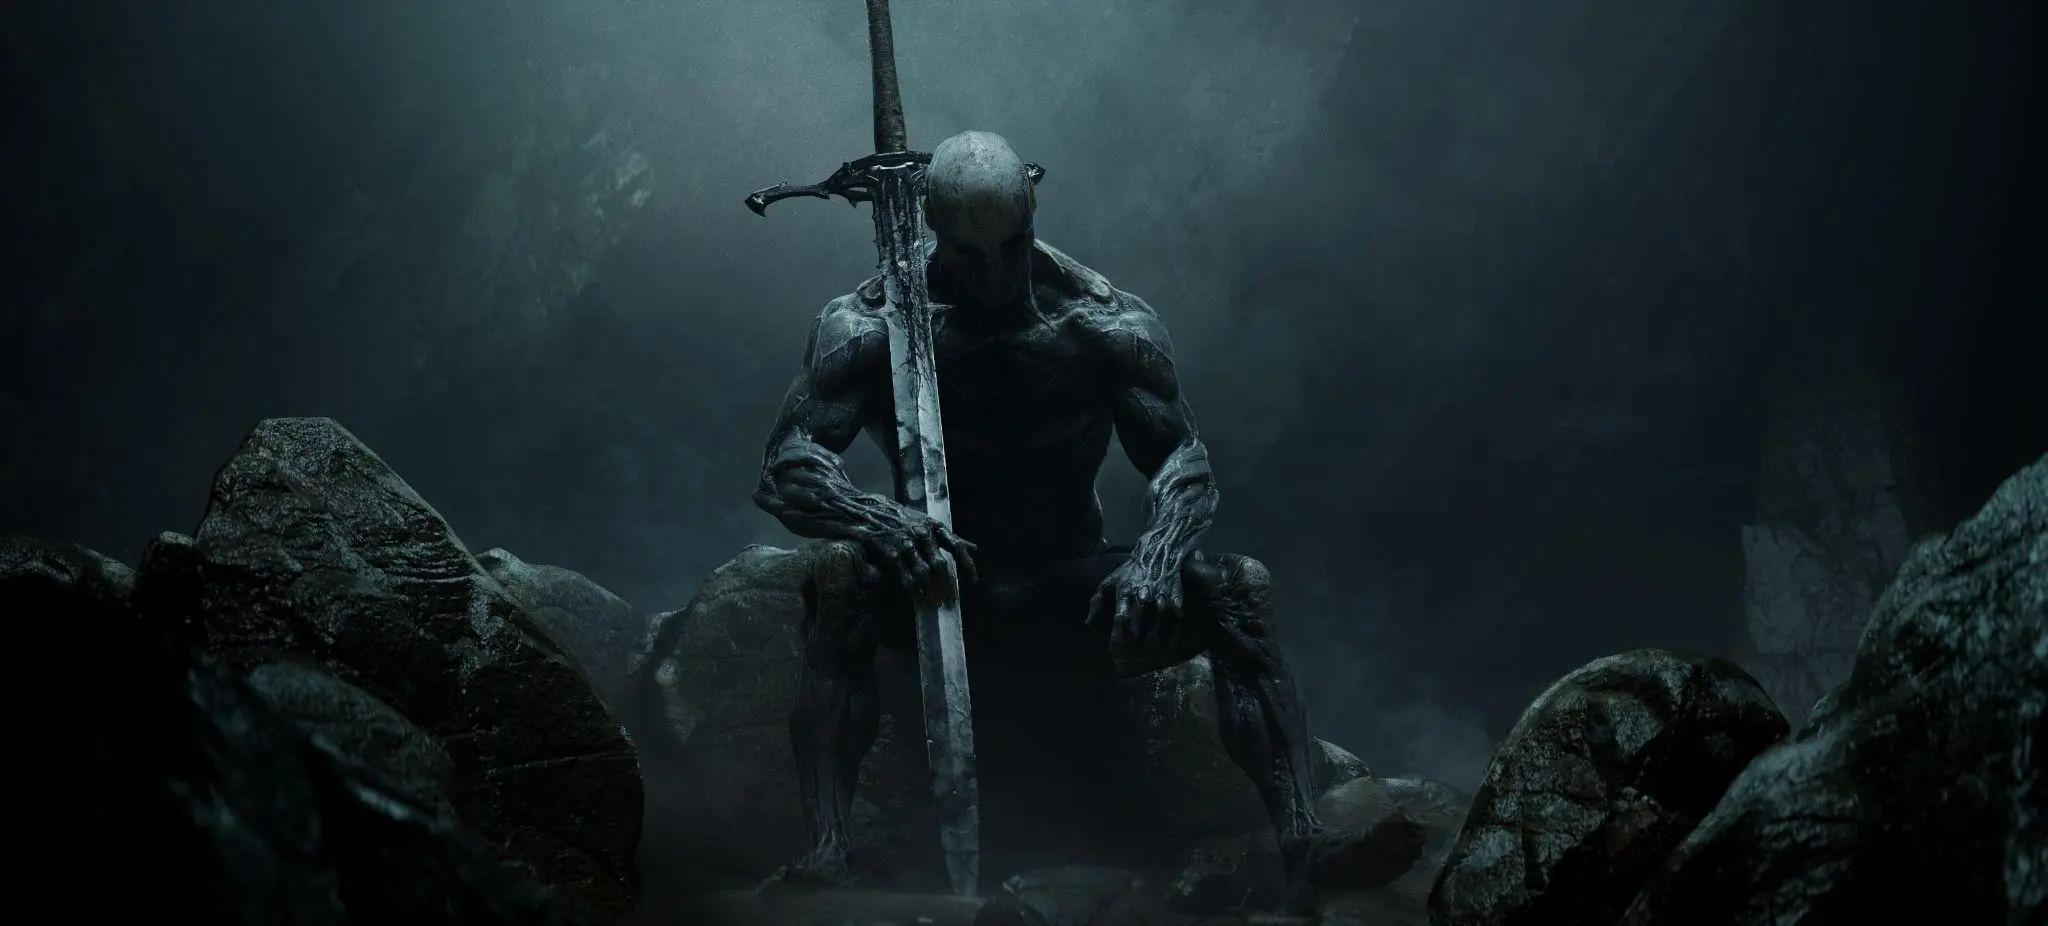
Mortal Shell II All 44 Bosses: Locations, Beacons, and Drops Checklist
Struggling to track down every grotesque in Fainweald? We mapped all 44 boss encounters, their nearest Beacon, and exactly what each one drops. Click to unlock the full checklist.
Comments