Mortal Shell II All 44 Bosses: Locations, Beacons, and Drops Checklist
Struggling to track down every grotesque in Fainweald? We mapped all 44 boss encounters, their nearest Beacon, and exactly what each one drops. Click to unlock the full checklist.
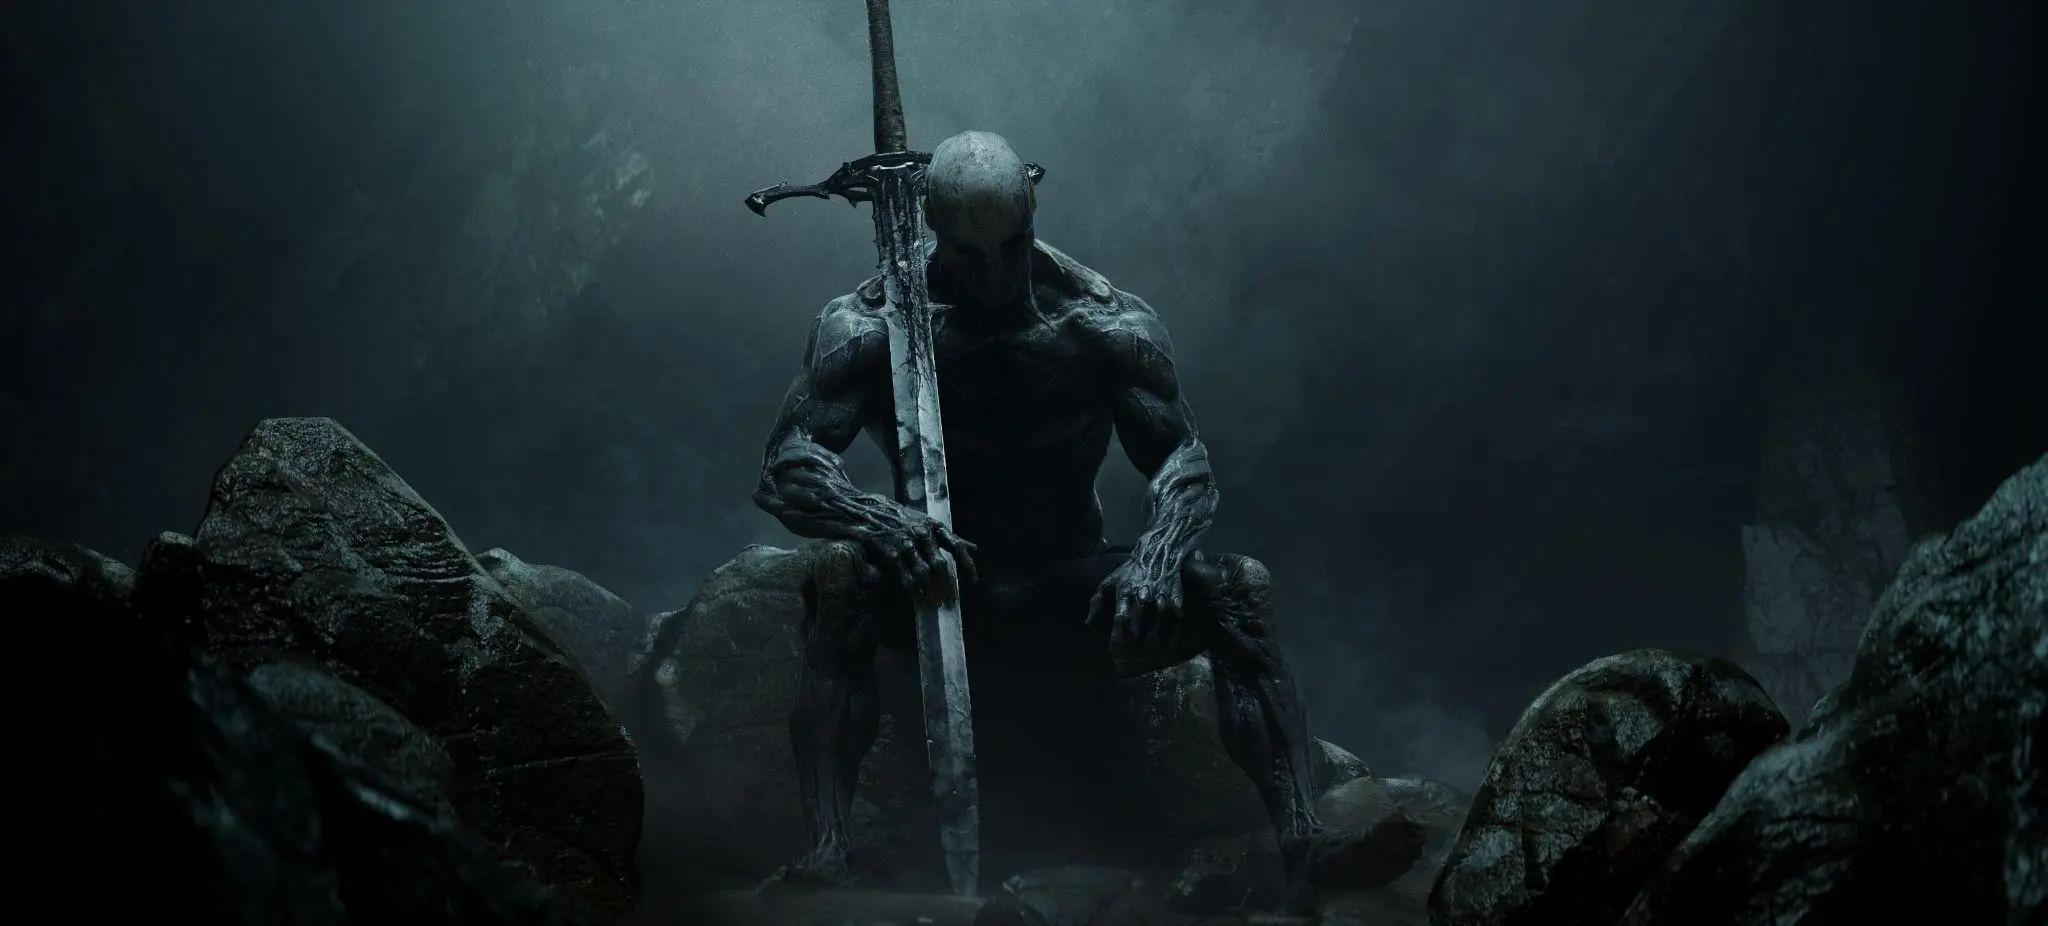
Mortal Shell II All 44 Bosses: Locations, Beacons, and Drops Checklist
Mortal Shell II does not hand you a boss log. There is no in-game counter, no map markers, and the open structure of Fainweald means you can miss an entire regional boss by walking past the wrong Beacon. This guide compiles every confirmed boss encounter, the nearest Beacon or dungeon entrance, and the guaranteed drop. Treat it as a completion checklist: work region by region, and do not assume clearing a zone’s main boss means the zone is done.
Table of Contents
- Why the Boss Count Reads Differently Across Sources
- Early Zones: Disciple’s Pass and Fainweald Boss Map
- Mammon, Glutted Mire, Sanguine Caverns, and Prisoners’ Domain
- Late Gates: Withered Shoals, Conquered Temple, Faded Citadel
- Unfound Path Endgame: Tendril Guardians and Zmey
- Missable Levers, Shells, and High-Gloom Payouts
Why the Boss Count Reads Differently Across Sources
You will see four different numbers floating around: a “10 bosses in order” framing, partial lists of 13, a wiki category of 29, and a full regional roster of 44 (community answers often round it to 45). They are not contradictions. The ten-in-order figure refers to the story-critical gate guardians and the Unfound Path finale. The 29 comes from Fextralife filing bosses as either mandatory or non-mandatory and leaving most dungeon and world encounters onto separate region pages. The 44 figure counts every major and regional encounter, including dungeon bosses and world bosses that are easy to skip. There is no authoritative total in the game files that any of these sources publishes, so pick a counting convention and stick to it — this page uses 44.
| Source framing | What it counts | Confirmed by |
|---|---|---|
| ~10 main bosses | Gate guardians + Unfound Path finale | captain-carry, gamespot |
| 13+ (work in progress) | Early confirmed list | rockpapershotgun, sportskeeda |
| 29 entries | Wiki Bosses category, mandatory + non-mandatory (last edited Aug 29, 2026) | Fextralife wiki |
| 44 total | All major + regional + world bosses | grindnstrat |
| 45 total | Community tally from Q&A threads | Steam/Reddit answers [Unverified] |
If your goal is the ending, chase the ten. If your goal is the platinum or the loot, use the full regional tables below. [Unverified] Some outlet lists place Hexapod in the Ruins of Mammon while others place it in Withered Shoals; treat its regional tag as provisional until patched.
Early Zones: Disciple’s Pass and Fainweald Boss Map
These are the first bosses you meet after the prologue. Disciple’s Pass is a gentle on-ramp; Fainweald is where the optional hunts that pay out Shells and levers begin.
| Boss | Nearest Beacon / Entrance | Key Drops |
|---|---|---|
| Gloombound Ritualist | Past Village Outskirts Beacon, sunken tunnel | Gloom x360 |
| Tainted Vestige | Near Disciple’s Grotto Beacon, left exit grove | Gloom x2,412; Burnt Effigy x1 |
| Tar Golem | Down slope past Disciple’s Grotto Beacon | Vatra’s Seal |
| Great Arbiter of Flesh | Widow’s Overlook Beacon, by cemetery | Gloom x5,754; Glimpse x1; Arbiter’s Prize x1 |
| Vrannic, the Grand Illusionist | Cleanse Mushroom Village Gate Beacon (Hall of Illusions) | Gloom x3,018; Volatile Fragment x1; Glimpse x1 |
| Grisha | Flooded Village dungeon, deep arena | Gloom x2,331; Synaptic Vessel x1; Grisha Remnant x1 |
| Vrago, Solikar Champion | Cleanse Nochtean Gate Beacon (Abandoned Shrine) | Glimpse x2; Voltaic Crown x1 |
| Bloodcursed Lithopod | Gloomshade Grove, by the small lake (world boss) | Gloom x2,895; Citadel Gate Lever x1 |
| The Warden | Center of Citadel of Penance | Gloom x6,542; Eredrim Shell |
| Rabid Grisha Pack | Bottom of Holding Cells dungeon | Grisha Remnant x1; Inflamed Clawstone x1; Gloom x1,132 |
| Lucian, the Thirsting Knight | Cleanse Stonebled Gate Beacon (Hidden Keep) | Glimpse x1; Serpent Stone x1; Gloom x7,474 |
| Pale Grisha | Grisha Hunting Grounds | Revered Gland x1; Grisha Remnant x1; Gloom x7,012 |
Two of these matter far beyond their loot. Lucian is mandatory: clearing Hidden Keep opens the Sanguine Caverns route. Vrago is mandatory: clearing the Abandoned Shrine opens Prisoners’ Domain. Bloodcursed Lithopod and The Warden are the difference between a locked Citadel and a fully open one.
Mammon, Glutted Mire, Sanguine Caverns, and Prisoners’ Domain
Ruins of Mammon is the densest boss region in the game and the spot where under-leveled players get flattened. Clear the lighter gates first.
| Boss | Nearest Beacon / Entrance | Key Drops |
|---|---|---|
| Circle of the Grasping Root | Cleanse Seeping Mire Beacon (Rootwater Hollow) | Gloom x886; Coin x50 |
| The Wandering Shepherd | Past bridge by Sunken Village Beacon | Gloom x6,462; Sheephead Totem x1 |
| Tarblighted Stoner | Past Sanguine Caverns Beacon | Tarred Fragment x1; Gloom x6,935 |
| Tishina’s Confessor | End of Slumwater Drain, Prisoners’ Domain | Confessor’s Keepsake x1; Gloom x5,664 |
| Gloombound Legion | Cleanse Hangman’s Scaffold Beacon | Gloom x1,208 |
| Vellen, High Lord of Mammon | Dungeon near High Lord’s Courtyard Beacon | Glimpse x1; Gloom x9,332 |
| Twin Sesters | Cleanse Sester’s Gate Beacon | Gloom x2,197 |
| Stray Sesters | Cleanse Sester’s Gate Beacon | Black Needle x1; Sester’s Crest x1; Gloom x6,890 |
| Sester Secundus | Sester’s Censer Dungeon | Glimpse x1; Sester’s Censer x1; Gloom x5,443 |
| Bor, the Deluded Monarch | Cleanse Abbey Entrance Beacon | Glimpse x1; Monarch’s Vestige x1; Gloom x9,241 |
| Sariel, the Endless | Platform north of Chamber of Becoming (phase 2 inside) | Gloom x3,500; Glimpse x1; Clockwork Scythe x1; Sariel Shell |
| Gloombound Wraith | Cleanse Gate of Infinity Beacon | Glimpse x2; Curseblood Stone x1; Gloom x5,931 |
| Starved Harridan | South of Castigator’s Keep Beacon | Voltaic Essence x1; Voltaic Amber x1; Gloom x15,165 |
| Viletongue Batushka | Cleanse Castigator’s Keep Beacon | Glimpse x1; Sage’s Gate Lever x1; Viletongue Hedron x1 |
| Subjugated Guardian | Sentry’s Grave Dungeon | Ballistazooka x1; Gloom x7,008 |
| Infested Miner | Cleanse Gate of Mammon Beacon (teleports to Burrowkin Dwelling) | Wretchcaller’s Stone x1; Glimpse x1; Ventrium x1; Laterite x1; Dorsalite x1 |
| Prophet of Profane Infinities | End of Obsidianite Mines, bottom of Deserted Slums | Obsidian Hammer x1; Paradoxical Scripture x1 |
Sariel and Viletongue Batushka are the standouts here. Sariel permanently unlocks the Sariel Shell plus the Clockwork Scythe. Batushka drops the Sage’s Gate Lever, a hard progression key.
Late Gates: Withered Shoals, Conquered Temple, Faded Citadel
These three gates sit after Mammon and before the Unfound Path. The Faded Citadel’s Isaac is the gate that finally hands you the Ova to open the endgame.
| Boss | Nearest Beacon / Entrance | Key Drops |
|---|---|---|
| Strange Grisha | Withered Shoals | Grisha Remnant x1; Strange Remnant x1; Gloom x1,835 |
| Hexapod | Ruins of Mammon / Withered Shoals [Unverified region] | Hexapod Core (Axatana ability Tarstone) |
| Urrig, the Executioner | Conquered Temple | Warden’s Stone x1; Gloom x6,115 |
| Droeg the Conqueror | Conquered Temple, snowed dungeon | Conqueror’s Reward (Black Needle); Frostshard Stone beyond |
| Servants of the Scholar Prince | Cleanse Citadel Atrium Beacon | Gloom x1,579 |
| Solnir, the Gloom Seeker | Cleanse Faded Citadel Gate Beacon | Glimpse x1; Solnir Shard x1; Gloom x13,885 |
| Isaac, the Scholar Prince | Faded Citadel, final gate | Scholar’s Wormstone (Clockwork Scythe); Ova that open Unfound Path |
Unfound Path Endgame: Tendril Guardians and Zmey
The Unfound Path opens only after you have collected enough Ova (reported as 168) at the Gloom Siphon in Marrow Keep. Three tendril guardians block the route to the center and can be fought in any order.
| Boss | Nearest Beacon | Key Drops | Notes |
|---|---|---|---|
| Orrem, the Reclaimed | Bridge of Procession Beacon | Orrem’s Head (trade for 5,000 Coin); Gloom x64,442 | Two phases, do not burn all flasks early |
| The Monolith | Obsidian Vault Beacon | Monolith Fragment (trade for 5,000 Coin) | Two phases, spinning beams at half health |
| Malborn Offspring | Faithful’s Shelter Beacon | Offspring Trophy x1; Gloom x63,333 | Widely considered harder than the final boss |
| Zmey, the Unbidden | Past Hidden Nave Beacon (updraft) | None | Final boss; see dedicated guide |
Missable Levers, Shells, and High-Gloom Payouts
A handful of drops are easy to miss and painful to redo. The Citadel Gate Lever (Bloodcursed Lithopod) and Sage’s Gate Lever (Viletongue Batushka) gate entire regions. Four Shells are boss drops: Eredrim (The Warden), Sariel (Sariel, the Endless), plus two more tied to optional fights. The biggest Gloom payouts are Malborn Offspring (63,333) and Orrem (64,442) — dump that into Harbinger levels and Tarstones before any repeat attempt.
Because Beacons are sparse and there is no fast travel between regions except through them, cleanse and rest at each one before a boss. Walking into an arena at half resources is how runs get wasted.
Frequently Asked Questions
How many bosses are actually in Mortal Shell II?
No in-game counter exists, so the number depends on what you include. Fextralife's Bosses category (last edited August 29, 2026) lists 29 entries split into mandatory and non-mandatory. Regional rosters like the one below push past 40 by counting dungeon and world bosses the wiki files separately, and community answers commonly quote 45. This checklist uses the 44-encounter regional tally; treat any single number as a counting convention, not a fact.
Which bosses drop the progression levers?
Bloodcursed Lithopod drops the Citadel Gate Lever and Viletongue Batushka drops the Sage's Gate Lever. Both are world bosses tied to specific Beacons and gate later regions, so prioritize them if an area stays locked.
Do I need to kill every boss for the ending?
No. The ending requires the six gate bosses plus the three Unfound Path tendril guardians and Zmey. Optional bosses are for completion, loot, and the achievement list, not story advancement.
Why do some bosses drop almost no Gloom while others drop tens of thousands?
Late-game and endgame bosses scale their Gloom payout sharply. Malborn Offspring and Orrem both clear 60,000 Gloom, while early regional bosses like Gloombound Legion sit under 1,500. Spend it on Harbinger levels before brutal fights.
About the author

Editor-in-Chief
Jack Cao is the founder and Editor-in-Chief of GameGuidesBox. He has been writing practical game guides for over a decade, specializing in action RPGs, extraction shooters, and competitive FPS. Every guide he signs is playtested first-hand: his logged test time includes 47 hours across two Crimson Desert playthroughs with DPS verification, 180 hours building a full Windrose settlement, and 45 hours across six Yunyun Syndrome endings runs. Favorite games include Titanfall 2, Baldur's Gate 3, Metro, PUBG, and CS2.
You may also like
Mortal Shell II How to Respec: Mether's Severance Guide
Mether's Severance turns Mortal Shell II's Glimpse commits into a refundable loop. Here is the exact respec route via Merrick and Zhirelle, what the refund covers, and when it is worth spending Coin.
Mortal Shell II: Every Playable Shell, Ability Tree, and Unlock Location
Confused about which Shell to bond first? We mapped all the playable Shells — the eight permanent bodies plus prologue-only Harros — with their full ability trees and exact unlock routes.
Mortal Shell II Beginner's First 2 Hours: A No-Nonsense Opening Route for 2026
Struggling to survive the opening of Mortal Shell II? We've mapped the first two hours step by step, from the Harros prologue to your first real Shell and weapon.
Comments