Mortal Shell II Zmey the Unbidden: Final Boss Phase Breakdown, Endless Core Prep, and Flame Dodging
Zmey's Cosmic Flames and Cascading Flare end runs that skip the Endless Core. We break the dragon into phases, the pre-fight checklist, and the side-step that wins it. Click to finish the hunt.

Mortal Shell II Zmey the Unbidden: Final Boss Phase Breakdown, Endless Core Prep, and Flame Dodging
Zmey, the Unbidden is the dragon at the center of everything — the last combat gate before the ending. It is a fire-and-distance fight built around three readable mechanics. With the Endless Core prepped and a mobility Shell, it is broadly considered easier than Malborn Offspring. Skip the prep and it becomes a furnace.
Table of Contents
- Preparation: Endless Core, Flame Mitigation, and Summons
- Core Walkthrough: Reaching Zmey and Surviving Both Phases
- Important Notes: Side-Steps, the Flare Window, and the Red Icon
- Rewards, the Gloom Doorway Trap, and the NG+ Handoff
Preparation: Endless Core, Flame Mitigation, and Summons
- Endless Core first. The Hidden Nave Beacon becomes accessible after you clear the corrupted tendrils in the Unfound Path. Inside, a torch reveals a fog-hidden route to a stone altar holding the Endless Core. Install it at the Tarforge in Marrow Keep to remove the +16 weapon cap and upgrade past it. The exact post-cap level ceiling is not stated; sources confirm “beyond +16” only.
- Flame mitigation. The Seedbearer’s Scripture, found in Night Mode, mitigates fire damage on its active and passive effects. Pair it with the Burnt Effigy Tarstone (or item) for burn resistance — Zmey and Magdalena both pay it back.
- Summons cost Glimpse. Genessa and Tiel can be summoned just in front of the updraft to the arena, each for one Glimpse. Bank Glimpse so the aggro split is available; it is permanent for that arena.
- Seals for Riposte. Untarnished Seal and Infinite Seal build Break Damage through parries, setting up a Riposte burst. The Slayer Seal also grants Break Damage via sidearms but disables achievements.
- Rest at the Beacon. Cleanse and rest at Hidden Nave before the fight. Walking in with half resources wastes the attempt.
Core Walkthrough: Reaching Zmey and Surviving Both Phases
Location: Past the Hidden Nave Beacon in the Unfound Path. Take the updraft behind the Beacon into the final arena. Access to the Unfound Path itself requires collecting the Ova (reported as 168) at the Gloom Siphon in Marrow Keep.
Phase 1 — leap, line, and flare. Zmey leaps away and follows with a Blade Slam that sends Cosmic Flames in a straight line. Dodge sideways out of the line. It also stands its ground to cast Cascading Flare, erupting flames around itself for several seconds while rooted — that is your free DPS window. Whenever the red icon flashes, it punishes face-hugging with a brutal point-blank slam; keep your distance during that tell. Attack from the side to avoid frontal sweeps, and watch the tail and sword stomps.
Phase 2 — burning blade. Around half health Zmey staggers, then returns with a flame-lit sword dealing Burn damage. The move set is the same; the side-step still answers the downward swings. Rush in after each dodge to chip the bar. Build Break Damage for Riposte bursts.
Finish. With sustained melee pressure from a stealth Shell (Tiel dodging into Shadow Strike) or Genessa drawing aggro, Zmey falls faster than Malborn Offspring for most players.
Important Notes: Side-Steps, the Flare Window, and the Red Icon
- Sideways, never backward. The Cosmic Flames line is trivially sidestepped. Retreating runs you down the beam.
- Flare = free damage. Cascading Flare roots Zmey. If you have the Seedbearer’s Scripture, this phase is near-safe DPS time. Do not waste it healing.
- Red icon = back off. The point-blank slam triggers on face-hugging. Respect the tell and reposition.
- Side attacks avoid sweeps. Frontal stomps and tail sweeps still reach you at the side; watch for them while you whittle.
- Flamebreath is an opening. When Zmey uses Flamebreath, the recovery is a clean retaliation window before its next move.
- Easier than Malborn, with prep. Multiple guides note Zmey fell easier than the Offspring when fought with a powered Tiel and the Endless Core. The difference is the no-summon rule and twin health bars on Malborn.
Rewards, the Gloom Doorway Trap, and the NG+ Handoff
| Item | Note |
|---|---|
| Zmey drop | None (the reward is story completion) |
| Endless Core (pre-fight) | Removes Tarforge cap; enables +17 and beyond |
| Post-fight | Interact with the siphoning machine in Marrow Keep; “Send Ova” starts NG+ |
The biggest trap near the fight is the Gloom doorway inside the Hidden Nave. A nearby doorway asks you to offer all carried Gloom; if you loot the surrounding Gloom piles first, you lose it. Deal with the doorway before vacuuming the chests. Also remember the Endless Core’s altar chest is the real prize — the doorway is a separate, greedy interaction.
After Zmey dies, the story is not over: Undermether confirms the foul passenger is gone and asks you to send the recovered kin onward. That final interaction, not the boss kill, closes the ending. Picking “Send Ova” at the Marrow Keep siphon launches New Game Plus; skip it to keep exploring.
Frequently Asked Questions
Do I need the Endless Core to beat Zmey?
Not strictly, but skipping it is the most avoidable death in the game. The Endless Core removes the Tarforge upgrade cap, letting you push weapons past +16. It sits in the Hidden Nave Beacon right before the arena, so grab it on the way in.
How do I dodge Zmey's Cosmic Flames?
After the leaping Blade Slam, the flames race in a straight line. Dodge sideways, not backward. Lateral movement steps you out of the line instead of running down it.
What is the safe DPS window against Zmey?
Cascading Flare. When Zmey stands its ground and erupts flames around itself for several seconds, it is rooted. That is your free damage window — especially safe if you found the Seedbearer's Scripture in Night Mode for flame mitigation.
Can I summon help for the final boss?
Yes. Genessa and/or Tiel can be summoned just in front of the updraft, each costing a Glimpse. Bank Glimpse beforehand so the aggro split is available.
About the author

Editor-in-Chief
Jack Cao is the founder and Editor-in-Chief of GameGuidesBox. He has been writing practical game guides for over a decade, specializing in action RPGs, extraction shooters, and competitive FPS. Every guide he signs is playtested first-hand: his logged test time includes 47 hours across two Crimson Desert playthroughs with DPS verification, 180 hours building a full Windrose settlement, and 45 hours across six Yunyun Syndrome endings runs. Favorite games include Titanfall 2, Baldur's Gate 3, Metro, PUBG, and CS2.
You may also like
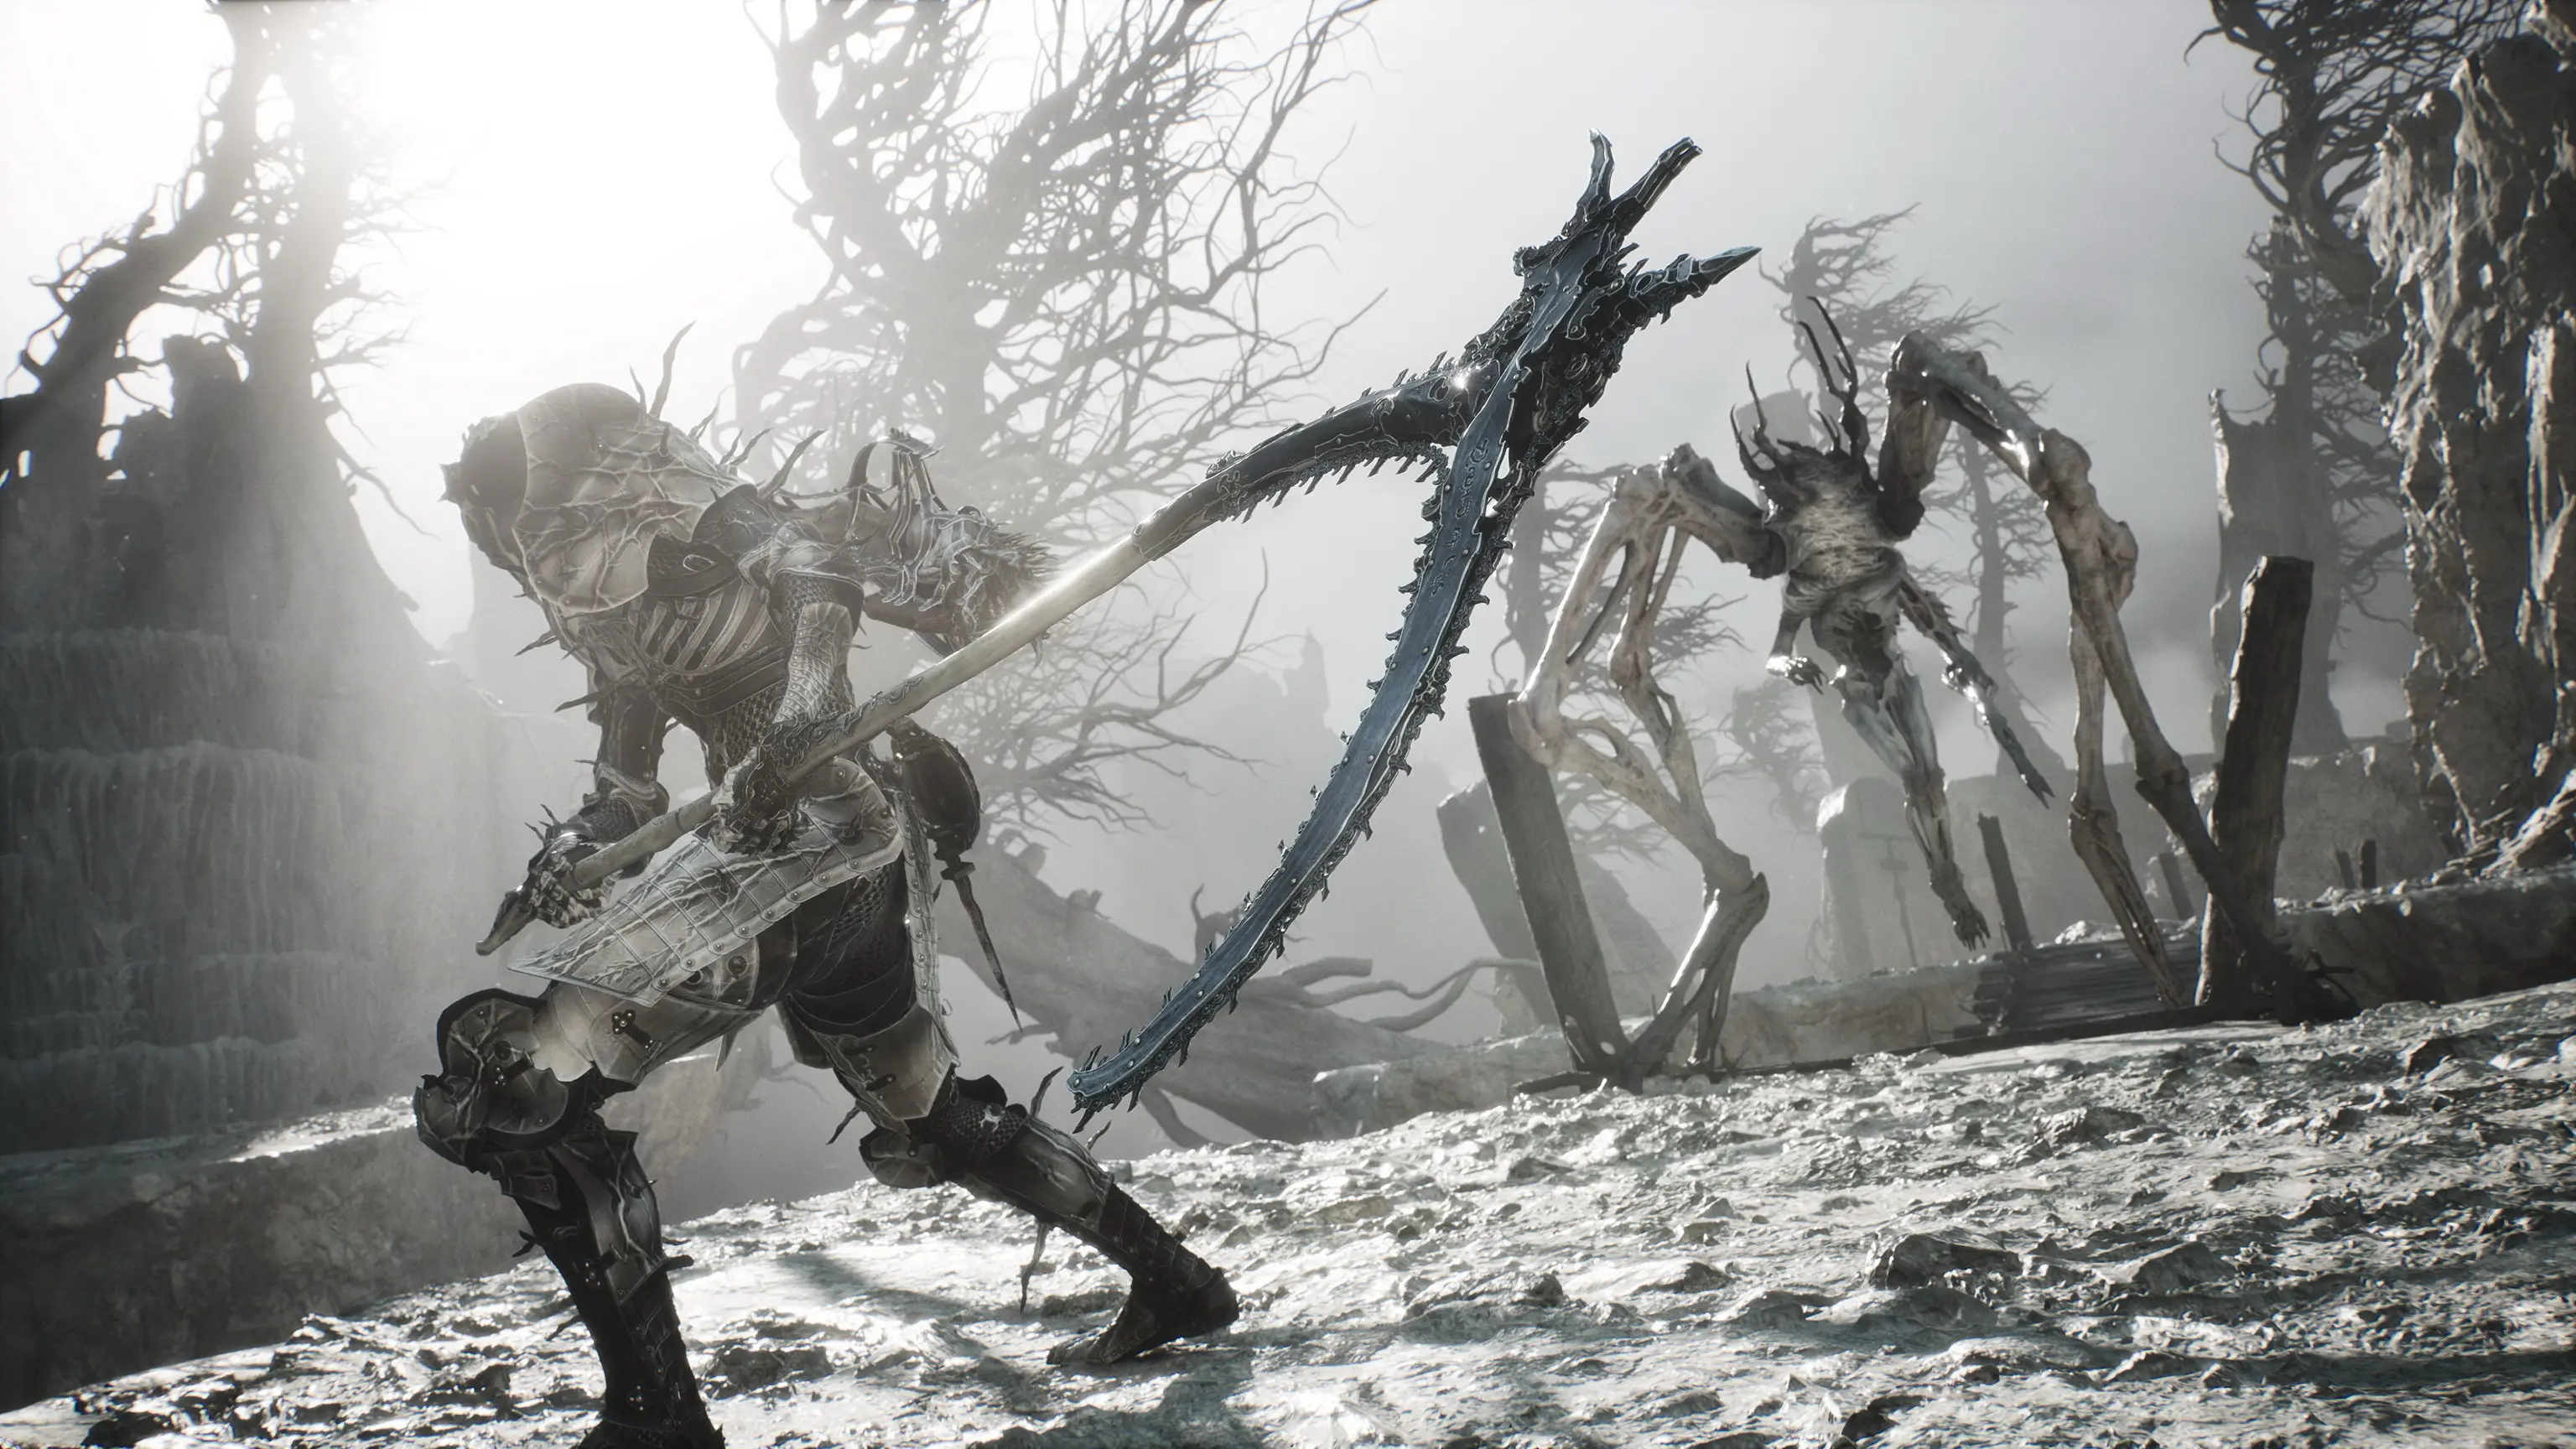
Mortal Shell II How to Respec: Mether's Severance Guide
Mether's Severance turns Mortal Shell II's Glimpse commits into a refundable loop. Here is the exact respec route via Merrick and Zhirelle, what the refund covers, and when it is worth spending Coin.
Mortal Shell II: Every Playable Shell, Ability Tree, and Unlock Location
Confused about which Shell to bond first? We mapped all the playable Shells — the eight permanent bodies plus prologue-only Harros — with their full ability trees and exact unlock routes.
Mortal Shell II All 44 Bosses: Locations, Beacons, and Drops Checklist
Struggling to track down every grotesque in Fainweald? We mapped all 44 boss encounters, their nearest Beacon, and exactly what each one drops. Click to unlock the full checklist.
Comments