Mortal Shell II Best Tarstones: Top 4 Damage Stones to Equip First
Struggling to pick the right Tarstone in Mortal Shell II? We rank the four damage-focused stones that turn a mediocre build into a boss-melter — and the picks that get you killed if you skip them.
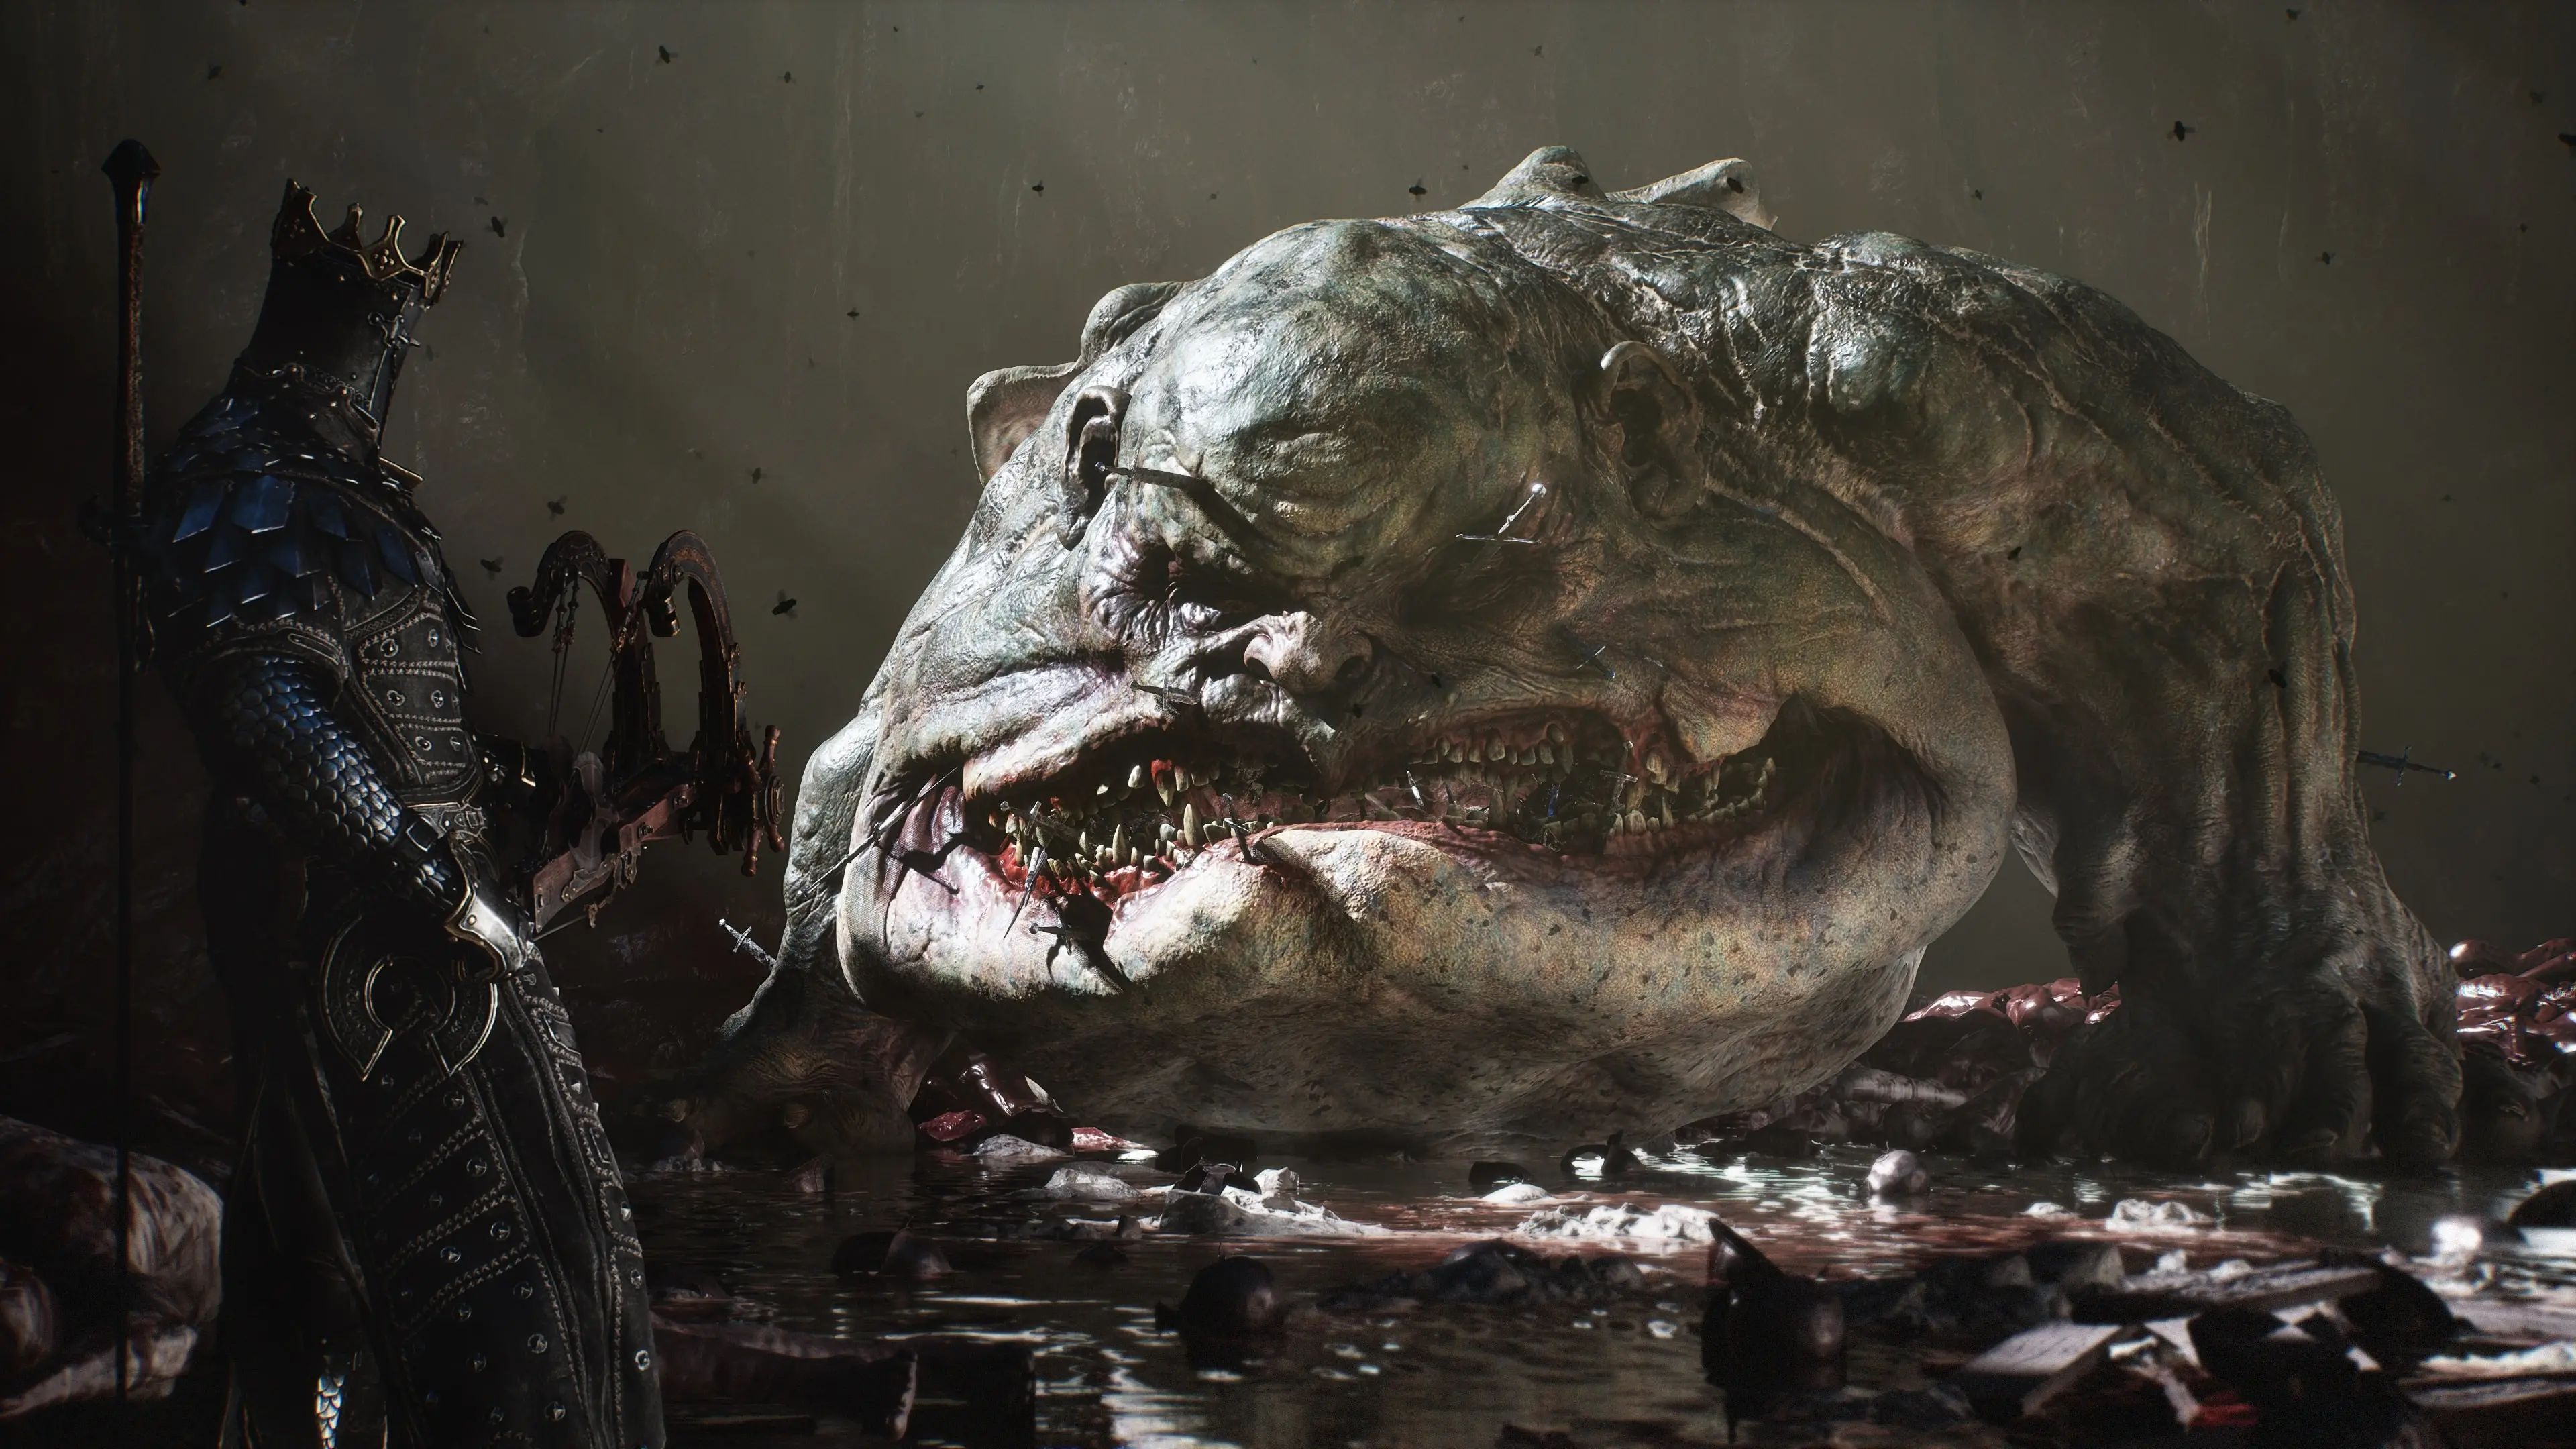
Mortal Shell II Best Tarstones: Top 4 Damage Stones to Equip First
Tarstones are the backbone of every build in Mortal Shell II. They slot into a weapon’s special socket and grant passive or active bonuses that reshape how a Shell fights. Pick the wrong set and you stall on a late-game boss; pick the right four and you delete health bars. This guide ranks the four damage-focused stones worth chasing first, then covers the strong alternates and how to acquire and level them.
Table of Contents
- What You Need Before Farming Tarstones
- The Four Damage Stones Worth Equipping First
- Synergy Pitfalls and Wrong-Pick Penalties
- Where the Top Stones Drop and How to Temper Them
What You Need Before Farming Tarstones
Tarstones are not a single resource you grind for. They are distinct items scattered across Fainweald and Mammon, slotted into weapons, and leveled through combat rather than crafting.
- Type split: Support, Combat, Infusion, and Ability. Support and Combat stones are what damage builds care about; Infusion stones are weapon- or Shell-locked and narrow, so they are excluded from the core four. One more class exists now that did not at launch: Fragile Tarstones (Week 1 Update, Aug 29) are a durability-based equipment type — they wear out, shatter, and leave you 1 Tarcore. They are an economy mechanic, not a damage slot, so they never enter the ranking below.
- Equip ceiling: You can run 10 stones total — four Support, two Combat, two Infusion, two Ability. The four/two/two/two split is consistent across wiki coverage.
- Pool size: Guides list roughly 73–75 collectible Tarstones. The exact total is reported inconsistently between outlets, so treat the headline number as approximate.
- Leveling method: Equip the stone, kill enemies to fill its XP bar, then pay Coin to Franz. Tiers 3 and 4 also require Tar Cores. At launch that ramp was rationed by a per-run Tarcore hard cap; since the Week 1 Update (Aug 29) the cap is gone and Fragile Tarstones shatter into farmable Tarcores, so maxing the top four is a matter of time, not luck.
- Prerequisite: You need the Etching Needle from the chest before Magdalena, Lady of the Woods, to unlock Tarstone Tempering at the Tarforge.
The four stones below multiply raw damage or guarantee crits, and each works across multiple weapons rather than a single gimmick weapon.
The Four Damage Stones Worth Equipping First
The table summarizes the priority four. Exact max-level magnitudes are flagged where sources disagree.
| Stone | Type | Max-Level Effect (reported) | Best On |
|---|---|---|---|
| Berserker’s Stone | Combat | +165% melee damage at HP ≤ 50% | Low-HP melee Shell (Smert, Eredrim) |
| Headman’s Stone | Support | Large crit-damage multiplier (crit-build core) | Fast weapons + Auspicious Stone |
| Grudge Stone | Combat | Guaranteed crit every 5th attack | Primary weapons, universal |
| Devout Stone | Support | Big Resolve gain from sidearm kills | Ability-spam builds |
1 Berserker’s Stone — the low-HP nuke
Location: Temple of Vatra, east of the One-Legged Wolf beacon, Fainweald. Action: Enter the Temple of Vatra, light the three offering candles by the central chest, then open it. Outcome: At max level the stone grants +165% melee damage whenever your health is at or below 50%. The +165% ceiling is corroborated by both a dedicated build guide and Chinese strategy coverage. [Sources: GrindNStrat, 163.com]
The highest raw-damage multiplier in the game, it favors Shells that trade hits — Smert’s time-stop or Eredrim’s shoulder-bash — and demands clean Harden timing at half health.
2 Headman’s Stone — the crit-build keystone
Location: Not reliably mapped in current English coverage. Action: Hunt dungeon and beacon interiors; Headman’s is reported as a Support stone found in a late Fainweald or early Mammon chest. Outcome: It multiplies melee crit damage. Build guides name it the critical-damage stone, and some reports cite roughly +100% melee/crit damage at max. The exact number is unconfirmed by Western outlets.
Pair Headman’s with Auspicious Stone (melee crit chance) so the multiplier actually fires. A fast weapon like the Axatana or Axe and Dagger turns this combo into a crit engine. On its own, Headman’s does nothing unless you are already landing crits.
3 Grudge Stone — the guaranteed-crit workhorse
Location: Chest just south of the Citadel of Penance beacon, in the area unlocked by pulling the Citadel Gate Lever. Action: From the Warden arena, take the right past the bridge and open the bone chest by the large tree. Outcome: A guaranteed crit on a fixed cadence: every 10th attack at level 1, every 7th at level 2, every 5th at level 3. The interval is confirmed by GameRant. [Source: GameRant]
Grudge is the universal safety net. Every fifth swing crits no matter your crit stat, which smooths out damage on slow heavy weapons and trivializes break setups on fast ones. It works with every weapon.
4 Devout Stone — the Resolve battery
Location: Reported north of the Sester’s Gate beacon; not mapped in Western coverage. Action: Head north, climb past two ranged enemies, hit the wall mechanism to open a side door, loot the chest. Outcome: Major Resolve generation. A gameplay report cites 28 Resolve from sidearm kills at max, but Western wikis do not confirm the trigger or the number, so the effect is flagged.
Devout’s value is indirect but real: more Resolve means more frequent weapon specials and Shell abilities, which compounds the damage of every other stone here. It is the glue stone for ability-heavy loops.
Synergy Pitfalls and Wrong-Pick Penalties
- Do not stack two crit-chance stones without a crit-damage stone. Auspicious without Headman’s wastes the upside; Headman’s without Auspicious never triggers.
- Berserker’s without a second health pool is a death sentence. Harros or Tiel give you room to sit at half health; a squishy setup dies before the bonus matters.
- Grudge and Duality overlap well. Duality doubles light-attack damage and Resolve on fast weapons; Grudge guarantees a crit inside that doubled string.
- Infusion stones are weapon-gated. Strong but narrow; skip them until Shell and weapon are locked in.
- Wrong-pick penalty is real. A misfit stone costs a socket you cannot refund for materials, and re-farming late is a long backtrack.
Where the Top Stones Drop and How to Temper Them
| Stone | Drop Location | Tempering Note |
|---|---|---|
| Berserker’s Stone | Temple of Vatra (light 3 candles) | Equip + kill; Coin + Tar Core at high tiers |
| Headman’s Stone | Unmapped (late Fainweald / early Mammon) | . |
| Grudge Stone | South of Citadel of Penance (Citadel Gate Lever) | Equip + kill; Coin to upgrade |
| Devout Stone | North of Sester’s Gate beacon | . |
| Duality Stone | Ravaged Tomb dungeon, SE of Nochtean Gate beacon | Doubles light attacks; Axe & Dagger / Axatana |
| Arbiter’s Prize | Infusion stone on Axe & Dagger | Applies Bloodcurse (corroborated) |
Strong alternates: Duality Stone (double light-attack damage, ideal on Axatana and Axe and Dagger; drop confirmed in the Ravaged Tomb) and Arbiter’s Prize (reported Bloodcurse infusion on Axe & Dagger, corroborated by a Gragu build guide). Level any stone by handing Franz the Etching Needle, equipping the stone, and farming trash mobs; the XP bar fills fast once Tempering is unlocked.
Re-evaluated post Week 1 (Aug 29): the Top 4 still stands
I re-checked this ranking against the post-patch economy before updating the guide, and the order holds — for a precise reason worth spelling out. The Top 4 was always a damage-efficiency ranking, and Fragile Tarstones compete for neither damage nor a socket strategy: their job is to die so you get a Tarcore. What the patch changed is the premise under “Where the Top Stones Drop and How to Temper Them”: at launch, Tier 3/4 tempering on four maxed stones was gated by a scarce, hard-capped Tarcore supply, and the honest advice was to fully temper one or two stones and let the rest sit at Tier 2. Now that Tarcores farm out of shattered Fragiles and the per-run cap is removed, the correct plan is to temper all four — Berserker’s, Headman’s, Grudge, and Devout — to max in a single playthrough, letting the Fragile loop pay for the tempers as you go. The scarcity argument died; the picks didn’t.
Frequently Asked Questions
How many Tarstones can you equip at once in Mortal Shell II?
The Tarforge allows a total of 10 stones: four Support, plus two each for Combat, Infusion, and Ability. Support stones are universal passives; the other six slot into a specific weapon or sidearm. The exact split is confirmed by the wiki but the overall pool size is reported inconsistently (see Needs Verification).
Do Tarstones consume upgrade materials when leveled?
No. A Tarstone levels by gaining XP from enemies you kill while it is equipped. Once the XP bar fills, Franz at the Tarforge upgrades it for Coin only. Materials such as Ventrium and Laterite are spent on weapons, not stones. Higher tiers also ask for Tar Cores.
Which Tarstone is best for a critical-hit build?
Headman's Stone is the critical-damage centerpiece, but it does nothing alone. Pair it with Auspicious Stone, which raises melee crit chance, so the multiplier actually lands. Grudge Stone is the safer universal pick because it guarantees a crit on a fixed attack cadence.
Where do I get the Etching Needle needed to upgrade Tarstones?
Loot it from a bone chest in Fainweald just before the Magdalena, Lady of the Woods boss fight. Cross the rope bridge, deal with the Tarblighted Shepherd, meet Ruk, then look down into the opening and turn right before the tunnel to find the chest. Hand it to Franz to unlock Tarstone Tempering.
What are Fragile Tarstones and should they change my picks?
No — but they change your supply line. Fragile Tarstones are a new equipment type added in the Week 1 Update (Aug 29): their durability drains as you use them, and when a stone shatters it produces 1 Tarcore. That makes Tarcores farmable instead of launch-capped, so maxing the Tier 3/4 tempers on the four damage stones below is now a one-run goal. Fragile stones are economy gear, not damage stones, so they do not displace any Top 4 slot.
About the author

Editor-in-Chief
Jack Cao is the founder and Editor-in-Chief of GameGuidesBox. He has been writing practical game guides for over a decade, specializing in action RPGs, extraction shooters, and competitive FPS. Every guide he signs is playtested first-hand: his logged test time includes 47 hours across two Crimson Desert playthroughs with DPS verification, 180 hours building a full Windrose settlement, and 45 hours across six Yunyun Syndrome endings runs. Favorite games include Titanfall 2, Baldur's Gate 3, Metro, PUBG, and CS2.
You may also like

Mortal Shell II How to Respec: Mether's Severance Guide
Mether's Severance turns Mortal Shell II's Glimpse commits into a refundable loop. Here is the exact respec route via Merrick and Zhirelle, what the refund covers, and when it is worth spending Coin.
Mortal Shell II: Every Playable Shell, Ability Tree, and Unlock Location
Confused about which Shell to bond first? We mapped all the playable Shells — the eight permanent bodies plus prologue-only Harros — with their full ability trees and exact unlock routes.
Mortal Shell II All 44 Bosses: Locations, Beacons, and Drops Checklist
Struggling to track down every grotesque in Fainweald? We mapped all 44 boss encounters, their nearest Beacon, and exactly what each one drops. Click to unlock the full checklist.
Comments