Marathon Complete Guide: Factions, Quests, Runner Shells, and Advanced Strategies
Marathon Full Guide:Factions, Quests, Runner Shells & Abilities, Combat Basics, Loot Grinding & Pro-Level Survival—Everything before entering Tau Ceti IV.

Factions, Quests, Runner Shells & Abilities, Combat Basics, Loot Grinding & Pro-Level Survival—Everything before entering Tau Ceti IV.
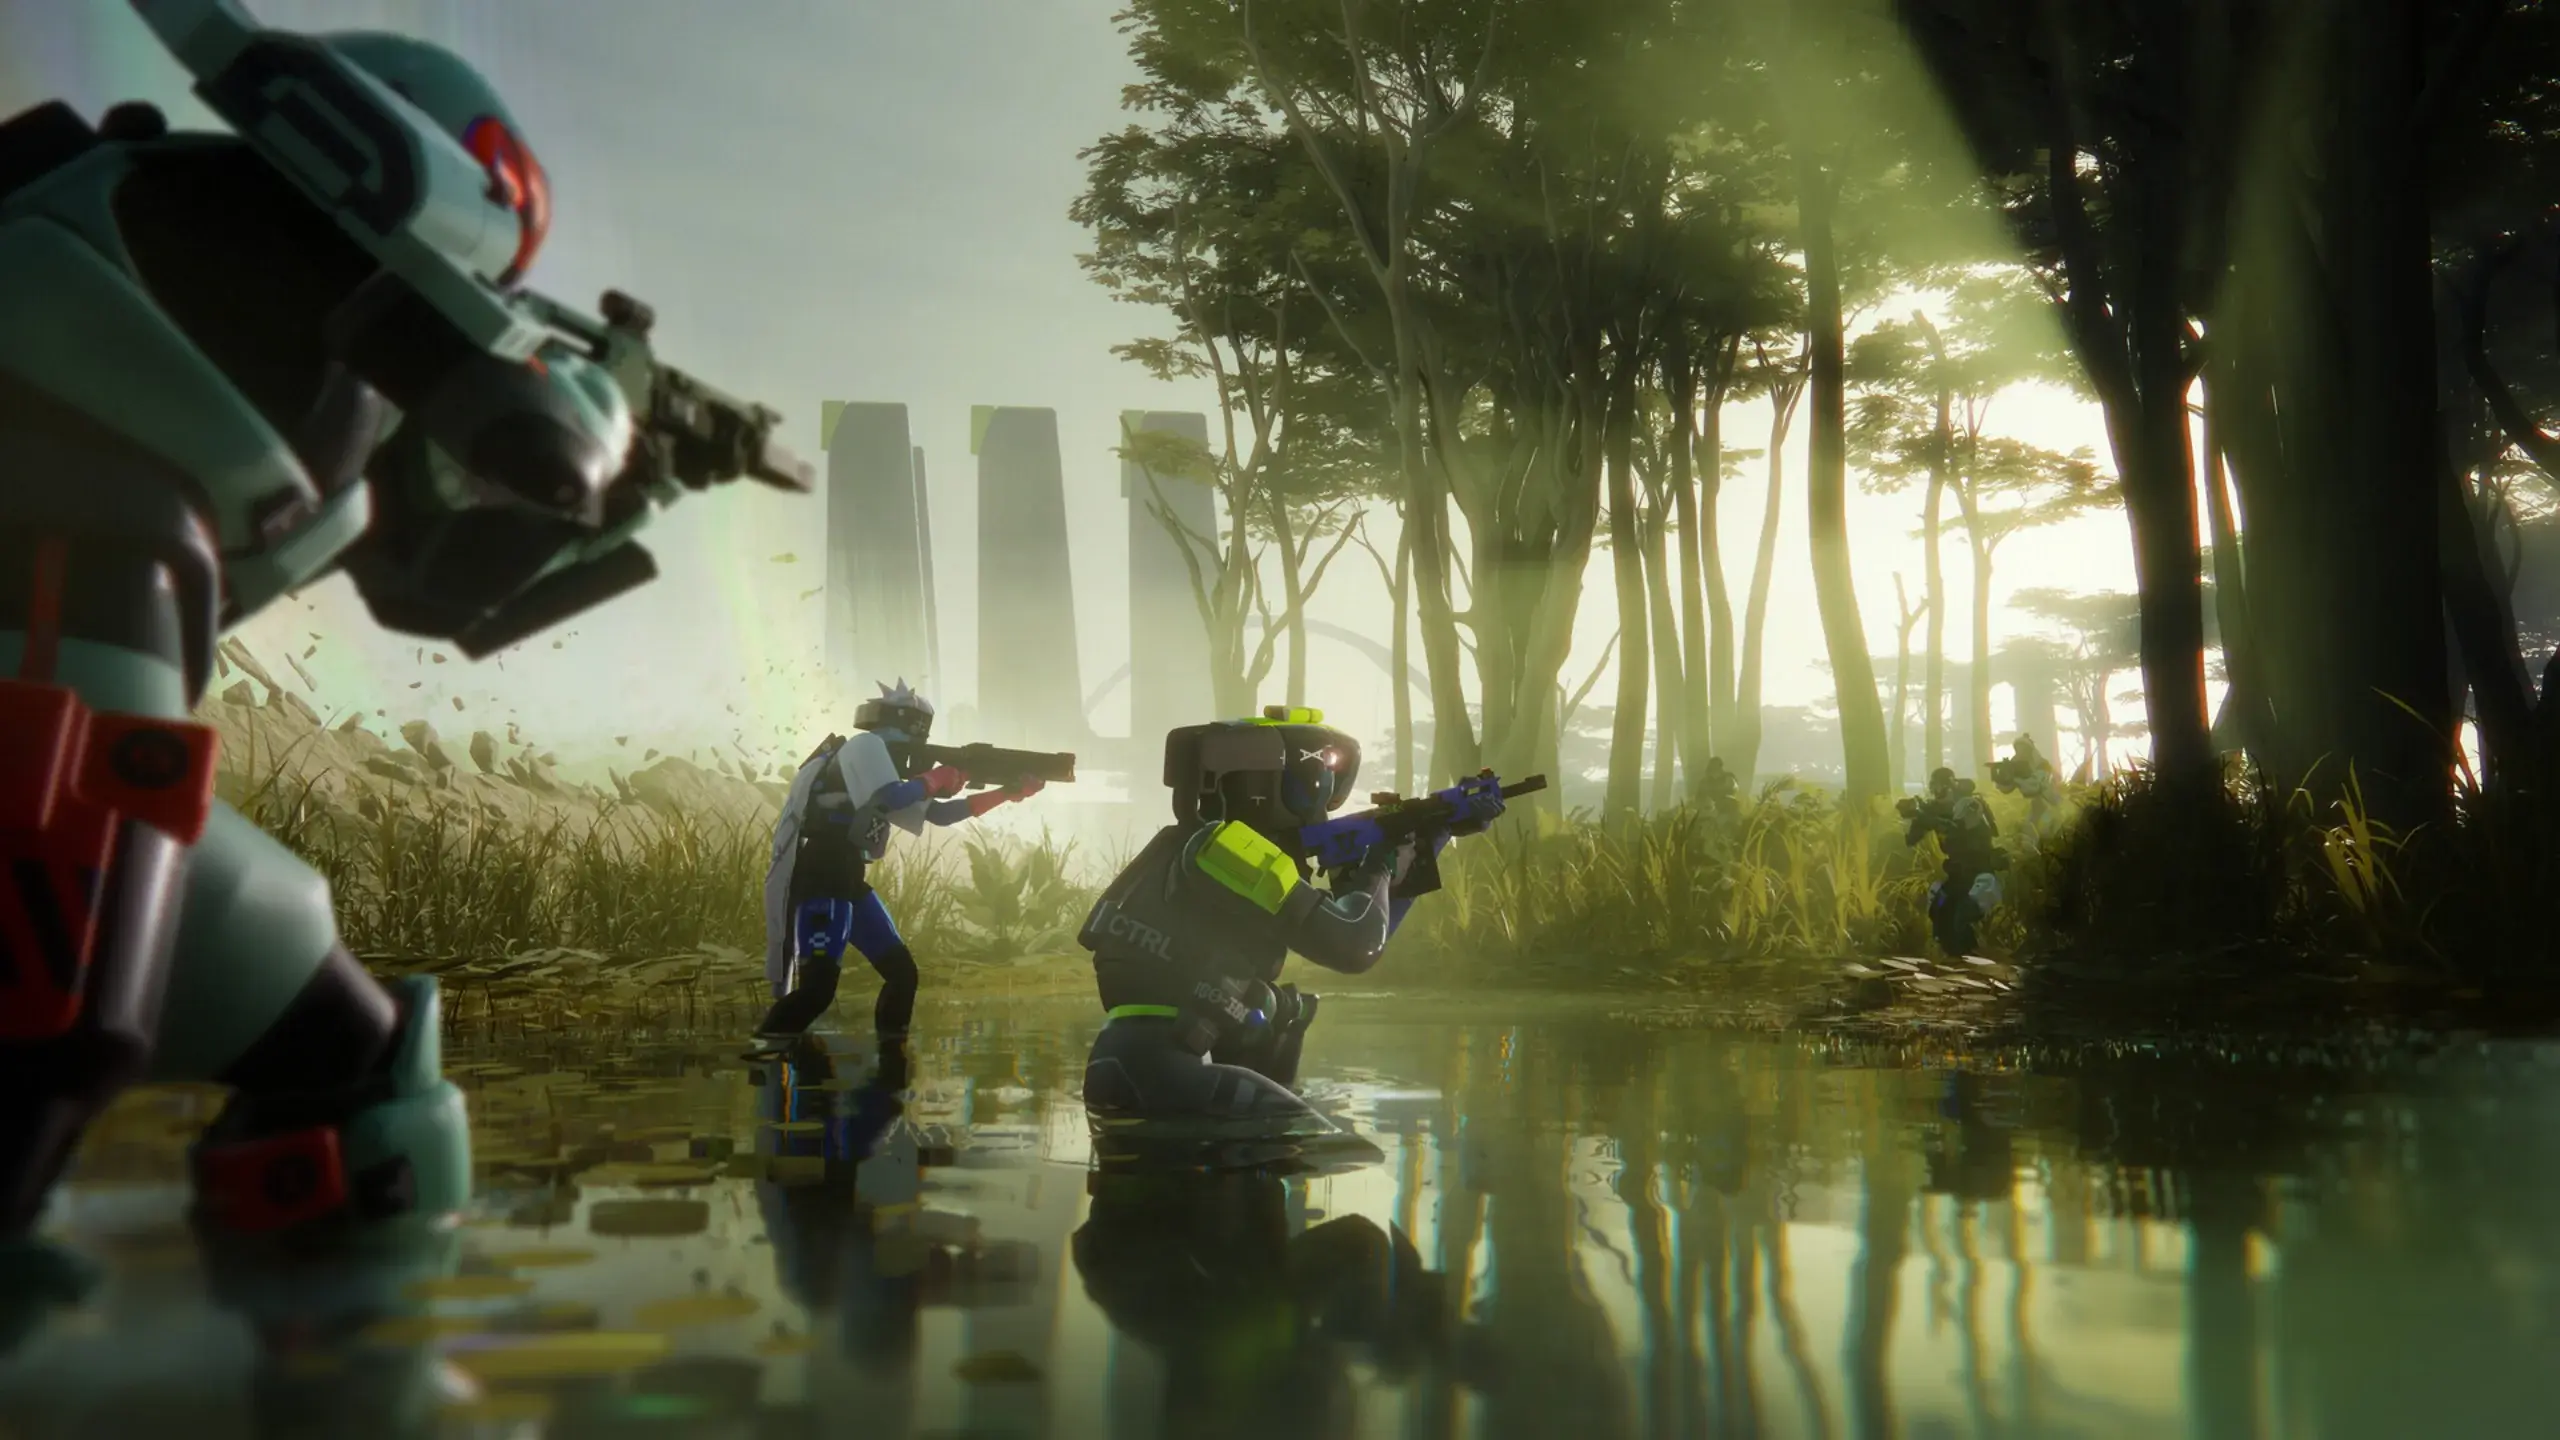
This comprehensive guide covers all essential aspects of Marathon including faction unlocks, quest walkthroughs, Runner Shells with detailed abilities, combat strategies, loot optimization, and advanced survival tactics.
Before we start, we have also written some related content that may be helpful to you:
Marathon Quick Start Guide Before Playing
Marathon All Quests Priority Contracts Guide And Map
Marathon Guide to Pinwheel Base Entry and FTL Array Scanning
Table of Contents
- Getting Started: Essential Beginner Tips
- Runner Shells: Classes and Abilities
- Faction Unlock Guide
- Priority Contracts: Complete Quest List
- TOX Clear Hazard Gas Removal
- DCON Usage Guide
- Data Reconstruction Quest
- Protect/Destroy Quest
- Schema Acquisition and Usage
- Map Key Locations and Loot Spots
- Combat and Survival Strategies
- Vault Upgrades and Best Purchases
Essential Beginner Tips

Survival Principles
Marathon is an extraction shooter where death means losing all carried gear. Success requires balancing risk versus reward.
Essential Loadout Formula:
- Bring one primary weapon
- Carry two stacks of ammunition
- Pack medical consumables
- Don’t get greedy—secure loot and extract
Audio Awareness
- Everything makes noise—footsteps, opening doors, using items
- Use headphones to detect enemy positions
- Listen for extraction beacon activations
- Audio cues reveal nearby threats before visual contact
Heat Management
Heat (stamina) depletes when sprinting, jumping, and using abilities.
- Crouch to cool Heat faster
- Monitor Heat levels during engagements
- Avoid overheating in combat situations
- Upgrade Heat capacity through CyberAcme faction
Solo Play Recommendations
- Play as Rook or Assassin for solo runs
- Rook provides reconnaissance advantages
- Assassin offers stealth capabilities
- Avoid direct confrontations; pick fights carefully
PvP Combat Awareness
- Time-to-kill (TTK) is fast—expect quick deaths
- UESC bots are deadly; treat them as serious threats
- Finish downed enemies to recharge shields
- Use stealth and choose engagements wisely
Runner Shells: Classes and Abilities
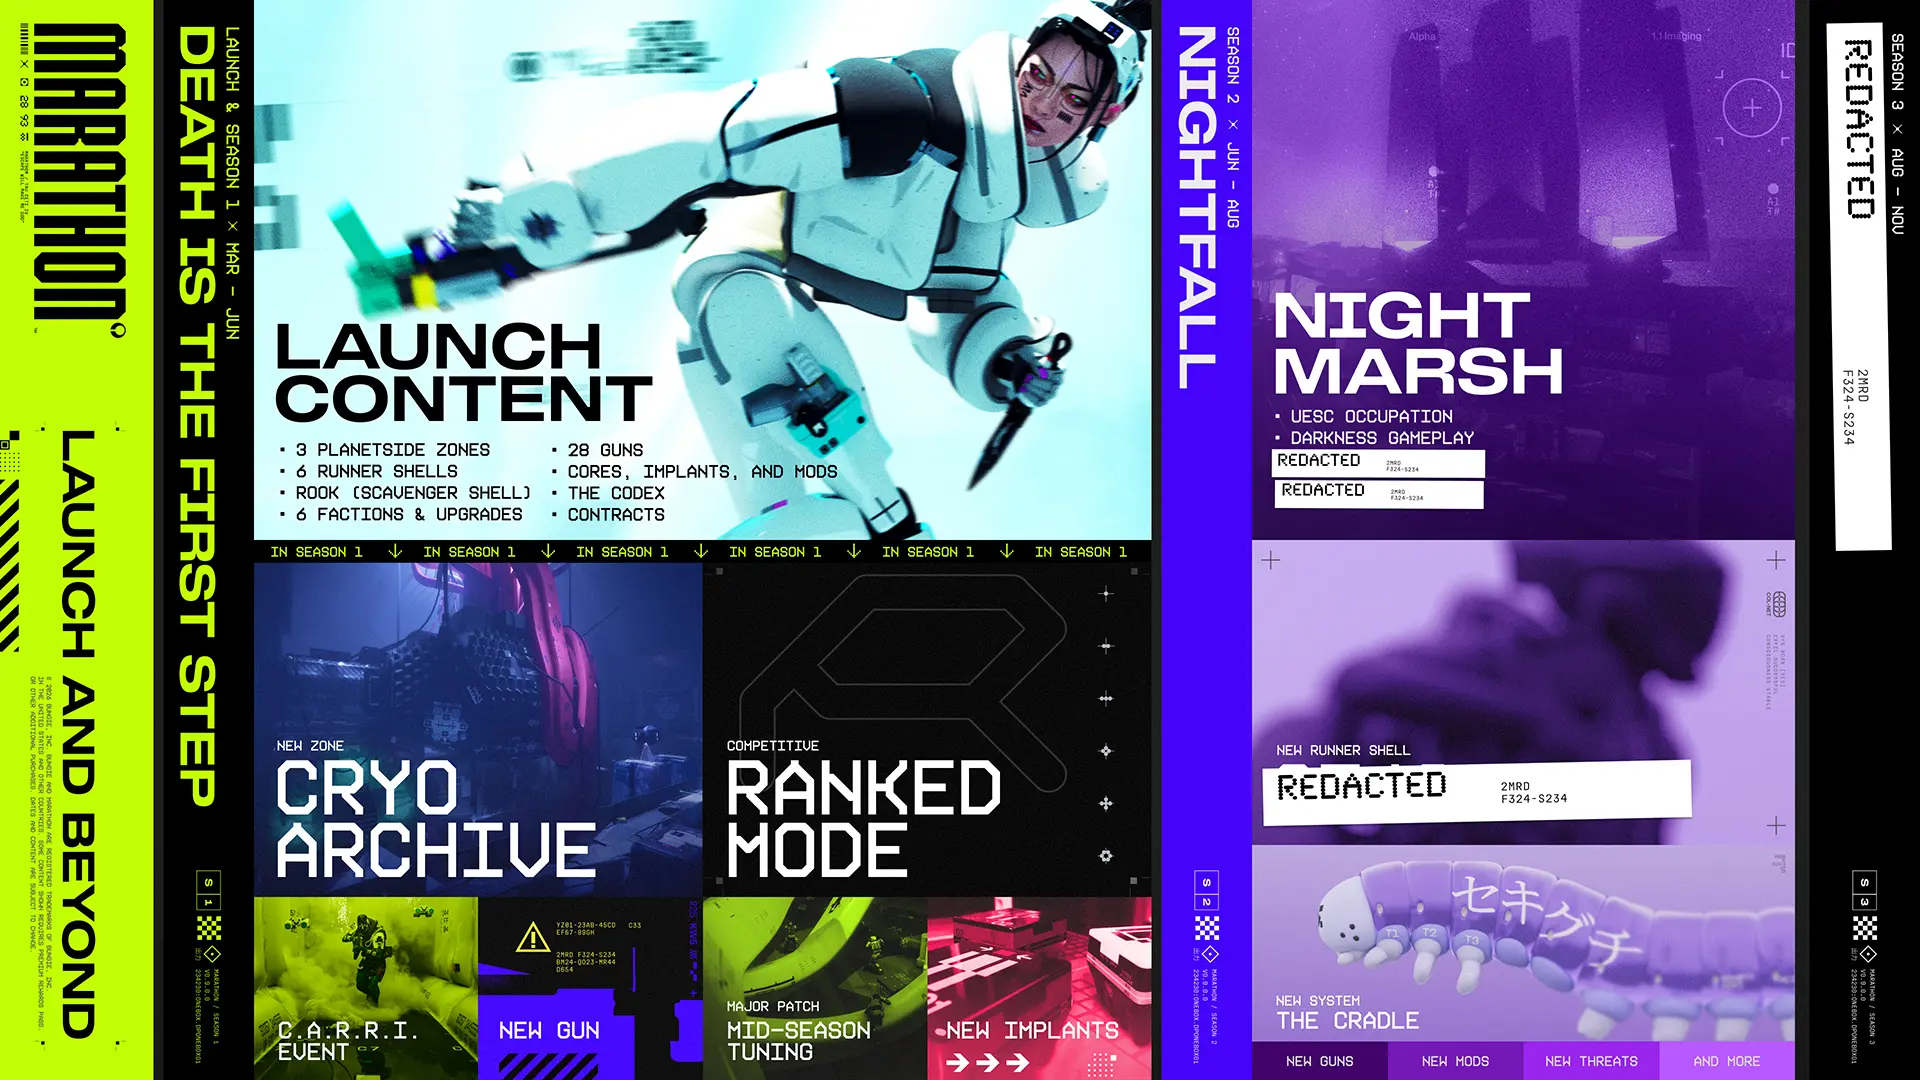
Marathon features 7 distinct Runner Shells, each with unique Tactical and Prime abilities suited to different playstyles.
Destroyer
Role: Frontline Assault
- Tactical Ability: Deployable shield for cover
- Prime Ability: Damage boost and damage reduction
- Playstyle: Aggressive entry, tanking damage
- Best For: Team players who lead engagements
Vandal
Role: Mobility Specialist (S-Tier)
- Tactical Ability: Grappling hook for rapid movement
- Prime Ability: Enhanced speed and jump height
- Playstyle: Hit-and-run tactics, flanking
- Best For: Players who value positioning and escape options
Assassin
Role: Stealth Operative
- Tactical Ability: Temporary invisibility
- Prime Ability: Critical damage boost from behind
- Playstyle: Silent elimination, avoiding detection
- Best For: Solo players and stealth enthusiasts
Thief
Role: Loot Specialist
- Tactical Ability: Loot detection through walls
- Prime Ability: Faster looting and increased carrying capacity
- Playstyle: Resource gathering, economic advantage
- Best For: Players focused on maximizing extraction value
Recon
Role: Information Gatherer
- Tactical Ability: Enemy detection pulse
- Prime Ability: Enhanced vision and tracking
- Playstyle: Team support, callouts, intel
- Best For: Cooperative team play
Triage
Role: Combat Medic (S-Tier)
- Tactical Ability: Healing drone deployment
- Prime Ability: Area-of-effect team healing
- Playstyle: Support, keeping teammates alive
- Best For: Team players; ultimate insurance policy
Rook
Role: Beginner-Friendly / Balanced
- Tactical Ability: Enhanced shield regeneration
- Prime Ability: Damage resistance boost
- Playstyle: Versatile, forgiving for new players
- Best For: Learning the game, solo survival
Runner Shell Tier List
| Tier | Shells | Reasoning |
|---|---|---|
| S | Triage, Vandal | Best team utility / mobility |
| A | Destroyer, Thief, Rook | Strong combat / loot / beginner friendly |
| B | Recon | Situational team value |
| C | Assassin | Difficult to master, niche use |
Faction Unlock Guide
Marathon features 6 factions. Only CyberAcme is unlocked at the start; the remaining 5 must be unlocked by completing liaison contracts.
Starting Faction
CyberAcme
- Status: Unlocked (available at game start)
- Starting Quest: Welcome To Tau Ceti
- Rewards: V75 Scar, Protector V1 Shield
Unlockable Factions
| Faction | Unlock Condition | Starting Quest | Reward |
|---|---|---|---|
| NuCaloric | Complete CyberAcme liaison contract | Survival Directive | 1500 Credits |
| Traxus | Complete NuCaloric liaison contract | Cutthroat Competition | V22 Volt Thrower |
| MIDA | Complete Traxus liaison contract | Order/Chaos | Random upgrade gear |
| Arachne | Complete MIDA liaison contract | Defeat Runner enemies | WSTR Combat Shotgun |
| Sekiguchi | Complete Arachne liaison contract | Damage absorption quest | Random core |
Faction Upgrade Priority
CyberAcme Upgrades:
- Heat Sink: Reduces Heat accumulation (Priority #1)
- Expansion: Increases Vault space (Priority #2)
NuCaloric Upgrades:
- Reinforce: Reduces debuff duration
- Recovery: Enhanced health regeneration
Traxus Upgrades:
- Tracker: Extends enemy ping duration
- Superior Mods: Better mod loot quality
MIDA Upgrades:
- Flex Matrix: Boosts movement speed and jump height
- Bonus Equipment: Additional gadget spawns
Arachne Upgrades:
- Hard Strike: Increases melee damage
- Factory Reset: Enhanced healing capabilities
Sekiguchi Upgrades:
- TAC Amp: Increases Tactical ability frequency
- Prime AMP: Increases Prime ability frequency
Leveling and Rewards
- Earn Rep (reputation) by completing quests to level up faction ranks
- Leveling unlocks: Better gear, upgrade options, reward packages
- Each faction has a unique progression path
- Priority Contracts gate further faction introductions
Priority Contracts: Complete Quest List
CyberAcme Quests
| Quest | Objectives | Rewards |
|---|---|---|
| Welcome To Tau Ceti [1/2] | Defeat UESC (x3), Scan FTL array | V75 Scar, Shield |
| Welcome To Tau Ceti [2/2] | Sabotage comms antenna | Leg Implant, Smoke Grenade, BRRT SMG |
| Introducing: NuCaloric (Liaison) | Acquire ID, Download data | Shield, Biomass, 1000 Credits |
| Introducing: Traxus (Liaison) | Hack terminal, Acquire Manifest, Scan container | Bully SMG, Mods |
| Introducing: MIDA (Liaison) | Defeat UESC (x15), Smash glass (x20) | Grenades |
| Introducing: Arachne (Liaison) | Damage Runners (x60), Down Runner | WSTR Shotgun, Mods |
| Introducing: Sekiguchi (Liaison) | Complete specific objectives | Core, Materials |
NuCaloric Quests
| Quest | Objectives | Rewards |
|---|---|---|
| Survival Directive | Download survey/botany data | Shield, Materials, 1500 Credits |
| Data Reconstruction [1/3] | Scan Bioprinters, Download report | Intel, Med Pack, 1500 Credits |
| Data Reconstruction [2/3] | Download logs, Hack Repositories (x3) | Shield, Intel, 1500 Credits |
| Data Reconstruction [3/3] | Hack Repositories (x2), Download protocol, Exfil | Shield, Self-Revive |
Traxus Quests
| Quest | Objectives | Rewards |
|---|---|---|
| Cutthroat Competition | Loot Rod Salvage, Exfil | V22 Volt Thrower, 1500 Credits |
| Equitable Distribution [1/4] | Acquire Data Drive, Deliver to DCON | Bully SMG, 1500 Credits |
| Equitable Distribution [2/4] | Summon Drone, Exfil Supplies/Manifest | Repeater HPR, 1500 Credits |
| Equitable Distribution [3/4] | Scan drones (x3), Deliver Gunmetal (x7) | Magnum MC, 1500 Credits |
| Equitable Distribution [4/4] | Trace Commander, Acquire credentials | Hardline PR, Access, 1500 Credits |
MIDA Quests
| Quest | Objectives | Rewards |
|---|---|---|
| Order/Chaos | Trigger alarms, Acquire credentials, Download data | Enhanced Equipment, 1500 Credits |
| Protect/Destroy [1/5] | Destroy analyzer, Acquire Sample, Deliver | Overrun AR, Light Rounds |
Arachne Quests
| Quest | Objectives | Rewards |
|---|---|---|
| The Fleeting Grave | Defeat downed Runners with finisher (x10) | WSTR Shotgun, MIPS Rounds |
Sekiguchi Quests
| Quest | Objectives | Rewards |
|---|---|---|
| Baseline Calibration | Take fall damage (x40), Tick damage (x20), Overheat (x3) | Core, Materials, 1500 Credits |
TOX Clear Hazard Gas Removal
Preparation
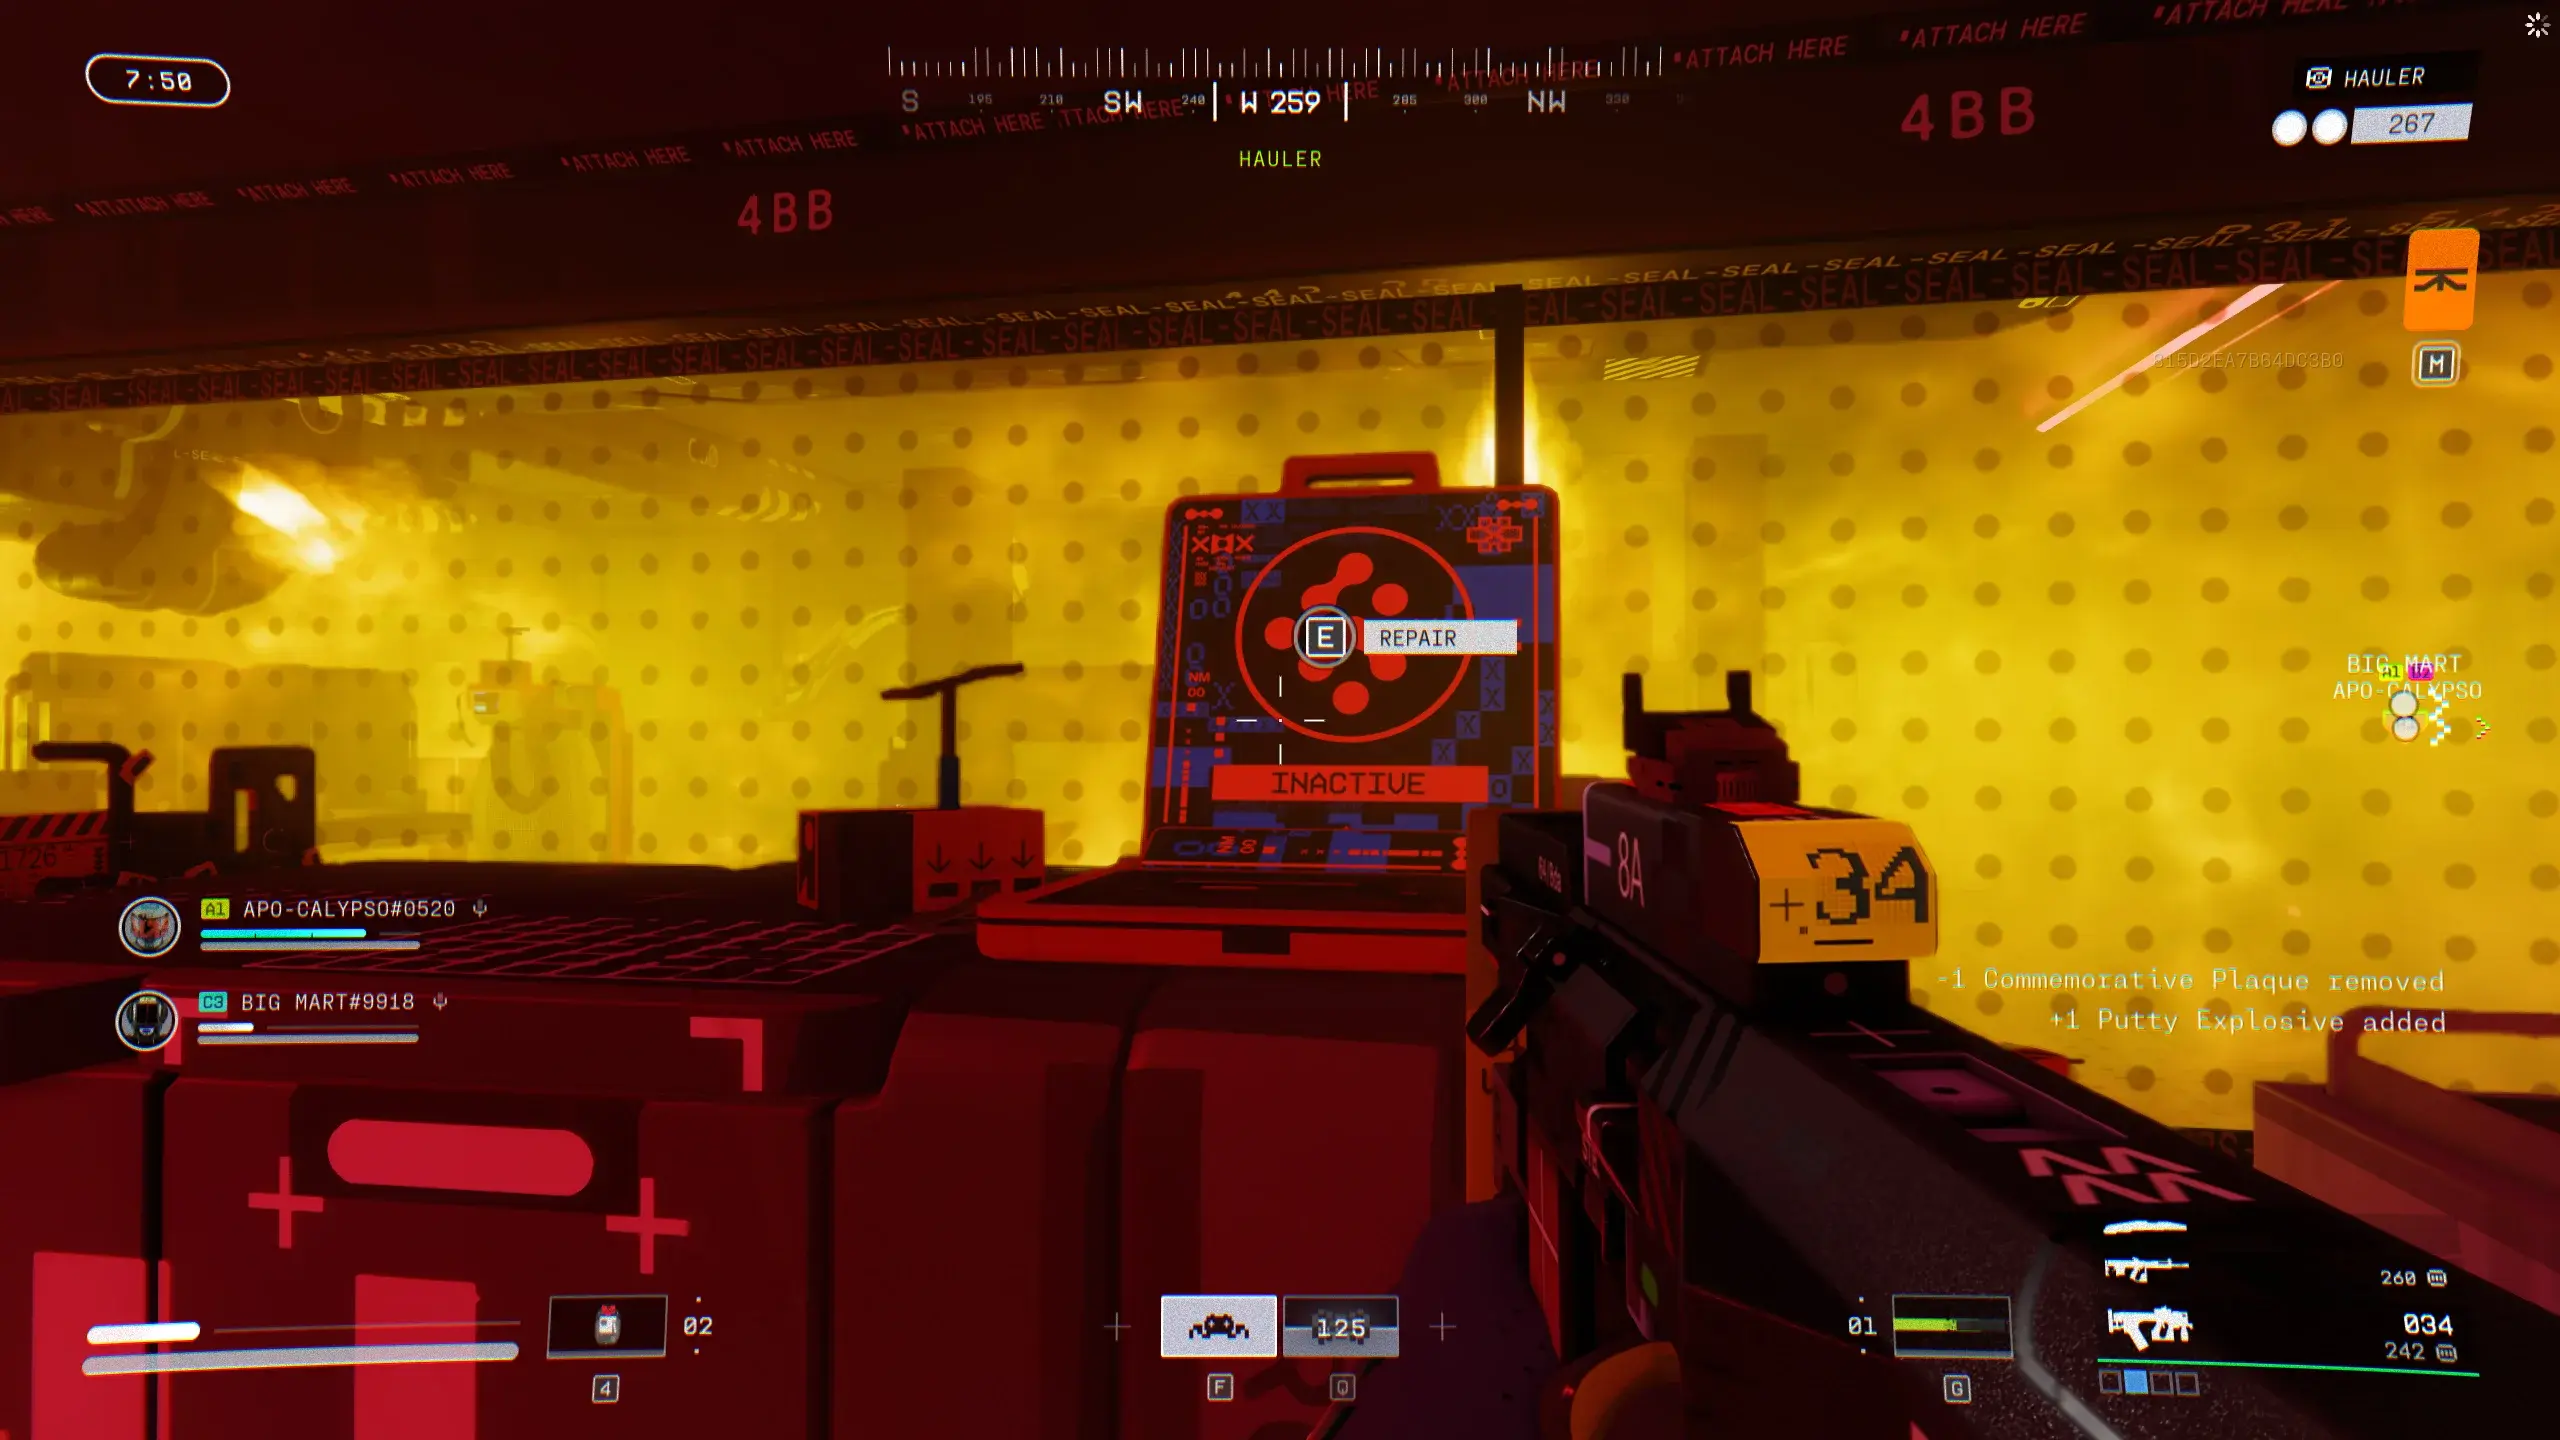
- Required Item: Hazard Override Card
- Acquisition: Found randomly in loot containers
Core Walkthrough
-
Locate Gas Room
- Find rooms filled with yellow toxic gas
- These rooms contain high-value loot
-
Find the Red Laptop
- Look for a red laptop outside the gas room
- Usually located on building exterior or near room entrance
-
Use Hazard Override Card
- Interact with the red laptop
- Insert the Hazard Override Card
- Gas will be temporarily vented (approximately 30 seconds)
-
Quick Loot
- Enter the room quickly before gas refills
- Loot all valuable items
- Evacuate promptly
Important Notes
- Hazard Override Card can be extracted and reused in future runs
- Gas venting time is limited; act quickly
- Gas rooms typically contain rare gear and substantial resources
- Bring Mechanic’s Kits to counter toxin exposure
DCON Usage Guide
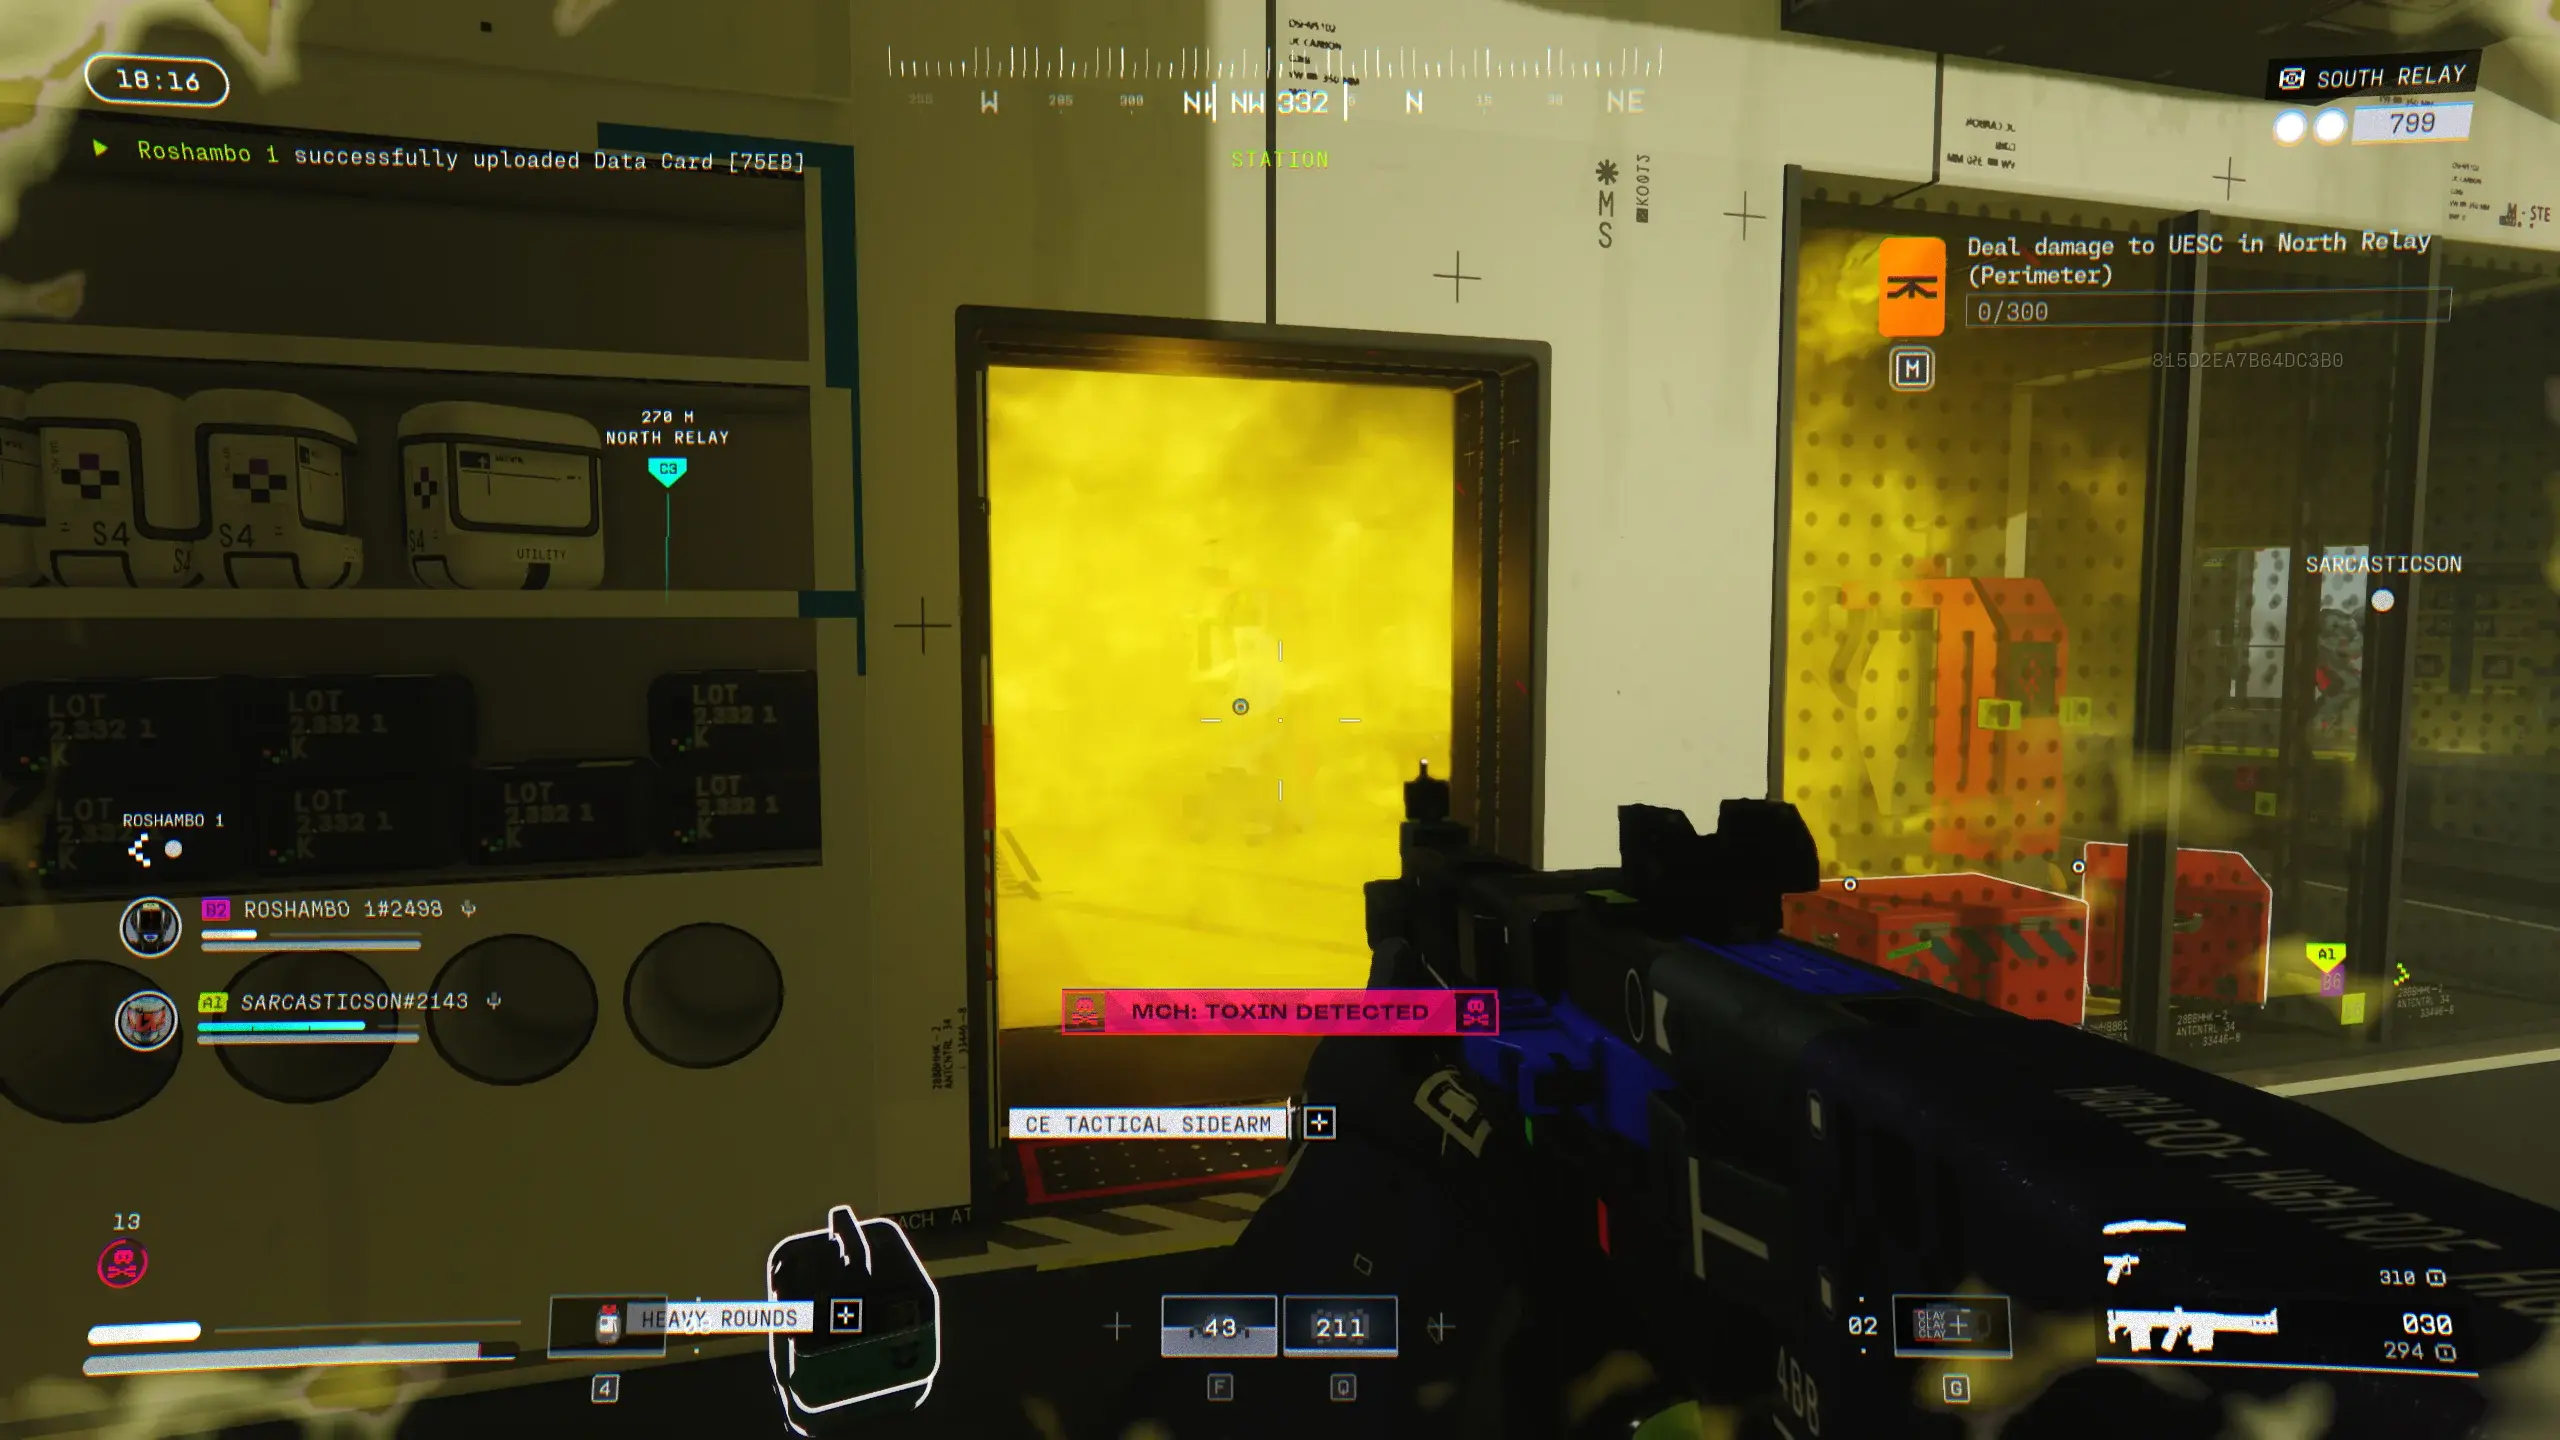
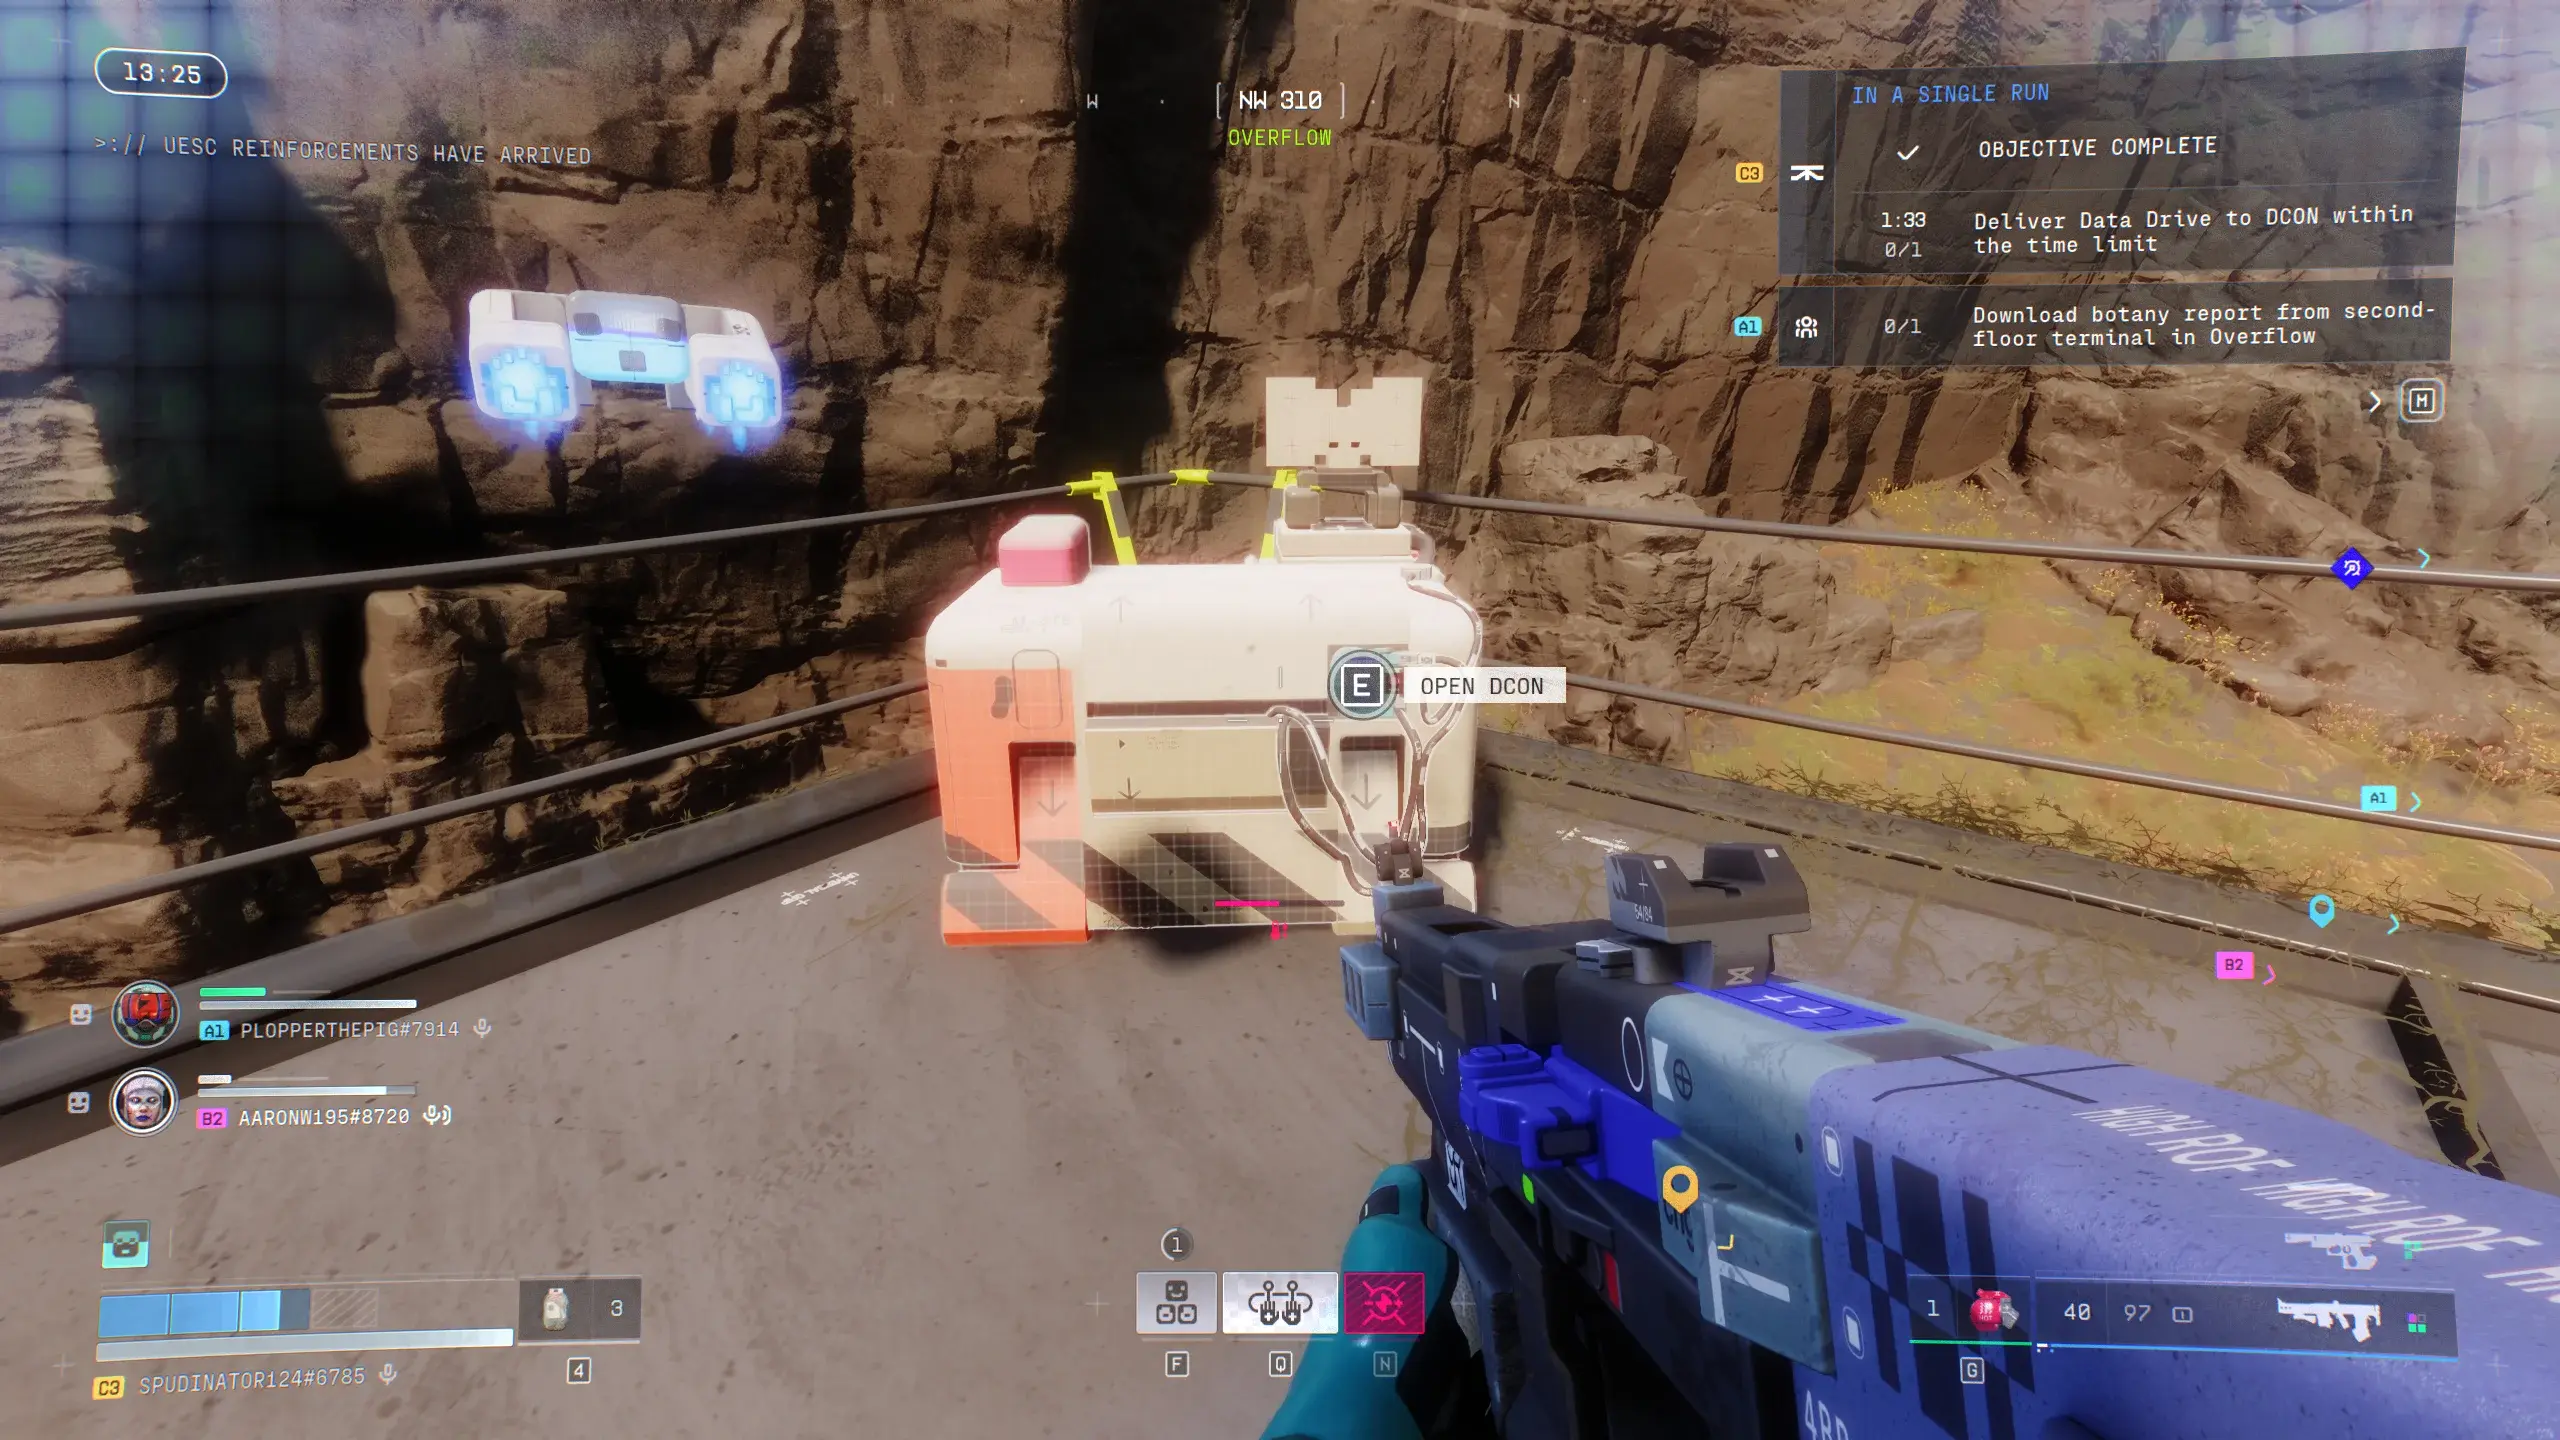 DCON (Data Connection) is a terminal device with an antenna used to submit quest items.
Perimeter Map DCON Locations
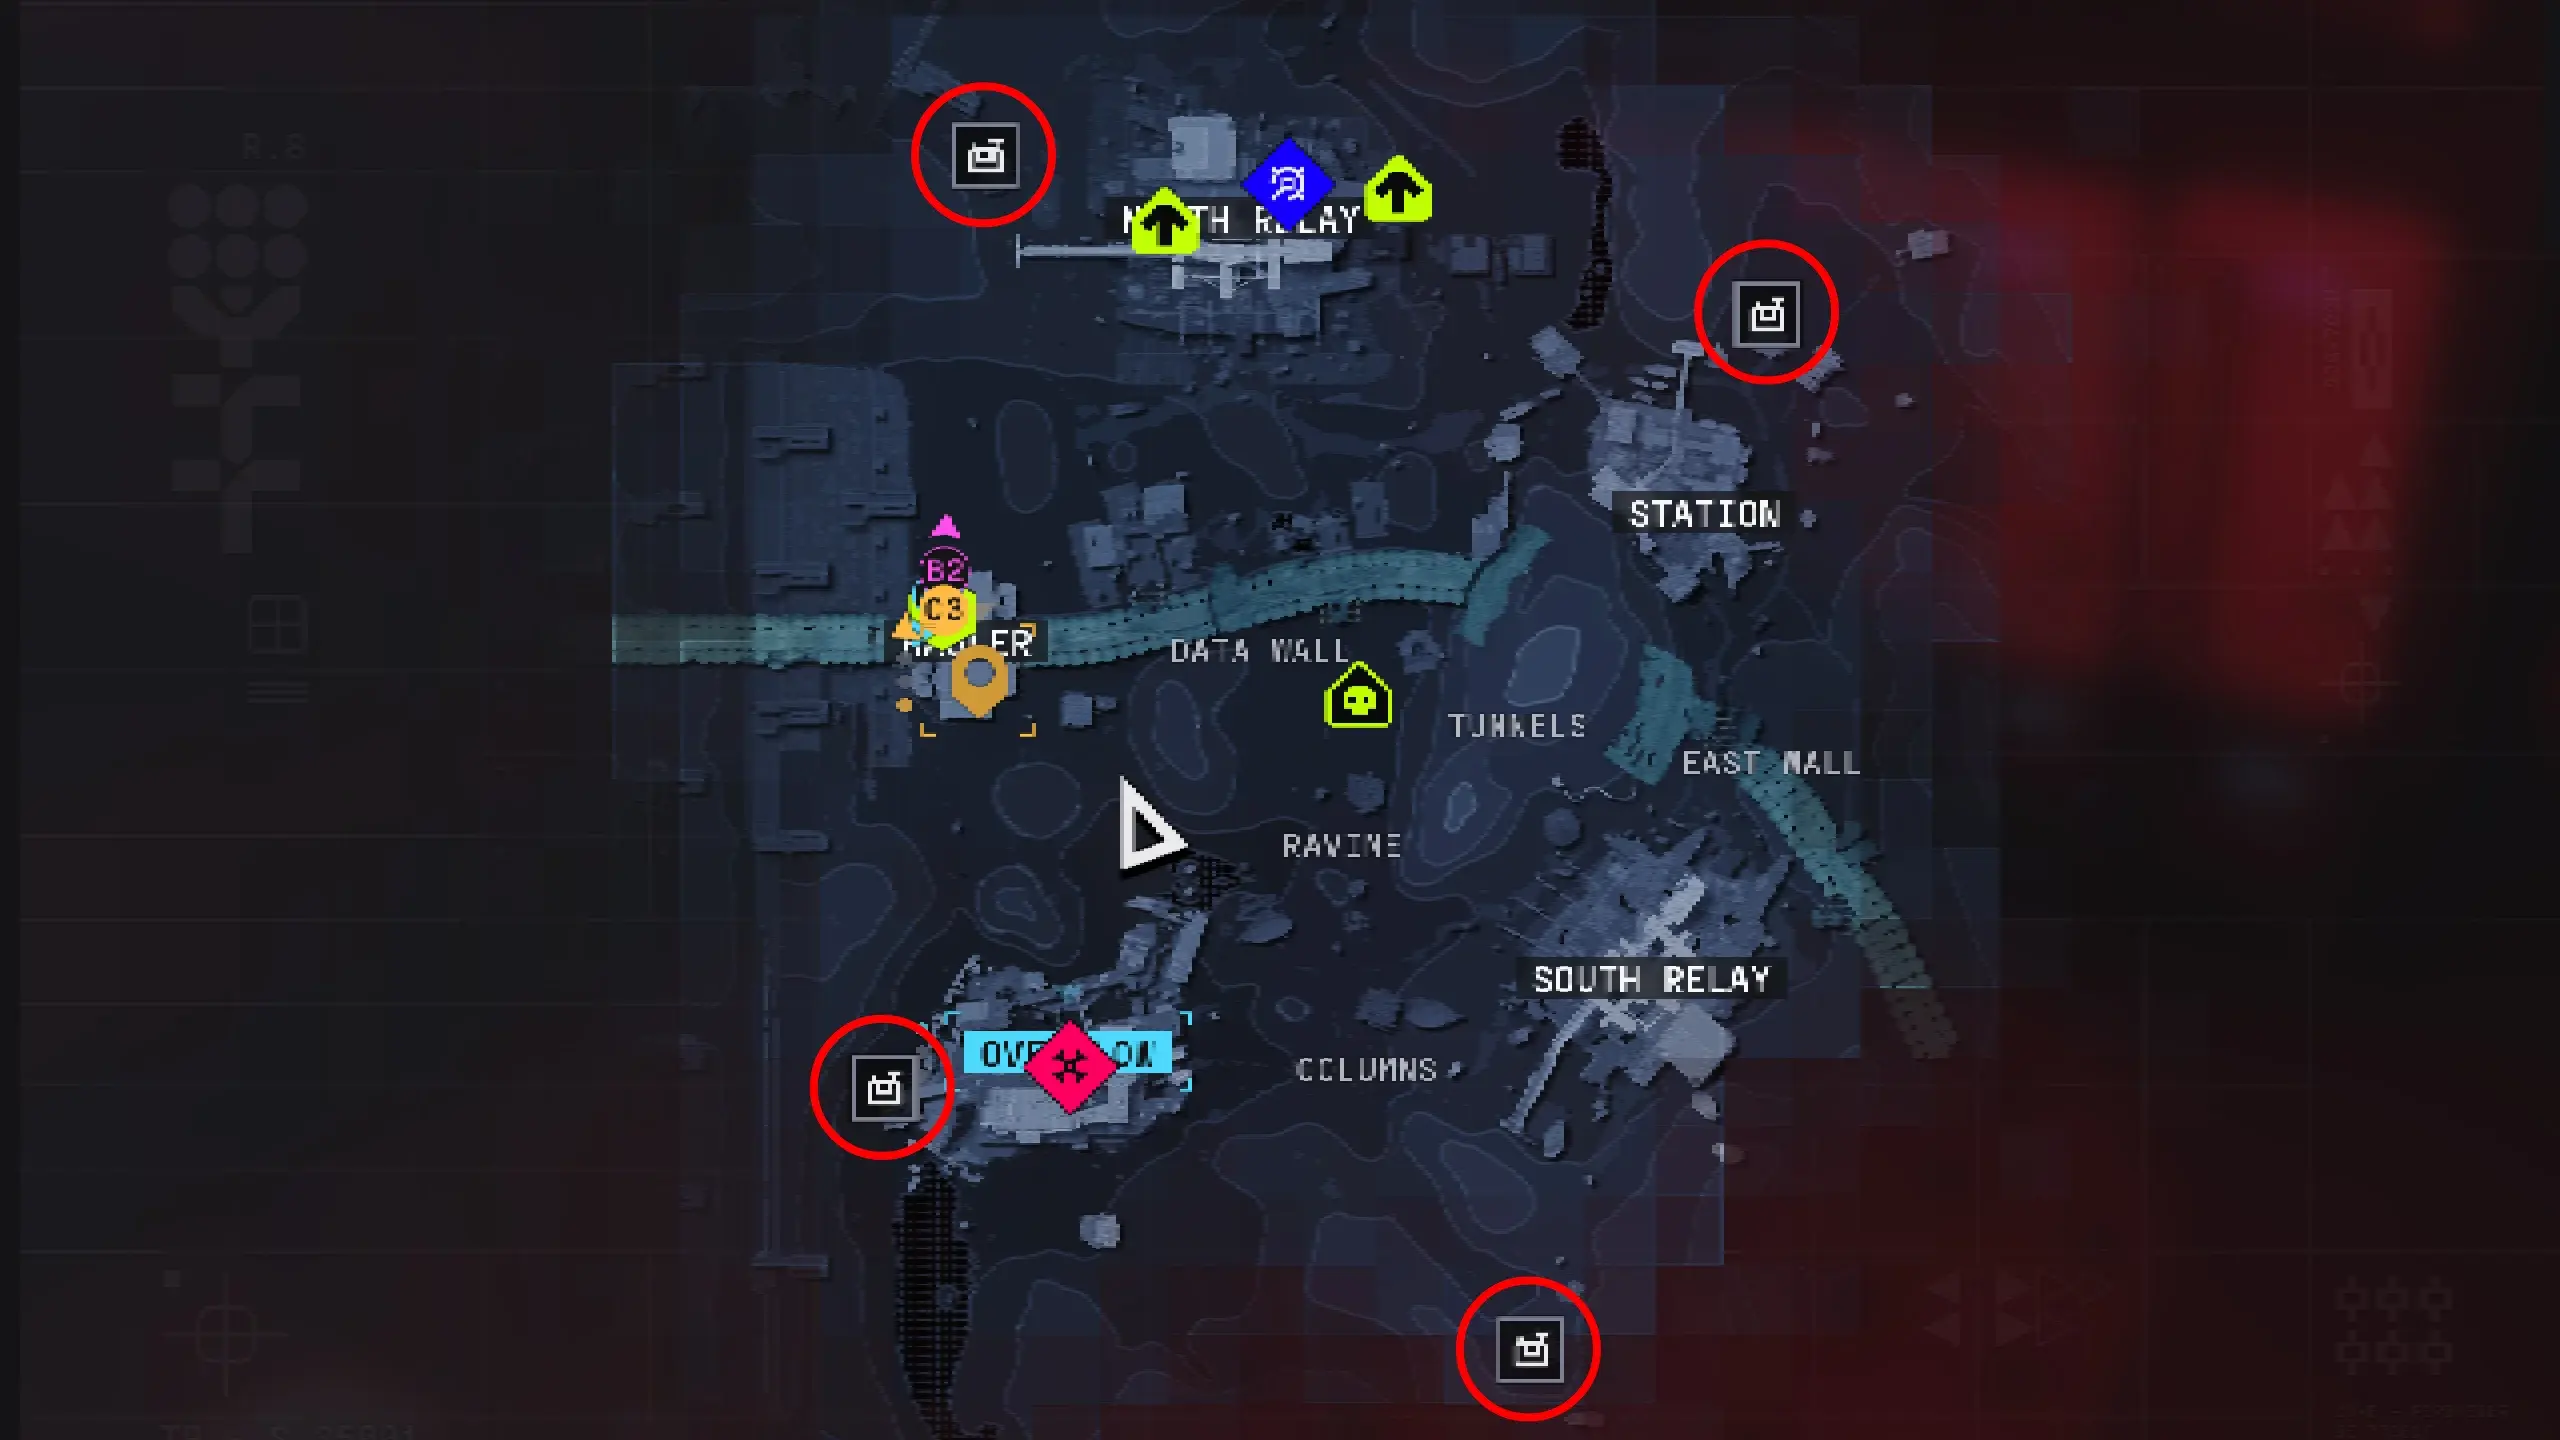
| Location | Description |
|---|---|
| North Relay | On shelter rooftop |
| Station | Inside main building |
| Overflow | Near area center |
| South Relay | At southern relay station |
Dire Marsh Map DCON Locations
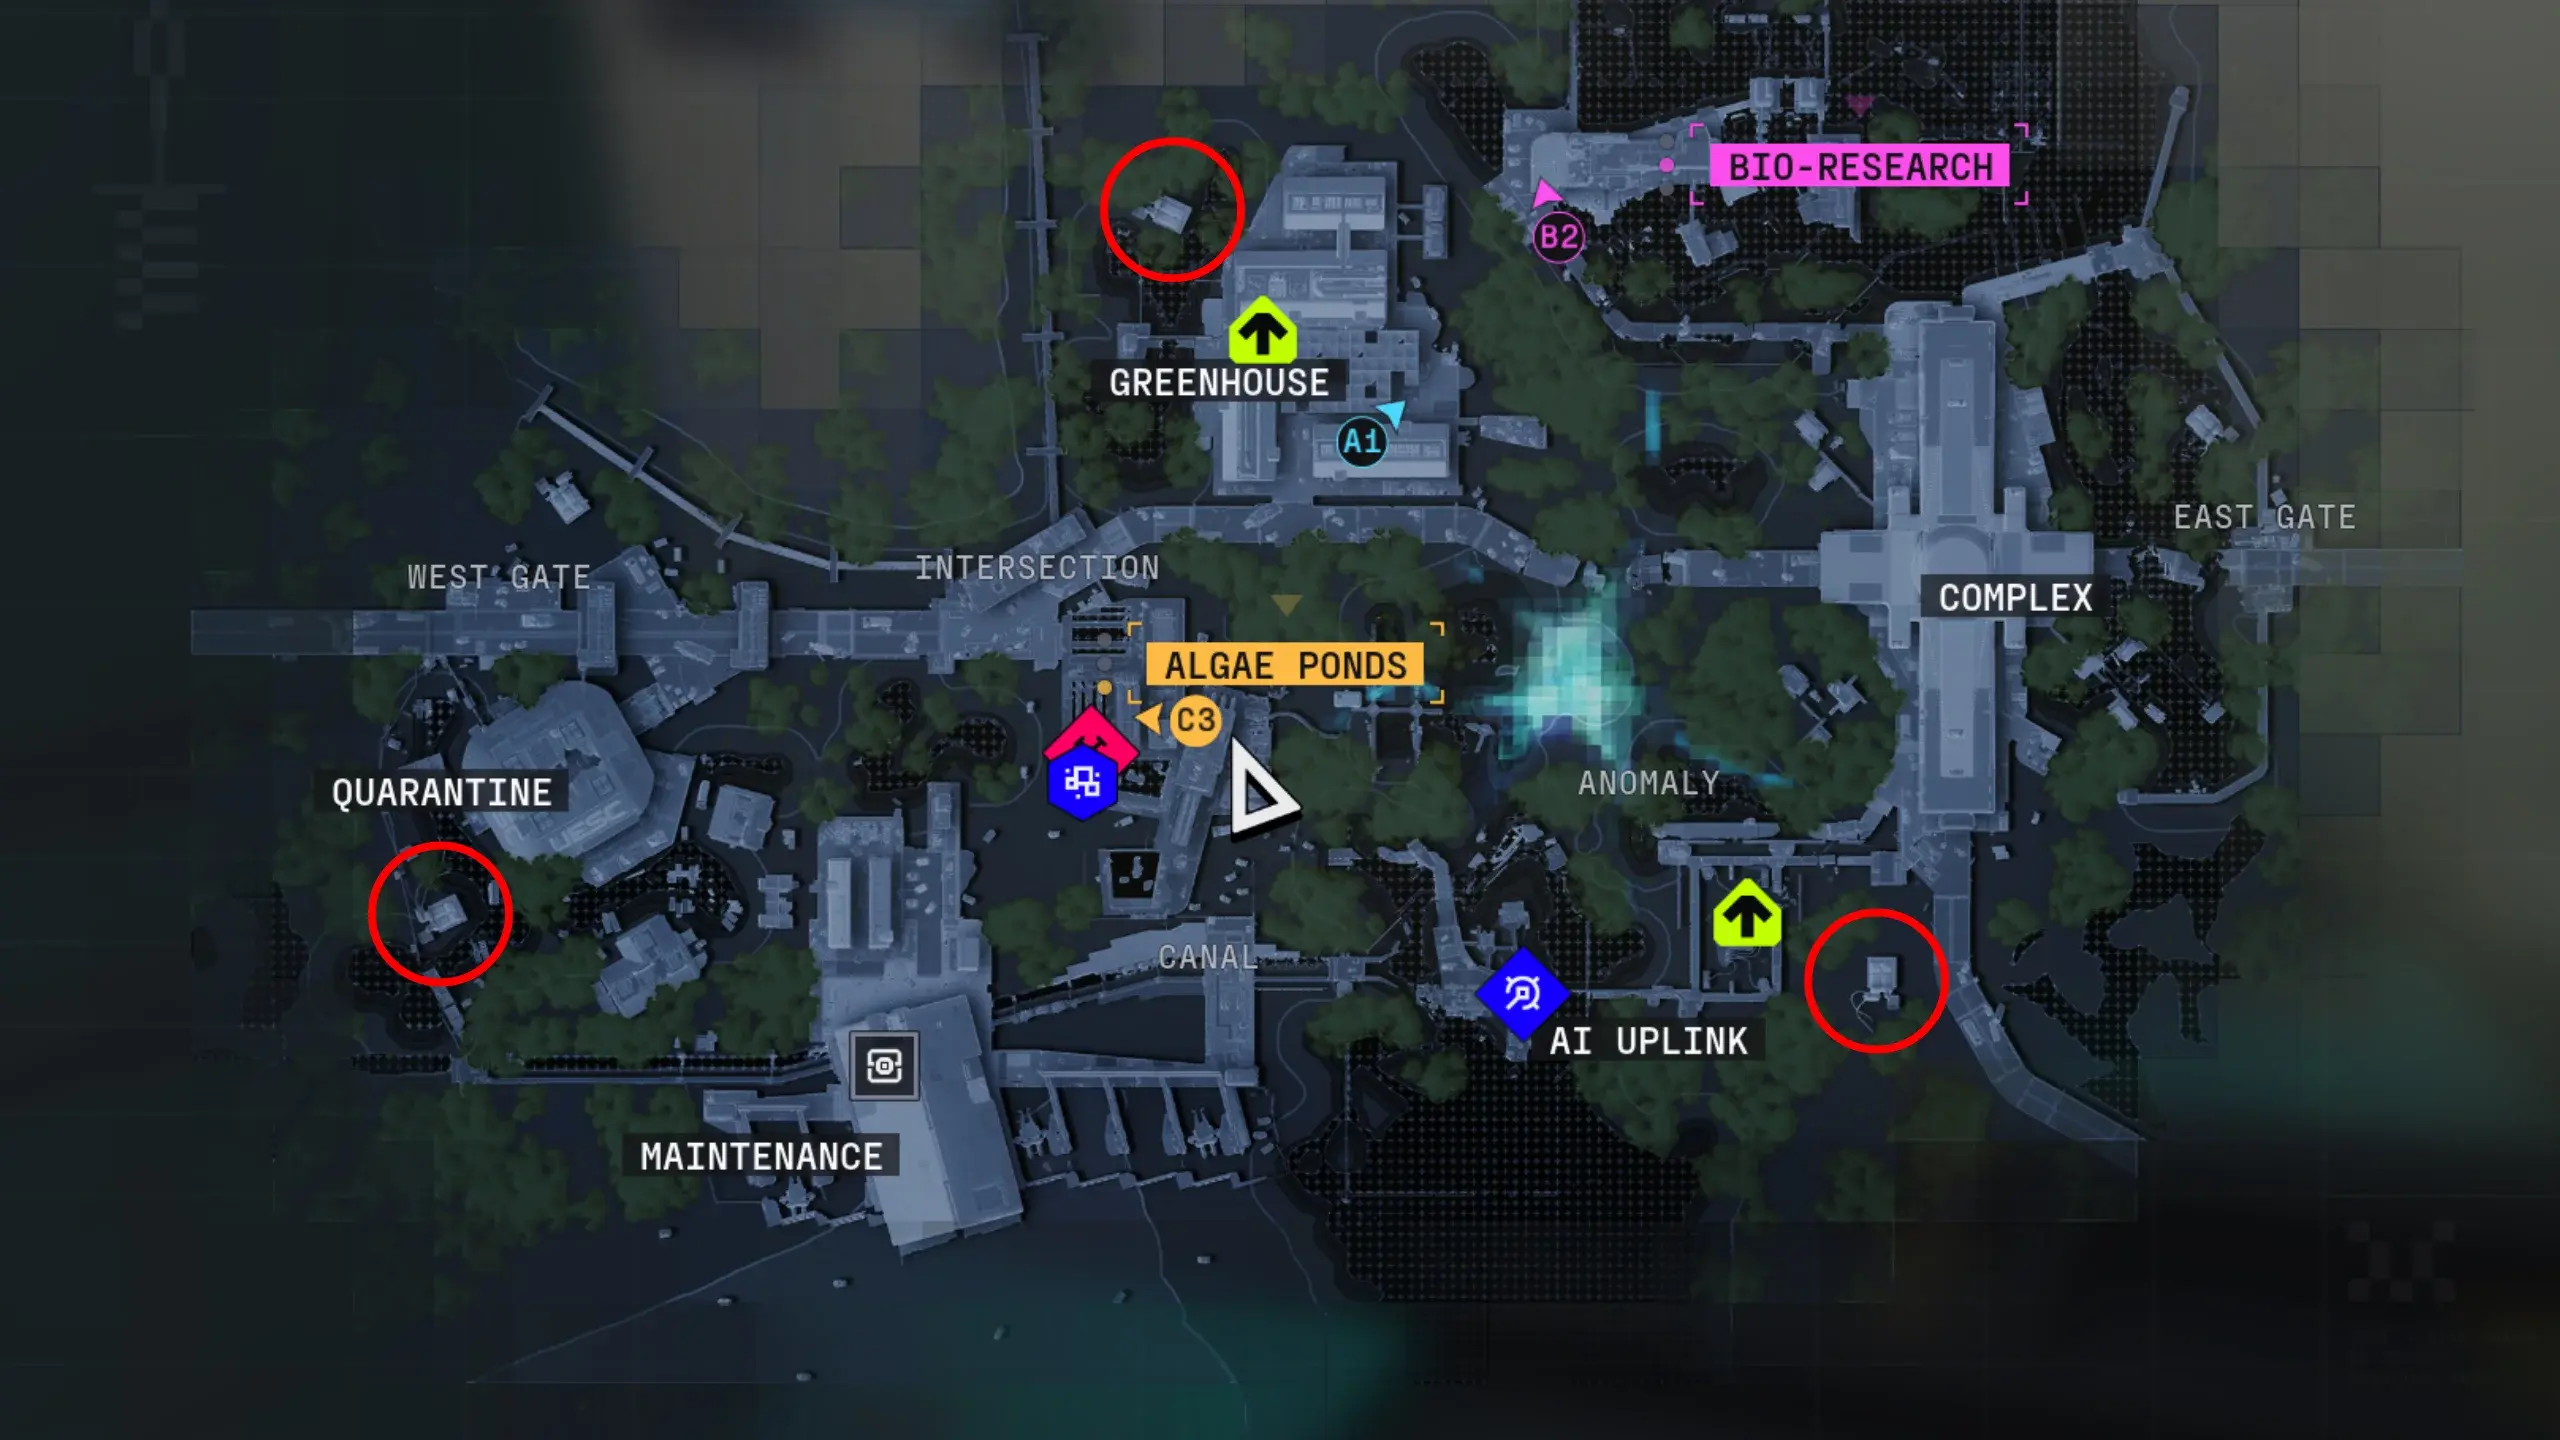
| Location | Description |
|---|---|
| Complex | Inside building complex |
| Greenhouse | Greenhouse area |
| Quarantine | Quarantine zone |
Usage Instructions
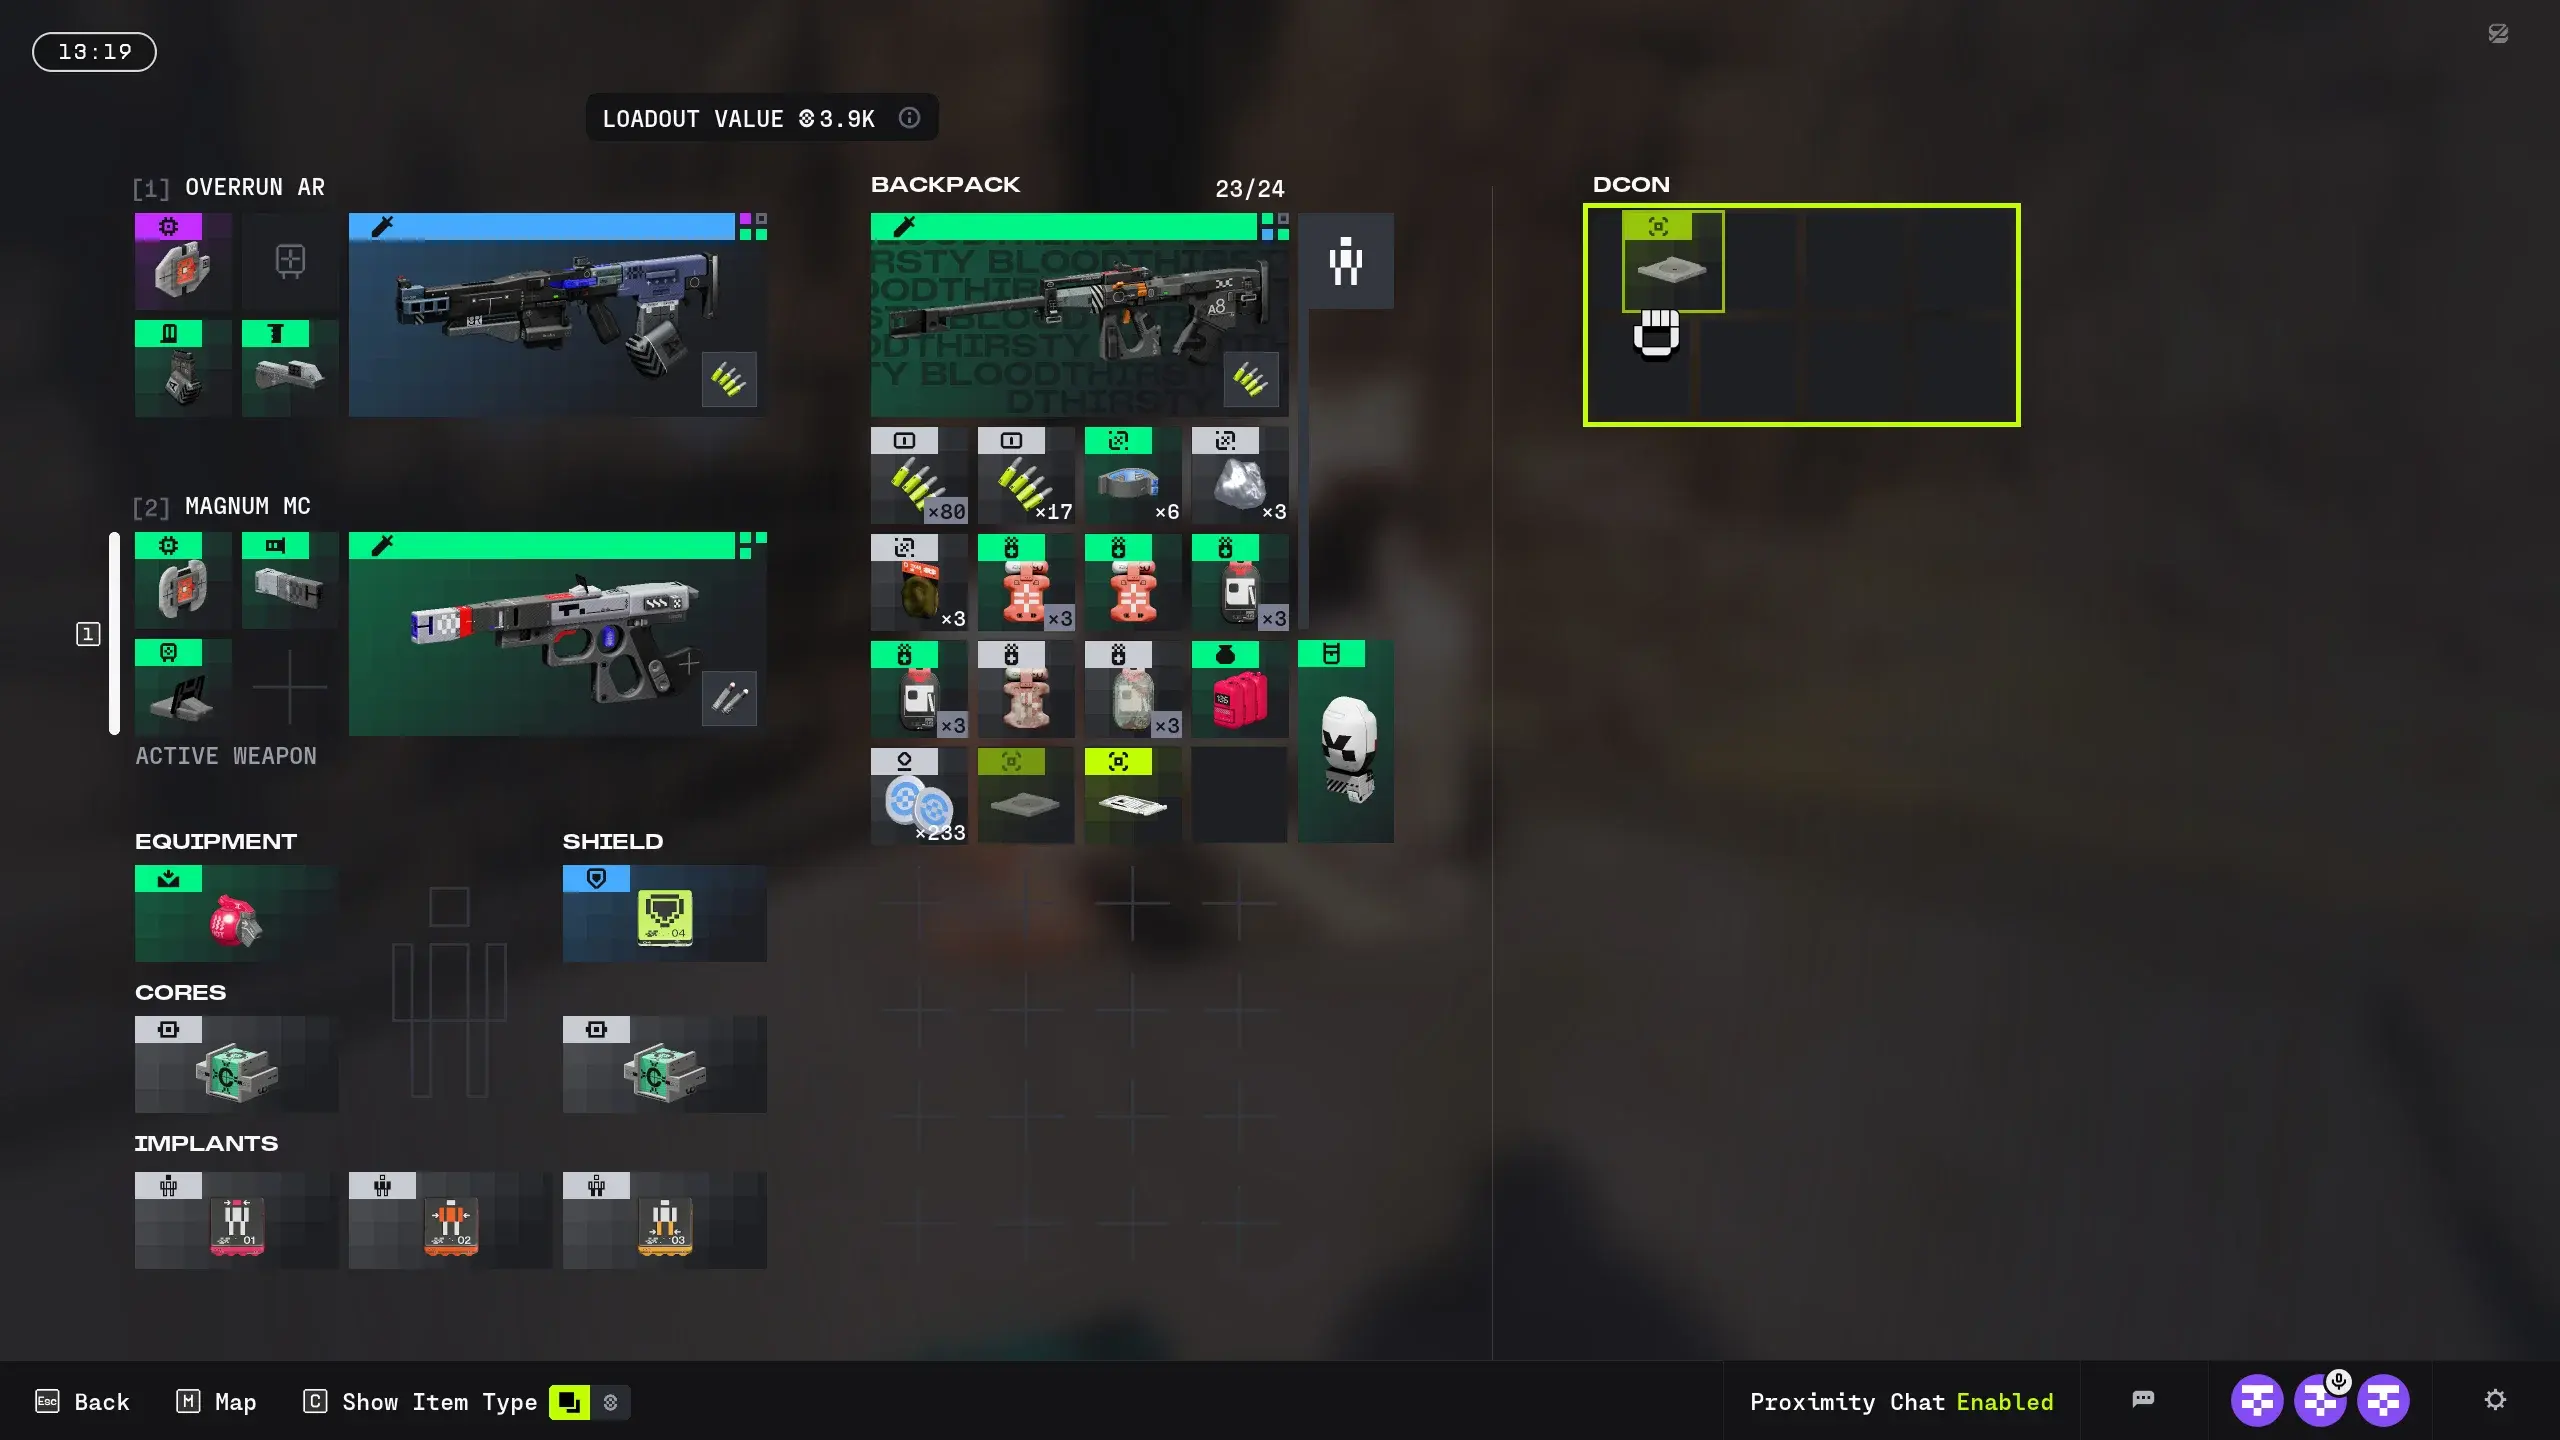
- Approach the DCON terminal
- Interact to open the interface
- Drag quest items from inventory into the DCON
- Items will be transmitted to space, completing the quest
Important Notes
- DCON only accepts quest items; cannot store personal loot
- Ensure all deliverable quest items are submitted before extraction
- Plan routes to pass DCON locations before extracting
Data Reconstruction Quest
Part 1: Bioprinter Data
Map: Perimeter
Steps:
- Scan 2 Sparkleaf samples
- Location: South Relay
- Scan 2 Fungal samples
- Location: Overflow
- Download report
- Location: North Relay terminal
Rewards: Med Pack, Credits
Part 2: Algae Pond Logs
Map: Dire Marsh
Steps:
- Download logs
- Location: Algae Ponds
- Breach 3 depots
- Location: AI Uplink catwalk
Rewards: Shield V1, Credits
Part 3: Data Vault Protocol
Map: Perimeter (complete in single run)
Steps:
- Breach 2 depots
- Locations: North Relay and South Relay
- Download protocol
- Location: Hauler (transport vehicle)
- Extract
Rewards: Shield, Self-Revive
Protect/Destroy Quest
Part 3: Install UV Protocol and Tag Locations
Prerequisites:
- Must complete preceding quest parts
Steps:
-
Acquire UV Protocol
- Navigate to Intersection area
- Locate blue building in southwest
- Shoot 4 electrical boxes to obtain UV Protocol
-
Tag 3 Locations
- Go to Maintenance area
- Tag Location 1: Northeast side of rooftop
- Tag Location 2: Red pillar at north entrance
- Tag Location 3: Mid-height of south entrance pillar
Important Notes:
- All tags must be completed in a single run
- Must be close to designated locations to tag
- Watch for claymores and turrets in the area

Schema Acquisition and Usage
What is Schema
Schema is a weapon blueprint that allows you to obtain specific gear or weapons for free.
Acquisition Methods
-
Rewards Pass
- Earned by leveling up the rewards pass
-
In-Run Acquisition
- Weapon loot crates
- Searchable containers
Usage Instructions
- Schema usage is automatic
- Find Schema and extract with it
- Upon successful extraction, weapon appears automatically in armory
- No manual activation required
Important Notes
- Must successfully extract with Schema to unlock the corresponding weapon
- If you die during the run, the Schema is lost
- Prioritize Schema extraction over other loot
Map Key Locations and Loot Spots
Perimeter Map
Key Points of Interest:
- North Relay
- South Relay
- Station
- Hauler
- Overflow
- Intersection
- Maintenance
Best Loot Locations:
- NuCaloric Research areas
- Tox Clear rooms
- Locked upper floors of buildings
- World boss spawn (high-tier loot)
Extraction Strategy:
- Stick to buildings for cover
- Check map for active extraction beacons
- Avoid open areas during final minutes
Dire Marsh Map
Key Points of Interest:
- West Gate
- East Gate
- Quarantine
- Maintenance
- Greenhouse
- AI Uplink
- Complex
- Algae Ponds
Loot Route Tips:
- Higher-tier loot in Quarantine and Complex
- AI Uplink provides good vantage points
- Multiple DCON locations for quest completion
General Map Tips
- Use map icons to track salvage locations
- Monitor active extraction beacons
- Learn spawn points and common rotation routes
- High-tier loot typically in dangerous areas

Combat and Survival Strategies
Weapon Tier List
S-Tier (Meta):
- WSTR Shotgun
- Repeater HPR
- Bully SMG
- Longshot Sniper
- BR33 Battle Rifle
- Outland Marksman
A-Tier (Reliable):
- M77 Assault Rifle
- V75 Scar AR
- V22 Volt Thrower
Weapon Mods
- Every weapon supports 3-4 Mod slots
- Mods boost stats: damage, accuracy, handling, magazine
- Higher rarity mods provide better bonuses
- Check weapon mods before discarding—one white mod can be better than none
Combat Tips
-
Don’t Underestimate the Knife
- Silent kills
- No ammunition required
- Effective against UESC bots
-
Finish Downed Enemies
- Recharges shields
- Prevents revival
- Secures kills
-
Use Different Weapons for Different Maps
- Close quarters: Shotguns, SMGs
- Open areas: Assault rifles, snipers
-
Enhanced Healing Items
- Pack Enhanced Med Packs when possible
- Faster healing can save your life
Environmental Hazards
- Toxin: Avoid gas clouds; use Mechanic’s Kits
- Claymores: Watch doorways and chokepoints
- Turrets: Disable or avoid; high damage output
Extraction Timing
- Hide away from active extraction beacons
- Other players camp extractions
- Extract early if you have valuable loot
- Know when to walk away from fights
Vault Upgrades and Best Purchases
Vault Expansion
How to Upgrade:
- Access Factions menu
- Select CyberAcme
- Click Upgrades tab
- Purchase “Expansion”
Upgrade Tiers:
- First two levels: +8 rows each
- Subsequent levels: Diminishing returns
- Maximum level 5: Requires 10,000 credits and 50 diodes
Best Upgrade Priority
Early Game:
- Heat Sink (CyberAcme) - Manage stamina better
- Expansion (CyberAcme) - More storage space
- Reinforce (NuCaloric) - Reduce debuff duration
Mid Game: 4. Tracker (Traxus) - Better enemy intel 5. Flex Matrix (MIDA) - Improved mobility 6. Hard Strike (Arachne) - Melee damage boost
Late Game: 7. TAC Amp / Prime AMP (Sekiguchi) - Ability frequency 8. Superior Mods (Traxus) - Better loot quality
Economic Tips
- Collect Datacards and Valuables for Credits
- Target specific resources like Unstable Lead
- Sell excess gear rather than discarding
- Focus on Priority Contracts for faction rewards
Quick Reference Checklist
Before Each Run
- Equipped primary weapon with ammo
- Packed medical consumables
- Activated faction contracts
- Selected appropriate Runner Shell
- Checked map for extraction points
During Combat
- Use cover effectively
- Monitor Heat levels
- Finish downed enemies
- Communicate with team
- Know when to retreat
Before Extraction
- Submitted quest items to DCON
- Secured high-value loot
- Checked for nearby threats
- Planned extraction route
- Noted active extraction beacons

Marathon Database
Looking for a full breakdown of every weapon, runner, core, implant, mod, and item? Check out the Marathon Database — a complete interactive reference with filters and hover details for all in-game content.
About the author

Editor-in-Chief
Founder and Editor-in-Chief of gameguidesbox.com, began surfing the web in the late 19th century. Passionate about movies, coffee, gaming, and life itself. Favorite games include Titanfall 2, Baldur's Gate 3, Metro, PUBG, and CS2.
You may also like
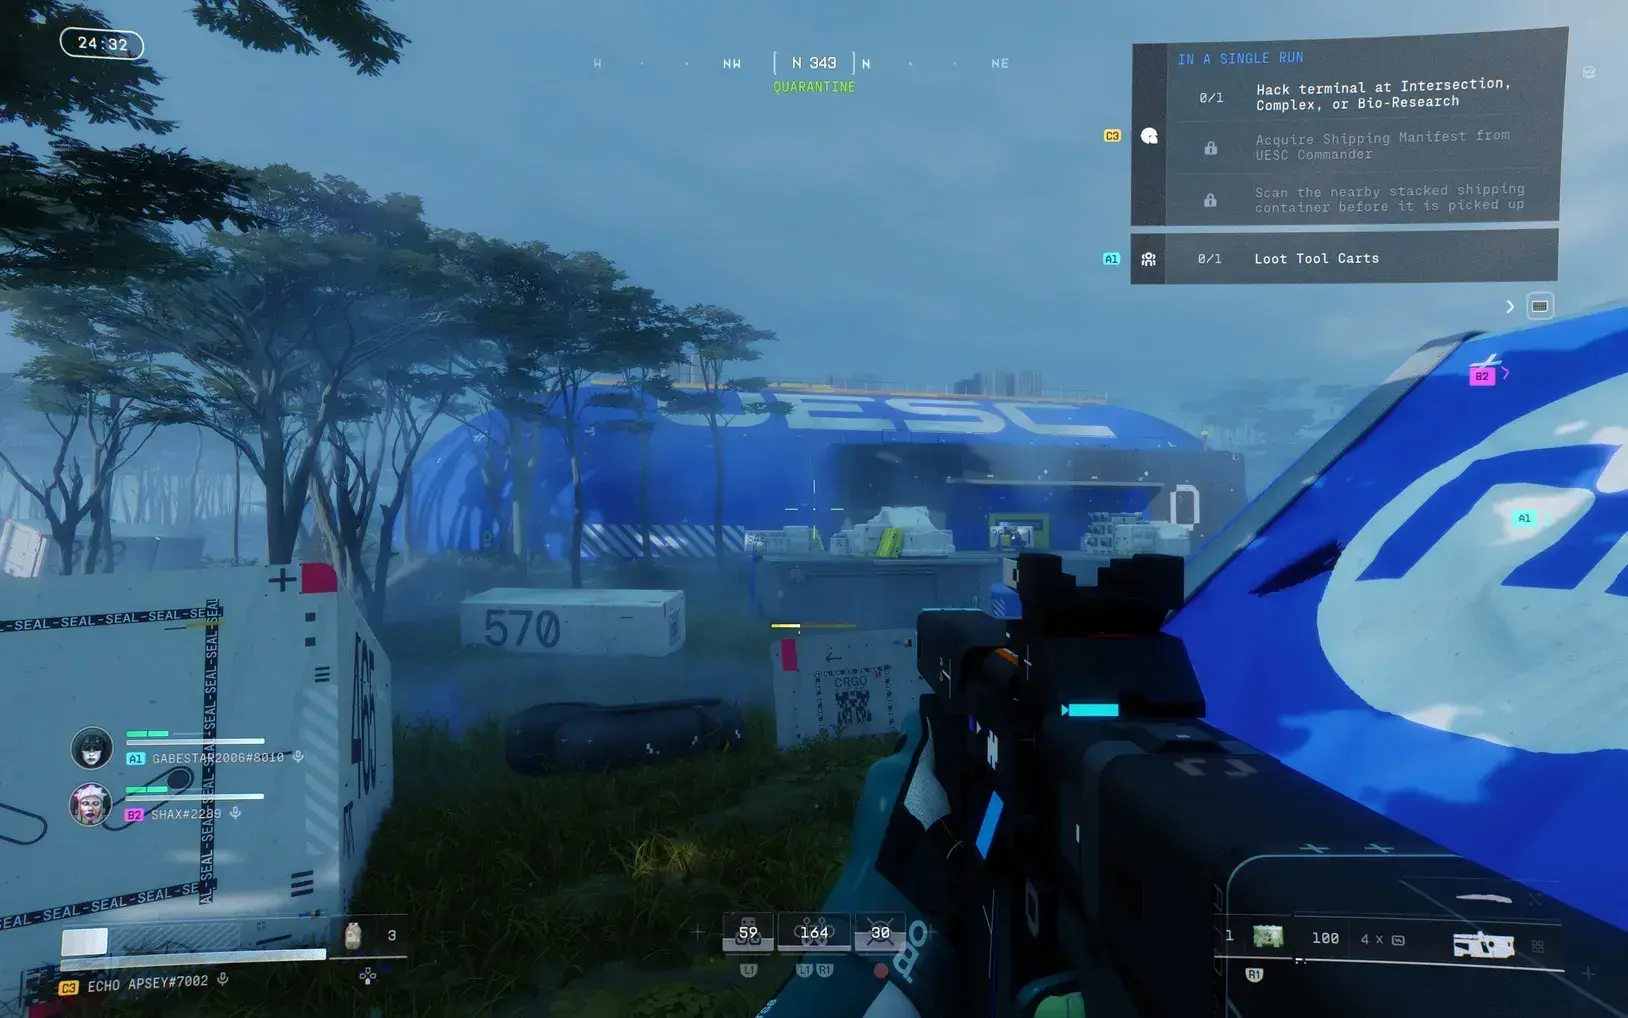
Marathon PvP Not Spawning? Developer Response + How to Find More Fights
Tired of running solo with no PvP action? Bungie finally responded to the 'PvP is infrequent' complaints. Learn which maps actually spawn players and how to force more encounters.
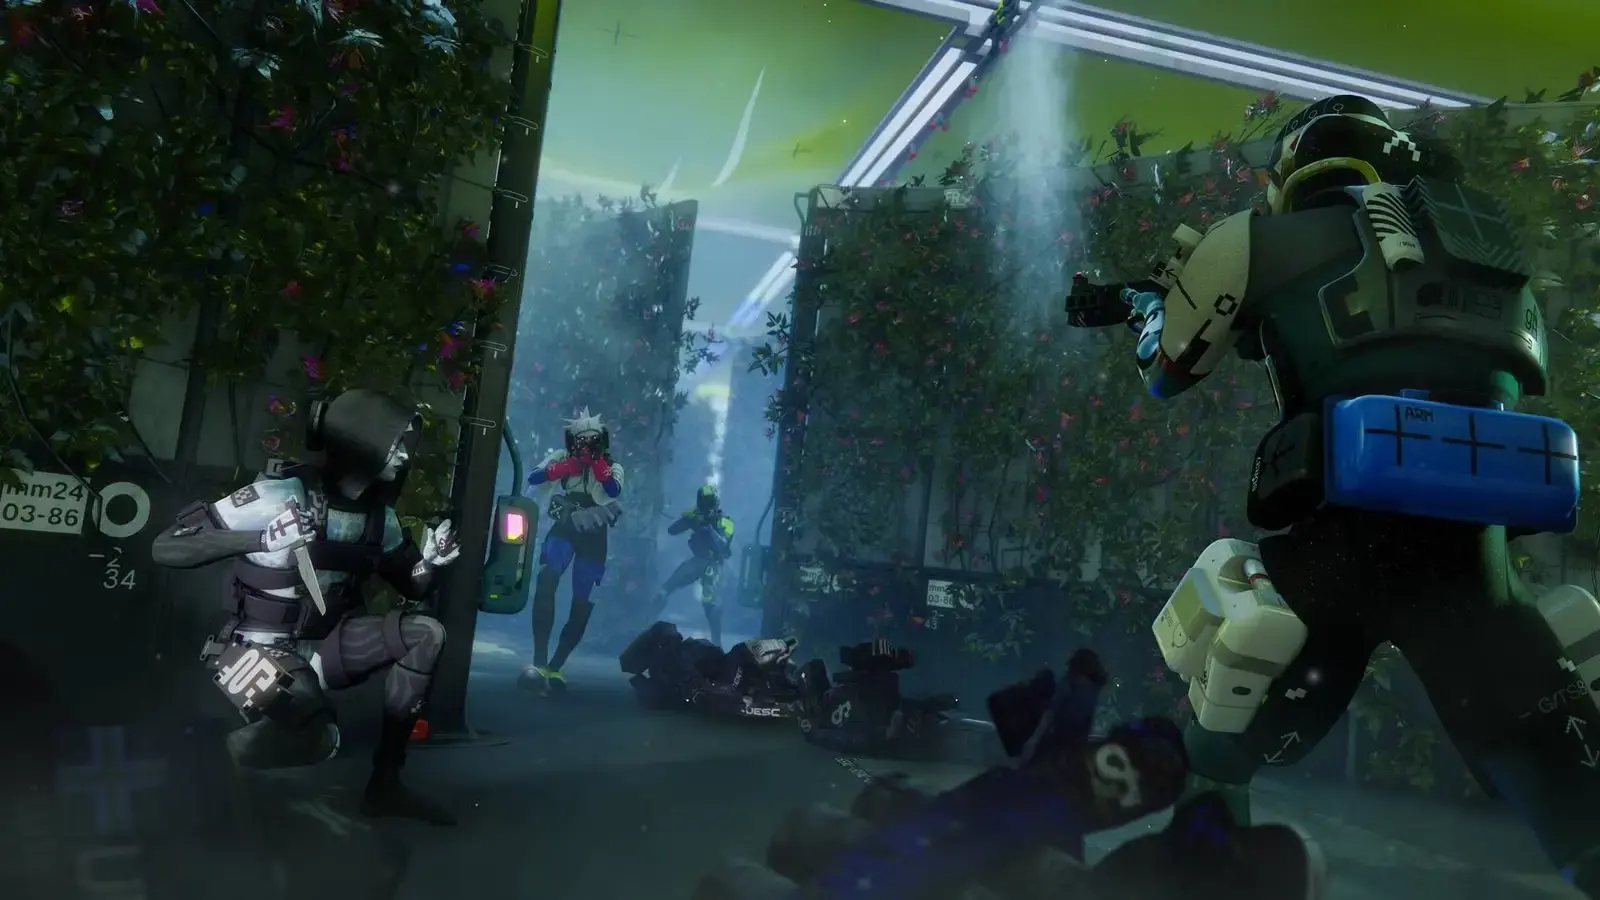
Marathon Ranked Mode Guide: Release Date, Requirements, Rewards & How It Works
Ranked mode drops March 21 in Marathon. We break down unlock requirements, gear ante rules, all 6 rank tiers, weekend-only schedule, and exclusive rewards you can't miss.
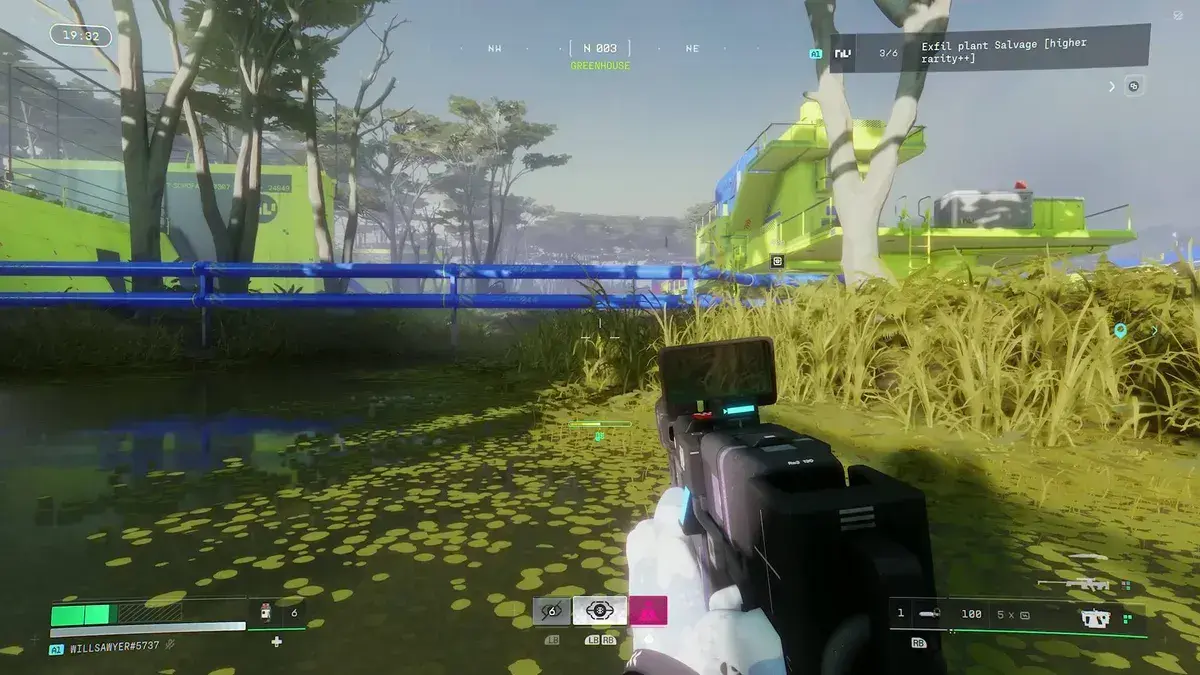
Marathon Beginner Guide: 7 Essential Tips to Avoid 80% of Early Mistakes
New to Marathon? Don't waste runs learning the hard way. These 7 essential tips cover heat management, knife combat, loot priority, and extraction planning that every beginner needs to know.
Comments