Marathon Guide to Pinwheel Base Entry & FTL Array Scanning
All three methods to enter Pinwheel Base in Marathon, keycard locations and color requirements, plus a complete walkthrough for the FTL Array scanning contract at UESC Radio Tower.
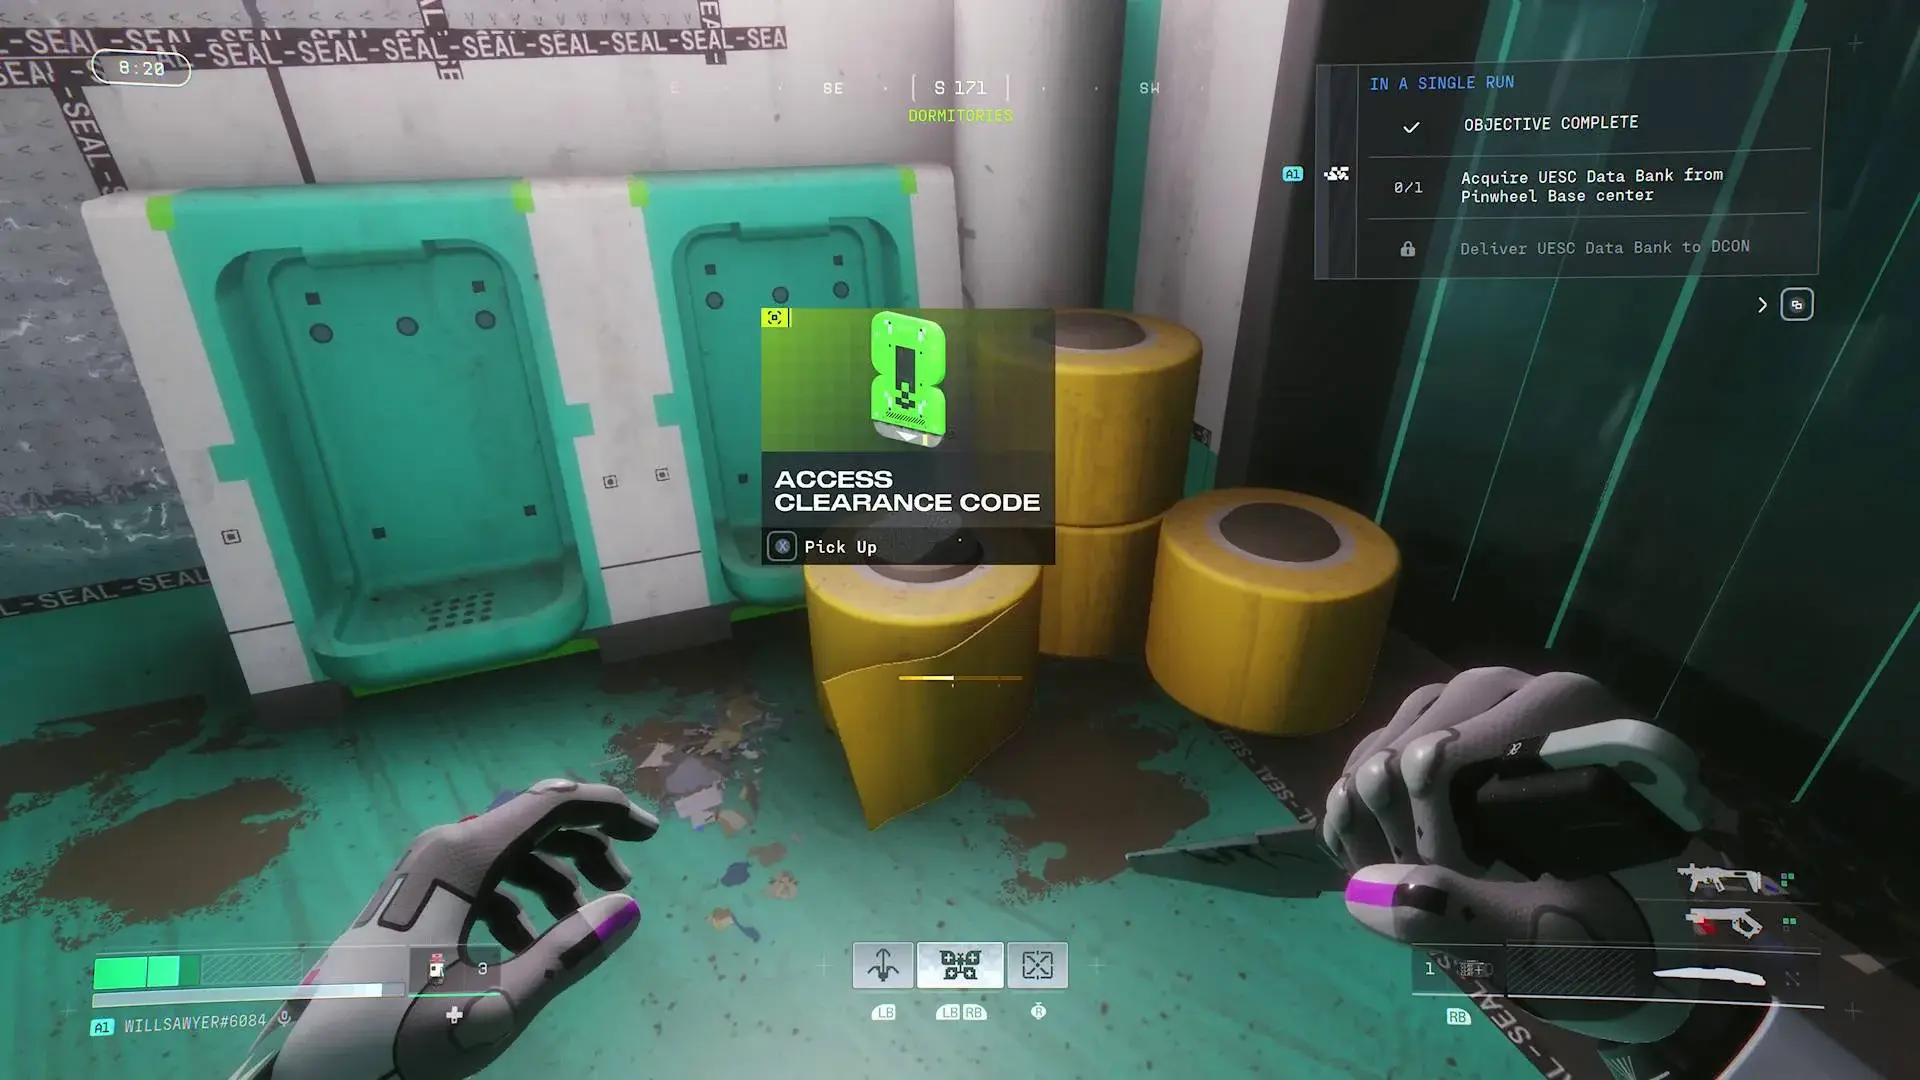
This comprehensive guide covers two critical Marathon objectives: infiltrating the heavily fortified Pinwheel Base on Outpost map and completing the FTL Array scanning contract at UESC Radio Tower. Whether you’re hunting for high-tier loot or progressing through early contracts, this walkthrough has you covered.
Contents
- Preparation for Pinwheel Base Infiltration
- Three Routes Into Pinwheel Base
- High-Risk Mechanics and Failure Triggers
- FTL Array Scanning at UESC Radio Tower
- Rewards, Optional Loot, and Hidden Unlocks
Preparation for Pinwheel Base Infiltration
Before attempting to breach Pinwheel Base, ensure you’re properly equipped:
Required Level & Gear
- Recommended Level: 12+
- Map: Outpost
- Essential Items:
- Healing items (multiple)
- Ample ammunition
- Keycards (various colors)
- Conveyance Request (optional, rare)
Keycard Types & Spawn Locations
| Keycard Color | Location Type | Spawn Details |
|---|---|---|
| Green | Interior rooms | Visible on desks and tables |
| Yellow | Locked containers | Inside white boxes requiring interaction |
| Red | Rooftops | At terminal stations on building roofs |
Prerequisites
- Activate desired contract before starting run
- Scout keycard spawn locations early in run
- Prioritize looting any keycards found during exploration
Three Routes Into Pinwheel Base
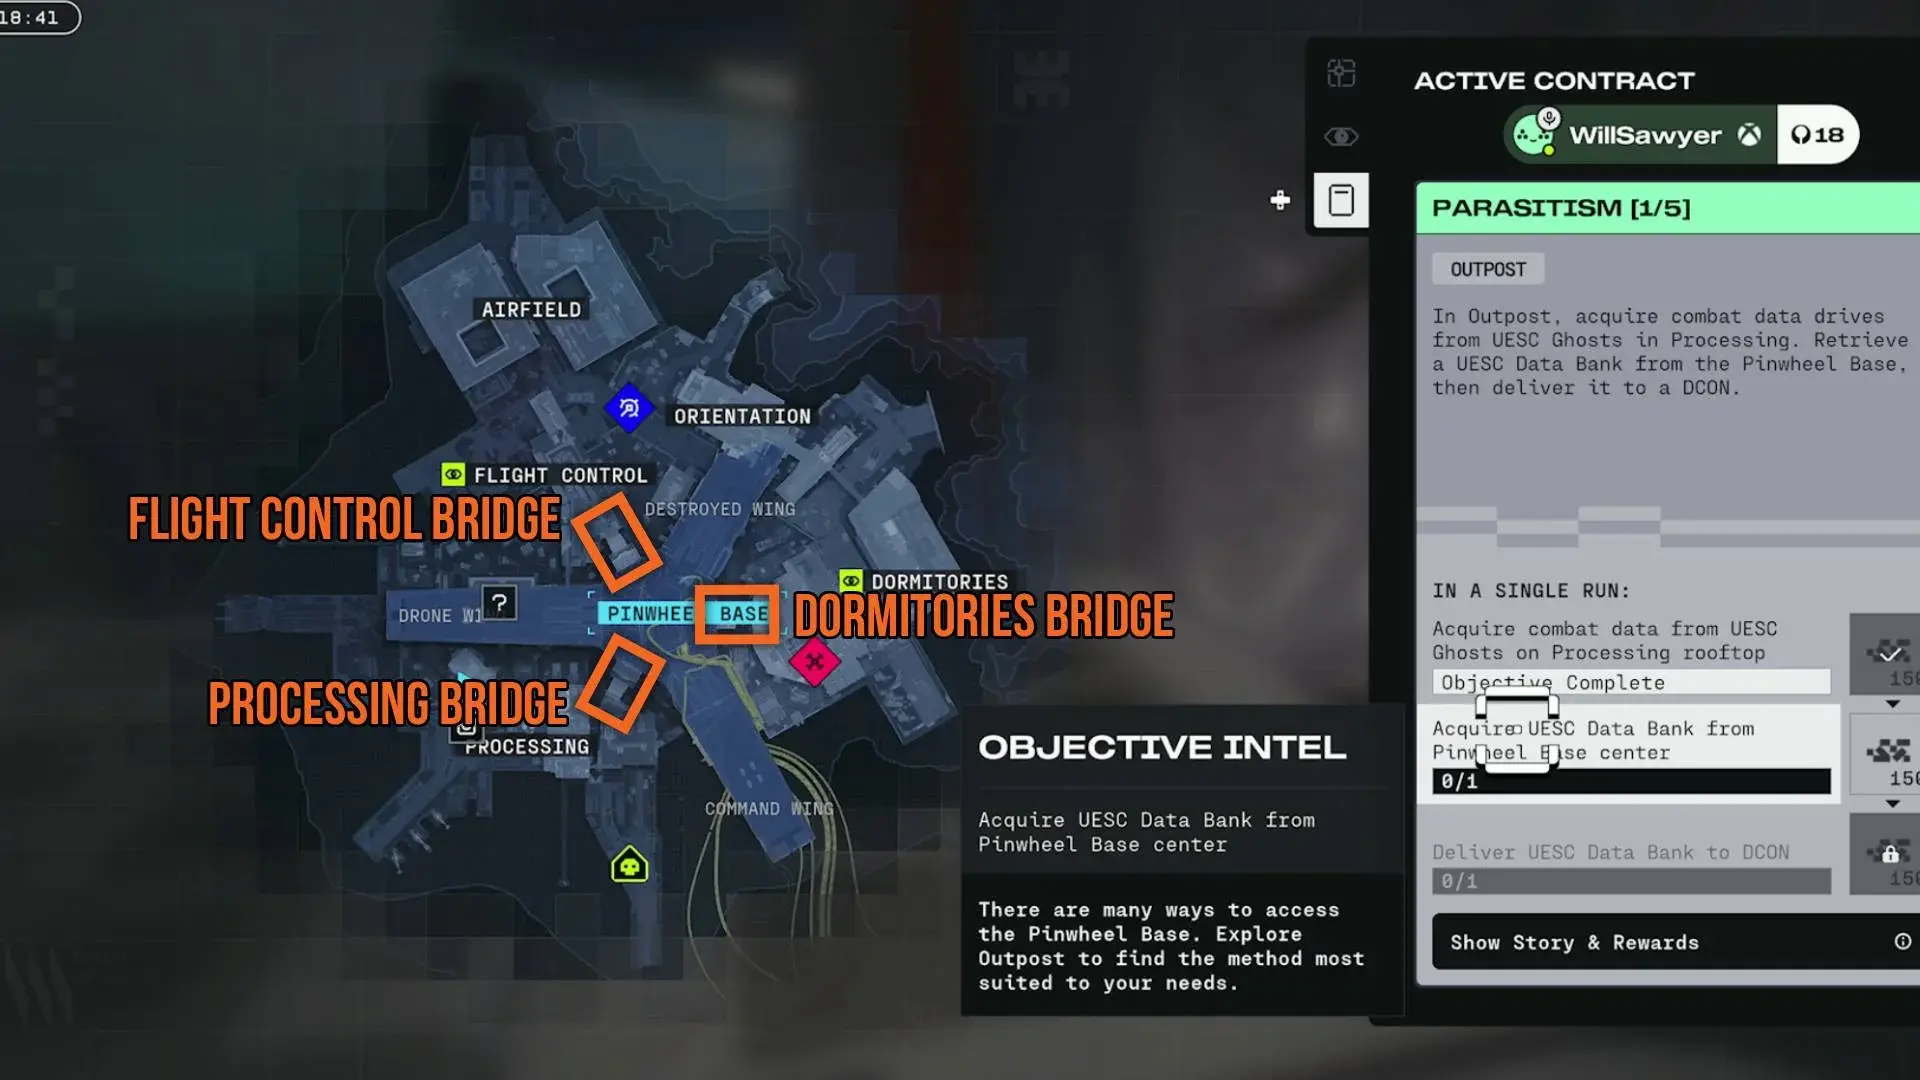
Method 1: Keycard Access via Flight Control, Dormitories, or Processing
Difficulty: Medium | Reliability: High | Combat Intensity: Heavy
Step 1: Locate Sealed Bridge
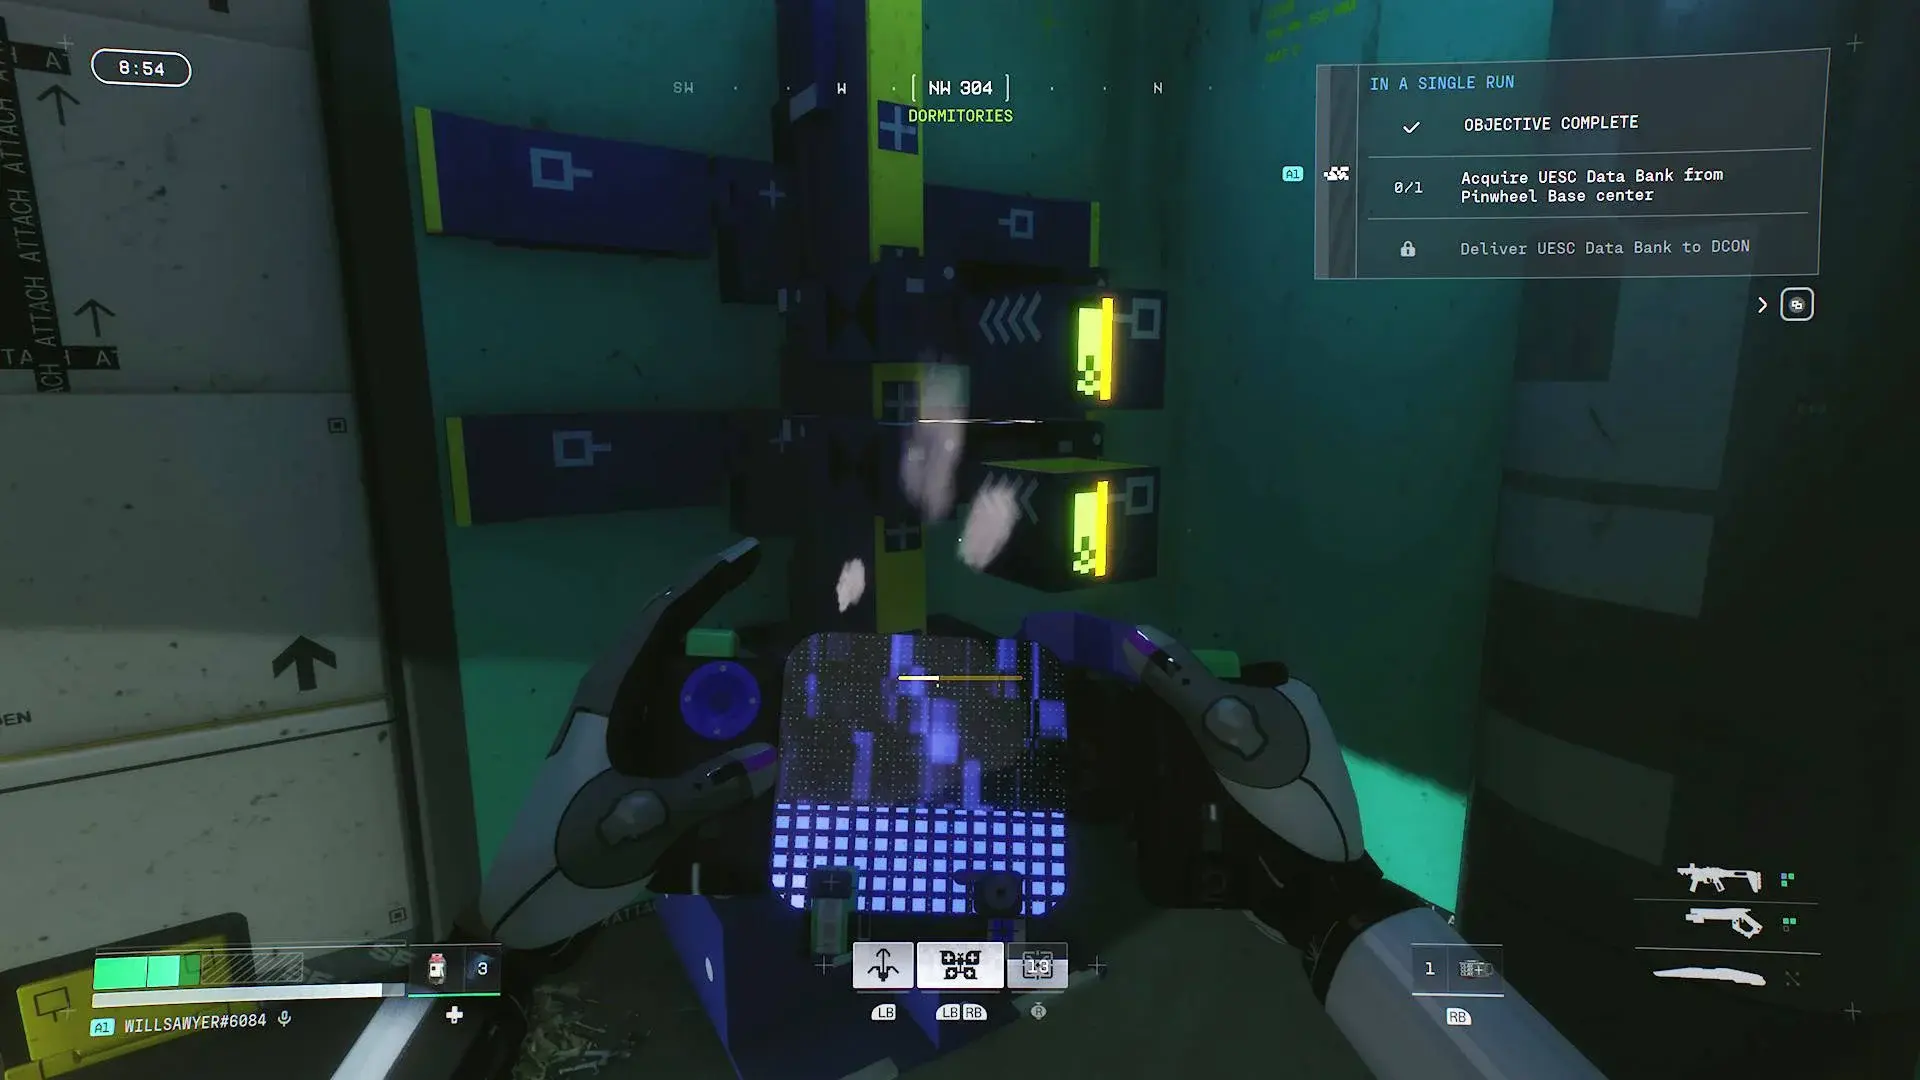
Location: Flight Control, Dormitories, or Processing areas Action: Head to any of these three zones and find the sealed bridge leading toward Pinwheel Base Outcome: You’ll encounter a shutter with a blue locking device displaying required keycards
Step 2: Gather Required Keycards
Location: Various buildings across Outpost Action: Collect the exact number and colors of keycards shown on the terminal display Outcome: Access to bridge shutter unlock mechanism
Pro Tip: The required combination varies per run. Common requirements include 2 yellow + 1 green, 3 yellow, or just 2 green cards. Loot everything early to maximize options.
Step 3: Unlock Bridge Shutter
Location: Sealed bridge entrance Action: Submit required keycards at the blue locking device Outcome: Shutter opens, granting bridge access
Step 4: Hack Terminal at Laser Barrier
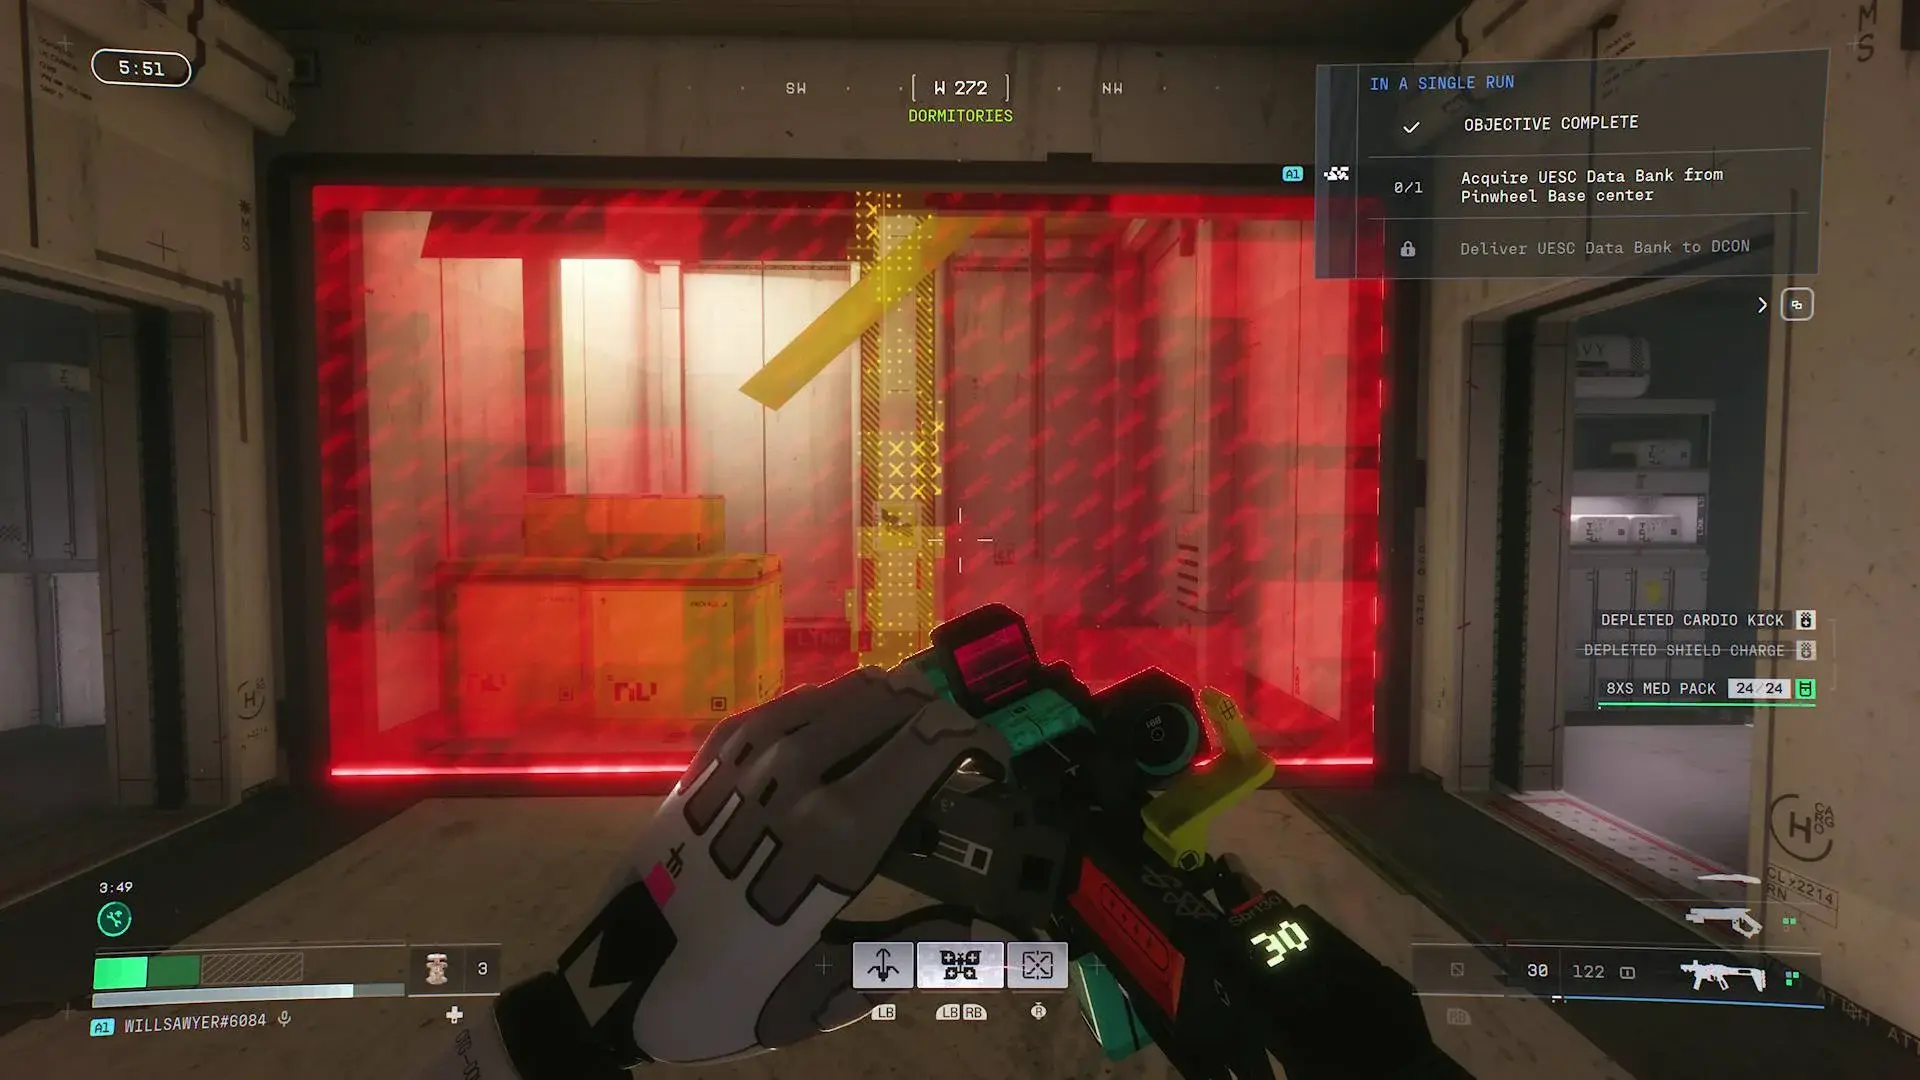
Location: End of bridge near lift shaft Action: Interact with blue UESC terminal beside the red laser barrier Outcome: Initiates lengthy hacking process that triggers UESC bot assault
Step 5: Survive UESC Bot Onslaught
Location: Bridge area Action: Defend position against waves of UESC bots while hack completes Outcome: Barrier drops after successful hack completion
Critical: This area offers minimal cover. Stock up on ammo and healing before initiating hack. Solo players will find this extremely challenging without another team having already cleared the area.
Step 6: Access Lift or Ladders
Location: Bridge end Action: Call lift down or use side vent ladders for stealthier approach Outcome: Access to Pinwheel Base center (Dormitories route requires scaffolding climb)
Method 2: Conveyance Request at Drone Wing
Difficulty: Low | Reliability: Very Low (item dependent) | Combat Intensity: Medium
Step 1: Acquire Conveyance Request
Location: Random loot across Outpost Action: Loot Priority Items throughout your run Outcome: Rare Conveyance Request item (completely random drop)
Step 2: Navigate to Drone Wing Control Room
Location: Small white control room under Drone Wing arm Map Position: Northwest of Processing, south of ‘E’ in ‘DRONE WING’ label Action: Reach the control room with orange terminal Outcome: Access to drone lift control
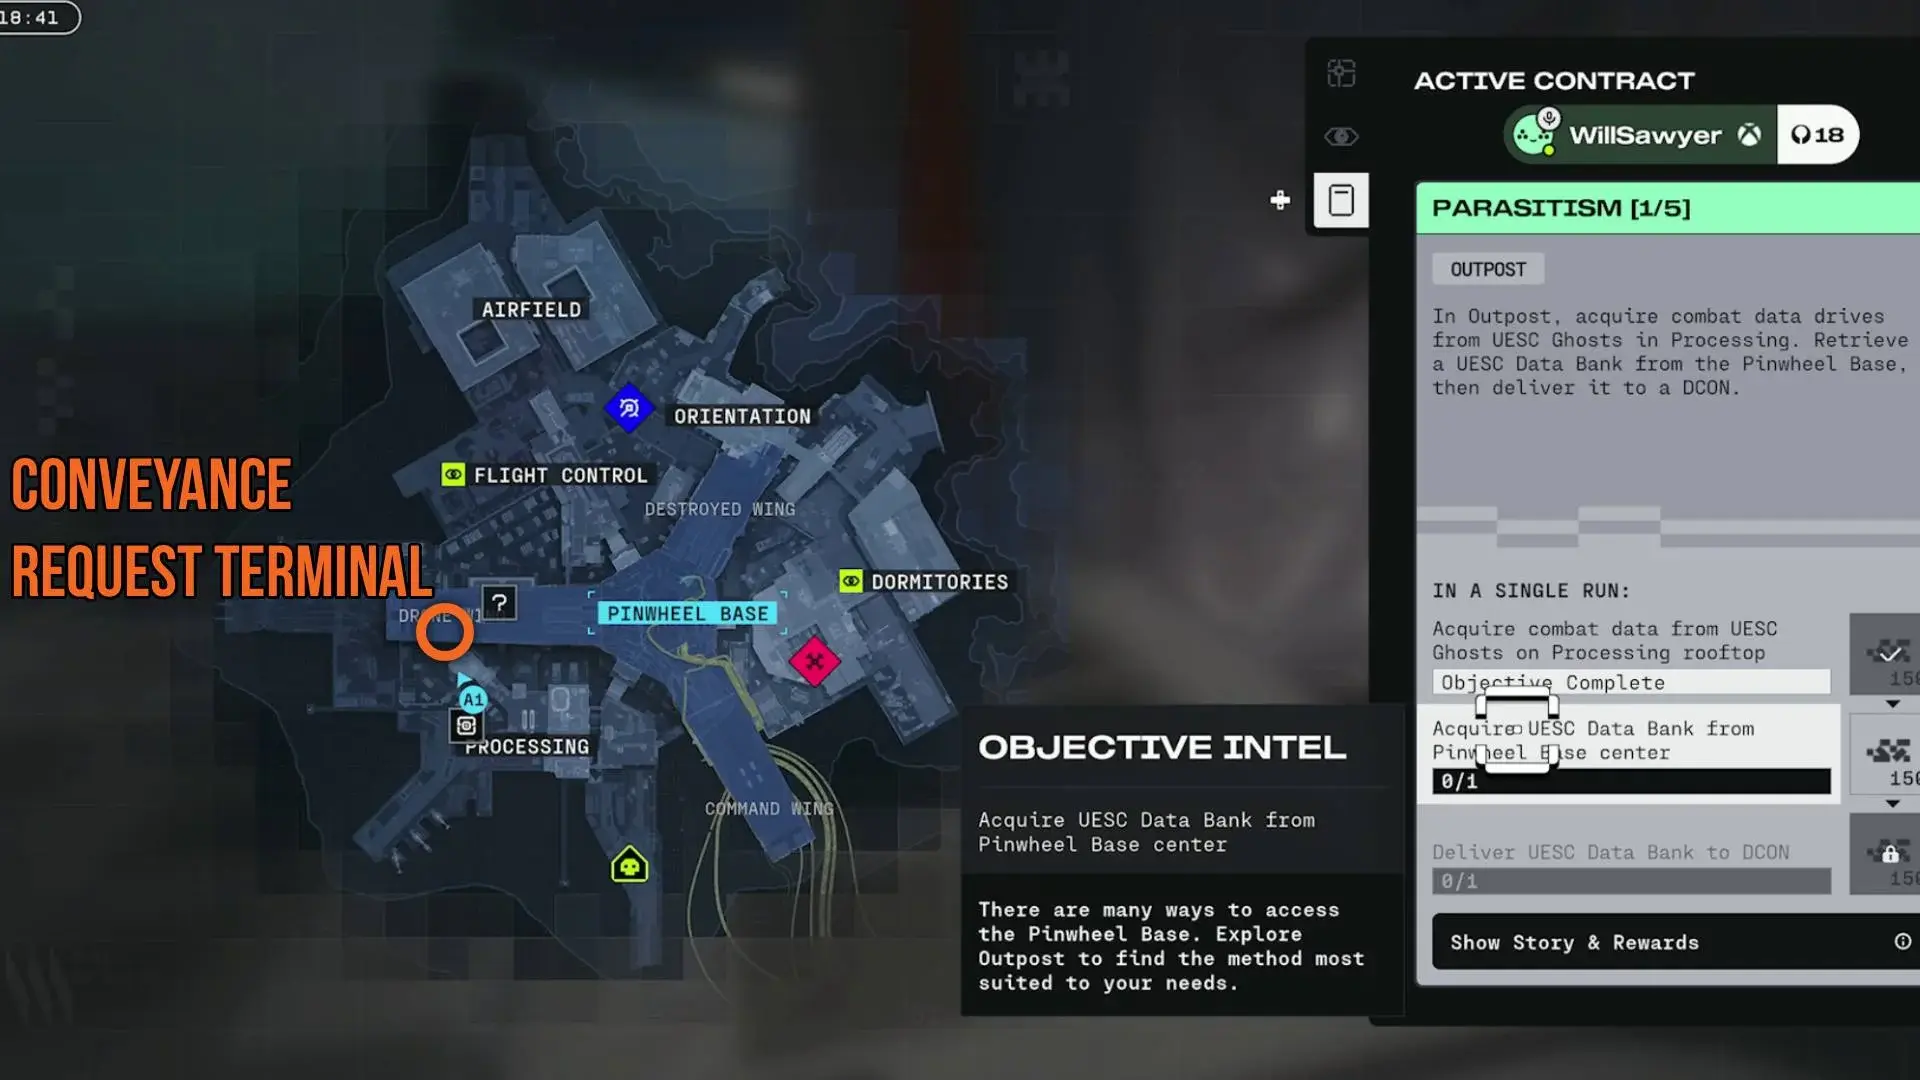
Step 3: Activate Drone Lift
Location: Orange terminal inside control room Action: Interact with terminal while holding Conveyance Request Outcome: Drone lift lowers into bay below
Step 4: Ride Lift to Drone Wing
Location: Lift platform Action: Jump onto lift and ride it upward Outcome: Direct access to Drone Wing section of Pinwheel Base
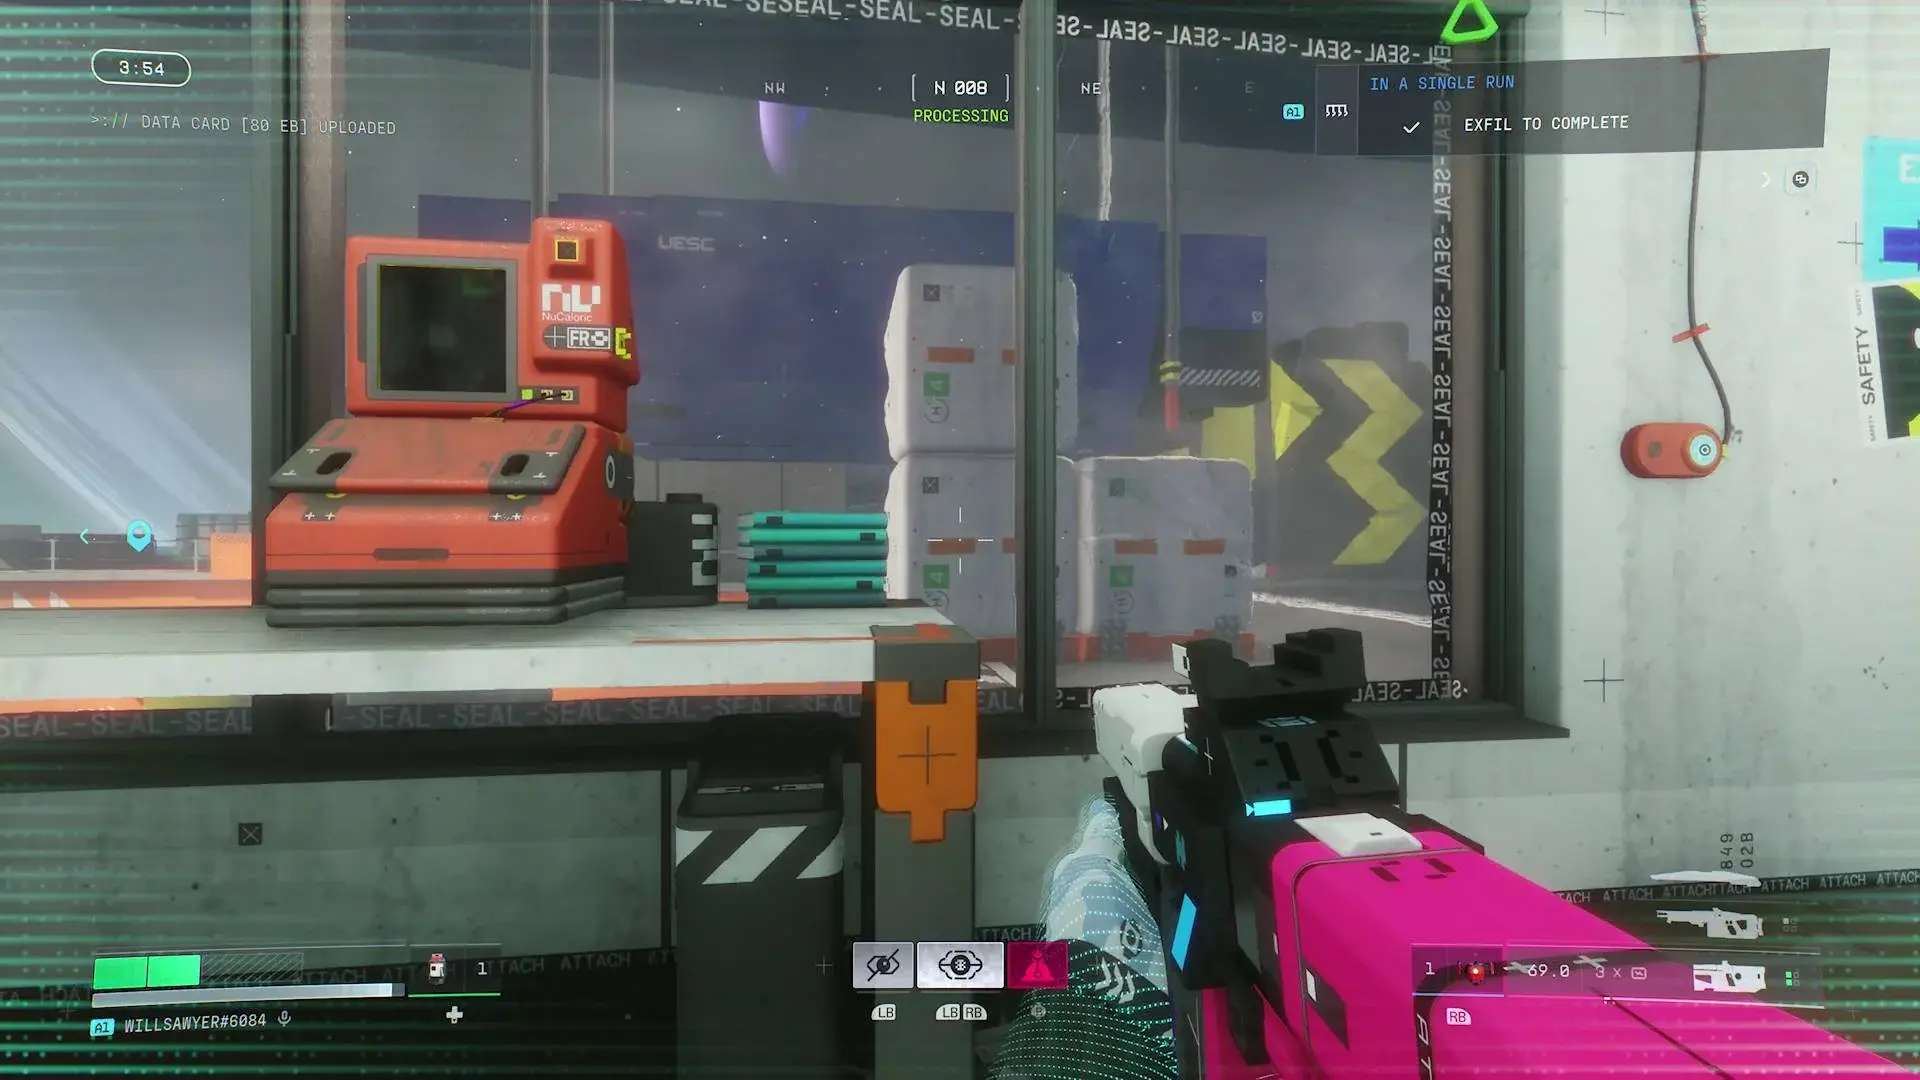
Warning: Drone Wing typically has heavy UESC bot and turret patrols. Prepare for immediate combat upon arrival.
Strategic Note: This method is incredibly safe but entirely dependent on finding the rare Conveyance Request early. If you loot one in the first 10 minutes, this should be your priority entry method. Otherwise, focus on keycard collection.
Method 3: Destroyed Wing Climb [TEMPORARILY DISABLED]
Status: ⚠️ DISABLED as of Update 1.0.0.4 (March 11)
Original Difficulty: Low | Original Reliability: High | Original Combat Intensity: Low
Official Statement from Bungie: “We are temporarily disabling the ‘Broken Wing’ entrance into the Pinwheel while we make some tuning changes to it. In its current state it trivializes entrance into the Pinwheel. We are making some tweaks to maintain the spirit of the ‘silent’ entrance while better matching the risk / reward of the Pinwheel.”
Historical Method (For Reference)
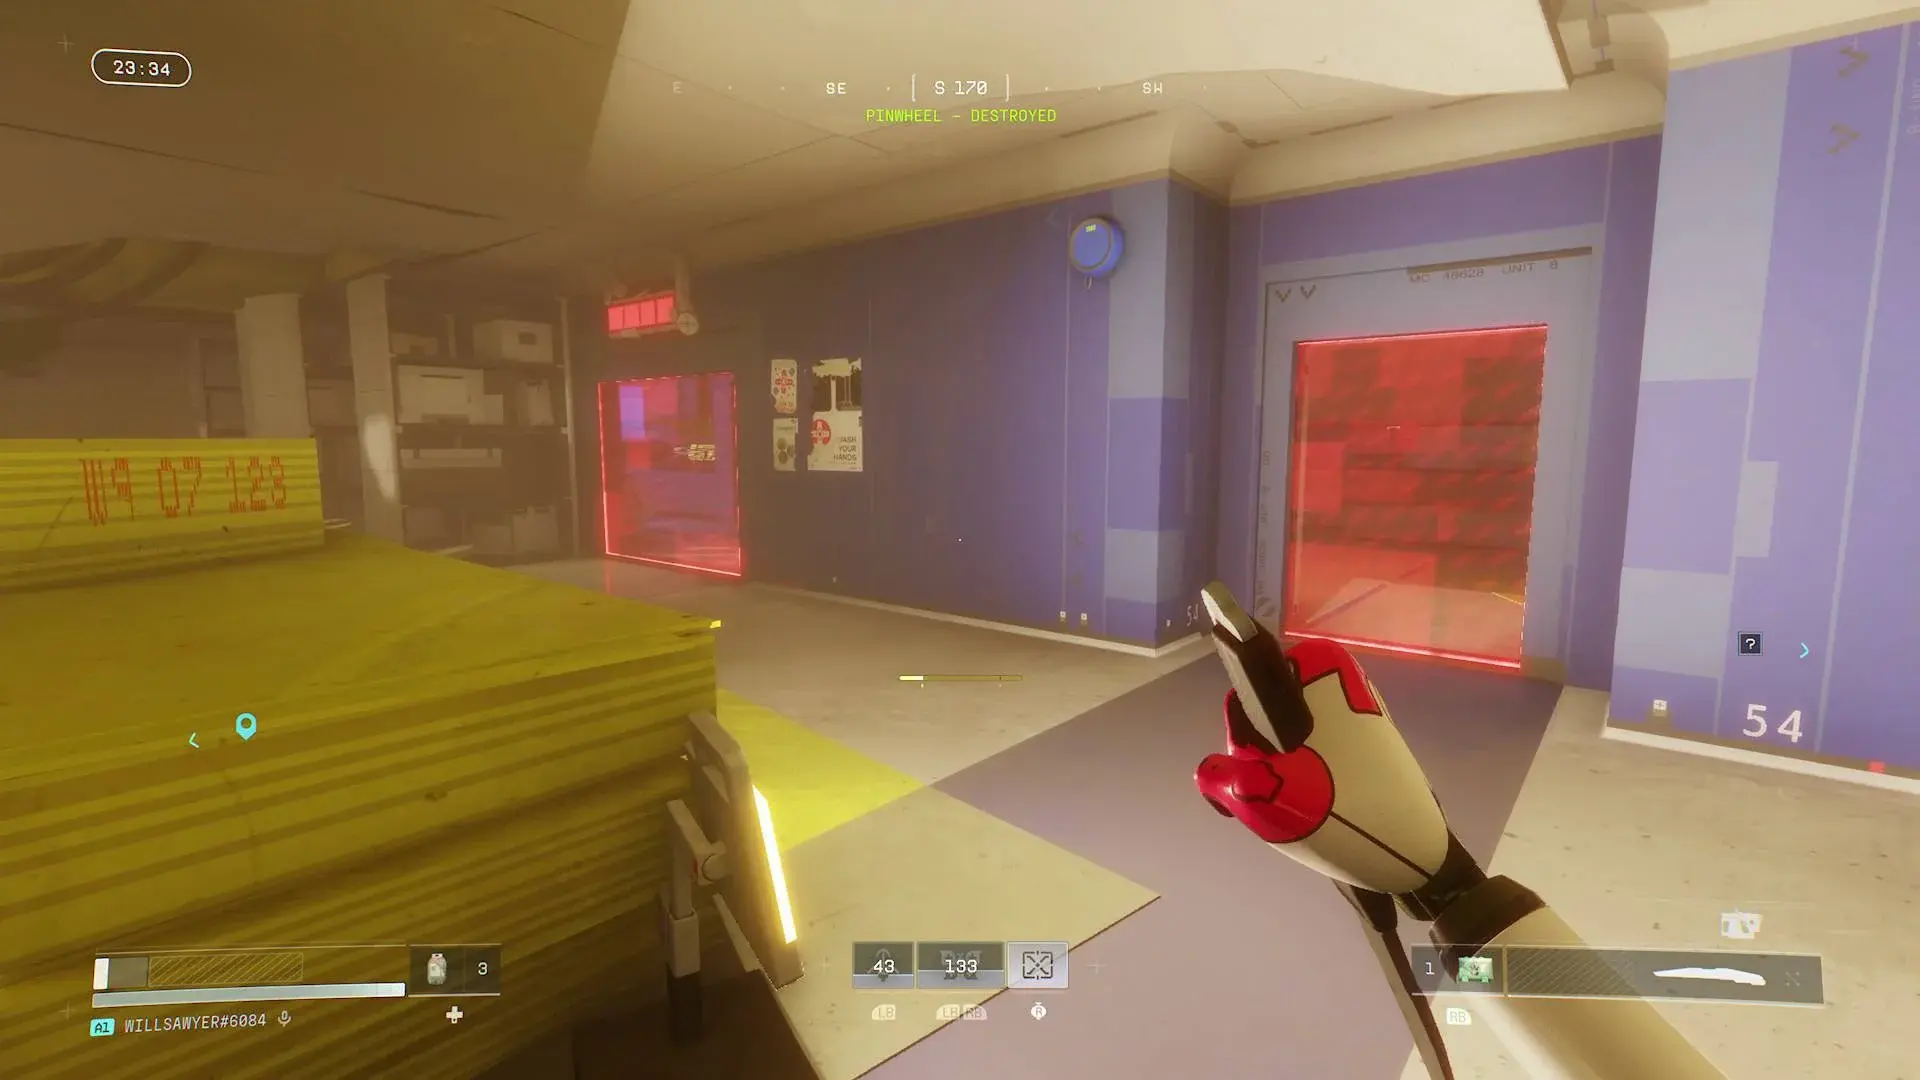
Original Steps:
- Navigate to Orientation area
- Locate and shoot 4 white control boxes with red lights
- Boxes spawn randomly on Destroyed Wing exterior and ruined interior
- All boxes destroyed → red barriers deactivate
- Climb to top of destroyed platforms and enter through door
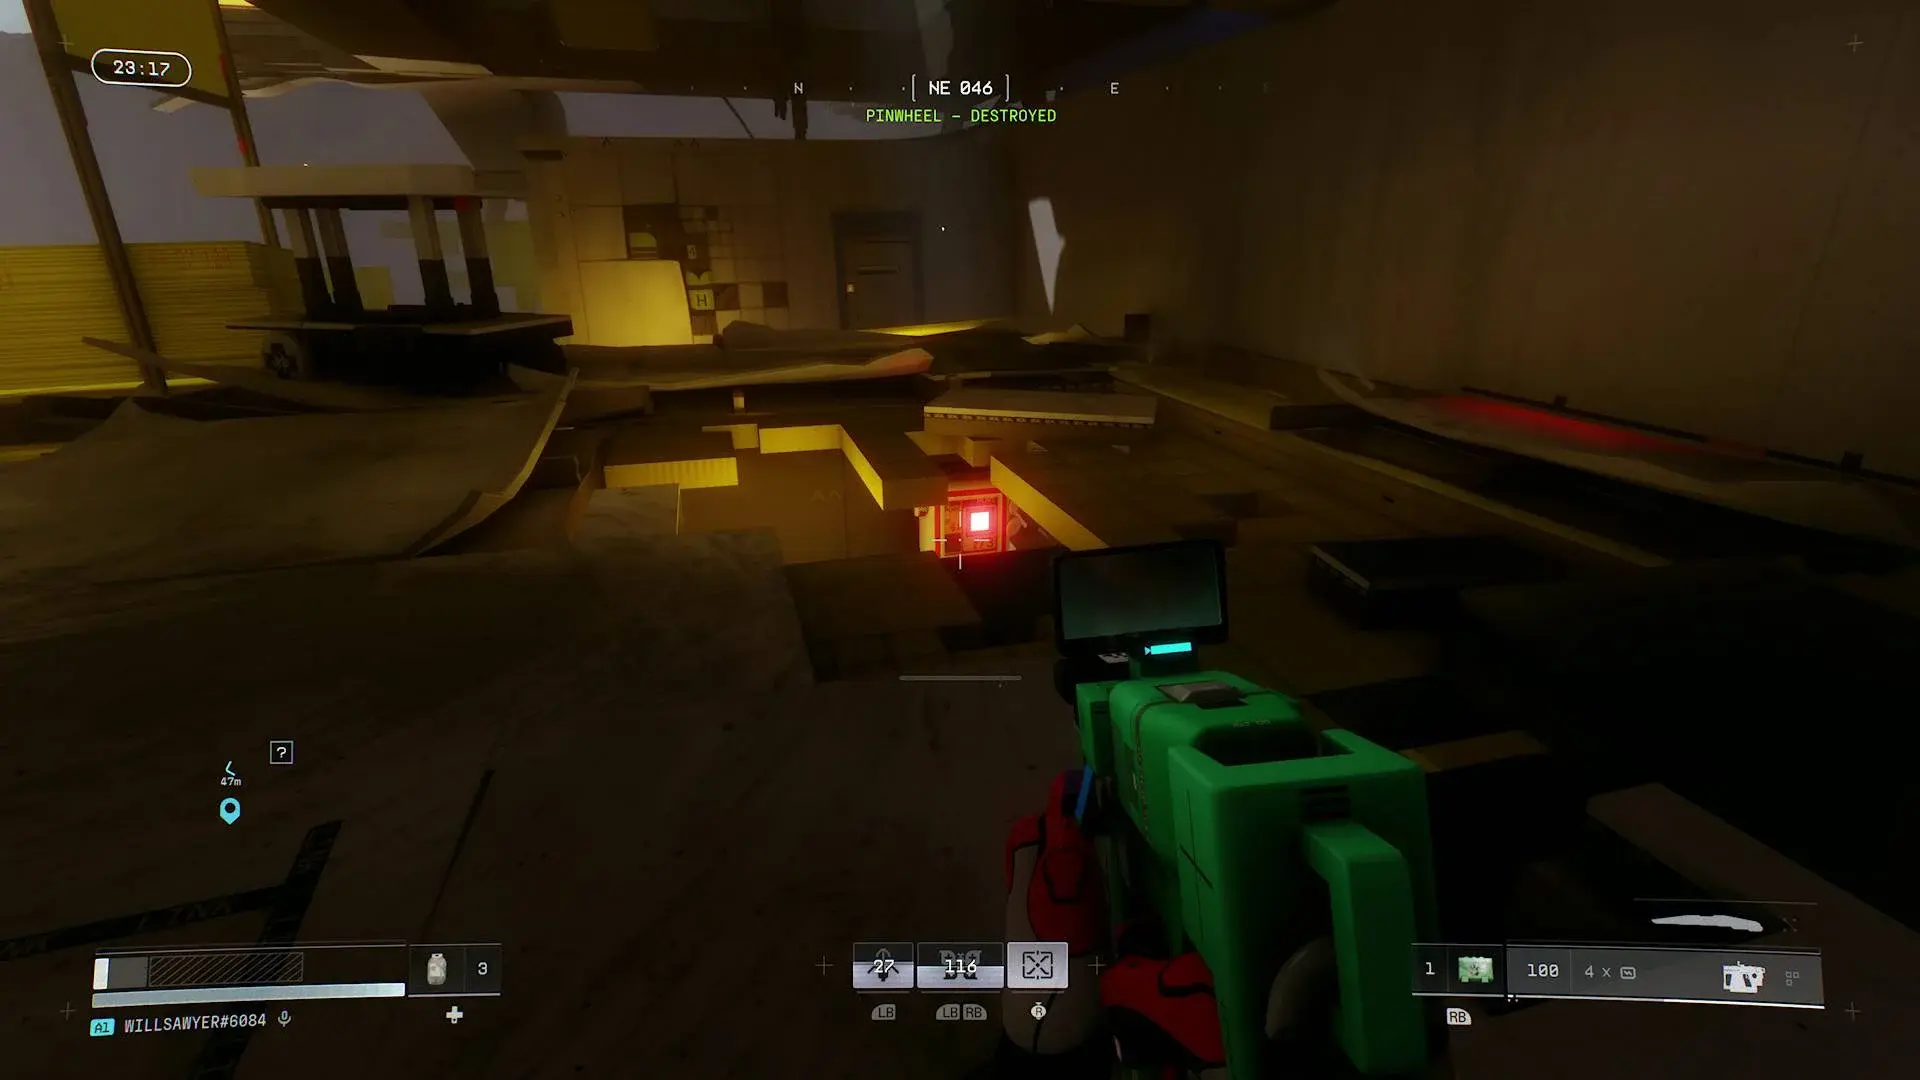
Why It Was Nerfed: This method required no special items and provided near-silent entry, making it the dominant strategy for most players. Expect it to return with increased difficulty or resource requirements.
High-Risk Mechanics and Failure Triggers
Critical Failure Points
Pinwheel Base Entry
- Keycard RNG: Required colors/quantities are random per run. Unlucky spawns can make entry impossible without rerolling.
- Hack Defense: The bridge hack triggers relentless UESC bot waves with minimal cover available.
- Lift Competition: Another team may unlock the lift before you arrive, allowing free access but also competition for loot.
- Disabled Route: Destroyed Wing entrance currently unavailable - don’t waste time attempting it.
FTL Array Scanning
- Scan Duration: 10-15 second scan time creates vulnerability window
- Death Resets Progress: Dying or extracting before scan completion fails the objective
- Contract Priority: Must have “Welcome to Tau Ceti” set as active contract
Missable Content Warnings
- Keycard Despawn: Some reports suggest keycards may despawn if too many players collect them
- Terminal Cooldown: Unknown if terminals have cooldown periods after use by other teams
- Loot Competition: Pinwheel Base contains high-value items that other teams will contest
FTL Array Scanning at UESC Radio Tower
This contract objective trips up many players because the game provides minimal direction. Here’s the complete walkthrough.
Prerequisites
- Active Contract: “Welcome to Tau Ceti” must be set as your current contract
- Map: Perimeter
- Location: Station area
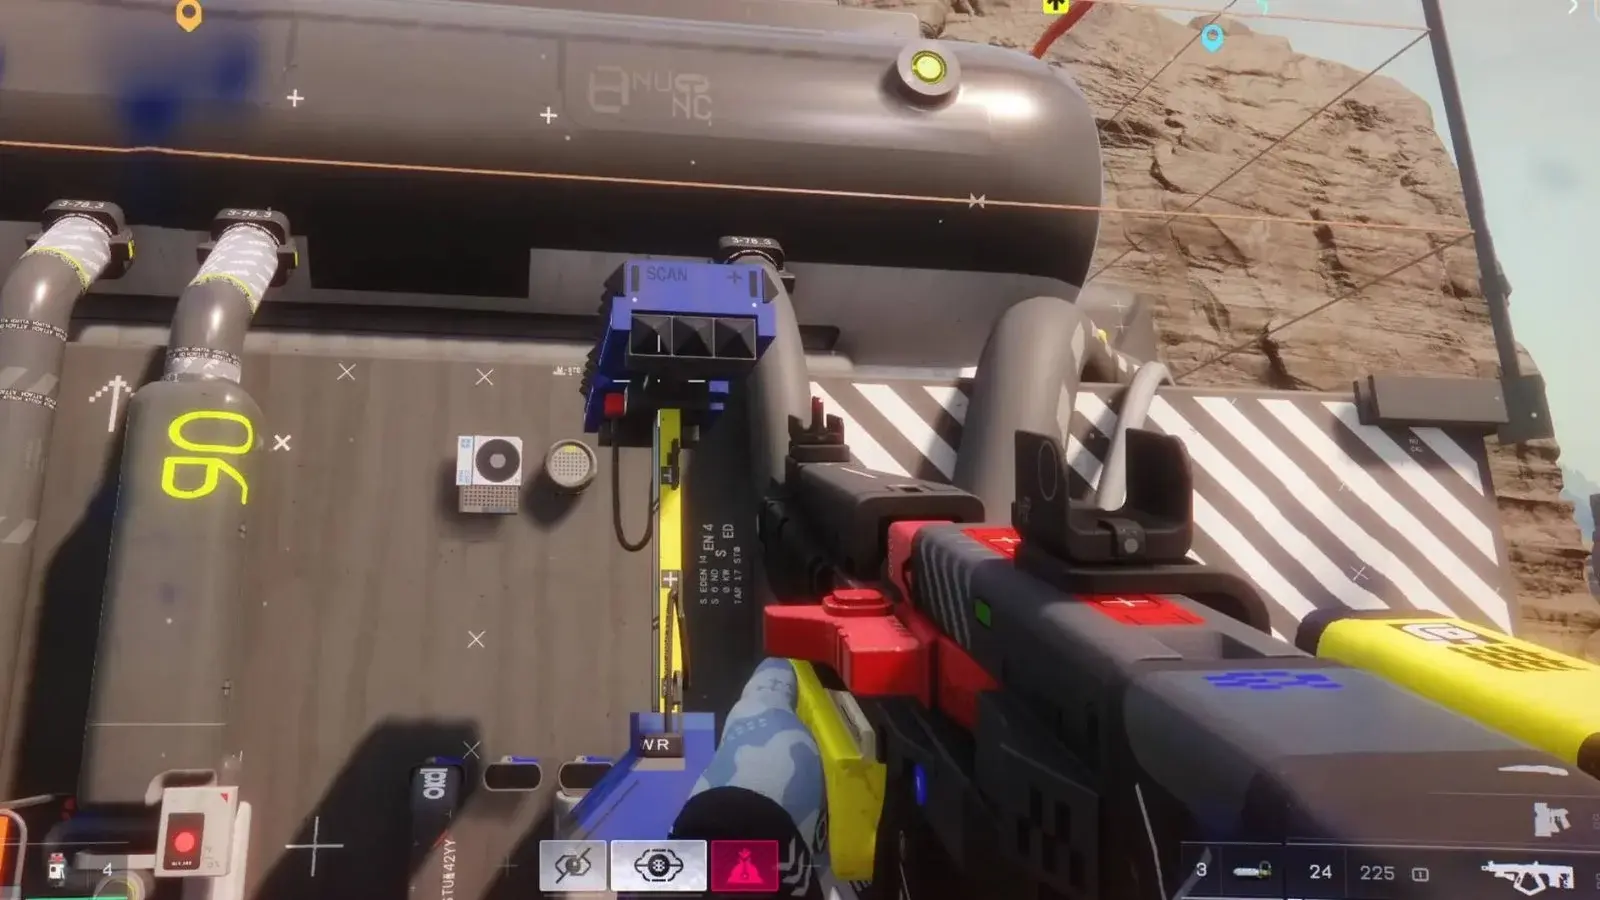
Scanning Process
Step 1: Navigate to Station
Location: Perimeter map, Station zone Action: Make your way to the Station area shown on your map Outcome: Reach the orange platform zone
Step 2: Locate Orange Platform
Visual Markers: Long orange platform with large wire tubes attached Action: Identify the distinctive platform structure Outcome: Find the base of the tower access staircase
Step 3: Climb to Tower
Location: Edge of orange platform Action: Find and ascend the staircase leading upward Outcome: Reach the blue UESC Radio Tower
Step 4: Initiate FTL Scan
Location: UESC Radio Tower terminal Action: Interact with tower terminal and insert FTL Comms Chip Duration: 10-15 seconds Outcome: Contract objective completion
Critical Success Factors
- Stay Alive: The scan duration creates a vulnerable window - position defensively before starting
- Contract Order: Some players report needing to defeat 3 UESC bots before the scan registers
- No Interruptions: Extraction or death before scan completion = failed objective
Rewards, Optional Loot, and Hidden Unlocks
Pinwheel Base Loot Table
| Source | Reward Type | Notes |
|---|---|---|
| Drone Wing | High-tier weapons | Heavy bot presence |
| Central Control | Quest items | Multiple contract starters |
| Storage Areas | Crafting materials | Bulk resource nodes |
| UESC Caches | Rare keycards | May contain red cards |
| Locked Rooms | Premium loot | Requires additional access |
FTL Array Contract Rewards
- Primary: Contract completion credit
- Secondary: Progress toward “Welcome to Tau Ceti” chain
- Tertiary: Potential rare item drops from tower area
Strategic Loot Routes
- Early Game: Focus on keycard collection for guaranteed Pinwheel access
- Mid Game: Use Conveyance Request if found for safe Drone Wing loot
- Late Game: Contest unlocked lifts from other teams for free access

Marathon Database
Looking for a full breakdown of every weapon, runner, core, implant, mod, and item? Check out the Marathon Database — a complete interactive reference with filters and hover details for all in-game content.
Frequently Asked Questions
What is the easiest way to enter Pinwheel Base in Marathon?
The Conveyance Request method at Drone Wing is the safest but requires finding a rare item. The keycard method at Flight Control, Dormitories, or Processing is more reliable. Note: The Destroyed Wing entrance was disabled in Update 1.0.0.4.
How many keycards do I need to enter Pinwheel Base?
The required number and colors vary per terminal. Check the blue locking device next to the sealed bridge - it displays exactly what you need (e.g., 2 yellow + 1 green, 3 yellow, or 2 green).
Where can I find keycards in Outpost?
Green keycards are on desks inside rooms. Yellow keycards are locked in white boxes you need to interact with. Red keycards are on rooftops at terminals.
Where is the UESC Radio Tower for FTL Array scanning?
The UESC Radio Tower is located near Station on the Perimeter map. Look for a long orange platform with large wire tubes, then climb the staircase to find the blue tower.
What happens if I die during the FTL scan?
If you die or extract before the 10-15 second scan completes, the contract objective won't finish. You'll need to restart the run with the contract still active and return to complete the scan.
About the author

Editor-in-Chief
Founder and Editor-in-Chief of gameguidesbox.com, began surfing the web in the late 19th century. Passionate about movies, coffee, gaming, and life itself. Favorite games include Titanfall 2, Baldur's Gate 3, Metro, PUBG, and CS2.
You may also like
Marathon PvP Not Spawning? Developer Response + How to Find More Fights
Tired of running solo with no PvP action? Bungie finally responded to the 'PvP is infrequent' complaints. Learn which maps actually spawn players and how to force more encounters.
Marathon Ranked Mode Guide: Release Date, Requirements, Rewards & How It Works
Ranked mode drops March 21 in Marathon. We break down unlock requirements, gear ante rules, all 6 rank tiers, weekend-only schedule, and exclusive rewards you can't miss.
Marathon Beginner Guide: 7 Essential Tips to Avoid 80% of Early Mistakes
New to Marathon? Don't waste runs learning the hard way. These 7 essential tips cover heat management, knife combat, loot priority, and extraction planning that every beginner needs to know.
Comments