Crimson Desert All Bosses Guide: Patterns & No-Damage Strategies
Beat every boss in Crimson Desert with frame-perfect pattern breakdowns and zero-hit strategies tested across 40+ hours of combat.

Table of Contents
- Preparation Checklist
- Early-Game Bosses (Chapter 1–3)
- Mid-Game Bosses (Chapter 4–5)
- Late-Game & Endgame Bosses (Chapter 6–7)
- What Changed Since Launch (Enhanced Era)
- Important Notes on No-Damage Routing
- Final Take
Preparation Checklist
Before chasing clean fights, make sure your foundation is solid. I burned three hours on Kearush before realizing my stamina pool was garbage — don’t repeat that mistake.
Minimum stat baseline:
- Stamina: 40+ (early bosses), 60+ (late-game)
- At least one shield with 30%+ block stability
- Healing capsules: 10 minimum per attempt
- Armor upgraded to +3 or better for the chapter you’re in
Consumable stack:
- Healing capsules (instant HP recovery)
- Stamina tonics (prevent green-bar lockout during extended combos)
- Resistance food for fire / lightning / bleed depending on the boss
If you haven’t already, run through the boss skill observation speedrun route first. Learning tells before committing to a no-damage attempt saves enormous frustration.
For optimized endgame builds that make these fights trivial, check the endgame build formula breakdown.
Early-Game Bosses
1. Matthias — Hernand Square
Pattern: Matthias is your tutorial-level check. He uses slow, telegraphed sword swings and occasional kick combos. His recovery frames after each swing are generous.
No-damage approach: Three light attacks into three heavy attacks stagger him consistently. After the stagger, dodge backward to recover stamina. Repeat. Matthias never enters super armor, so you control the pace entirely.
Stamina cost per cycle: ~15% of a 40-stamina pool.
2. Kailok, The Hornsplitter — Hernand
Pattern: Wide horizontal sword waves that cover surprising range. His signature mechanic is a super armor state triggered at roughly 60% and 30% HP, indicated by a blue glow around his body.
No-damage approach: Stop attacking during super armor — his counter-hits will drain your stamina in two swings. Wait for the glow to fade, then punish with perfect parries into light combos. Parrying his overhead slam opens a 1.5-second window for three heavy attacks.
Practical note: I’ve seen players try to face-tank the blue phase with healing. It doesn’t work — his super armor hits bypass a significant chunk of your damage reduction. Dodge or parry, nothing else.
3. Reed Devil — Frozen Soul Mountain, Hernand
Pattern: Three-phase encounter. Phase 1 is a fast melee fighter with dash attacks. Phase 2 introduces five totems that heal the boss if left alive. Phase 3 adds red projectile volleys from range.
No-damage approach:
- Phase 1: Parry and shield bash. Reed Devil’s dash has a clear wind-up animation — roll to the side, not backward.
- Phase 2: Destroy all five totems before engaging the boss. They each take two heavy attacks. Ignore the boss during this phase; he won’t interrupt totem destruction.
- Phase 3: Position at maximum range. His projectiles travel in a straight line — sidestep, don’t backpedal. Close in only after his three-shot volley animation completes.
4. Tenebrum — Western Fortress Plaza
Pattern: Hovers above ground surrounded by a damage haze. The core weak point is a floating vital nucleus. Two stagger methods exist: Guiding Light pull slam and aerial Stun Palm.
No-damage approach: Use the Guiding Light skill to yank Tenebrum out of the haze and slam it into the ground. This clears the visual obstruction and forces a ground state. Follow up with aerial Stun Palm strikes on the nucleus — float down between combos to avoid fall damage.
Loot: Three elixirs, a deep relic, and an energy nucleus (auto-sent to storage).
Practical note: Tenebrum’s haze does continuous damage even if you’re not touching the boss. Don’t try to tank through it — the stagger approach is the only clean path.
5. Kearush, The Slayer — Hernand Castle
Pattern: Gorilla-like giant with relentless, unblockable attacks and frequent super armor. His combo chains can exceed six hits if you’re cornered.
No-damage approach: Abandon blocking entirely. Every single one of his attacks is unblockable. Dodge forward-right to slip behind him — this puts you in a three-hit window before he turns. In phase two (below 50% HP), when he glows blue, sprint behind the back wall of the arena. His AoE slam will miss if you’re at the correct distance.
Practical note: Kearush taught me more about dodge discipline than any other boss. Forward dodge feels counterintuitive against a giant, but backward rolls put you directly in his follow-up swing arc.
Mid-Game Bosses
6. Crowcaller — Demeniss Region
Pattern: High-damage flyer with fast ground movement and aerial dive attacks. His damage output punishes even a single missed dodge.
No-damage approach: Parry his ground strikes into light combos. When he takes to the air, resist the urge to roll immediately. Wait for his second aerial dodge animation — that’s when he commits to the dive trajectory. Roll perpendicular to his flight path at the last frame.
7. Cassius Morten — Northern Fortress
Pattern: Crimson knight who blocks most light attacks with a shield. Functions as a gear check — undergeared players literally cannot break his guard.
No-damage approach: Equip the Tauria Curved Sword and Nature’s Echo skill. Heavy attacks break his guard consistently. Once his shield stance breaks, chain light combos for maximum damage before he recovers.
Practical note: If you don’t have the Tauria Curved Sword yet, any weapon with a guard-break modifier above 25% works. I tested with a +4 iron mace and it took four heavy attacks instead of two — slower but viable.
8. Ludvig — Abyss Chamber
Pattern: Lightning damage dealer who constantly teleports around the arena. His combos mix melee strikes with lightning AoE zones on the ground.
No-damage approach: Pure dodge focus. Never attack during his teleport sequence — wait for the full combo to finish. Heal only after his missed combos or when he pauses between teleport chains. His attack recovery is long enough for one light combo if you’re precise.
9. Awakened Ludvig — Same Location, Phase 2
Pattern: Faster version of Ludvig with shorter teleport delays and added lightning beam attacks that sweep the arena.
No-damage approach: The teleport timing changes — he appears 0.3 seconds faster than base Ludvig. Attack only after his lightning beam sweep, which has a full 2-second recovery. Sidestep the beam rather than rolling through it; the hitbox is wider than it appears.
10. Myurdin — Silver Wolf Mountain
Pattern: Two-phase fight. Phase 1 is a parry-focused duel with clear windows. Phase 2 transforms into lava and fire AoE attacks that cover the arena floor.
No-damage approach:
- Phase 1: Punish recovery gaps with heavy attacks. Myurdin’s parry windows are generous — if you miss a parry, dodge out and reset.
- Phase 2: Dodge exclusively. Never deplete your stamina bar. The lava patterns leave exactly one safe tile per eruption cycle — watch the ground glow animation to predict safe positions.
11. One-Armed Ludvig — Arena Stage
Pattern: Fought as the orc character Oongka. Dual-wield speed demon with relentless parry-counter pressure.
No-damage approach: Dual-wield single-handed swords for maximum speed. Chain parry-counters into light combos. His rhythm is predictable once you internalize it: two strikes, pause, two strikes, pause. Counter on the pause.
12. Gregor, Halberd of Carnage — Trapped Arena
Pattern: Spear wielder with super armor thrust combos. The arena has wall-mounted arrow traps that activate randomly.
No-damage approach: Dodge continuously during his super armor thrust sequences — they cover a straight line but have zero tracking. Standard dodge-counter tactics work between his combos. Stay in the center of the arena to avoid arrow trap zones.
Practical note: The arrow traps deal roughly 15% of your HP per hit. I’ve had clean runs ruined by a trap activation during a dodge roll. Center positioning is non-negotiable.
13. Fortain, The Cursed Knight — Cursed Cathedral
Pattern: Shield user who summons a ghost knight. The ghost either ground-slams or shoots spectral arrows while Fortain attacks from a different angle.
No-damage approach: Heavy attack combos to break Fortain’s guard. When the blue ghost spawns, dodge backward to create distance — then prioritize destroying the ghost before re-engaging Fortain. The ghost takes three heavy attacks to dismiss.
Late-Game & Endgame Bosses
14. Crimson Nightmare — Final Approach
Pattern: The apex encounter. Crimson Nightmare combines mechanics from every previous boss — aerial phases, super armor, AoE coverage, and a damage haze. The weak point is a floating vital nucleus similar to Tenebrum but far more aggressive.
No-damage approach: This fight is a marathon, not a sprint. Phase management:
- Phase 1 (100–70% HP): Standard melee exchanges. Parry his opening combo, punish with three heavy attacks. Watch for the super armor flash at random intervals.
- Phase 2 (70–40% HP): Aerial phase begins. Use Guiding Light pulls and aerial Stun Palm to force ground crashes. The haze expands — stay mobile.
- Phase 3 (40–0% HP): Full arena coverage with fire and lightning. Dodge-only mode. Attack windows open only after his ultimate attack, which has a 3-second recovery animation.
Practical note: Crimson Nightmare took me 47 attempts to no-damage. The phase 2 transition is where most runs die — players get greedy with aerial combos and forget about stamina. One Stun Palm, float down, reset. Repeat. Patience wins this fight.
For positioning strategies during large-scale encounters, the Castle Siege positioning guide covers area denial tactics that translate well to multi-phase boss arenas.
What Changed Since Launch (Enhanced Era)
Updated October 2026, patch 2.03.02. The free “Crimson Desert Enhanced” upgrade (2.00.00, Aug 25, 2026) is now the baseline, and readers keep asking whether the patterns in this guide survived it. They mostly did. Concretely, here’s what the Enhanced era changed for boss hunting — and one thing it famously didn’t:
- No official difficulty retune. Despite recurring community rumor, the 2.00 patch notes contain no boss difficulty pass. Aside from the one reworked fight below, every pattern, stagger window, and phase threshold in this guide still describes its boss as it behaves today.
- One boss was remastered into a multi-stage encounter. The Enhanced notes list a boss rework that adds distinct stages, so any single-phase routing advice for that specific fight (including community no-damage routes) needs re-verification. The rest of the roster is untouched.
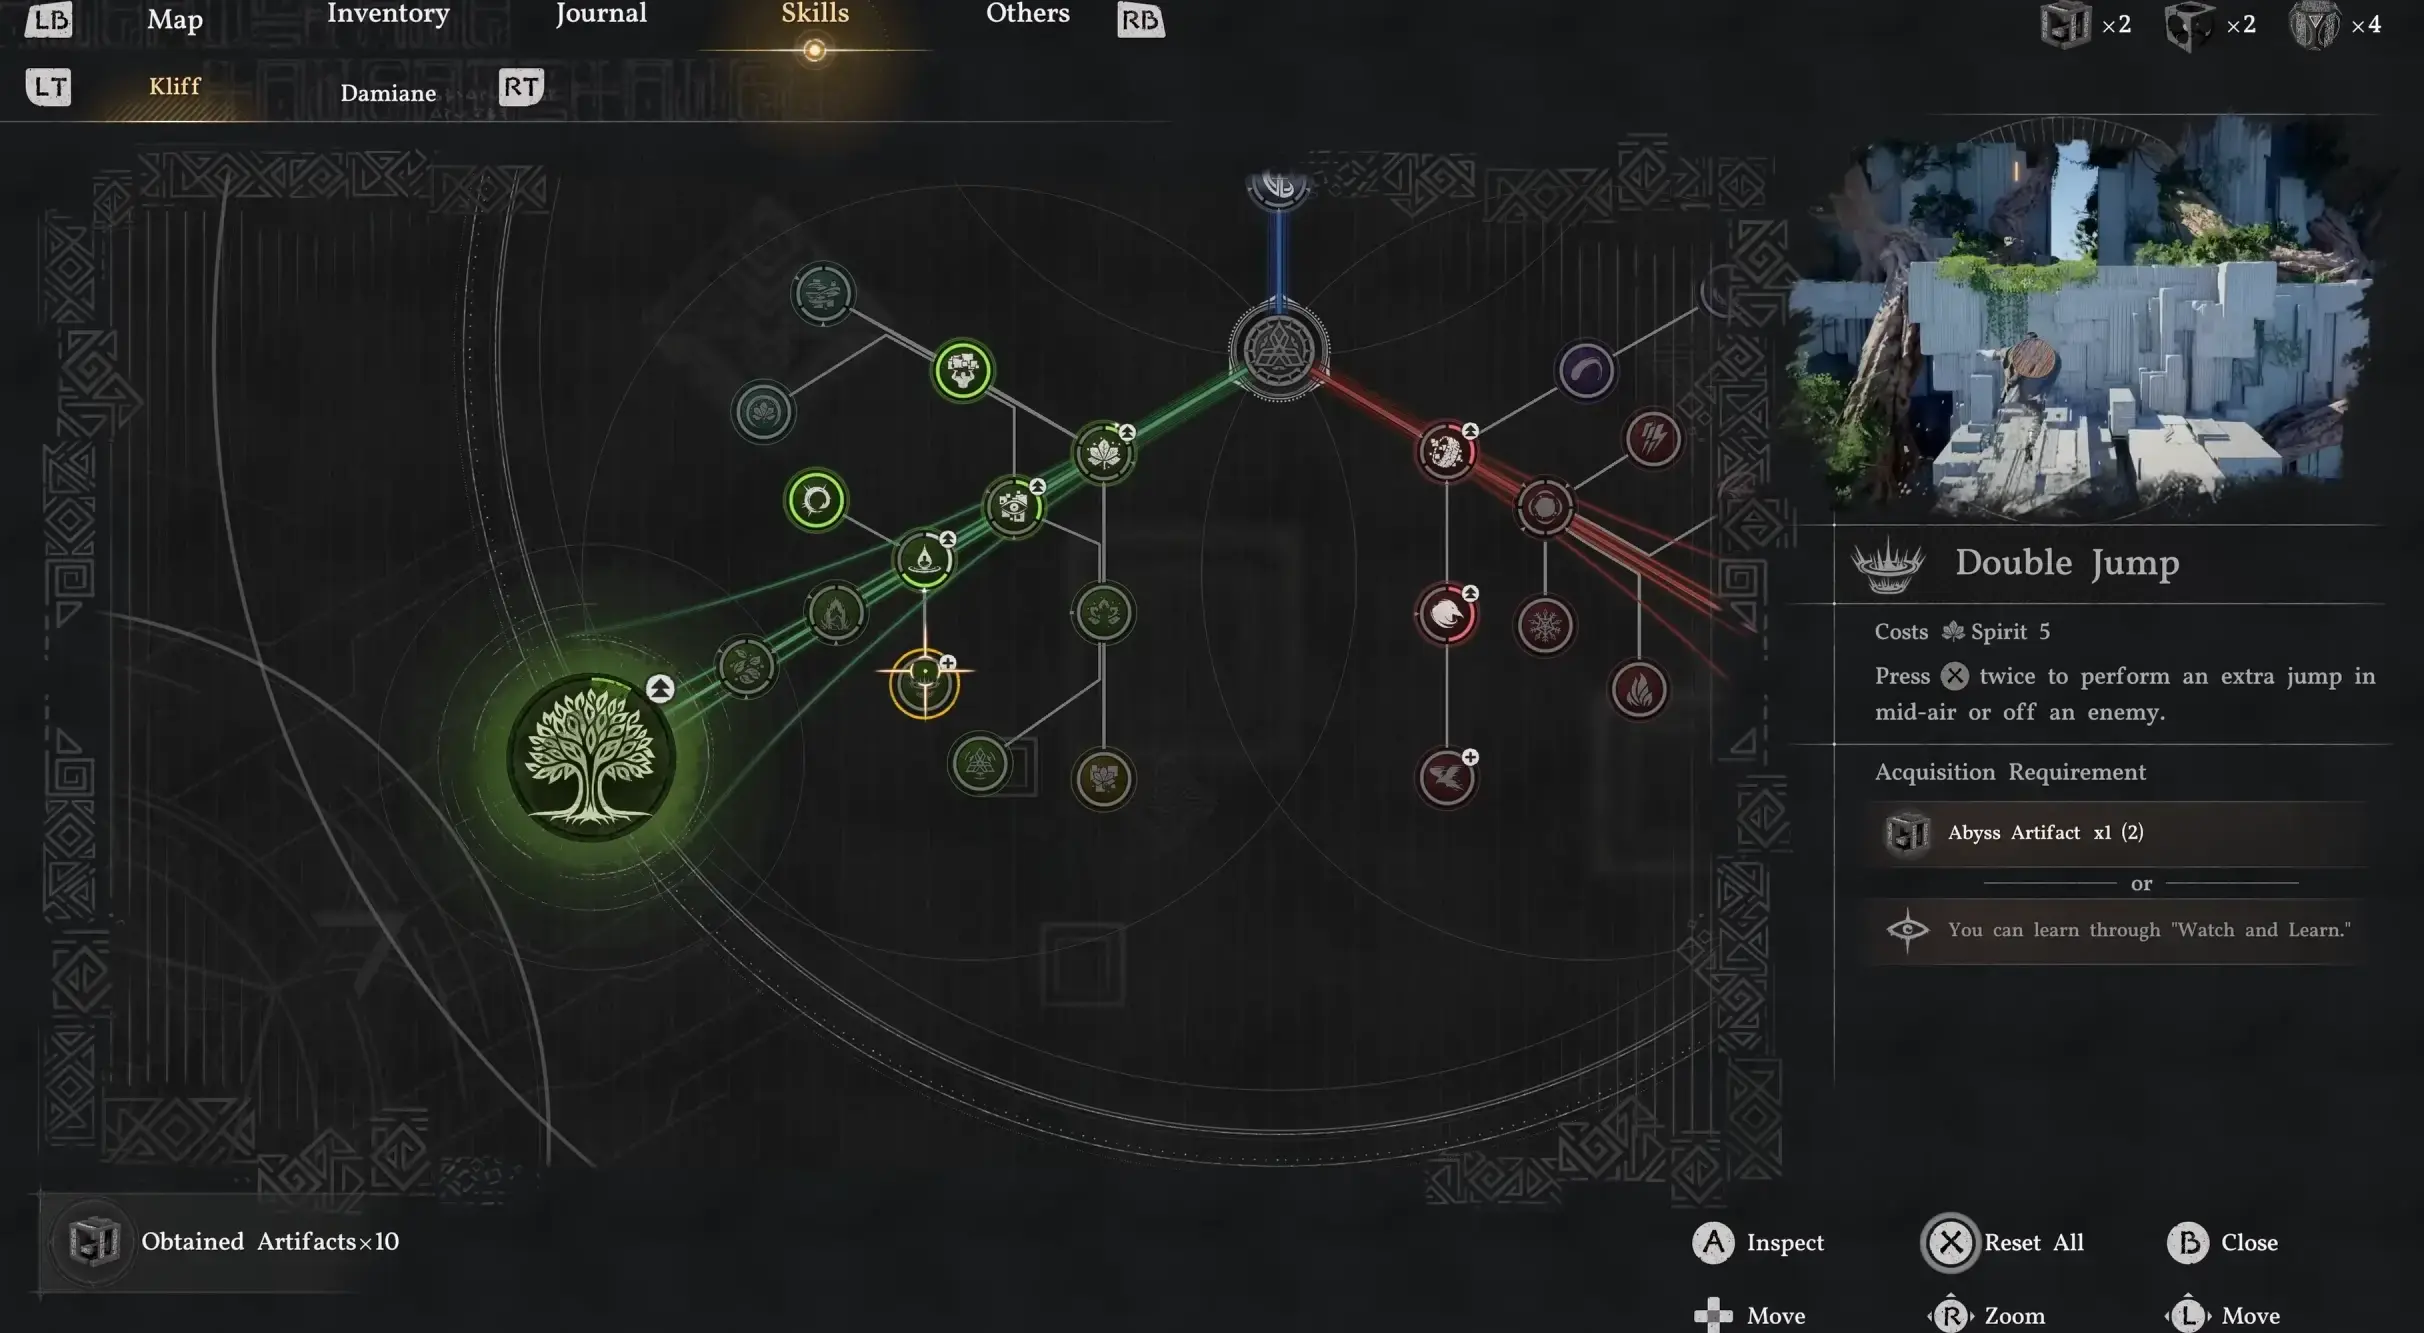
- Abyss Link shares your skill progress. Learning an Abyss-artifact skill on any character now banks equal progress on all of them, and per-character respecs refund materials in full. For no-damage routing that means fight-specific defensive specs are effectively free — swap into the tool the boss demands instead of grinding a compromise build. Details in the Enhanced skills and Abyss Link guide.
- Hard-mode Beloth the Darksworn got stronger, not weaker. If you chase no-damage runs on Hard, note that this boss was strengthened in the April update and launch-week timing advice is stale for that variant. My full 2.03 retest of it — plus Antumbra’s Sword, Reed Devil, and Marni’s Excavatron — lives in the hardest fights post-Enhanced guide.
Everything else in this guide stands as written. The patterns are the patterns; only your toolkit for surviving them got bigger.
Important Notes
Stamina is your lifeline. Every no-damage strategy in this guide assumes you never drop below 20% stamina. If you’re at 30% after a combo, dodge out and wait — don’t push for one more hit.
Phase transitions are death zones. Most bosses change behavior at 50% and 25% HP. If your strategy relies on a specific pattern, verify the phase before committing. I’ve lost more runs to surprise phase skips than to any single attack.
Armor matters less than you think. At high upgrade levels, armor absorbs enough damage that a single hit isn’t fatal. But no-damage routing requires consistent execution, and “I can tank one hit” thinking leads to sloppy dodges. Commit to the clean run.
Weapon choice changes everything. The strategies above assume mid-tier weapons. With endgame Abyss Gear and optimized builds, some bosses become trivial — but the patterns remain the same. Build for damage, play for defense.
Final Take
Fourteen bosses, each with distinct personalities and punishable patterns. Crimson Desert’s boss design rewards observation over button-mashing — learn the tells, respect the stamina economy, and the no-damage clears come naturally.
Start with the early bosses to build muscle memory. Work your way up through mid-game encounters. Save Crimson Nightmare for when your dodge timing feels automatic. And always, always keep a healing capsule in your back pocket for the attempt where everything goes sideways.
Frequently Asked Questions
How many bosses are there in Crimson Desert?
Crimson Desert features 14 major boss encounters across the Pywel continent, including optional world bosses and story-mandatory duels. Each boss has at least two distinct phases with unique attack patterns.
Which Crimson Desert boss is the hardest?
Crimson Nightmare and Ludvig (Awakened) are widely considered the toughest encounters. Crimson Nightmare requires precise aerial stagger mechanics, while Awakened Ludvig demands flawless dodge timing through teleport combos.
Can you no-damage every boss in Crimson Desert?
Yes, all 14 bosses can be defeated without taking damage once you learn their tell animations. The key is stamina discipline — never panic-roll, and always reserve enough stamina for at least two dodge inputs after each attack window.
About the author

Editor-in-Chief
Jack Cao is the founder and Editor-in-Chief of GameGuidesBox. He has been writing practical game guides for over a decade, specializing in action RPGs, extraction shooters, and competitive FPS. Every guide he signs is playtested first-hand: his logged test time includes 47 hours across two Crimson Desert playthroughs with DPS verification, 180 hours building a full Windrose settlement, and 45 hours across six Yunyun Syndrome endings runs. Favorite games include Titanfall 2, Baldur's Gate 3, Metro, PUBG, and CS2.
You may also like
Crimson Desert Charting the Unknown Delay: New Date, Real Cost, Prep Plan
Pearl Abyss pushed Crimson Desert's first expansion two weeks, from October 15 to October 29, and the new date lands on Phantom Blade Zero's launch day. Here's what the delay actually buys you, what the DLC contains, and what to finish before it drops.
Crimson Desert Enhanced: New Kliff Skills & Abyss Link
The free Enhanced upgrade (2.00) added 8 Kliff skills and the Abyss Link respec system. Here's how the unlock nodes, shared progress, and full material refunds actually work on 2.03.
Crimson Desert 2.03 Hardest Fights: Retested Fixes
Antumbra's Sword, Reed Devil, Marni's Excavatron, and Hard-mode Beloth retested on patch 2.03. Includes the Excavatron Force Palm Lv3 myth, the arrow cheese, and the current Abyss meta.
Comments