How to Hit 9 Targets on the High-Speed Rail Section to Unlock the Sniper Trophy
Resident Evil 9 Requiem How to Hit 9 Targets on the High-Speed Rail Section to Unlock the Sniper Trophy
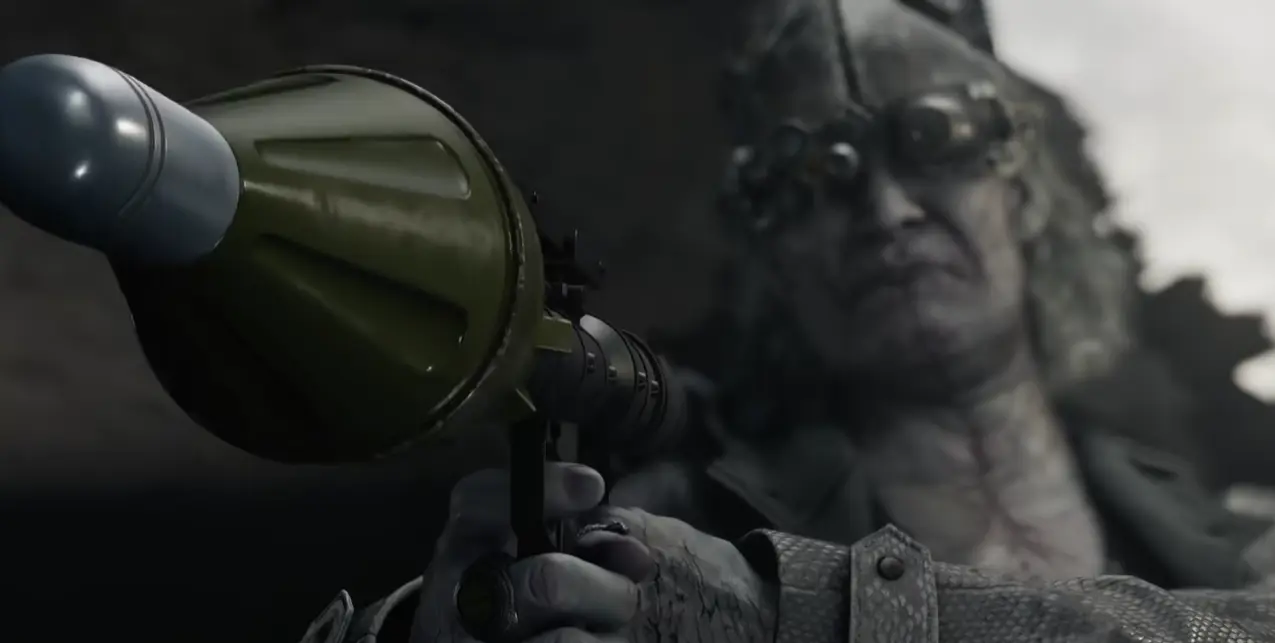
In Resident Evil 9: Requiem, to unlock the sniper-related achievement trophy (referred to as “Sniper Elite” in the source file), you must precisely shoot all 9 “seedling”-like targets on the exterior of the high-speed rail during the journey to Noah’s Lab.
Here is a detailed guide on the operation and target distribution.
When This Challenge Happens
The rail sequence triggers automatically during the trip to Noah’s Lab — you can’t miss it, and you can’t freely roam while it’s active. Two things matter before it starts:
- The autosave. The game writes a save right before the sequence. If you miss a target, quit to the title and reload; running the section again takes only a couple of minutes.
- Your weapon loadout. Stock up on ammo for your reinforced weapon beforehand. There’s no crafting bench mid-sequence, so what you carry in is what you shoot with.
The trophy is difficulty-independent, so if you’re doing a cleanup pass for platinum, drop the difficulty down and knock it out without pressure. If this is your first playthrough, don’t stress about the trophy mid-sequence: play it naturally once, note where each seedling spawned, then reload the autosave for a clean second attempt where you know exactly where to aim.
Part 1: Pre-Battle Preparation and Tips
- Save Point Reminder: The game automatically saves before the high-speed rail challenge starts. If you miss any of the 9 targets, it is recommended to reload the save immediately.
- Weapon Recommendation: Use reinforced weapons for efficiency, as they can eliminate targets with just 1–2 shots.
- Core Objective: Your task is to locate and destroy the 9 seedling-like biological targets that appear along the route.
Part 2: Step-by-Step Target Elimination Process
- Target 1: After exiting the train, the first target is located shortly ahead. Shoot it to eliminate.
- Target 2: Continue moving and shoot the second target. Make sure to shoot it until it splatters or explodes to count it as destroyed.
- Targets 3–6: During this section, keep a close eye on the left side and the ground. One of the targets is deceptive and requires you to first shoot its root, then wait for it to reappear and finish it off completely.
- Target 7: After a longer stretch of track, the seventh target will appear directly in front of your vision. Eliminate it.
- Targets 8 & 9: The final two targets are located at the end of the level. After destroying them, shoot the nearby gas canister for a perfect ending.

What Counts as “Destroyed”
This is where most failed attempts go wrong. A seedling only counts when it visibly bursts — a hit that staggers it is not enough. Three rules to follow:
- Shoot until the burst animation plays. One solid hit from a reinforced weapon usually does it; weaker pistols can need two.
- The root target has two phases. Shoot the exposed root first, wait for the seedling to reappear, then finish it. Leaving after phase one is the single most common reason the trophy fails to unlock.
- Check the ground level, not just the horizon. Several seedlings spawn low on the track structure. Sweep your aim in a slow arc instead of staring dead ahead.
Pacing Tips for the Rail Section
- Lead your shots. The rail keeps moving, so aim slightly ahead of a target that’s sliding across your view.
- Don’t chase a missed shot. If a bullet whiffs, re-acquire the target cleanly instead of spamming — panic fire wastes the seconds you need for the next spawn.
- Use the brief straightaways. The track alternates turns and straight sections. Targets on straights are free hits; save your focus for the turn-heavy middle stretch where Targets 3–6 appear.
- Aim down sights early. Iron-sight or scope view gives you the precision margin you need at range; hip-fire only for the two point-blank targets at the end.
Trophy Not Unlocking? Quick Checklist
| Symptom | Likely cause | Fix |
|---|---|---|
| Trophy missing after Target 9 | A seedling was hit but not fully destroyed | Reload the autosave, confirm each burst |
| Can’t find a target | Looking at horizon level only | Sweep low along the track structure |
| Root target “doesn’t count” | Only the root phase was destroyed | Wait for the reappear, then finish it |
| Running out of ammo | Unreinforced weapon needing 3+ shots | Bring a reinforced weapon or higher tier ammo |
Part 3: Success Condition
Once you successfully eliminate all 9 targets before reaching Noah’s Research Lab, the Trophy will be immediately unlocked. If it doesn’t pop right at the end, check your trophy/achievement list after the next autosave — platform notification delays are common and don’t indicate a failed attempt.
Editor’s Tip: The high-speed rail moves quickly, so it’s crucial to stay focused during the challenge, especially on the targets that reappear from the ground. If you haven’t unlocked the Trophy before reaching the final target, it likely means you missed or didn’t fully destroy one of the earlier seedlings.
Working through the rest of the game’s challenges? Our Resident Evil 9 puzzle solutions guide covers every puzzle in one page, and the platinum trophy guide maps out the full trophy list with the collectibles you’ll need alongside it.
Frequently Asked Questions
When does the high-speed rail sniper challenge happen in RE9?
During the journey to Noah's Lab in the mid-game. The sequence starts automatically — there's an autosave right before it, so you can reload freely if you miss a target.
What happens if I miss one of the 9 rail targets?
The trophy simply won't unlock at the end of the sequence. Reload the autosave from before the section and run it again — there's no penalty, no resource cost, and no point of no return.
Do difficulty settings affect the sniper trophy in RE9?
No. The trophy can be earned on any difficulty. Lower difficulties give you more margin for error, which makes this an easy cleanup pick for the final trophy pass.
Which weapon is best for the 9 rail targets?
Any reinforced weapon that kills a seedling in one or two shots works. Precision matters more than raw power here — the targets are small and the rail keeps moving, so pick the gun you aim best with.
I destroyed all 9 targets but the trophy didn't pop. Why?
Almost always one target wasn't fully destroyed — especially the root-regenerating one, which must be shot twice. Reload the autosave and confirm each seedling bursts before moving on.
About the author

Editor-in-Chief
Jack Cao is the founder and Editor-in-Chief of GameGuidesBox. He has been writing practical game guides for over a decade, specializing in action RPGs, extraction shooters, and competitive FPS. Every guide he signs is playtested first-hand: his logged test time includes 47 hours across two Crimson Desert playthroughs with DPS verification, 180 hours building a full Windrose settlement, and 45 hours across six Yunyun Syndrome endings runs. Favorite games include Titanfall 2, Baldur's Gate 3, Metro, PUBG, and CS2.
You may also like

RE9 Endings Guide: Release or Destroy Elpis Explained
Resident Evil Requiem has exactly two endings, and both hang on one choice Grace makes about Elpis. Full breakdown of the Release and Destroy routes, what each one shows you, and the truth about the 'third ending' rumors.
RE9 Leon Must Die Forever: Unlock, Ranks & Strategy
Everything I know about Leon Must Die Forever after grinding it on patch 1.3.1 — how to unlock it, how the 9-zone run works, permadeath rules, and the fastest way to clear your first Forever Rank.
Resident Evil 9 Requiem: All 21 Antique Coin Locations
All 22 verified antique coin locations by room, plus the 17-coin Parlor locker shopping list — what to grab and in which order.
Comments