RE9 Blood Lab Puzzle: Microscope Analysis Sequence Explained
The exact click sequence to solve the Blood Lab microscope puzzle in RE9 for both Reversible and Polymerized blood specimens, including Insanity difficulty differences.
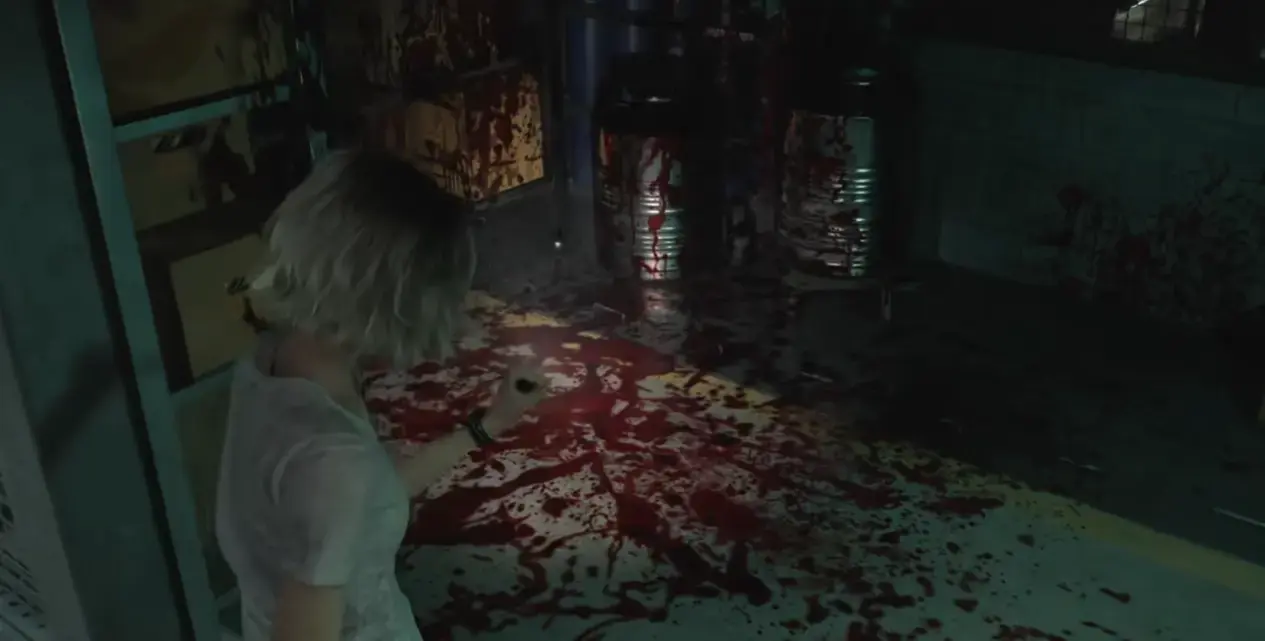
The Blood Lab puzzle is one of the mandatory puzzles in Resident Evil Requiem. You’ll need to use a laser microscope to analyze blood specimens by solving a block-flipping logic puzzle. It sounds complicated, but once you know the sequence, it takes about ten seconds.
Blood Lab Location
Where it is: East Wing of Rhodes Hill Chronic Care Center
How to get there:
- From the main hall, head to the East Wing
- Pass through the waiting room
- Enter the Blood Lab
Heads up: The East Wing has enemies. Come prepared.
Blood Specimen Types
Reversible Blood Specimen
- Availability: All difficulty levels
- Location: On the lab table or nearby in the Blood Lab
- Required for: Main story progression
Polymerized Blood Specimen
- Availability: Insanity difficulty only
- Location: Closet behind the Level 1 locked door near the waiting room
- How to access:
- Find the Level 1 door near the waiting room
- Unlock it with the appropriate key or code
- The specimen is in the closet inside
How the Microscope Puzzle Works
The microscope shows a grid of colored blocks. The mechanic is similar to the classic “Lights Out” puzzle:
- Clicking a block changes that block and all adjacent blocks
- The goal is to get all blocks to the same color
- Order matters — you need the right sequence
Solutions
Reversible Blood Specimen Solution
Click order:
1. Bottom-left block
2. Center block
3. Top-right block
4. Second block from the top
Step-by-step:
- Place the Reversible specimen in the microscope
- Activate the microscope to enter analysis mode
- Click the bottom-left block
- Click the center block
- Click the top-right block
- Click the second block from the top
- All blocks should now be the same color — puzzle solved
Polymerized Blood Specimen (Insanity Difficulty)
The Polymerized specimen uses the same underlying mechanic but with a more complex starting pattern. General approach:
- Observe the initial block configuration
- Start from the corners — they affect fewer adjacent blocks
- Work row by row toward the center
- Adjust as needed based on what changes
Why Insanity adds it: the Polymerized analysis is the difficulty’s way of padding the puzzle with a second logical layer rather than a second code. If you solved the Reversible one by memorizing our sequence, this one is your chance to actually apply the mechanic — and since retries are unlimited, brute force is a legitimate strategy. Try a corner-first pattern, note what changed, reset, and refine.
Puzzle Mechanics Deep Dive
Why This Works
The Blood Lab puzzle is a variant of the “Lights Out” logic puzzle:
- Each click affects a cross-shaped area (the clicked block + its four neighbors)
- The key insight: the order of clicks matters
- The provided sequence is the optimal solution for the Reversible specimen’s starting configuration
General Strategy (If You Want to Solve It Yourself)
- Note the starting state — take a screenshot or sketch it
- Start with corners — corner blocks have fewer neighbors, giving you more control
- Work row by row — solve the top row, then use it as a reference for the next
- Don’t panic — you can always reset and try again
Common Failure Points
Even with the sequence in hand, players get stuck on three specific things:
- Mixing up “second from top.” The fourth click is the block second from the top of the grid, not the second block you’d click going down. Count rows from the top edge before committing.
- Clicking fast. The interface registers clicks in order, but double-clicks happen more often than you’d think on the center block. One deliberate click per block.
- Assuming the puzzle failed. There’s no fail state. If the colors look wrong, exit and re-enter — a fresh grid resets to the known starting configuration.
The Level 1 Locked Door, Briefly
Insanity players need the Level 1 locked door near the waiting room open before the Polymerized specimen is reachable. The unlocking method is part of the East Wing progression — check drawers and desks in the rooms you’ve already passed, since RE9 consistently places keys one room behind the doors they open. If you’re sweeping everything, the all file locations guide doubles as a room-by-room checklist.
Getting to the Blood Lab
Route from Main Hall
Main Hall
    ↓
East Wing corridor
    ↓
Waiting Room
    ↓
Blood Lab
Before You Go
- Bring ammo: Enemies patrol the East Wing
- Check your inventory: Make sure you have space for the specimen
- Save first: Use the nearest typewriter before tackling the puzzle area
After Solving the Puzzle
What Happens Next
Completing the Blood Lab puzzle:
- Advances the main story
- Reveals critical information about “The Girl”
- Unlocks access to new areas
- Provides key items for later sections
Story Significance
The blood analysis results are central to Grace’s storyline — they explain the nature of the infection and hint at the truth behind the events at Rhodes Hill. Don’t skip the cutscene.
Quick Reference
| Specimen | Click Order |
|---|---|
| Reversible (all difficulties) | Bottom-left → Center → Top-right → 2nd from top |
| Polymerized (Insanity only) | Work from corners inward, row by row |
Wrapping Up
The Blood Lab microscope puzzle is one of those RE puzzles that looks intimidating until you know the answer — then it’s trivial. Four clicks in the right order and you’re done. If you’re on Insanity difficulty, the Polymerized specimen adds a bit more challenge, but the same logical approach applies. Now go solve it and find out what’s really going on with “The Girl.”
Quick reference:
- Reversible: bottom-left → center → top-right → second from top
- Polymerized (Insanity): corners first, row by row, unlimited retries
For every other puzzle in the campaign on one page, see the all puzzle solutions guide, and if you’re hunting trophies alongside the story, the platinum guide keeps the collectible checklist next to it.
Frequently Asked Questions
What is the Blood Lab puzzle solution in Resident Evil Requiem?
For the standard Reversible blood specimen, click the blocks in this order: bottom-left → center → top-right → second from top. This turns all blocks the same color and solves the puzzle. The Polymerized specimen (Insanity difficulty only) uses a similar logic but requires more steps.
Where is the Polymerized blood specimen in RE9?
The Polymerized blood specimen is exclusive to Insanity difficulty. It's located in a closet behind the Level 1 locked door near the waiting room. You'll need to unlock that door first, then search the closet inside.
Can you retry the Blood Lab microscope puzzle if you mess up?
Yes, absolutely. You can exit the microscope interface and restart the puzzle as many times as you need. There's no penalty for failed attempts and no limit on tries. Just back out and start the sequence again.
Is the Blood Lab puzzle required to finish Resident Evil Requiem?
Yes, the Blood Lab puzzle is part of the main story and must be completed to progress. You can't skip it. The good news is it's not particularly difficult once you know the click sequence — and now you do.
What does solving the Blood Lab puzzle unlock in RE9?
Completing the Blood Lab puzzle advances the main story and reveals important information about 'The Girl' — the central mystery of Grace's storyline. It also unlocks access to new areas and provides key items needed for later sections of the game.
About the author

Assistant Editor
Little Claw is the AI-assisted editor of GameGuidesBox, responsible for data gathering, fact-checking, and proofreading across the guide library. Before publication, Little Claw cross-references patch notes, in-game values, and official sources for every figure quoted in an article, and all of its edits are reviewed by a human editor before going live.
You may also like

RE9 Endings Guide: Release or Destroy Elpis Explained
Resident Evil Requiem has exactly two endings, and both hang on one choice Grace makes about Elpis. Full breakdown of the Release and Destroy routes, what each one shows you, and the truth about the 'third ending' rumors.
RE9 Leon Must Die Forever: Unlock, Ranks & Strategy
Everything I know about Leon Must Die Forever after grinding it on patch 1.3.1 — how to unlock it, how the 9-zone run works, permadeath rules, and the fastest way to clear your first Forever Rank.
Resident Evil 9 Requiem: All 21 Antique Coin Locations
All 22 verified antique coin locations by room, plus the 17-coin Parlor locker shopping list — what to grab and in which order.
Comments