Crimson Desert Abyss Cores: Complete Crafting Formula & Tier 3 Upgrade Guide
There are no Abyss Core crafting formulas and no Tier 4 durability decay. Here is the real upgrade path — Sealed Abyss Artifact payouts, the I/II/III variant ladder, and where materials actually get spent on refinement.
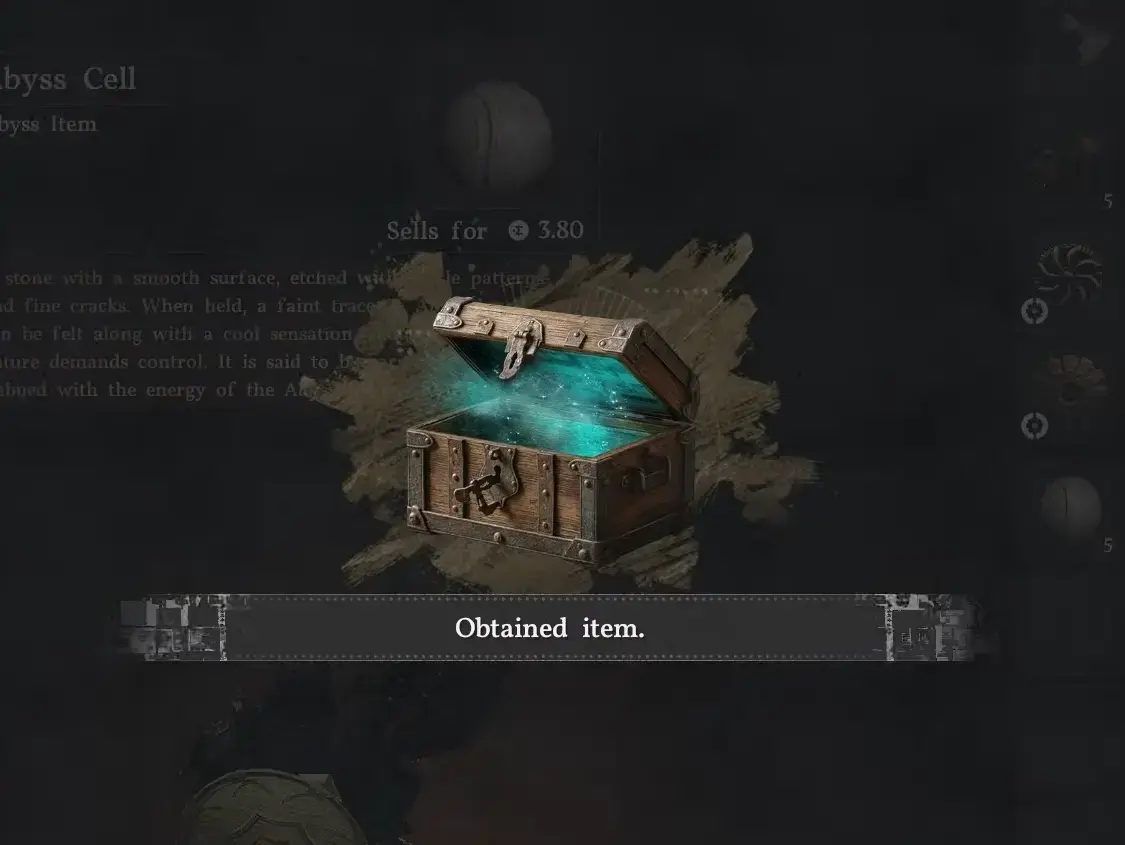
The honest version of this guide starts with a retraction. Abyss Cores — properly called Abyss Gear — are not crafted. There is no formula table, no Tier 4 core with a durability bar that eats your rare materials, and no upgrade bench that turns a Destruction I into a III. What the “crafting formula” search maps onto is three different things: the payout recipe for the Sealed Abyss Artifact challenges that hand out Gear, the socketing step where an NPC fits that Gear into your equipment, and the refinement plus Extraction economy where your ore actually goes.
I ran this correction because the earlier draft of the page published an invented tier system, and readers were farming materials for an upgrade path that does not exist. Sorry for the wasted hours. Here is what the item database and patch notes support.
Abyss Gear: What It Is, Briefly

Abyss Gear components “can be slotted into your equipment’s sockets to give them bonus effects” — that is the whole system. Each entry declares which slots accept it: melee weapons, bows, armor, shields, gloves, footwear. Some are passive numbers (“Attack +3”), some are active (“Summons a murder of crows to viciously attack nearby enemies”).
The naming in coverage is inconsistent, which is why both “Abyss Core” and “Abyss Gear” appear. Game8 captions the items as “Aegis I Abyss Core” while titling the list Abyss Gear. Same objects.
How Socketing Actually Works
This is the NPC step the old draft got wrong in both directions — it invented a crafting bench, then a later correction overwrote the very real socket service with “no Witch NPC exists.” The socket service is real. What is not real is crafting or upgrading Gear at it.
Guides that document the procedure have you do this:
- Reach the socket NPC. Chinese-language walkthroughs name her as the witch Sylvia and tie access to the Chapter 1 questline ending in the “Abyss Without Balance” chain (Hernand, the Axiom Archive area). [Unverified: the NPC name and quest gate come from a single March 2026 walkthrough; the English-language quest guides for that same quest name only the White Crow, so treat “Sylvia” as reported, not confirmed]
- Fit the Gear for a small gold fee. Socketing is not free — it costs a modest amount of gold per fit.
- Create a socket first if the piece has none. Not every drop arrives socketed. Equipment without a slot needs one created, and that step is paid in silver.
- Swap freely. A Gear pulled out of a socket stays in your inventory and can be fitted to another piece — the component is not consumed. No source publishes a removal fee, so budget for the possibility but do not plan around it.
The practical consequence for a build plan: the socket, not the component, is the expensive part. Gold and silver are trivially farmed, so the real cost of a wrong socket decision is the trip back to the NPC, not the materials. That is the opposite of the old “Tier 4 durability sink” story, and it means you should be experimenting more, not less.
The Payout “Formula” That Actually Exists
This is the closest thing to a crafting recipe in the system, and it is a reward chain rather than a bench:
Pick up Sealed Abyss Artifact → complete its task → use the sealed item from inventory
→ 1 Abyss Artifact + 1 Faded Abyss Artifact + 1 Abyss Gear
Destruction II is the commonly logged Gear reward on this route. The full task list lives at PowerPyx — All Operation Challenges.
Two distinctions that keep tripping people up:
- Abyss Artifacts are the stat currency. Health, Stamina and Spirit are upgraded with them, and the upgrades are shared across Kliff, Oongka and Damiane — so island clears you skip “for your main character” still pay.
- Abyss Gear is the socket component. It comes from the sealed variants above and from ordinary loot, not from Artifacts.
- Faded Abyss Artifacts are the respec token, and they are the reason the sealed chain is worth running even on a character you do not play. One Faded Artifact consumed in the Skill Tree menu resets that character’s standard skill points and refunds them in full; skills unlocked by observation stay permanent. Details in the beginner guide’s respec note and the Enhanced skills and Abyss Link guide.
Abyss Islands sit underneath both. Each island is an environmental power-routing puzzle restored from its Abyss Nexus; clearing it pays 1 Abyss Artifact plus material chests, and the Nexus stays as a fast-travel point afterwards. Many islands are gated behind a Skybridge that only unlocks when you finish the previous island (Crow’s Nest → Monolith Crown; Passage of Malice behind Spire of Frost), so the chain order is fixed whether you like it or not.
The Real Tier Ladder: I → II → III
No durability. No decay. The Roman numeral is the effect level, and the top variant of a family is simply the one you want:
| Family | Variants | Top variant effect (quoted) |
|---|---|---|
| Destruction | I, II, III | ”Attack +3” — Weapons, Gloves, Footwear |
| Haste | I, II, III | ”Movement Speed Lv 3” — Armor |
| Aegis | I, III | ”Damage Reduction 3.0” — Armor, Shields |
| Vigor | I, III | ”Stamina Regen +6%” — Armor |
| Gourmet | III | ”Food Effect Lv +3” — Armor |
| Infinite Arrows | III | ”+60% chance to not consume arrows” — Bow |
| Insight / Swift | I, III | — |
| Malicebane | I | ”+4.0% damage to mighty foes” — Weapons, Gloves, Footwear |
Source: Game8 — Abyss Gear list.
So “how do I get to Tier 3” is really “which III entries can I aim at, and what content yields them” — and the honest answer to the second half is still community-tracked rather than published. See Needs Verification below.
Where Materials Actually Get Spent: Refinement and Extraction
Equipment refinement runs base → +10 and consumes the ore you gather while travelling. When you outgrow a refined piece, the smithy’s Extraction service — added in update 1.06.00 — claws materials back:
| Material | Returned by Extraction |
|---|---|
| Iron ore, copper ore, bloodstones | ~70% |
| Artifacts, Aeserion’s scale | 100% |
That 30% haircut on common ore is the number that should shape behaviour: refine the pieces you intend to keep. Refining a transition weapon and swapping two chapters later is a guaranteed partial loss. Artifacts and Aeserion’s scale coming back at 100% is the one forgiving part of the system.
Other real sinks in the same economy: Crude Gold Bars, Gear Blueprints, and consumable Grindstones / Anvils that grant temporary attack or defense boosts. Those consumables are the closest thing the game has to a decay mechanic — which is, I suspect, where the invented “Tier 4 durability” story originally came from.
Farming Discipline: Gather While Moving
Ore nodes sit along main quest routes. Detouring for a mining node is the same mistake as detouring for a chest you do not need — the efficient habit is gathering during travel and letting refinement decisions fall out of what you keep.
The genuinely scarce resources in Crimson Desert are Abyss Artifacts (stat points, gated behind island clears and their Skybridge chain) and high-numeral Gear (gated behind Sealed Artifact tasks). Ore regenerates through normal play. Those two do not.
Common Mistakes
- Looking for a core-crafting bench. It does not exist — but the socket NPC does. Farm Gear from Sealed Artifact tasks, then pay the gold fit fee.
- Refining gear you will replace. Extraction returns ~70% of common ore; the loss is permanent.
- Treating I/II/III as craftable steps. They are separate drops. The II version in your socket is not “in progress” toward the III.
- Skipping islands because you do not play that character. Artifacts are one pool of drops, and the three stat lines exist on all three protagonists — but the caps differ per character (Health 18, Stamina 14 on Kliff and Damiane against 12 on Oongka, Spirit 12), so plan the spend for whoever you actually play. See the early Artifact guide for the caps table.
- Assuming any socket entry fits anywhere. Infinite Arrows III is a Bow entry; it is dead weight if you drop the bow.
- Belonging to a “Warrior/Mage/Ranger” mental model. The game gives you Kliff, Oongka and Damiane. Build around slots and weapons, not classes.
Needs Verification
- Per-entry drop sources. Which island, boss or chest yields which numbered Gear variant is community-reported, shifts with patches, and is not published by the developer.
- The socket NPC’s name and quest gate. “Sylvia” and the Abyss Without Balance unlock appear in one March 2026 walkthrough and are not corroborated by the English quest guides for the same quest. The gold fit fee and silver socket creation are from that same single source. [Unverified]
- Removal fee. Components are confirmed reusable after removal; whether removing one costs currency is unpublished.
- Socket counts per equipment piece. Slot types are documented; how many sockets a given armor or weapon carries is not.
- Exact scaling between I → II → III beyond the quoted III values above.
- Whether “Abyss Shard”, “Protection Stone” or “Enhancement Crystal” exist as items. They appeared in an earlier version of this page and I cannot find them in any database. [Unverified — assume invented until proven]
Patch references (1.06.00 Extraction) come from official notes and trackers; check your build if you are behind it.
Related Guides
- Abyss Cores socket priority by playstyle
- Skill observation and boss learnable skills
- Early stamina and stat points, levels 1-20
- Crimson Desert guide hub
Sources:
Frequently Asked Questions
Are Tier 4 Abyss Cores worth crafting in Crimson Desert?
Neither half of that question survives contact with the game. There is no Tier 4 core with a durability bar, and there is no crafting bench for cores at all. Abyss Gear ships in numbered variants of the same effect — Haste I, II and III, Destruction I, II and III, Aegis I and III, Vigor I and III — and you get the better one by finding it, not by crafting it.
Where do I craft Abyss Cores in Crimson Desert?
You do not craft them — there is no core-crafting bench or upgrade formula in any database. Abyss Gear comes from Sealed Abyss Artifact challenges and, for the weaker numeral variants, from ordinary loot and boss kills. The NPC step that does exist is socketing: coverage reports a witch named Sylvia who fits Gear into equipment for a small gold fee. Smithies are where materials go — but for equipment refinement, not for socket components.
How do I upgrade Abyss Cores to Tier 3?
By replacing them. The I / II / III numerals are levels of one effect, so the 'upgrade' is finding the III version: Infinite Arrows III is quoted as "+60% chance to not consume arrows", Haste III as "Movement Speed Lv 3", Destruction III as "Attack +3". Work the Sealed Abyss Artifact challenge chain rather than hunting for a formula.
What is the best Abyss Gear for early game in Crimson Desert?
Take whatever fills your main weapon and armor sockets first, then aim early at Destruction III ("Attack +3", accepted by Weapons, Gloves and Footwear) and Aegis III ("Damage Reduction 3.0", Armor or Shields). Both slot into pieces you will keep wearing for dozens of hours, so they hold value across character swaps.
Can I move an Abyss Core between gear pieces in Crimson Desert?
Yes. Sources that document the socketing steps state that a removed Gear comes back out reusable and can be fitted to another piece, so socket planning is not permanent. Two costs to expect: fitting Gear burns a small amount of gold, and equipment that arrives without a socket needs one created with silver first. The exact removal fee is not published — [Unverified] — but the component itself is not consumed.
What do materials like iron ore and bloodstones get spent on?
Equipment refinement, which runs from base to +10. When you abandon a refined piece, the smithy's Extraction service (added in update 1.06.00) returns roughly 70% of iron ore, copper ore and bloodstones, and 100% of Artifacts and Aeserion's scale.
About the author

Editor-in-Chief
Jack Cao is the founder and Editor-in-Chief of GameGuidesBox. He has been writing practical game guides for over a decade, specializing in action RPGs, extraction shooters, and competitive FPS. Every guide he signs is playtested first-hand: his logged test time includes 47 hours across two Crimson Desert playthroughs with DPS verification, 180 hours building a full Windrose settlement, and 45 hours across six Yunyun Syndrome endings runs. Favorite games include Titanfall 2, Baldur's Gate 3, Metro, PUBG, and CS2.
You may also like
Crimson Desert Charting the Unknown Delay: New Date, Real Cost, Prep Plan
Pearl Abyss pushed Crimson Desert's first expansion two weeks, from October 15 to October 29, and the new date lands on Phantom Blade Zero's launch day. Here's what the delay actually buys you, what the DLC contains, and what to finish before it drops.
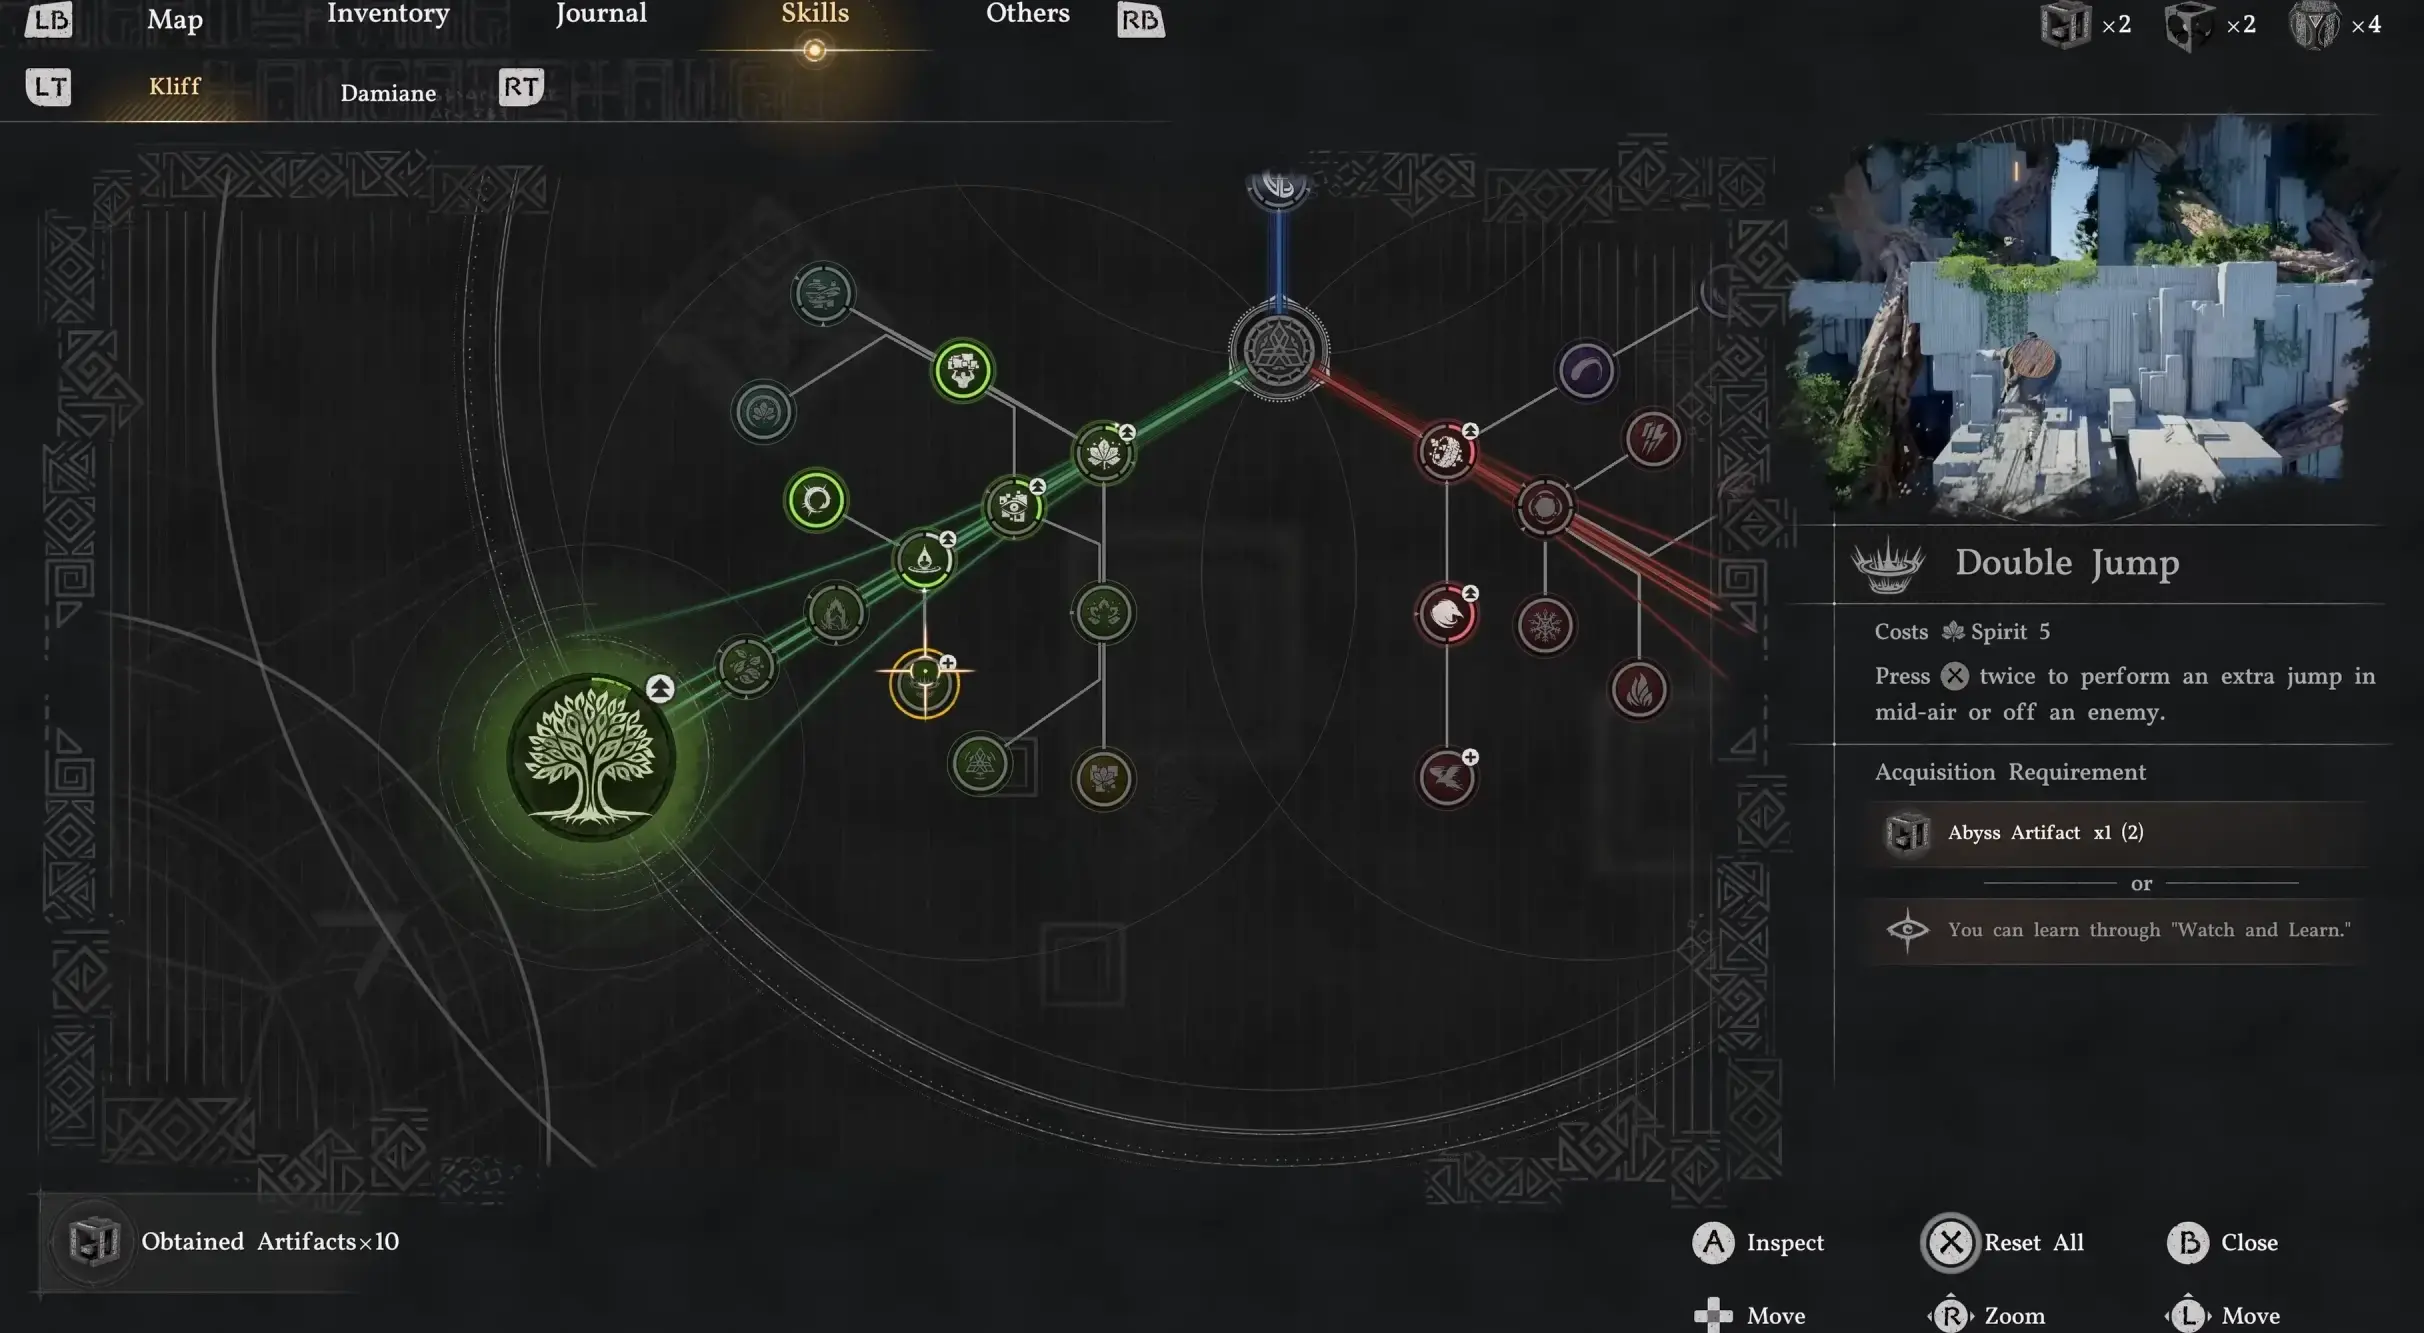
Crimson Desert Enhanced: New Kliff Skills & Abyss Link
The free Enhanced upgrade (2.00) added 8 Kliff skills and the Abyss Link respec system. Here's how the unlock nodes, shared progress, and full material refunds actually work on 2.03.

Crimson Desert 2.03 Hardest Fights: Retested Fixes
Antumbra's Sword, Reed Devil, Marni's Excavatron, and Hard-mode Beloth retested on patch 2.03. Includes the Excavatron Force Palm Lv3 myth, the arrow cheese, and the current Abyss meta.
Comments