Crimson Desert Open World Map Guide: 5 Regions & Points of Interest
Navigate Pywel's five major regions — every point of interest, Abyss Nexus waypoint, secret location, and hidden collectible mapped out.
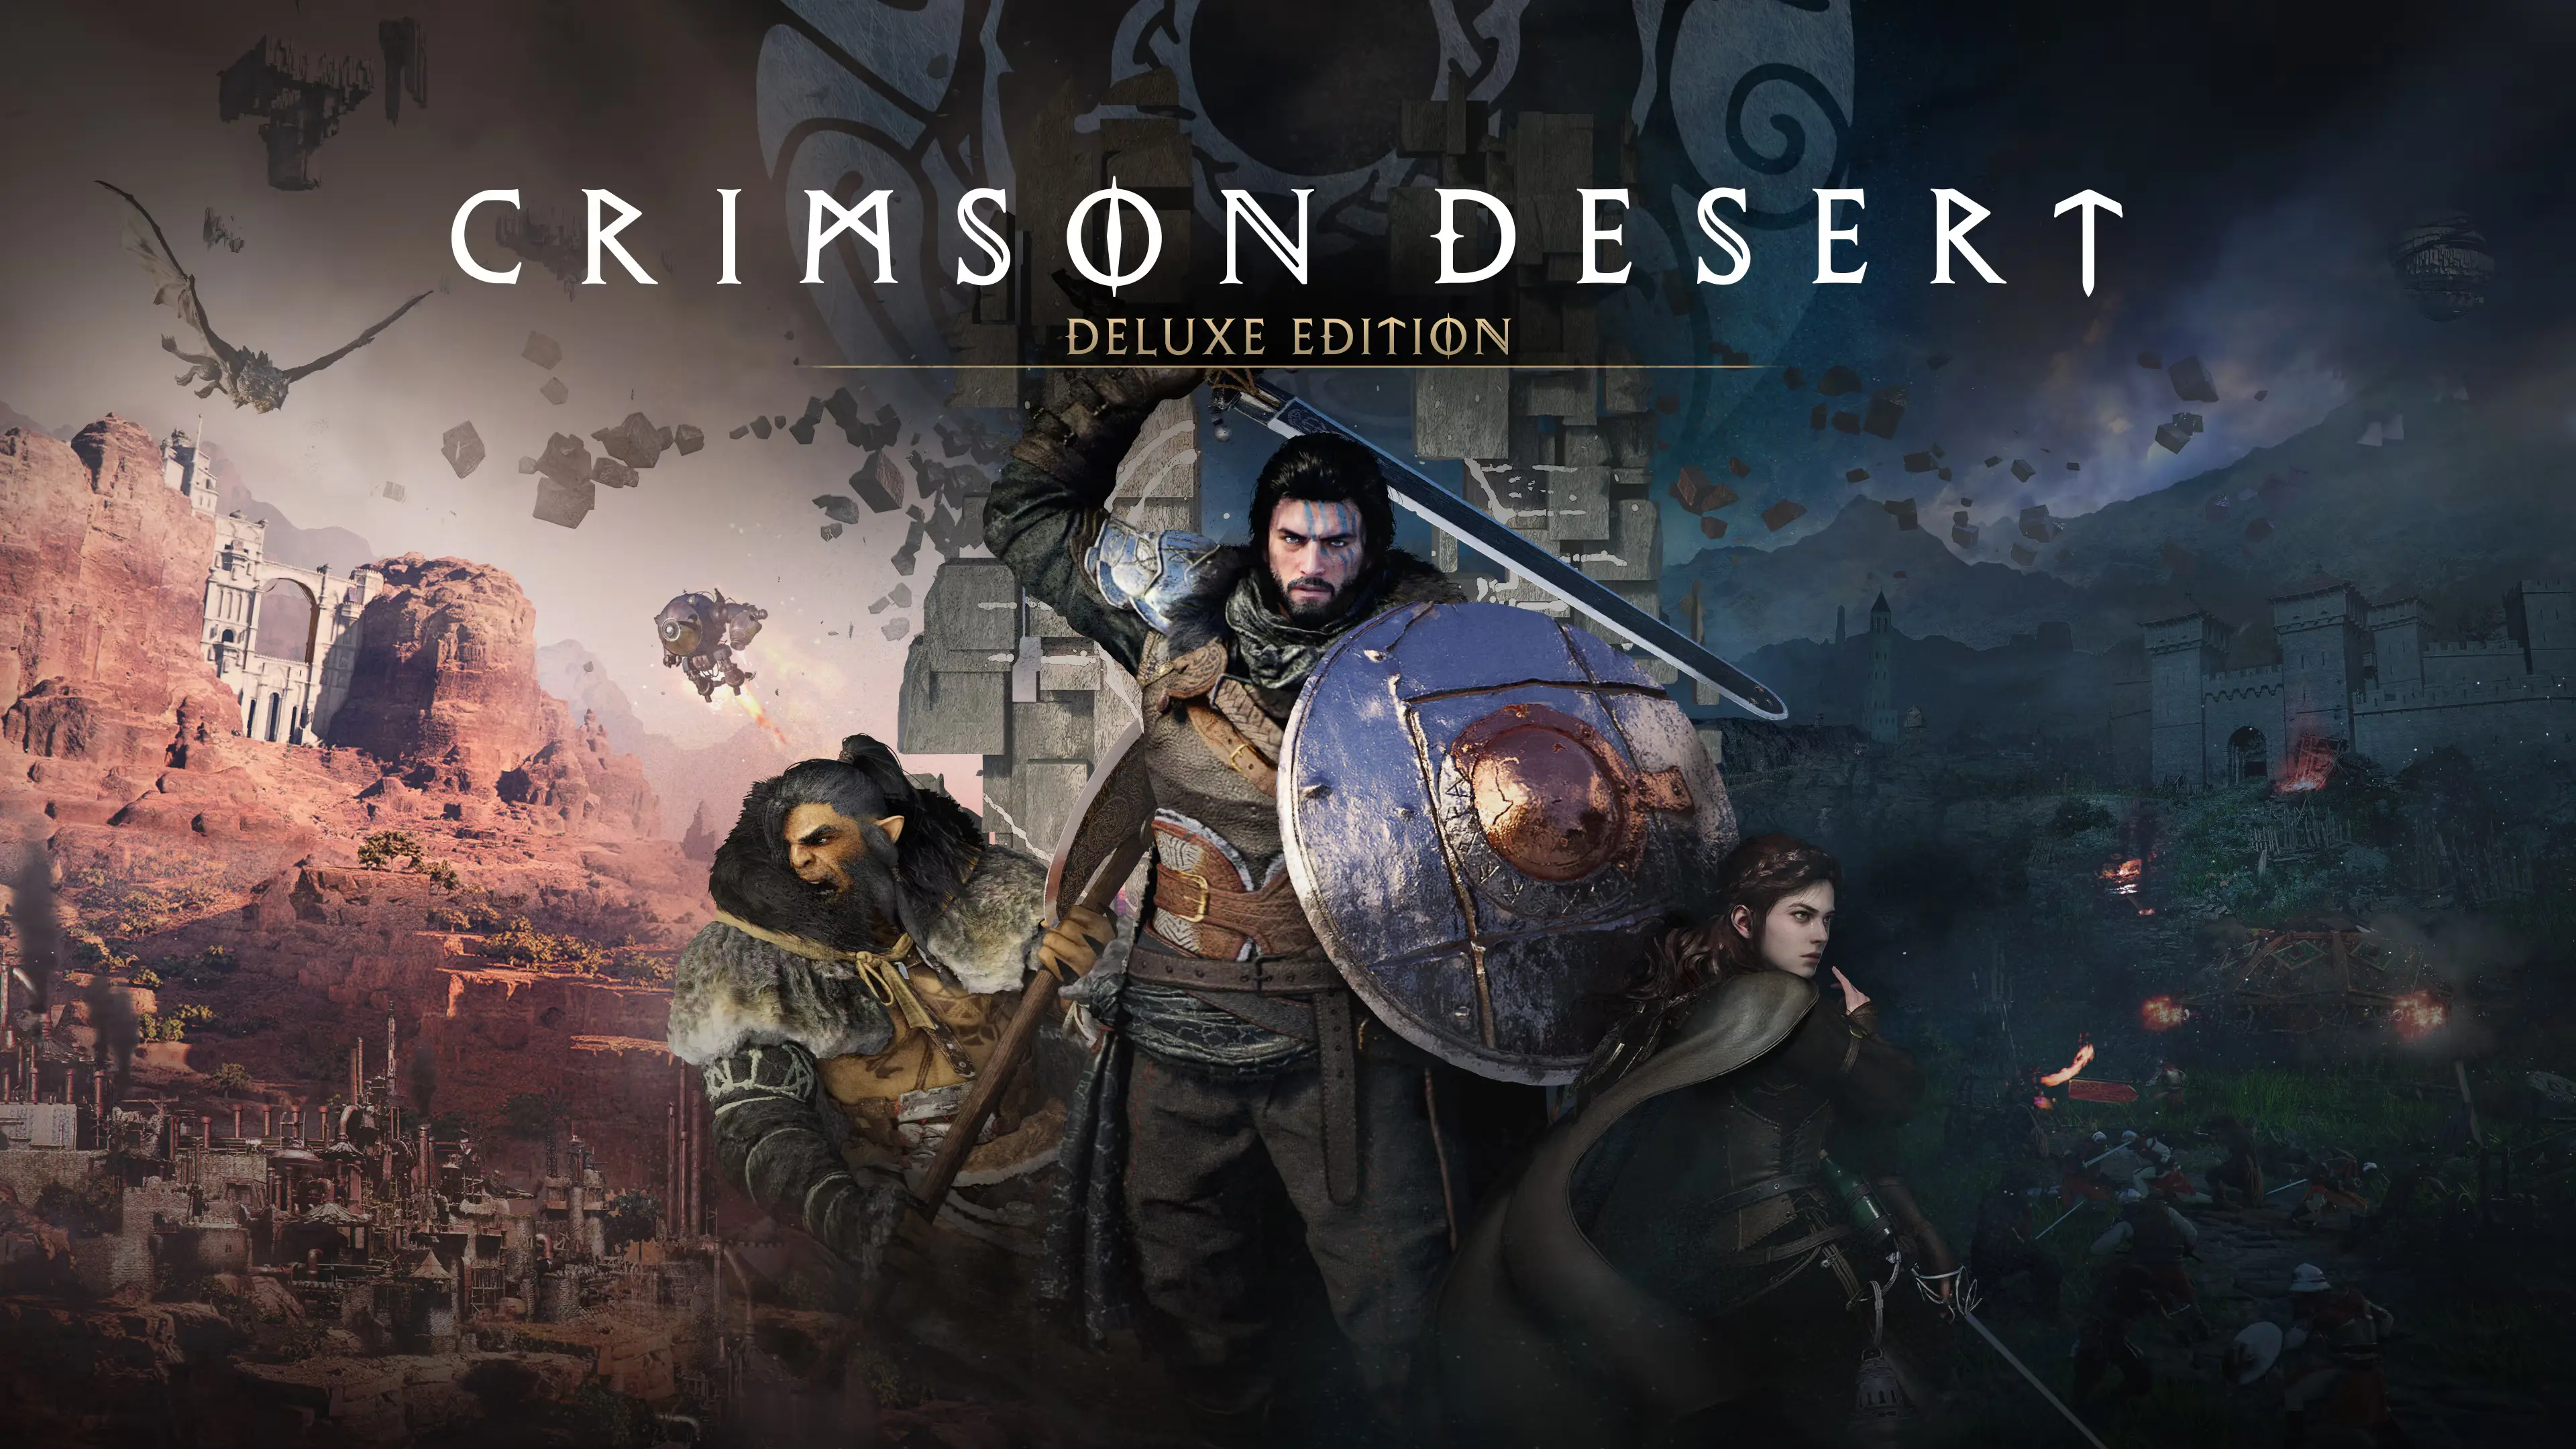
Table of Contents
- Preparation Checklist
- The Five Regions of Pywel
- Abyss Nexus: Fast Travel Network
- Secret Locations & Collectibles
- Points of Interest by Region
- Important Notes
- Rewards
- Final Take
Preparation Checklist
The Pywel continent is massive — traversing it top to bottom on horseback takes roughly 15 real-time minutes. Without a map strategy, you’ll spend more time riding than playing. Here’s what to set up before you start exploring seriously.
Essential tools:
- Guiding Light skill — your sword’s exploration mode that reveals nearby waypoints with a distinct azure aura. This is the single most important exploration tool in the game.
- Mount — a tamed horse drastically reduces travel time. See the mount and fast travel guide for taming details.
- Vertical mobility skills — hovering and mid-air thrust attacks are required to reach many collectibles perched on tall rock formations or across chasms.
Exploration priority order:
- Unlock all Abyss Nexus waypoints in your current region (free fast travel, no currency cost)
- Clear secret locations in the area (60 total across the map)
- Visit Witch Sanctums before starting related questlines (free deep-tier equipment)
- Locate Highland Mine and hidden waterfall caves for early crafting materials
Practical note: I wasted two hours riding back and forth across Hernand before unlocking my first cluster of Abyss Nexus points. The Guiding Light skill pays for itself within the first region. Use it constantly — not just when you’re “looking for waypoints.”
The Five Regions of Pywel
1. Hernand — The Starting Territory
Terrain: Rolling hills, frozen mountains, and castle ruins. The tutorial region with moderate enemy difficulty.
Key landmarks:
- Hernand Square — first boss encounter (Matthias)
- Hernand Castle — Kearush the Slayer patrol zone
- Frozen Soul Mountain — Reed Devil encounter, subterranean paths with toxic vegetation
- Howling Hill — Greymane camp location (unlocks Chapter 3)
- Highland Mine — southeast cave with early precious gems for crafting
Exploration notes: Hernand’s steep drops and underground tunnels hide several secret locations. The toxic vegetation near the southern mountain paths deals continuous damage — bring resistance food or avoid those zones until you have better armor.
Enemy density: Moderate. Mostly bandit camps and roaming beast packs. Elite enemies guard the castle approaches.
Abyss Nexus count: ~8 waypoints
2. Demeniss — The Coastal Warzone
Terrain: Seaside cliffs, rock column formations, and temple complexes. Mid-game difficulty with aggressive aerial enemies.
Key landmarks:
- Southeastern Temple Cluster — dense collectible area with multiple secret locations
- Coastal Rock Columns — vertical exploration challenges requiring precise gliding
- Crowcaller’s Territory — aerial boss zone
- Western Fortress — Tenebrum encounter and siege battle location
Exploration notes: Demeniss has the highest concentration of seaside collectibles. The rock columns require you to glide between formations — many secret locations sit on top of pillars that are only reachable from specific launch points. The southeastern temple area alone contains 4-5 secret locations within a small radius.
Enemy density: High. Aerial enemies patrol constantly, and coastal fortress sieges trigger on approach.
Abyss Nexus count: ~10 waypoints
3. Delesyia — The Island Frontier
Terrain: Coastal peninsulas, island chains, and submerged ruins. Late-game difficulty with environmental hazards.
Key landmarks:
- Island Spire Formations — require precise gliding to reach halfway ledges
- Coastal Landmarks — scattered across the peninsula chain
- Location 35 approach — demands consecutive aerial boosts to reach a mid-air ledge
Exploration notes: Delesyia is where vertical mobility skills become mandatory. Location 35 specifically requires a precise glide to a halfway ledge — miss the angle and you fall into the ocean. Bring stamina tonics for the extended aerial sequences.
Enemy density: Moderate-High. Island-specific enemies with unique attack patterns.
Abyss Nexus count: ~8 waypoints
4. Pailune — The Heartland
Terrain: Central plains, trade routes, and fortified settlements. The political center of Pywel with mixed difficulty scaling.
Key landmarks:
- Trade Route Networks — major NPC caravans and faction conflict zones
- Fortified Settlements — siege battle locations
- Central Temple Complex — quest hub for main story progression
Exploration notes: Pailune is the most densely populated region with NPC activity. Many secret locations here are hidden in plain sight — behind buildings, inside restricted areas, or beneath structures that require specific attack angles to reveal. The interactive map for Pailune shows the highest marker density of any region.
Enemy density: Variable. Settlement areas are safe; trade routes have periodic ambush encounters.
Abyss Nexus count: ~10 waypoints (estimated — some remain unmapped)
5. Varnia — The Northern Frontier
Terrain: Expanding territory with mountain passes and frontier outposts. End-game difficulty with the highest-tier enemies.
Key landmarks:
- Northern Reconstruction Zone — Chapter 7 major camp expansion location
- Mountain Pass Fortresses — siege encounters with mechanized defenses
- Frontier Outposts — faction conflict escalation zones
Exploration notes: Varnia is the newest fully realized region, with ongoing content additions. Some areas remain under development — new scenes and locations are being added through updates. The mountain passes contain some of the most dangerous enemy encounters in the game.
Enemy density: Very High. End-game enemies with complex attack patterns and super armor variants.
Abyss Nexus count: ~10 waypoints (estimated)
Abyss Nexus: Fast Travel Network
How the System Works
The Abyss Nexus is Crimson Desert’s fast travel network — 46 circular stone pads scattered across all five regions. Once activated, teleportation between any two Nexus points is instant and completely free.
Activation process:
- Use Guiding Light to scan for nearby Nexus pads (they appear as blank white markers on the map before activation)
- Follow the azure aura to locate the physical stone pad
- Stand motionless on the disc for 2-3 seconds
- The map icon turns from white to sapphire blue — waypoint secured permanently
Restrictions:
- Cannot teleport during combat, while swimming, or during certain narrative sequences
- Enemies guarding a pad must be defeated before activation
- If a pad fails to activate, move approximately 50 meters away to reset any hidden aggro, then retry
- No permanent missable waypoints — all remain accessible, though some end-game nodes require story progression
Strategic priority: Unlock every Nexus point in a region before moving to the next. The free teleportation saves hours of riding time over the course of a playthrough. Completionists should aim for all 46 points — the network connects to the mount system for maximum mobility.
War Fog Clearing
The map starts mostly covered in war fog. Fog clears as you physically travel through areas — on foot, mounted, or via fast travel to a newly discovered Nexus point. Activating a Nexus reveals the immediate surrounding area but doesn’t clear the entire region.
Efficient fog clearing:
- Ride along region borders to reveal the maximum map area
- Use elevated positions (cliff edges, mountain peaks) to reveal larger fog sections
- Combine mount travel with Guiding Light scans to discover Nexus points while clearing fog
Secret Locations & Collectibles
The 60 Secret Places
Crimson Desert hides 60 secret locations across the map, marked as white question marks that appear when you use Guiding Light nearby. These locations grant skill upgrades, transit node access, and progress toward a major exploration trophy.
Current mapping status:
- 43 locations documented and verified
- 17 locations presumed to be in Pailune or hidden territories not yet fully explored
Discovery method:
- Activate Guiding Light while exploring
- White question marks appear on the minimap for nearby secrets
- Navigate to the marker — many require vertical mobility to reach
- Interact with the secret location to collect rewards
Regional distribution:
| Region | Mapped Secrets | Notable Challenges |
|---|---|---|
| Hernand | 10+ | Subterranean paths, toxic zones |
| Demeniss | 12+ | Rock column gliding, temple puzzles |
| Delesyia | 8+ | Island hopping, aerial boost sequences |
| Pailune | 6+ (estimated) | Hidden urban locations |
| Varnia | 7+ (estimated) | Mountain pass navigation |
Vertical mobility requirements: Many secrets sit on tall rock formations or across chasms. Essential movement skills:
- Hover — maintain altitude while scanning for landing spots
- Mid-air thrust — extend horizontal distance during glides
- Double aerial boost — required for specific locations (e.g., secret #47)
Practical note: Secret #9 in the desert region requires gliding over quicksand — miss the trajectory and you sink, losing progress. Secret #37 has bug enemies camping the landing zone; clear them before attempting the collectible. Secret #47 demands consecutive aerial boosts with pixel-perfect timing.
Points of Interest by Region
Witch Sanctums (All Regions)
Three temples across the map that hold deep-tier equipment. Visit all three before starting the related questline to claim the gear without fighting. One specific temple also contains a powerful heavy blade weapon.
Priority: HIGH — free equipment with zero combat required if you visit early.
Highland Mine (Hernand)
Southeast cave yielding precious gems for early crafting. Located near the starting area — visit during your first Hernand exploration sweep.
Hidden Waterfall Caves (Hernand)
Use a piercing strike behind waterfall surfaces to reveal hidden loot. A specific cave north of the main waterfall provides the blueprint for resurrection pills (Palma Pills) — a critical crafting recipe for boss attempts.
Bandit Dwellings (Multiple Regions)
Clearing bandit camps unlocks nearby merchants selling raw metals for gear enhancement. Check your map for bandit icon clusters — each cleared camp adds a vendor to the area.
Ancient Ruins (All Regions)
Puzzle-based challenges scattered across Pywel. Each ruin contains a unique puzzle that rewards Abyss artifacts upon completion. Solutions often require specific weapon skills to interact with environmental mechanisms.
Important Notes
The map is bigger than it looks. At first glance, Hernand feels like the entire game. It’s not — the five regions combined create a massive continent. Budget your exploration time accordingly and don’t try to clear everything in one pass.
Guiding Light is not optional. Players who ignore the Guiding Light skill miss the majority of Abyss Nexus waypoints and secret locations. Use it as a habit — activate it every time you enter a new area.
Vertical skills unlock 30% more content. The secret locations that require hovering and mid-air thrusts contain some of the best skill upgrade rewards in the game. Invest in vertical mobility skills early, not as an afterthought.
Region difficulty scaling is real. Hernand enemies are manageable at level 10. Varnia enemies will delete you at level 10. Follow the story progression to naturally scale into each region’s challenge level.
War fog doesn’t clear from fast travel alone. You must physically travel through an area to reveal it on the map. Teleporting to a Nexus point reveals the immediate area, but surrounding fog requires mount or foot exploration.
Rewards
Completing regional exploration yields:
- Skill upgrades — from secret location collectibles
- Free equipment — Witch Sanctum visits before questlines
- Crafting materials — Highland Mine gems, waterfall cave blueprints
- Fast travel network — 46 free teleport points
- Merchant unlocks — from clearing bandit dwellings
- Exploration trophy — from collecting all 60 secret locations
- Abyss artifacts — from ancient ruin puzzles
The Wyvern Sanctum is one of the most rewarding exploration destinations — combining fast travel access with unique loot.
Final Take
Pywel’s five regions each have distinct personalities — Hernand’s castle ruins, Demeniss’s coastal warfare, Delesyia’s island challenges, Pailune’s political heartland, and Varnia’s northern frontier. The Abyss Nexus network ties them all together with free fast travel, and the 60 secret locations reward thorough exploration with meaningful upgrades.
The single biggest optimization: use Guiding Light constantly, unlock every Nexus point in each region before moving on, and invest in vertical mobility skills early. Players who follow this approach reach the endgame with a fully revealed map, instant travel options, and skill upgrades that make combat encounters significantly easier.
Don’t be the player who reaches Chapter 7 still riding across the map because they never bothered with fast travel.
Frequently Asked Questions
How many regions are in Crimson Desert's open world?
Crimson Desert features five major regions across the Pywel continent: Hernand, Demeniss, Delesyia, Pailune, and Varnia. Each region has distinct terrain, enemy types, and Abyss Nexus fast travel points totaling 46 waypoints across the entire map.
How do you reveal the map in Crimson Desert?
Use the Guiding Light skill (your sword's exploration ability) to reveal nearby Abyss Nexus waypoints as azure aura markers. The map fog clears as you physically explore areas on foot or mount. White question marks indicate undiscovered secret locations and collectibles.
Can you miss any map locations or collectibles in Crimson Desert?
No. All 46 Abyss Nexus waypoints and 60 secret locations remain accessible throughout the game. Some end-game nodes require story progression to reach, but nothing is permanently missable. The 17 unmapped secret locations are believed to be in Pailune or hidden territories.
About the author

Editor-in-Chief
Jack Cao is the founder and Editor-in-Chief of GameGuidesBox. He has been writing practical game guides for over a decade, specializing in action RPGs, extraction shooters, and competitive FPS. Every guide he signs is playtested first-hand: his logged test time includes 47 hours across two Crimson Desert playthroughs with DPS verification, 180 hours building a full Windrose settlement, and 45 hours across six Yunyun Syndrome endings runs. Favorite games include Titanfall 2, Baldur's Gate 3, Metro, PUBG, and CS2.
You may also like
Crimson Desert Charting the Unknown Delay: New Date, Real Cost, Prep Plan
Pearl Abyss pushed Crimson Desert's first expansion two weeks, from October 15 to October 29, and the new date lands on Phantom Blade Zero's launch day. Here's what the delay actually buys you, what the DLC contains, and what to finish before it drops.
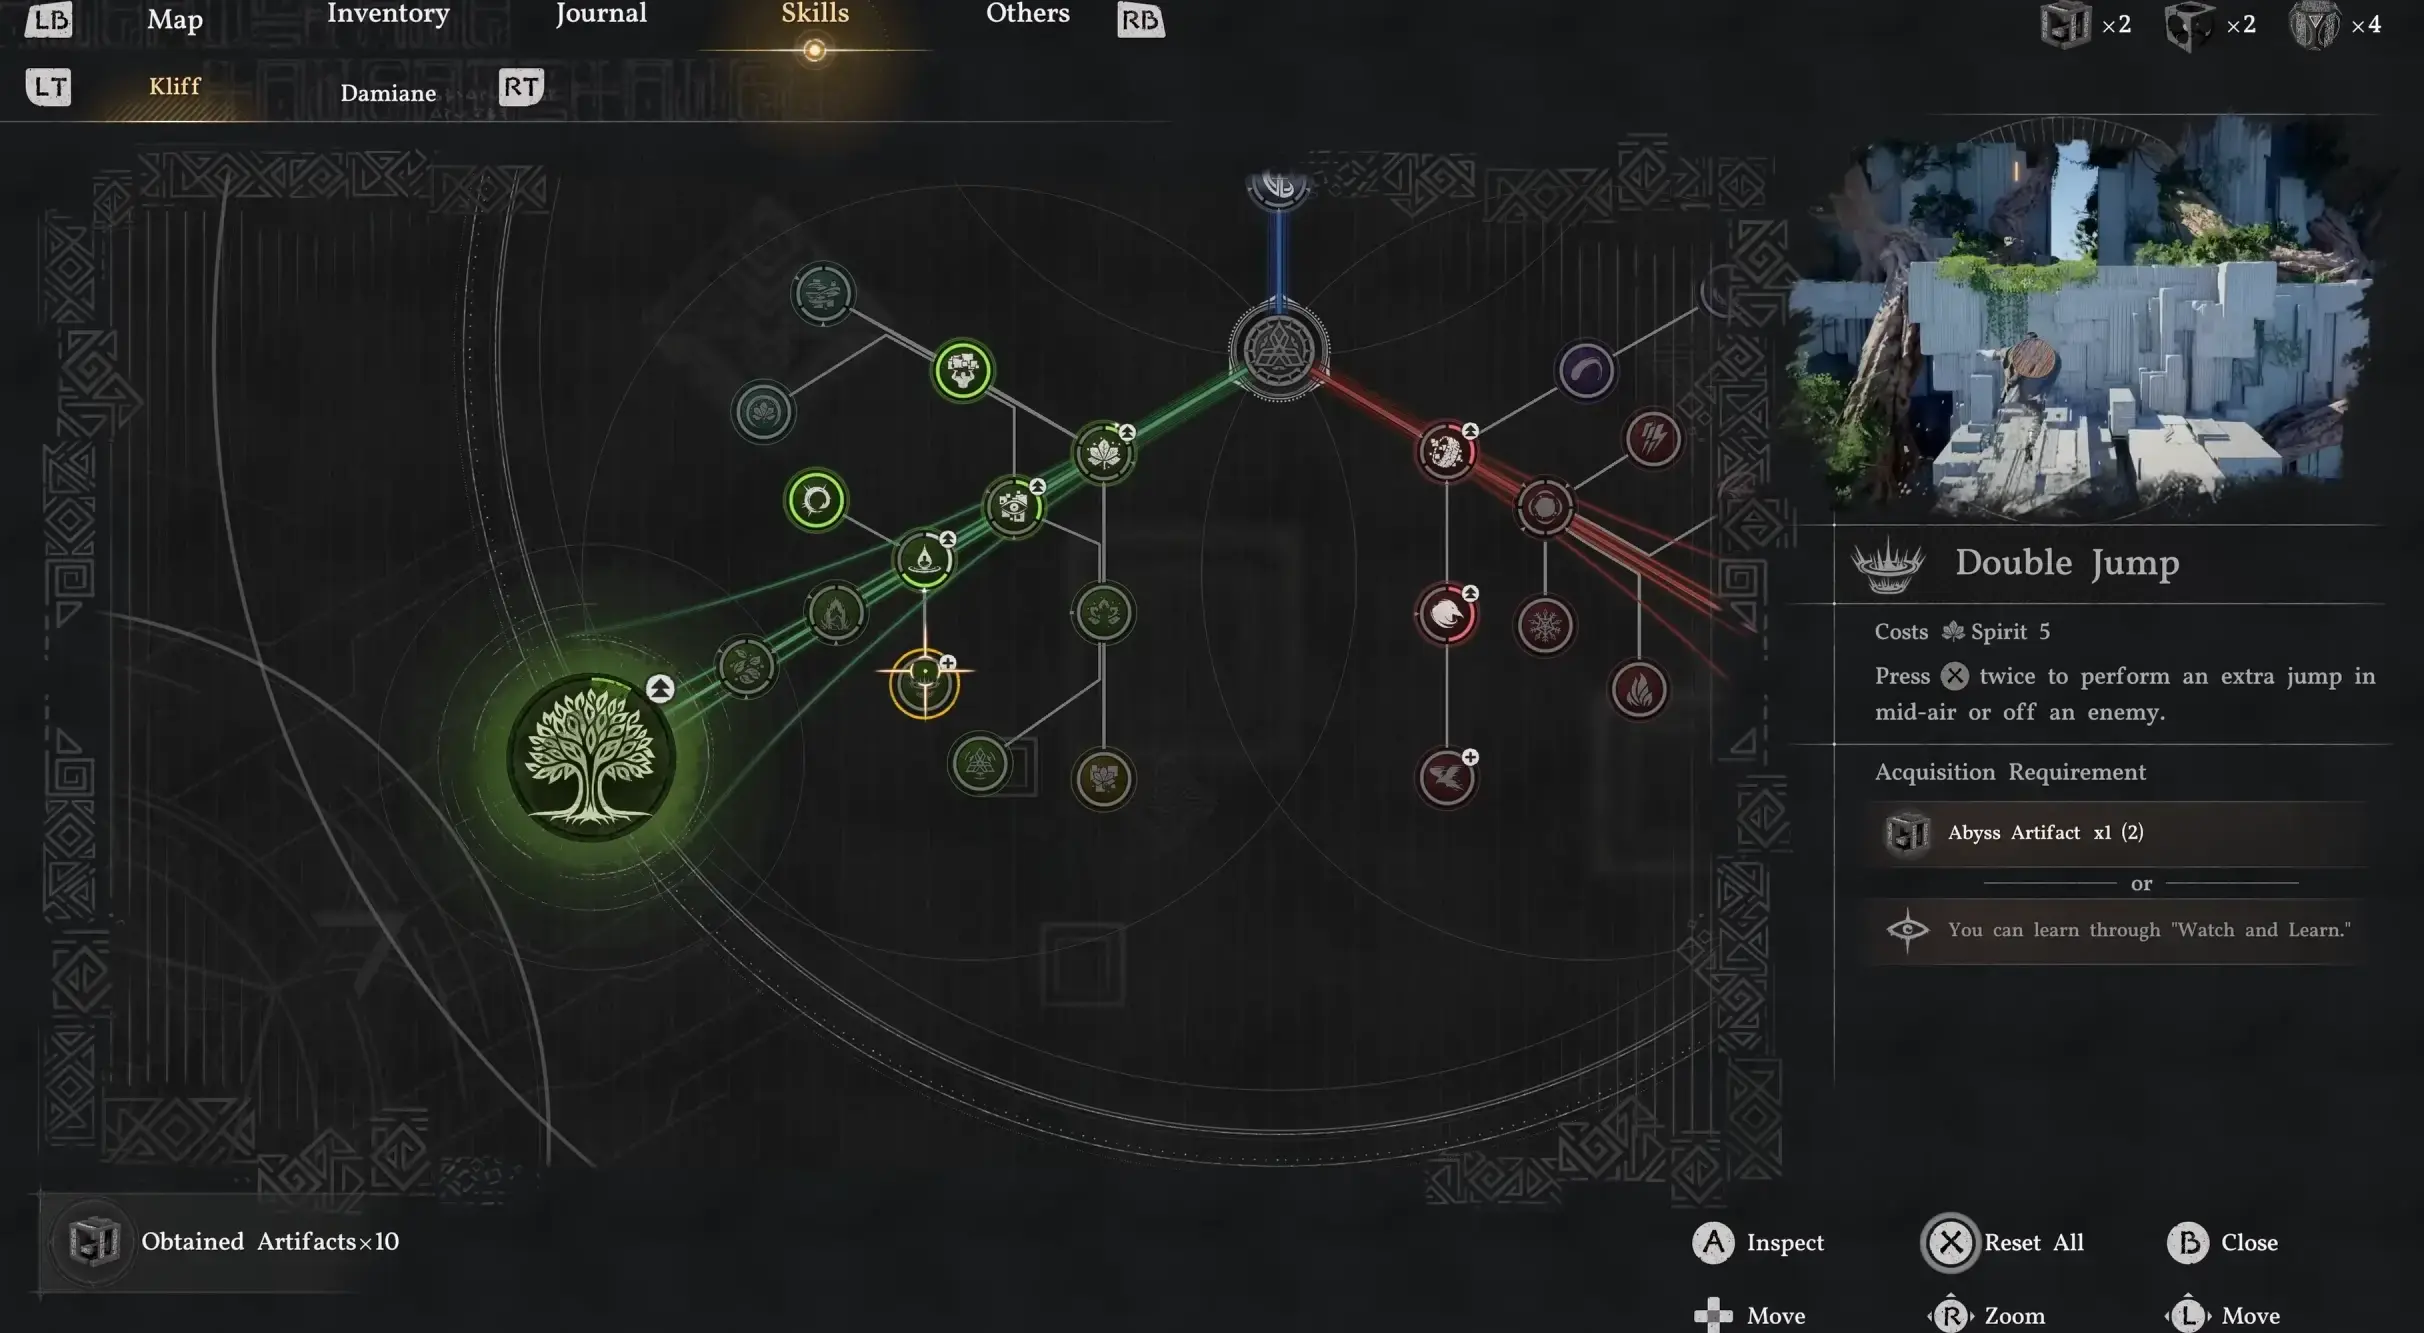
Crimson Desert Enhanced: New Kliff Skills & Abyss Link
The free Enhanced upgrade (2.00) added 8 Kliff skills and the Abyss Link respec system. Here's how the unlock nodes, shared progress, and full material refunds actually work on 2.03.
Crimson Desert 2.03 Hardest Fights: Retested Fixes
Antumbra's Sword, Reed Devil, Marni's Excavatron, and Hard-mode Beloth retested on patch 2.03. Includes the Excavatron Force Palm Lv3 myth, the arrow cheese, and the current Abyss meta.
Comments