Resident Evil 9 Requiem Platinum Guide Collectibles
Resident Evil 9 Requiem All Files, Antique Coins,Mr.Raccoon,Weapons,Safe Boxes, and Puzzles Guide Collectibles
Unlocking all key collectibles and puzzles in Resident Evil 9: Requiem and achieving the Platinum trophy is not an easy one-click task. This guide divides these elements into six categories: Files, Antique Coins, Mr. Raccoon, Weapons, Safe Boxes, and Puzzles, with the hope that it will be helpful on your Platinum journey.
1. Full File Collection
This game has more than 200 collectibles, and files are the core for understanding the story. The following key items are worth paying attention to, as I almost missed them and had to replay several times.
- Investigation Report: Found in the backpack at the beginning of the game with both Grace and Lee.
- Hotel-related: Includes the Travel Guide, Hotel Floor Plan, and the essential Asha’s Notebook for progressing the story.
- Sanatorium and Lab: Comprises the Sanatorium Brochure, Blood Synthesis Notes, Artificial Organ Transplant Team Report, and Background Investigation Record.
- Critical Files in the Mid to Late Game: Such as Special Operation Orders for Lakewood, Girl Elimination Operation, and the Alisha’s Visit Notes and Patrick’s Letter that are automatically obtained after completing the game.
2. Antique Coins (Total 21)
Antique coins are hidden and essential for the Platinum path. In Resident Evil 9: Requiem, there are 21 Antique Coins total. Collecting all of them is an important step toward the Platinum trophy and is also key to exchanging for powerful items in the game. Below is the detailed list of coin locations:
1. Sanatorium and Lounge Area (Coins #1–#6)
- Coin #1: Located in the Central Hall safety zone of the sanatorium, on the table next to the save point.
- Coin #2: After leaving the file room, you can find it on a small table in the corridor.
- Coin #3: After entering the Lounge, you can find one on the piano.
- Coin #4: After defeating the Screamer in the Lounge area, it will drop a coin (it’s recommended to headshot it with “Requiem”).
- Coin #5: After entering the Game Room, you can find one on the desk inside the room.
- Coin #6: Also in the Game Room, located in the bar area.
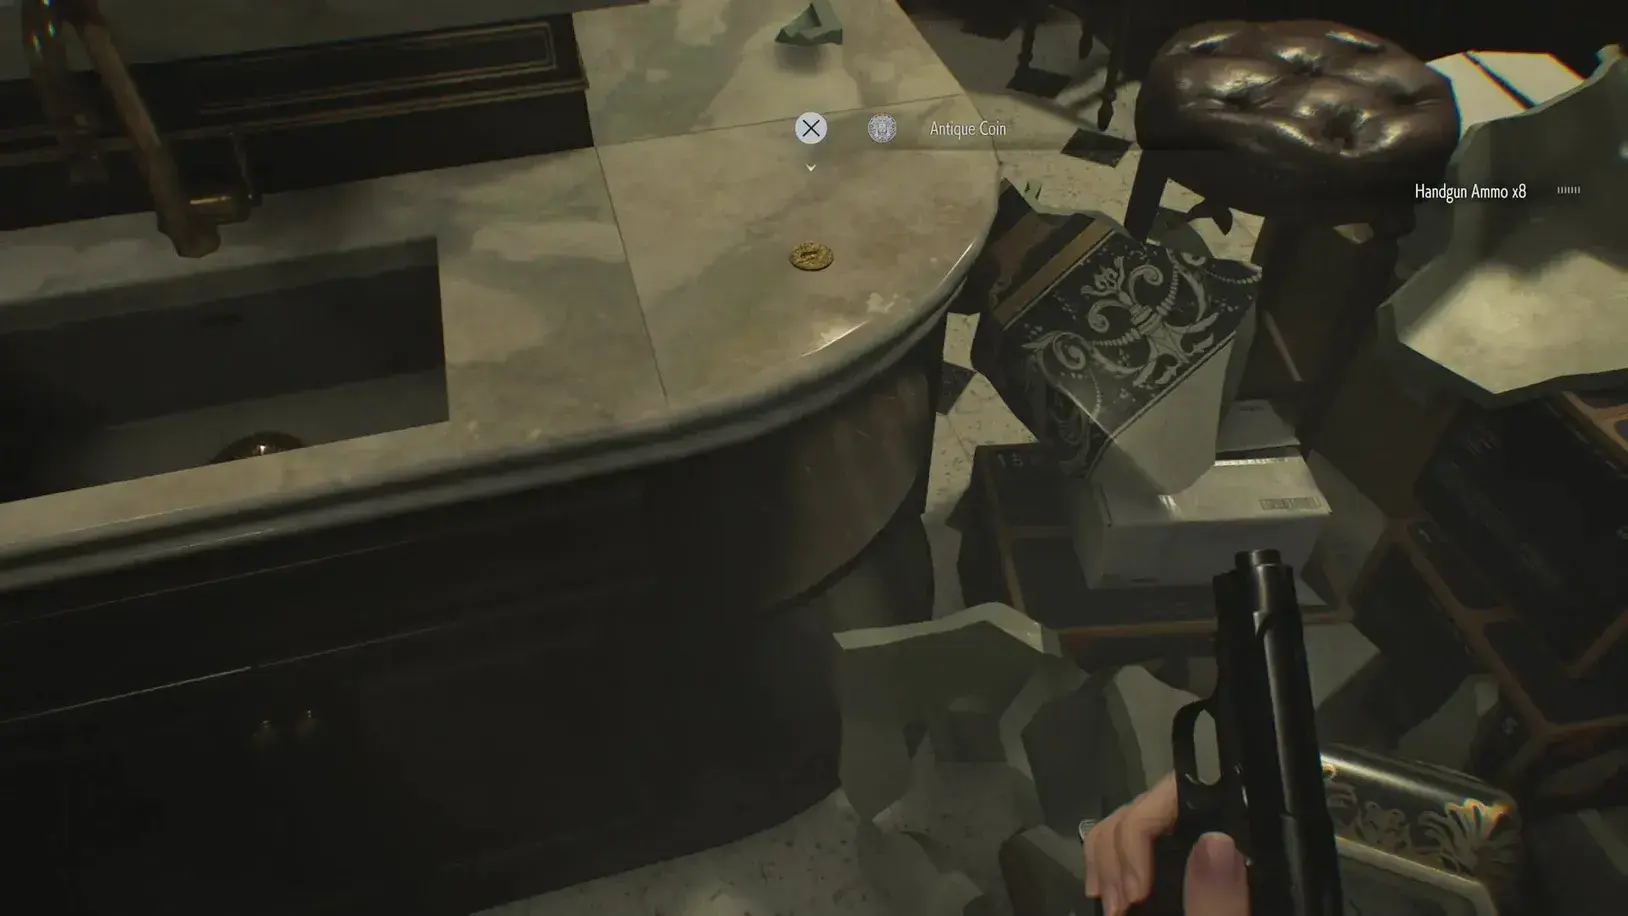
2. Examination Room and Waiting Room Area (Coins #7–#13)
- Coins #7, #8, #9 (Safe Box): Found inside the Examination Room Safe.
- Standard Difficulty Code: Right to 30, Left to 10, Right to 50.
- Once opened, you can collect three coins at once.
- Coin #10: Located on the table in the Waiting Room.
- Coins #11, #12: After picking up the file Replace the Safe, you can collect two coins from the nearby safe box.
- Coin #13: Found on the table in the stairwell, not far from the third Mr. Raccoon puppet.
3. Seminar Room and Courtyard Area (Coins #14–#21)
- Coin #14: Located on the desk in the Seminar Room.
- Coin #15: Drops after defeating the second “Singing Zombie” in the Seminar Room area.
- Coin #16: Care Center Courtyard Antique Coin, the last one you can find in the Care Center courtyard on Normal or Casual difficulty. After unlocking the front door, go downstairs, face the building, and check the white chair on the right side of the back.
- Coin #17: Located in the underground area of the Courtyard. After Grace gets three Stone Echoes and opens the three concave slot doors to enter the Courtyard, go down into the underground area to find it.
- Coins #18–#21: If you kill the fat man in the East Wing with Grace, using gunfire and/or up to 3 Hemolytic Injectors to hit him will drop a special Lure. If you later kill him again in the East Wing with the same account, he will drop four Antique Coins.
3. Mr. Raccoon Puppets (Total 25)
These puppets are scattered throughout the game. Destroying all 25 will unlock the Trophy Mr. Raccoon: The Ghost Hunter.
In Resident Evil 9: Requiem, Mr. Raccoon Puppets are the core collectibles for the Trophy Mr. Raccoon: The Ghost Hunter. There are a total of 25 of them in the game, spread across the hotel, sanatorium, underground processing facility, Raccoon City streets, and the final lab. Below is a detailed list of their locations, based on the strategy guide:
Phase 1: Sanatorium and Lab Area
- Puppet #1: Located at the end of the corridor in the hospital area. It will only appear during the first visit to this area.
- Puppet #2: Located in the East Hall area. This is an important collectible when exploring the eastern buildings.
- Puppet #3: Located in the corner of the staircase. You can find it on the way to the Director’s Office.
- Puppet #4: Located in the Office Area. After collecting the Background Investigation Record file, you can find it nearby.
- Puppet #5: Located on the floor of an empty room before rescuing the little girl. Be sure to destroy it before triggering the rescue mission, otherwise you’ll miss it.
Phase 2: Data Room and Underground Processing Area
- Puppet #6: Located in the Data Room. You can find it while Lee is searching for files in this area.
- Puppet #7: Located in the Prison Area’s Work Zone. You can spot it while avoiding light-sensitive monsters and searching for outlets.
- Puppet #8: Located near the Combustion Chamber. You need to use the Combined Plug to open the specific door and enter the room to destroy it.
- Puppet #9: Located on the surgical table in the Private Lab. This area is reached after entering the “X-Men Base” section of the underground space.
- Puppet #10: Located in the cabin area where Lee uses the Pursuit Gun to rescue Grace. You must be careful while clearing enemies, as once you miss this point, you won’t be able to go back.
Phase 3: Raccoon City Streets and Ruins
- Puppet #11: Located in the coffee shop near Apple Inn.
- Puppet #12: Located in the street near the Xusong Apartments, specifically on the path leading to the Generator Room.
- Puppet #13: Located in a room after going down the elevator. You can spot it while searching for supplies in the room.
- Puppet #14: Located in the third floor of the apartment (i.e., before collecting the 15th puppet).
- Puppet #15: Clearly marked as the 15th, located in a specific corridor on the third floor of the apartment.
- Puppet #16: Located inside the Gas Station.
- Puppet #17: Located in the street outside the Central Hub. After triggering the machine to drop metal, you can find it along the newly created path.
- Puppet #18: Located on a bus (or large vehicle) near the tunnel. You need to go down to the ground level and find it inside the vehicle or on the side.
- Puppet #19: Located in the upper area of the subway station. After sliding down the cave and going upstairs, you can find it.
Phase 4: RPD Headquarters and Noah’s Lab
- Puppet #20: Located in the area around the RPD Headquarters after the start of the October 25th chapter.
- Puppet #21: Located near the blackboard in the office area of the RPD Headquarters.
- Puppet #22 (Insanity Difficulty): Hidden in the gap between bookshelves in the RPD Library. This puppet moves constantly, and it’s one of the hardest to catch in the entire game. Be sure to pay attention to its movement.
- Puppet #23: Located in the upper floor of the Gun Shop. You can find it on the way to the Orphanage after defeating the Tyrant.
- Puppet #24: Located in the Noah Research Lab. When entering the new chapter and performing loading/unloading operations, turn around and go straight to find it.
- Puppet #25 (Ultimate Difficulty): Located in the Monitoring Room / Airport Transition Area in the final lab. After obtaining the High-Evolution Ball and preparing for the final battle, destroy it in the corner to unlock the Trophy Mr. Raccoon: The Ghost Hunter.
Editor’s Tip: Some puppets have time-sensitive appearances (for example, in the high-speed rail section or before specific rescue missions). It’s recommended to double-check your progress against this guide before finishing each chapter. If you miss any, you can reload the initial save of that chapter.
4. Full Weapon Collection List
- B934 Pistol: Pick it up from the floor of the main dining hall.
- SN-SM232: Acquired in the bar area of the Lounge.
- MSB G500 Shotgun: Obtained during the initial scene when playing as Lee.
- Gayle SMG: Found in the underground parking area.
- Sharpshooter A: Obtained by using the BSAA Locker Key to open the container in the streets.
- W870 Shotgun: Acquired in the gun shop area near the parking lot.
5. Safe Box Password List
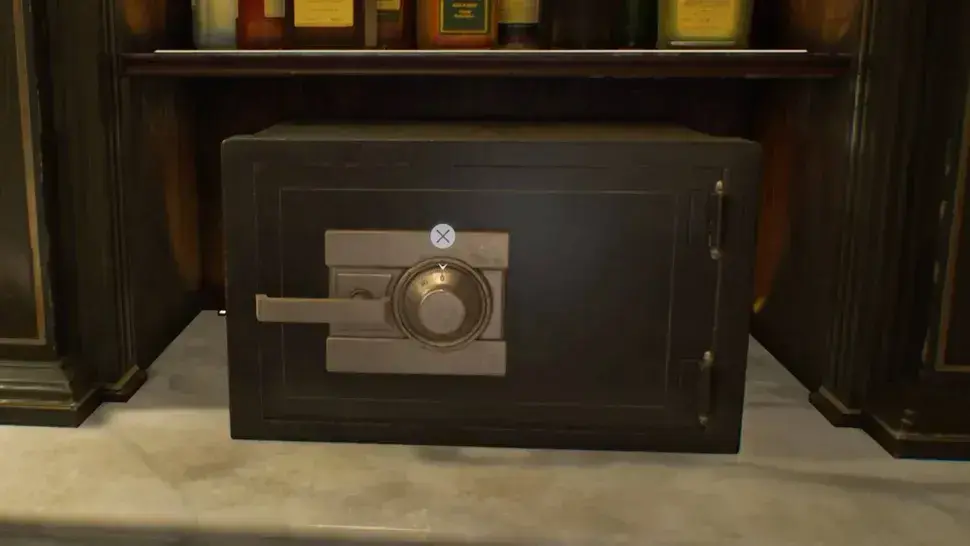
This game includes 5 key safe boxes, opening all of them will unlock corresponding collectible trophies.
-
Lounge/Bar Safe
- Location: In the bar area of the Lounge.
- Standard Difficulty Password: Right to 10, Right to 80, Left to 30.
- Insanity Mode Password: 20 right, 50 left, 0 right.
- Reward: Three important items.
-
Examination Room Safe
- Location: In the Examination Room area.
- Standard Difficulty Password: Right to 30, Left to 10, Right to 50.
- Insanity Mode Password: 50 left, 30 right, 90 left.
- Reward: 3 Antique Coins.
-
Combustion Chamber Safe
- Location: Inside the Combustion Chamber Office in the underground processing facility.
- Standard Difficulty Password: Right to 60, Left to 40, Right to 80.
- Insanity Mode Password: 70 left, 50 right, 20 left.
- Reward: Contains the Mr. Raccoon Puppet Map file if it’s your first time through the game.
-
Airport/Old Friend Area Safe
- Location: Found while sneaking past the “Old Friend” monsters.
- Standard Difficulty Password: Right to 10, Left to 90, Right to 20.
- Insanity Mode Password: 80 left, 50 right, 0 left.
- Reward: Sulfuric Acid Bottle, Hard Key.
-
Monitoring Room Safe
- Location: The last safe box in the game, located in the Monitoring Room.
- Standard Difficulty Password: Left to 50, Right to 60, Left to 80.
- Insanity Mode Password: 20 right, 0 left, 70 right.
- Reward: Item Solution Acid Bottle, opening this will unlock the All Safe Boxes Opened Trophy.
6. Locker Password List
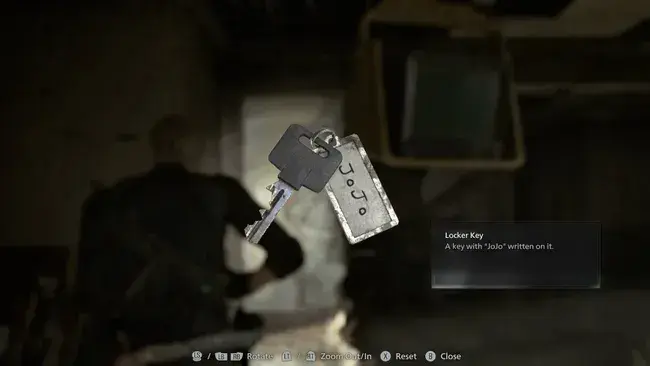
- Jojo’s Locker
- Location: Inside the RPD Headquarters.
- Password: R - R - R.
- Reward: Medal Charm (increases the firepower of the submachine gun and shotgun).
7. Special Collectibles Password Box
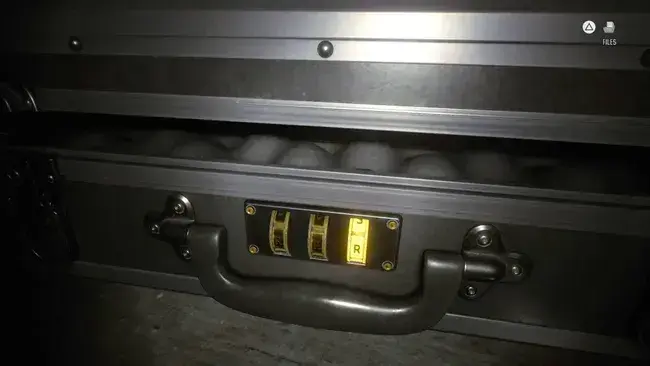
- Ambition Charm Case
- Location: In the RPD Headquarters Office Area.
- Password: Also R - R - R.
- Reward: Ambition Charm (increases the power of the last bullet and potentially allows bullets to become pseudo-infinite).
Editor’s Advice: When solving puzzles, be sure to pay attention to the floor. For example, when opening the Airport safe box, don’t step on the broken glass, as it will make noise and alert nearby enemies. Additionally, if you’re aiming for Platinum, remember to collect the corresponding password files (such as Lounge/Bar Safe Password file) along with the password, as these are also necessary for achieving full file collection.
6. Core Puzzle Solutions
- Moon Stone Puzzle: In the Mayor’s Office, use the pencil to write on the notebook to receive a hint (New Moon / Full Moon), and follow the clues to rotate the mechanism.
- Blood Analysis Puzzle: In the blood laboratory, click the buttons to connect all the circles and change their colors to complete the synthesis.
- Organ Transplant Puzzle: Use the wrench in the Freezer Room to retrieve the “Artificial Lungs” and “Artificial Hearts”, then implant them into the body of a corpse in the eastern first floor to get the Level 2 ID.
- ID Permission Level Puzzle: To trigger the Level 3 permission, investigate the notebook in the Security Chief’s Office and find the Star, Moon, and Sun symbols, which will activate the puzzle.
- Double Helix Model: Investigate the 1982 Raffles Wine Bottle, rotate it to the correct position to unlock a passage to the underground.
7. Core Combat Trophy Guide
For the Platinum path in Resident Evil 9: Requiem, combat trophies not only test your shooting skills but also require a deep understanding of tactical items and enemy behavior. Here is the comprehensive guide for core combat trophies:
1. Tactical Stealth and Synthesis Trophies
- Trophy: “Assassination / Stealth Kill”: Obtain the Hemolytic Injector on the desk in the East Wing 1F Examination Room. Then, kill the zombie without alerting others by attacking from behind, and you’ll unlock the Trophy.
- Trophy: “Power of Blood”: Get the Blood Saver and obtain a blood sample in the blood laboratory. Use the analysis machine to solve the puzzle and unlock synthesis access. After retrieving the waste from the locker, synthesize any item, such as bullets or steroids, to unlock this Trophy.
- Trophy: “Internal Conflict”: This is a Trophy that is often missed. Ensure your inventory or safe box has an empty bottle. In a specific room, turn off the flashlight first, then break the vase to attract the Blind Zombie, and throw the empty bottle at the female zombie to make the Blind Zombie attack her. This will unlock the Trophy.
2. Elite Enemies and Specific Armaments Trophies
- Trophy: “Grace and Gray”: Encounter the elite monster “Gray” outside the Director’s Office. This battle is best approached with 30–40 pistol bullets. If using Lee’s “Requiem” gun, shoot once and then reload for easier success. Defeating “Gray” will unlock the Trophy and drop a powerful attachment, the Sentry Scope.
- Trophy: “First Kill of the Screamer”: When you first defeat the “Screamer” (the Screaming Umbilical) in the Seminar Room or Lounge, this will unlock the Trophy and drop an Antique Coin.
- Trophy: “Requiem Shot”: In the File Room or underground area, use the “Requiem” gun to shoot the light-sensitive handless monster. If it’s your first shot at this monster, it will trigger the specific combat Trophy.
3. Reaction Puzzles and Mechanism Combat Trophies
- Trophy: “Deflect the Attack”: During the battle with “The Doctor”, pay close attention to his head movements. When his head shows an arrow indicator, quickly shoot him to block his attack and unlock the Trophy.
- Trophy: “Sniper Elite”: In the high-speed rail section while heading toward Noah’s Lab, you need to hit all 9 biometric targets (Seedlings). It’s recommended to use a strengthened weapon to ensure accuracy. After clearing all targets, you’ll receive the Trophy before arriving at the Lab.
4. Final Battle Operation Trophy
- Trophy: “The Cat Licked Your Tongue”: During the final boss battle with Lee, when the Boss sticks out its tongue to attack, press the L1 button to block precisely. If you successfully block, Lee will cut off the Boss’s tongue, unlocking this hard-to-get combat Trophy.
Editor’s Summary: Platinum players should make sure to save manually in the blood laboratory and before the final battle. Especially for Trophies like “Internal Conflict” and “The Cat Licked Your Tongue”, which rely heavily on timing and items, it’s recommended to save frequently to ensure success.
Frequently Asked Questions
What are the full collectibles in the RE9,and how many are there?
The RE9 includes more than 200 collectibles. Key elements for the Platinum Trophy include: 25 Mr. Raccoon puppets, 21 Antique Coins, numerous story files, 5 safe boxes, and various hidden weapons and charms.
How do I expand my backpack space?
When resources are limited, finding the Hip Pouch is crucial:First Hip Pouch: Located in the File Room, accessible with the Level 1 ID Ring.Second Hip Pouch: Found in the high rack room of the underground processing facility, requiring the High Rack Keyto open.
How do I obtain Level 2 and Level 3 ID Rings?
Level 2: Obtain the Artificial Heart from the Freezer Room, then solve the puzzle in the transport box (press buttons 5 and 2, set to Auto mode) to get the Artificial Lungs. Once you have both, implant them into the corpse on the eastern first floor to receive the Level 2 ID. Level 3: Retrieve the 'Star,Moon, and Sun' pattern from the notebook in the Security Chief's Office, and unlock it after triggering the corresponding story.
How can I unlock the missed combat Trophy 'Internal Conflict'?
You need to keep an empty bottle (store it in your safe box to avoid using it by mistake). In a specific room, turn off the flashlight first, then break the vase to attract the Blind Zombie, and throw the empty bottle at the female zombie to make the Blind Zombie attack her. This will trigger the Trophy.
What is the 'Ambition Charm,' and does it truly have infinite bullet potential?
Input the password R-R-R into the chest in the RPD Headquarters office to get the Ambition Charm. This charm significantly increases the power of the last bullet in the magazine and has the potential for pseudo-infinite bullets with specific speed run techniques.
Where is the moving Mr. Raccoon puppet in the library?
This is one of the hardest collectibles to find. Mr. Raccoon #22 is located in the second-floor library of the RPD Headquarters. It hides in the gap between bookshelves and moves constantly (shakes). You need to patiently observe its movement patterns to locate and destroy it.
How many targets need to be hit in the high-speed rail section for the Sniper Trophy?
In the high-speed rail section leading to Noah's Lab, you must hit all 9 biometric targets (seedlings). It's recommended to use a reinforced weapon, and if you miss any, immediately reload the auto-save from the start of the level.
How do I successfully perform the 'Tongue Block' against the final boss?
During the final battle with Leon, you must press the L1 button at the exact moment the Boss sticks out its tongue to attack. A successful block will trigger the tongue-cutting animation and unlock the Trophy 'The Cat Licked Your Tongue'.
What is an efficient strategy for dealing with light-sensitive monsters like 'Big Head Ghost / Handless Monster'?
These monsters are extremely sensitive to light. Grace's section: Use the Combined Plugs to activate the lights in the area, creating a safe zone where they won't approach. Lee's section: When encountered in the garage, shoot the glass first with your first bullet, then the second shot will instantly kill the monster.
How can I ensure that I collect all the files for the 'Full File Collection' Trophy?
File collection has a strict trigger order (if you miss one, the next might not appear). Be sure to follow the progression carefully. The most commonly missed files are Alisha's Visit Notes and Patrick's Letter, which will only appear after watching the final cutscene.
About the author

Editor-in-Chief
Founder and Editor-in-Chief of gameguidesbox.com, began surfing the web in the late 19th century. Passionate about movies, coffee, gaming, and life itself. Favorite games include Titanfall 2, Baldur's Gate 3, Metro, PUBG, and CS2.
You may also like
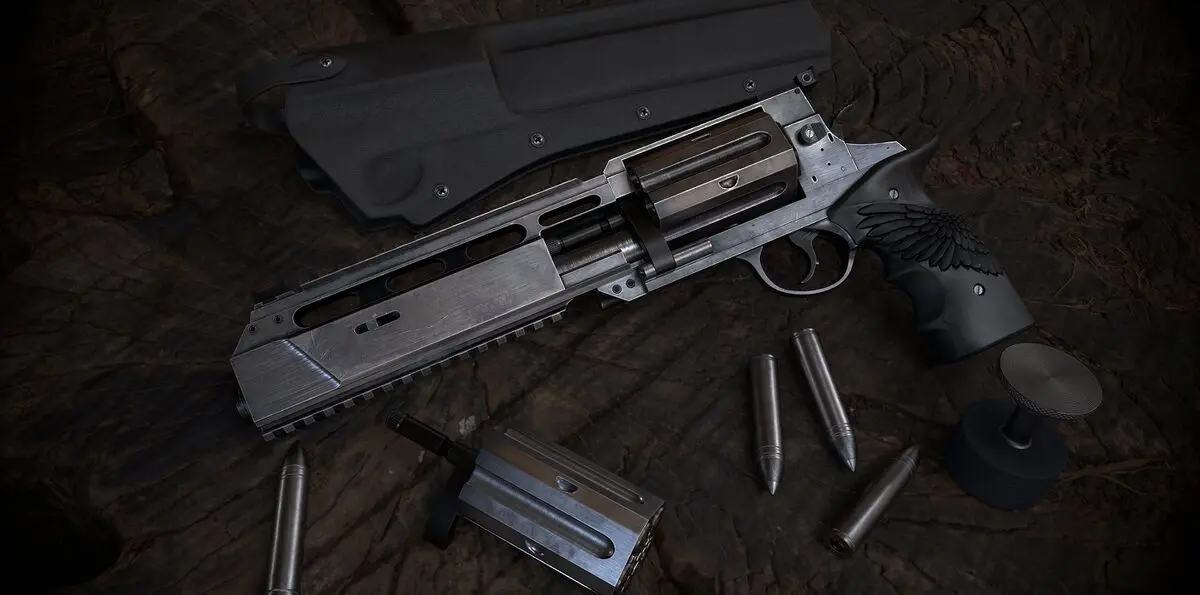
All Weapons and Guns in Resident Evil Requiem (RE9)
List of All Weapons and Guns and best Weapons in Resident Evil Requiem (RE9)
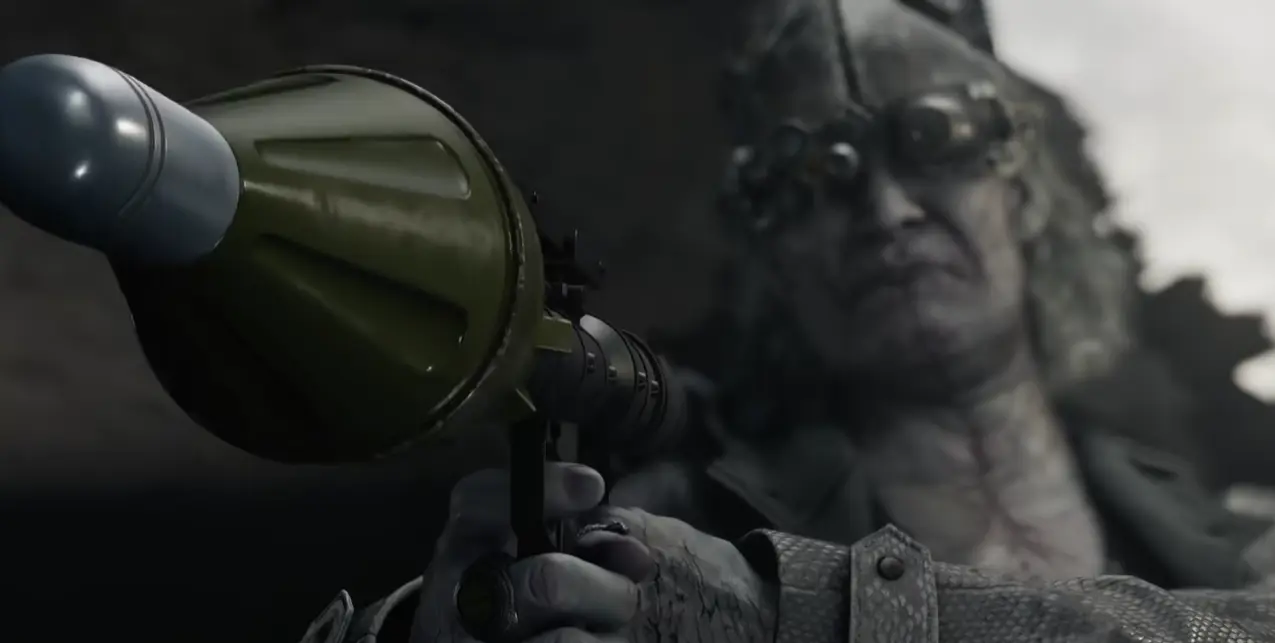
How to Hit 9 Targets on the High-Speed Rail Section to Unlock the Sniper Trophy
Resident Evil 9 Requiem How to Hit 9 Targets on the High-Speed Rail Section to Unlock the Sniper Trophy
Resident Evil 9 Requiem Boss Guide and Attack Techniques
Resident Evil 9 Requiem Boss Guide and Attack Techniques
Comments