Resident Evil 9 Requiem Boss Guide and Attack Techniques
Resident Evil 9 Requiem Boss Guide and Attack Techniques

“Resident Evil Requiem” is the latest installment in the series that ushers in a new era of survival horror. Experience the chilling fear alongside FBI analyst Grace, and feel the exhilaration of defeating death alongside veteran special agent Leon. The dual-character gameplay experience, coupled with the intricate plot that revolves around the two of them, will undoubtedly strike a chord in your soul. Below, we will outline the bosses that appear in each chapter and provide you with the best attack methods.
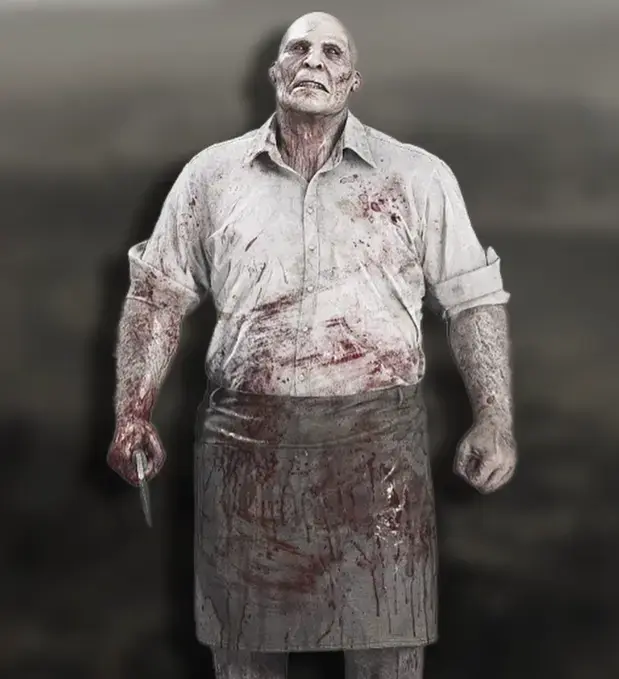
1. The Butcher
- Location: In the kitchen area of the sanatorium and outside the game world.
- Attack Tips: Recommend using a pistol and aiming for the head, which usually takes about 20 bullets to defeat.
- Notes: If you run out of bullets, you can collect more ammunition in the area before returning to fight him. He stays in this area after being defeated. Be sure to pick up the “Key to the Appetite Room” after defeating him.
2. Elite Monster: Grier
- Location: Outside the Director’s Office.
- Attack Tips:
- Ammo Preparation: Recommend having 30–40 pistol bullets ready.
- Combat Strategy: Use a “fight and retreat” approach, and use the stairs to pull the enemy back and forth.
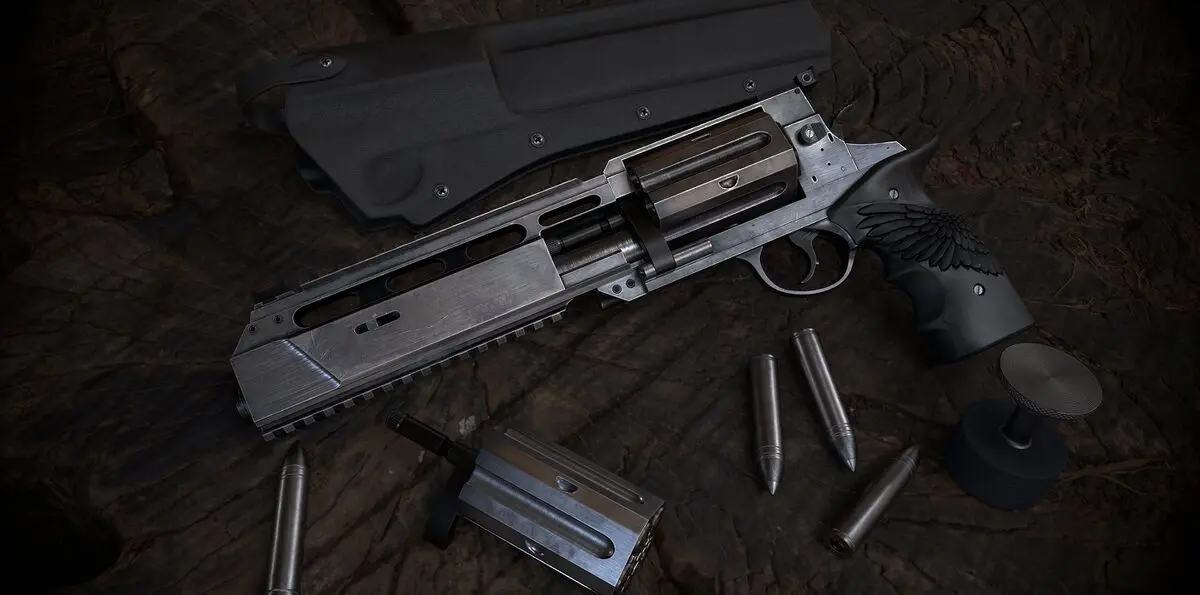
- Special Weapon: If using “Requiem” (the weapon given by Lee), shoot once, then follow up with about 20 small gun bullets to finish it off quickly.
- Notes: Before the fight, make sure to manually save in the Director’s Office. Defeating Grier unlocks a specific Trophy and drops the powerful “Overseer’s Scope”.

3. Screamer
- Location: In the lecture room or lounge.
- Attack Tips: She makes a high-pitched scream, so it’s best to quickly eliminate her upon discovery.
- Notes: Defeating her for the first time unlocks a specific Trophy and drops a Vintage Coin.
4. The Stalker
- Location: In the underground parking garage, combustion chamber, and processing facility.
- Attack Tips:
- Garage Fight: Aim for the glass first, then one more shot will kill it.
- Processing Facility/Laboratory Fight: This monster is extremely light-sensitive. Insert a Combined Plug to activate the lights, which will prevent it from getting close.
- Escape QTE: When escaping from the underground, it will stretch its hand from the skylight. Never waste bullets on its hand as it’s ineffective; instead, focus on pressing the buttons quickly to open the door.
- Notes: It is a recurring enemy in the story, so be prepared to use environmental lighting or mechanisms in multiple areas.
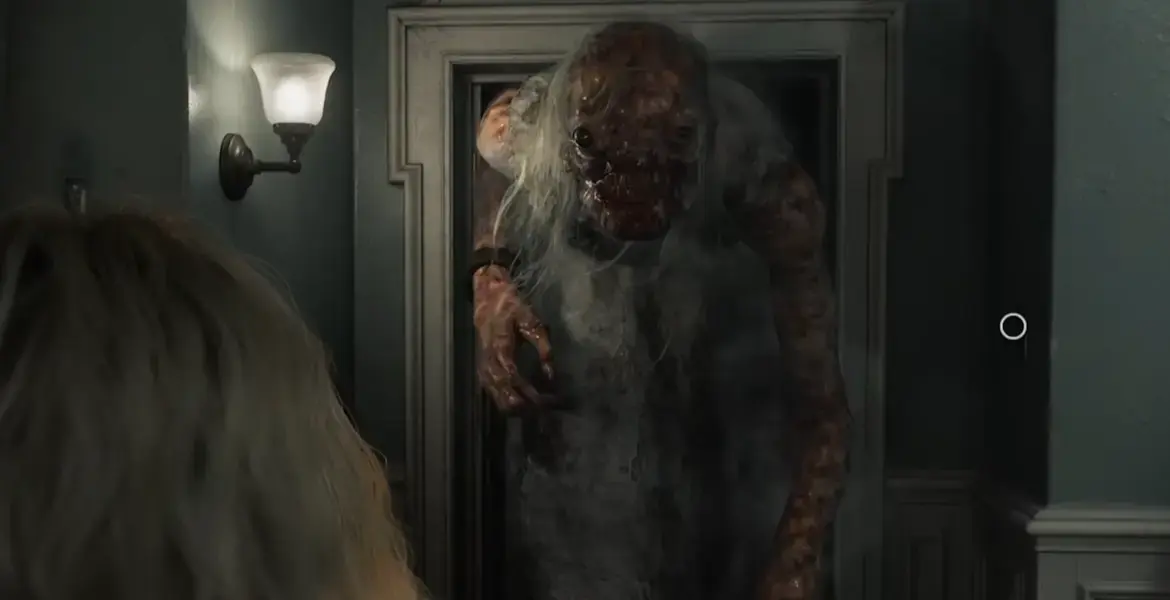
5. Tumor Monster

- Location: In the area after leaving the Apple Door Hotel.
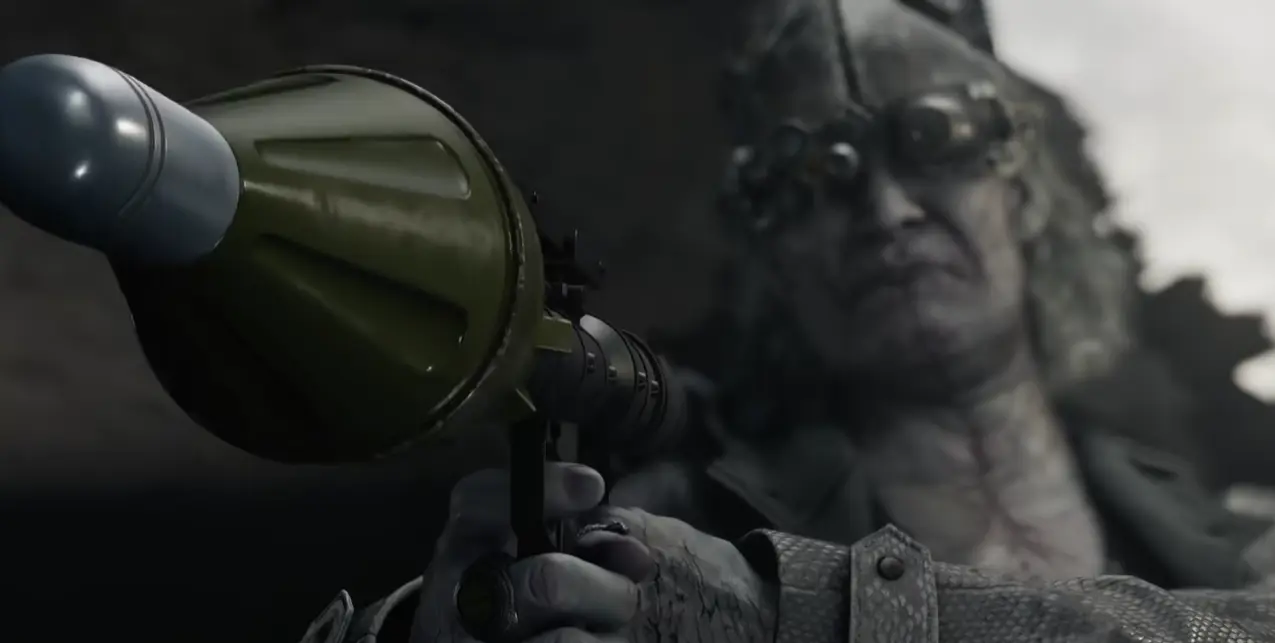
- Attack Tips: Switch to the “Pursuit Gun / Tracking Gun” to attack it.
- Notes: Focus your attacks on the tumors on its back or tail – they are its core weaknesses and dealing damage to them is more effective.
6. The Doctor
- Attack Tips: Watch the enemy closely. When it has a red arrow pointing at your head, immediately shoot to interrupt his attack.
- Notes: Successfully interrupting his attack is key to unlocking a specific Trophy.
7. Final Boss: Old Friend / Tongue Monster

- Attack Tips:
- Special Trophy: “Cat Got Your Tongue.” When the boss extends its tongue to attack, press L1 to parry at the exact moment.
- Tongue Cutting: After a successful parry, you can cut off its tongue, which causes a hard knockback and is the only way to unlock the Trophy.
- Notes: Make sure to save frequently at the lab entrance before the final battle, and ensure you have enough health and stamina items, since the protagonist is in a mutated state and has reduced stamina during this phase.
To successfully unlock the Trophy “Cat Got Your Tongue”, you need to master the precise parry mechanics against the final boss “Old Friend.” Here’s the detailed guide:
1. Pre-Battle Setup and Trigger Timing
- Character and Location: This Trophy must be unlocked while the operation character is switched to Lee during the journey through the laboratory.
- Save Recommendation: After entering the lab and placing the “New Wisdom Sphere”, make sure to manually save at the nearby save point in case of failed parry.
2. Core Parry Techniques
- Identify the Pre-Attack Animation: Watch the boss closely. When it opens its mouth and the tongue is about to extend for an attack, this is your critical timing to parry.
- Action: At the exact moment the tongue extends, quickly press the L1 key to parry (Parry).
- Feedback: If the parry is successful, Lee will automatically counterattack and cut off the boss’s tongue, triggering the Trophy unlock message.
3. Important Notes
- Parry Distance: Maintain a mid-range distance to clearly observe the boss’s attack trajectory and reduce reaction time.
- Aftermath: After successfully cutting off the tongue, the boss will enter a brief hard lock – this is the perfect moment for firepower output or advancing the story.
Editor’s Tip: Some bosses may have different attack patterns depending on the difficulty (e.g., Speed Run Max Difficulty). It’s recommended to start on Standard Difficulty to get a better grasp of their attack timing and behavior.
About the author
Editor-in-Chief
Founder and Editor-in-Chief of gameguidesbox.com, began surfing the web in the late 19th century. Passionate about movies, coffee, gaming, and life itself. Favorite games include Titanfall 2, Baldur's Gate 3, Metro, PUBG, and CS2.
You may also like
All Weapons and Guns in Resident Evil Requiem (RE9)
List of All Weapons and Guns and best Weapons in Resident Evil Requiem (RE9)
How to Hit 9 Targets on the High-Speed Rail Section to Unlock the Sniper Trophy
Resident Evil 9 Requiem How to Hit 9 Targets on the High-Speed Rail Section to Unlock the Sniper Trophy

Resident Evil 9 Requiem Complete Walkthrough
The most detailed guide for Resident Evil 9 Requiem includes the complete walkthrough of all chapters, from the beginning to the end.
Comments