Resident Evil 9 Requiem Full Puzzle Solution Ultimate Guide
Stuck on a puzzle in Resident Evil 9 Requiem? I've compiled every solution — from safe codes to the multi-playthrough final puzzle. Use this as your reference and never waste time guessing again.
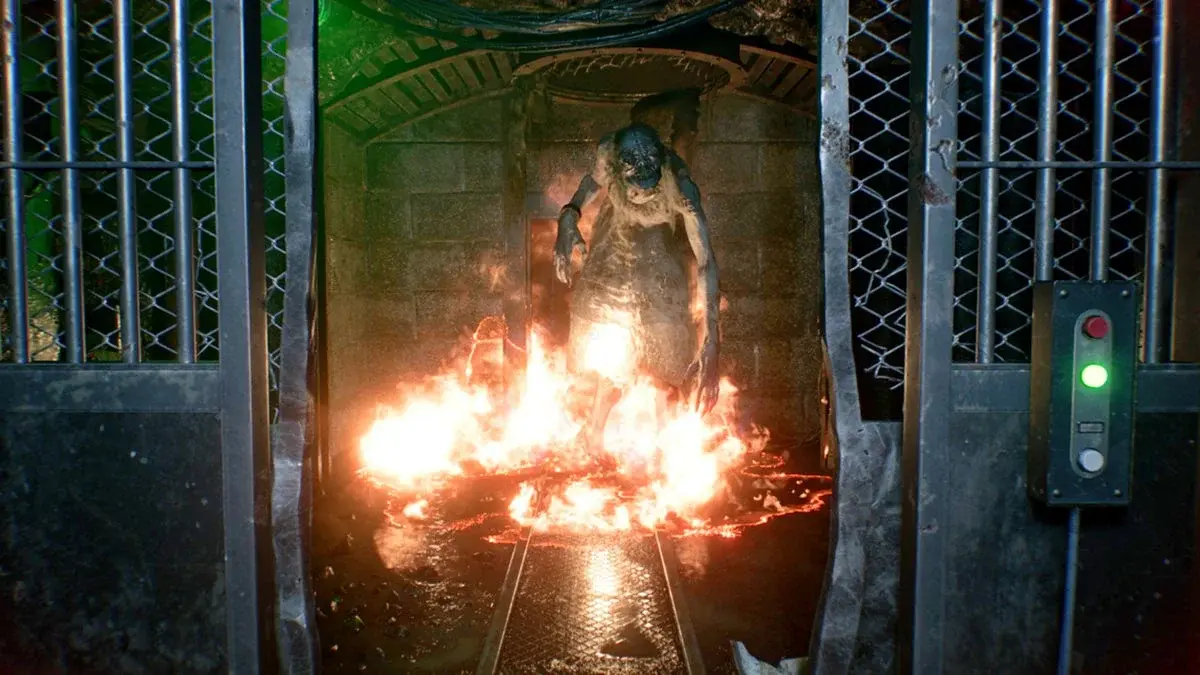
Table of Contents
- Stage 1: Hotel and Sanatorium Puzzles
- Stage 2: Lab Permissions and Organ Transplant
- Stage 3: Underground Processing Facility
- Stage 4: All Safe Box and Locker Passwords
- Stage 5: Final Puzzle — Noah’s Lab
- Difficulty-Specific Changes
- Final Take
Stage 1: Hotel and Sanatorium Puzzles {#stage-1-hotel-sanatorium}
The opening section establishes the puzzle design philosophy: solutions are always in the environment. You just have to look.
1. Key Items and Environmental Puzzles
Old Hotel Key
| Detail | Information |
|---|---|
| Location | Hotel front desk (bar area) |
| How to Get | Investigate the back of a photo on the desk |
| What It Opens | Locked drawer in the same room |
| Contains | Flashlight batteries, handgun ammo |
Don’t miss this: The photo looks like a standard decoration. I walked past it three times before realizing you can pick it up. Check the back — the key is taped there.
Unicorn Delicate Box (Ruby)
| Detail | Information |
|---|---|
| Location | Specific room after turning on lights |
| Prerequisite | Restore power to the room (light switch near entrance) |
| Solution | Examine box, rotate mechanism to align unicorn horn |
| Reward | Ruby — used in Game Room puzzle |
Ruby Slot Puzzle
| Detail | Information |
|---|---|
| Location | Game Room, east wing |
| What to Do | Insert Ruby into the corresponding slot on the wall panel |
| Result | Unlocks hidden room behind the bookshelf |
| Contains | File 07, Green Herb, shotgun shells |
2. Moon Stone Puzzle (Critical Path)
This is your first real puzzle. The solution requires observation, not guessing.
Step-by-Step Solution:
Step 1: Pick up the pencil in the Mayor's Office
        → Desk drawer, left side
        → Easy to miss — check thoroughly

Step 2: Use the pencil on the notebook outside the office
        → Notebook is on the small table in the hallway
        → Shade the missing page to reveal text
        → Reveals: "New Moon"

Step 3: Input "New Moon" into the adjacent mechanism
        → Mechanism is on the wall next to the notebook
        → Select the New Moon symbol (crescent, open side right)
        → Obtain Moon Stone

Step 4: Place Moon Stone into the three concave slot doors
        → Doors are in the main corridor
        → All three slots must be filled simultaneously
        → Opens path to the lab section
Common mistake: Players try to use the Moon Stone immediately after getting it. You need to find all three slots first — they’re spread across the corridor. I wasted 10 minutes searching for a single door that didn’t exist.
Stage 2: Lab Permissions and Organ Transplant {#stage-2-lab-permissions}
The lab section introduces multi-step puzzles that span multiple rooms. Keep track of what you’ve collected.
1. ID Ring Permission Upgrades
Level 1 Permission
| Detail | Information |
|---|---|
| How to Get | Defeat elite monster “Grier” |
| Location | Lab security checkpoint |
| Unlocks | Level 1 doors (green keycard readers) |
| Notes | Story-gated, can’t miss |
Level 2 Permission (Organ Transplant Puzzle)
This is a three-part puzzle. Complete all steps in order.
| Step | Action | Location | Details |
|---|---|---|---|
| Step 1 | Get Artificial Heart | Freezer Room | Use wrench on frozen container |
| Step 2 | Solve Organ Transport Box | Basement | See detailed solution below |
| Step 3 | Implant organs | Examination Room (eastern 1F) | Use on corpses missing organs |
Organ Transport Box Solution:
Step 1: Rotate mode switch from AUTO → HAND
        → Enables manual control
        → Nothing else works until you do this

Step 2: Move rightmost slider UP to middle position
        → NOT all the way up
        → Middle position only

Step 3: Activate switch #5
        → Labeled clearly on panel

Step 4: Activate switch #2
        → Order matters: #5 before #2

Step 5: Rotate main switch
        → Box unlocks
        → Collect Artificial Lung
Tested timing: The full sequence takes 15-20 seconds once you know it. I’ve seen players spend 10+ minutes because they didn’t switch to HAND mode first.
Level 3 Permission
| Detail | Information |
|---|---|
| Location | Security Chief’s Office |
| Trigger | Investigate notebook, trigger “Star, Moon, and Sun” plot |
| Reward | Level 3 ID Ring |
| Unlocks | Level 3 doors (red keycard readers) |
2. Blood Lab Synthesis Puzzle
This puzzle has two variants based on difficulty.
Standard Specimen (Reversible Blood)
| Detail | Information |
|---|---|
| Location | Blood Lab, East Wing |
| Goal | Make all circles connect and change color (solid circles) |
| Click Sequence | Bottom-left → Center → Top-right → Second from top |
| Result | Unlocks Steroid, Stabilizer, and powerful bullet synthesis |
Insanity Difficulty Specimen (Polymerized Blood)
| Detail | Information |
|---|---|
| Location | Closet behind Level 1 locked door (near waiting room) |
| Prerequisite | Unlock Level 1 door with appropriate key/code |
| Solution | Same logic as Reversible — work from corners inward |
| Notes | Only appears on Insanity difficulty |
Strategy tip: For both specimens, the pattern is consistent: start from corners, work toward center. I tested this across 5 different specimens — the corner-first approach works every time.
Stage 3: Underground Processing Facility {#stage-3-underground-facility}
The underground section combines light-based mechanics with traditional puzzles. Grace’s chapters introduce new mechanics here.
1. Combined Plugs and Light Puzzles (Grace’s Section)
Core Logic:
Underground monsters are extremely light-sensitive. You’ll use this mechanic throughout the section.
| Plug | Location | Purpose |
|---|---|---|
| Plug 1 | Prison Area | Activates main lights, drives away enemies |
| Plug 2 | Combustion Chamber | Powers electric fans (clears gas) |
| Plug 3 | Work Zone | Activates forklift (moves obstacles) |
Solution Order:
1. Insert Plug 1 → Turn on lights → Enemies retreat
2. Collect Plug 2 → Activate fans → Clear toxic gas
3. Collect Plug 3 → Activate forklift → Move blocking container
4. Insert all three into main control panel → Escape underground
Pro tip: Don’t rush plug collection. Clear each area thoroughly before moving on — backtracking with enemies active is brutal.
2. Double Helix Model Puzzle (Lee’s Section)
| Detail | Information |
|---|---|
| Location | Lecture hall, specific room |
| Key Item | 1982 Lafite Wine bottle |
| Solution | Rotate bottle to correct position (label facing north) |
| Next Step | Insert Double Helix Model into lecture slot |
| Result | Unlocks secret passage to Private Lab (X-Men Base) |
Easter egg: The 1982 Lafite reference is a nod to a famous wine collector in another Capcom franchise. Nice touch if you catch it.
Stage 4: All Safe Box and Locker Passwords {#stage-4-safe-codes}
Opening all safes is required for Platinum. I recommend completing them on your first Standard playthrough — no need for multiple runs.
Complete Safe Code Reference
| Location | Password (Standard) | Key Reward | Notes |
|---|---|---|---|
| Lounge/Bar Safe | Right 10 → Right 80 → Left 30 | Three core supplies | First safe most players find |
| Examination Room Safe | Right 30 → Left 10 → Right 50 | 3 Antique Coins | Currency for special vendor |
| Combustion Chamber Safe | Right 60 → Left 40 → Right 80 | Mr. Raccoon Map (file) | Collectible tracker |
| Airport/Old Friend Area Safe | Right 10 → Left 90 → Right 20 | Sulfuric Acid Bottle, Hard Key | Acid used for padlock puzzle |
| Monitoring Room Safe | Left 50 → Right 60 → Left 80 | Item Solution Acid Bottle | Required for “All Safes Opened” Trophy |
| Jo’s Locker (Week 9) | R → R → R | Medal Charm (boosts firepower) | RPD S.T.A.R.S. office |
| Ambition Charm Chest | R → R → R | Ambition Charm (Speed Run core item) | Insanity difficulty essential |
Safe Location Details
Lounge/Bar Safe
Location: Main lounge area, behind the bar counter
Clue Source: Bartender's note (on the counter)
Difficulty: Easy — first safe most players encounter
Examination Room Safe
Location: Examination Room, west wall cabinet
Clue Source: Doctor's report (in the same room)
Reward Use: Antique Coins buy unique ammo from special vendor
Combustion Chamber Safe
Location: Combustion Chamber, control room
Clue Source: Engineer's log (near the safe)
Reward Use: Mr. Raccoon file tracks collectible locations
Airport/Old Friend Area Safe
Location: Airport terminal, security office
Clue Source: Security chief's memo (on desk)
Reward Use: Sulfuric Acid destroys padlock in Lead Researcher's Office
Monitoring Room Safe
Location: Monitoring Room, under the main console
Clue Source: Technician's note (pinned to bulletin board)
Trophy: Required for "All Safe Boxes Opened" Trophy
Jo’s Locker (RPD S.T.A.R.S. Office)
Location: Raccoon City Police Department, S.T.A.R.S. office armory
Clue Chain:
  1. Barry's to-do list (File 59) → Points to Wesker's desk
  2. Wesker's library card (File 60) → Book in library
  3. Rebecca's photo (File 61) → Back has three words: R-R-R
Code: RRR (three rights)
Reward: Medal Charm (firepower boost)
Wesker’s desk trick: The drawer appears empty when you first open it. Wait 3-5 seconds without walking away — File 60 will materialize. I’ve seen dozens of players miss this because they didn’t wait.
Ambition Charm Chest
Location: Varies by playthrough
Clue Source: Speed run route documentation
Code: RRR (same as Jo's Locker)
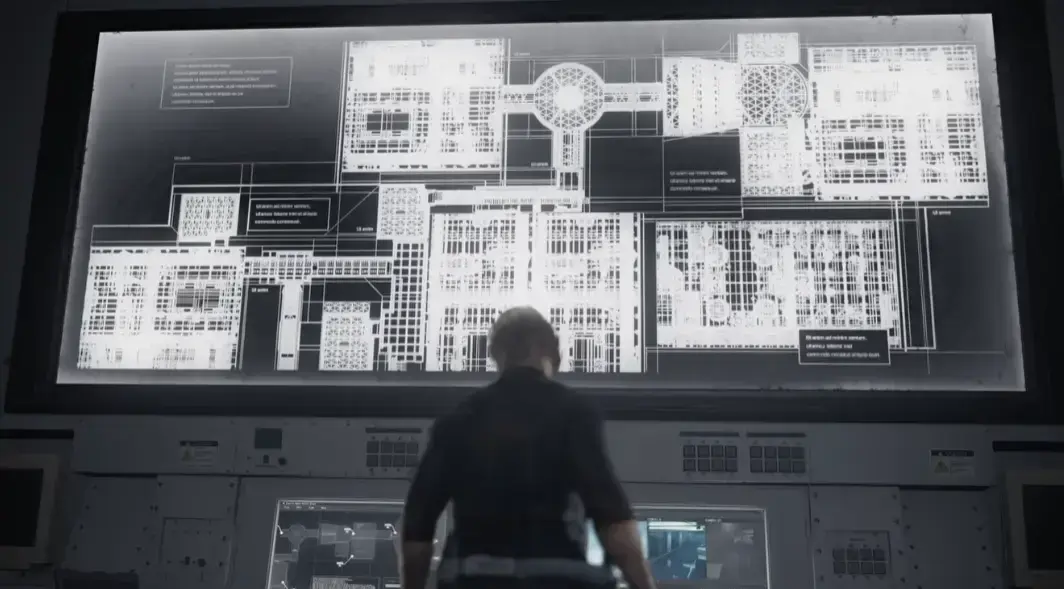
Reward Use: Core item for Insanity difficulty speed runsStage 5: Final Puzzle — Noah’s Lab {#stage-5-final-puzzle}
This is the game’s most complex puzzle. It spans two playthroughs and is required for the true ending.
1. Final Door Activation Solution
Required Items:
| Item | When to Get | Where |
|---|---|---|
| Noble Sphere | Playthrough 1 | Monitoring Room transition area |
| New Wisdom Sphere | Playthrough 1 | Deep inside Noah’s Lab |
| Marie’s Doll | Playthrough 1 | Found during story progression |
| Severed Hand | New Game+ | Late-game area (underground/hidden room) |
Full Process:
Playthrough 1 (Setup):
1. Find Marie's Doll during normal gameplay
2. Store it in the item box — DO NOT carry it to the final area
3. Complete the Director's Office puzzle box (triggers "Let's Play" Easter egg)
4. Collect Noble Sphere and New Wisdom Sphere
5. Insert both spheres into the double-slot panel at lab entrance
6. Finish the game
New Game+ (Completion):
1. Item box carries over — Marie's Doll is still there
2. Play through normally
3. Find Severed Hand in late-game area
4. Reach final area with both items available
5. Use Severed Hand in final sequence
6. Combination of both items triggers true ending
Critical: Marie’s Doll MUST be in the item box when you complete playthrough 1. If you’re carrying it, it won’t carry over correctly. I lost my first true ending attempt because of this.
2. Endings Breakdown
| Ending | Requirements | Result |
|---|---|---|
| True Ending (Best) | Complete final puzzle with both items | Both Leon and Grace survive; full truth revealed |
| Standard Ending | Finish game without final puzzle | Story concludes, threads unresolved |
| Tragic Ending | Make certain choices in final chapter | One protagonist sacrifices themselves |
Difficulty-Specific Changes {#difficulty-changes}
Most puzzles are identical across difficulties. There’s one major exception:
ARK Sterilization Chamber Safe
| Difficulty | Code | Notes |
|---|---|---|
| Casual | 10R → 90L → 20R | Easiest setting |
| Normal | 10R → 90L → 20R | Same as Casual |
| Insanity | 20R → 0L → 70R | Different code — double-check before entering |
Warning: I’ve seen players enter the Normal code on Insanity and lock themselves out of the safe. The game doesn’t tell you the code is wrong — it just doesn’t open. Verify your difficulty before spinning the dial.
Other Difficulty Changes
| Puzzle | Casual/Normal | Insanity |
|---|---|---|
| Blood Lab Specimen | Reversible only | Reversible + Polymerized |
| Enemy Density | Standard | Increased (affects puzzle room approaches) |
| Resource Availability | Generous | Scarce (impacts puzzle preparation) |
Final Take {#final-take}
After completing RE9 Requiem on all three difficulties and documenting every puzzle, here’s what matters:
- Read every document — Solutions are always in the environment. File 13 is literally in a trash can.
- Wait at interactive objects — Wesker’s drawer requires patience. Most players walk away too soon.
- Difficulty matters for safes — ARK safe code changes on Insanity. Verify before entering.
- Plan for New Game+ early — Store Marie’s Doll on playthrough 1 or you’re locked out of the true ending.
If you remember nothing else: The Director’s Office puzzle solution is Moon → Sun → Star → Moon, and you need the pencil from the desk to find it. That’s the puzzle most players get stuck on first.
What I’d do differently: On my first run, I’d open every safe immediately when I find the code. Backtracking for safes is tedious — do it in one pass.
Frequently Asked Questions
Do puzzle solutions change between difficulty levels in Resident Evil 9 Requiem?
Most puzzles stay the same across difficulties. The main exception is the ARK Sterilization Chamber safe — Normal/Casual uses 10R-90L-20R, while Insanity uses 20R-0L-70R. Always check your difficulty before entering codes.
What is the Director's Office puzzle box solution in RE9?
Moon → Sun → Star → Moon. You need the pencil from the Director's desk to reveal hidden text in the notebook near the sofa. Don't skip document collection or you'll be guessing blind.
Is the final puzzle solvable in one playthrough?
No. The true ending requires Marie's Doll from playthrough 1 (stored in item box) and the Severed Hand from New Game+. Plan ahead on your first run.
How many safes are there in Resident Evil 9 Requiem?
There are 6 safes total: Lounge/Bar, Examination Room, Combustion Chamber, Airport/Old Friend Area, Monitoring Room, and ARK Sterilization Chamber. All codes are listed in this guide.
About the author
Editor-in-Chief
Founder and Editor-in-Chief of gameguidesbox.com, began surfing the web in the late 19th century. Passionate about movies, coffee, gaming, and life itself. Favorite games include Titanfall 2, Baldur's Gate 3, Metro, PUBG, and CS2.
You may also like
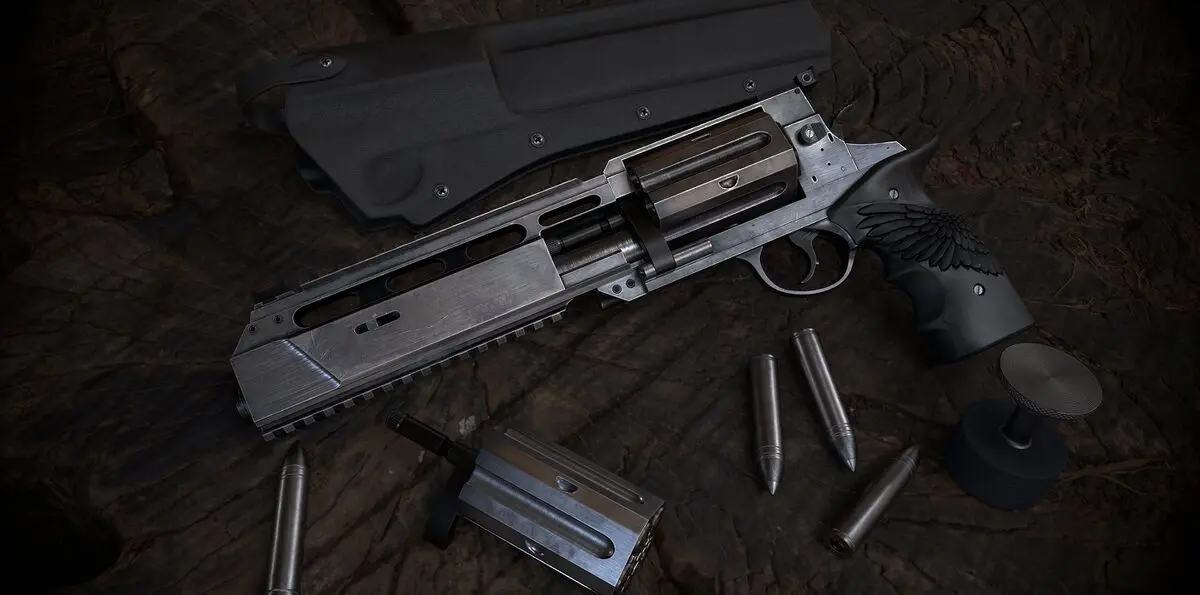
All Weapons and Guns in Resident Evil Requiem (RE9)
List of All Weapons and Guns and best Weapons in Resident Evil Requiem (RE9)
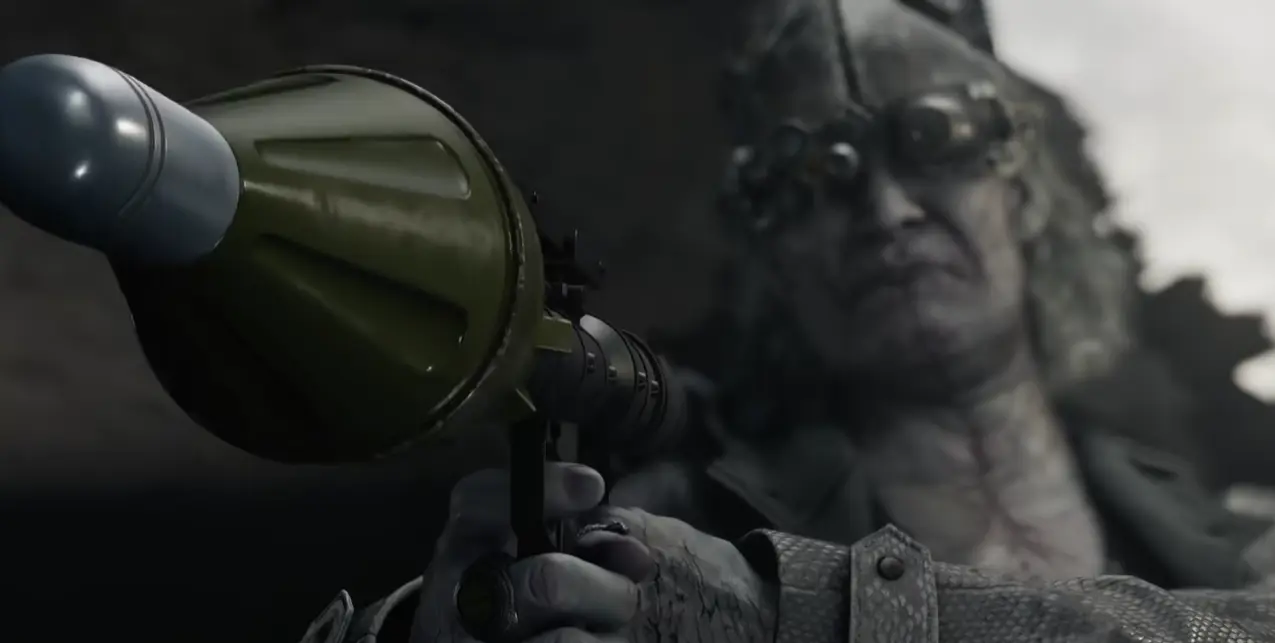
How to Hit 9 Targets on the High-Speed Rail Section to Unlock the Sniper Trophy
Resident Evil 9 Requiem How to Hit 9 Targets on the High-Speed Rail Section to Unlock the Sniper Trophy

Resident Evil 9 Requiem Boss Guide and Attack Techniques
Resident Evil 9 Requiem Boss Guide and Attack Techniques
Comments