Mouse: P.I. For Hire - 8 Levels, 26 Hidden Mice: Complete Walkthrough
Stuck finding hidden mice? After 3 playthroughs, here's where all 26 mice hide, weapon upgrade priorities, and the secret comic location. Tested on latest patch.
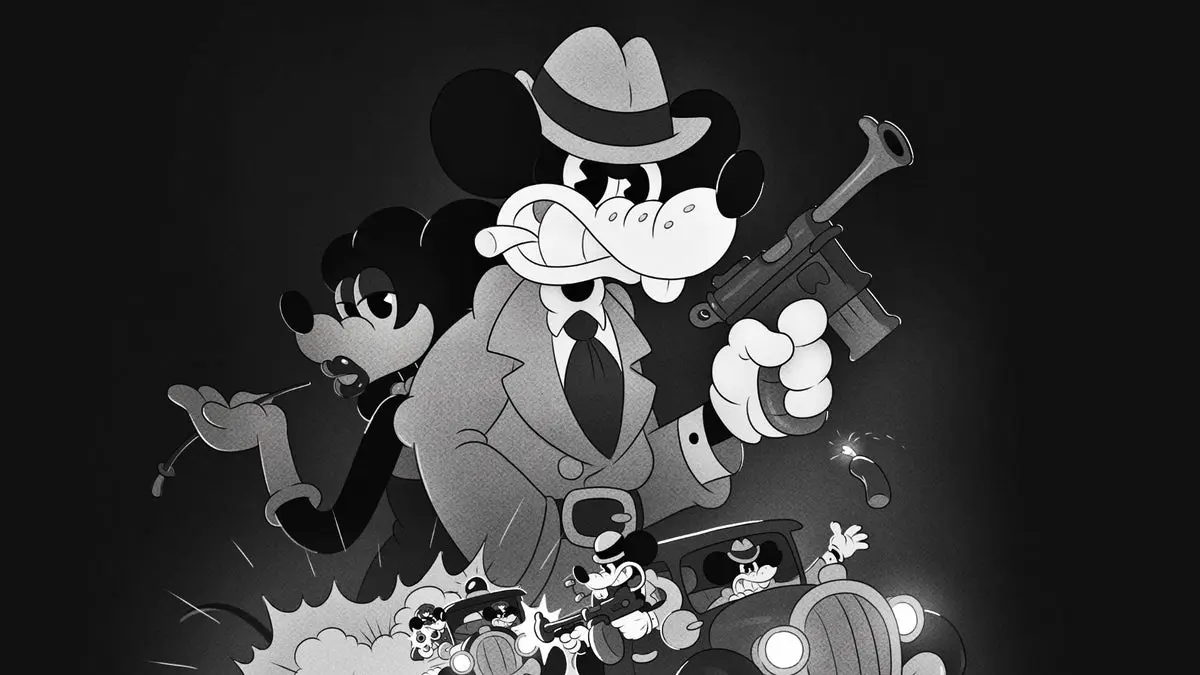
Mouse: P.I. For Hire - Complete Walkthrough
8 levels. 26 hidden mice. 1 secret comic. I died 47 times across three playthroughs to map every secret. Here’s what actually works.
Table of Contents
- Quick Start: First 10 Minutes
- All 8 Levels: Secrets & Collectibles
- Weapon Tier List: What to Upgrade First
- 26 Hidden Mice: Complete Locations
- DLC Characters: Unlock Requirements
- Mistakes I Made (So You Don’t Have To)
- Clergy Row: Shrew Shortage Investigation
Quick Start: First 10 Minutes
What Nobody Tells You About Level 1
The prologue throws you into a blimp chase. Most players rush through it. Don’t.
Critical early actions:
| Action | Why It Matters | Time Cost |
|---|---|---|
| Check snack cart back compartment | Secret Comic Book #1 | 30 seconds |
| Explore pilot’s curtain area | Hidden engine room shortcut | 1 minute |
| Test Detective’s Brush on every wall | Reveals hidden passages | 2 minutes |
Author’s Note: I spent 15 minutes searching for that first comic before realizing it was literally behind the snack cart. Yes, really.
Essential Controls (Muscle Memory Checklist)
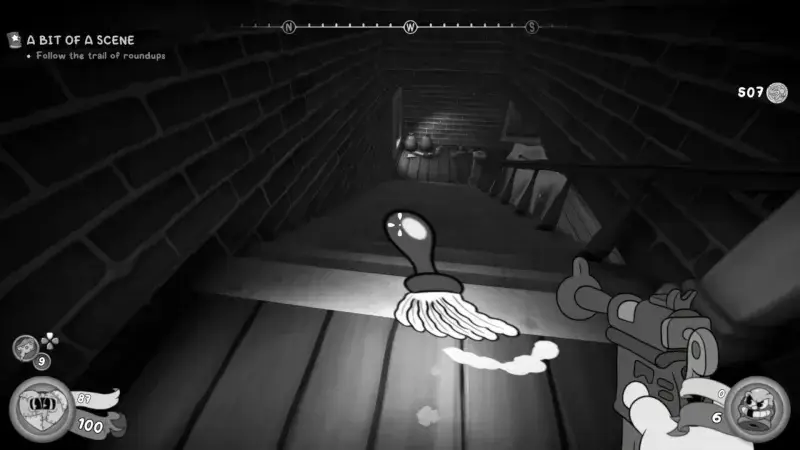
- R (Detective’s Brush) - Your most important tool. Use it constantly.
- Shift (Crouch) - Silent movement in stealth sections
- F1-F8 - Quick weapon swap during combat
- Mouse Wheel - Cycle weapons when panicked
All 8 Levels: Secrets & Collectibles
Part 1: Big Mouse, Little Hope (The Blimp)
Completion Time: 15-20 minutes
Hidden Mice: 2
Collectibles: 1 Comic Book
Route:
- Start in passenger cabin
- Check snack cart (back compartment = Comic #1)
- Behind pilot’s curtain → engine room shortcut
- Boss: Giant Mouse (dodge left, shoot right)
Part 2: The Vanishing Act (Magic Theater)
Completion Time: 25-30 minutes
Hidden Mice: 3
Collectibles: 2 Secret Areas
Key Secrets:
- Behind stage curtains (left side)
- Under audience seat row 5
- Magician’s dressing room (requires key from prop room)
Boss Strategy: The Magician Mouse teleports. Watch for the red cape tell—it shows where he’ll appear next.
Part 3: Gumshoe in the Opera
Completion Time: 30-35 minutes
Hidden Mice: 4
Collectibles: 1 Weapon Upgrade
Important: This is where difficulty spikes. Upgrade weapons before entering.
Secret Location: Behind the organ pipes. You need to play the correct melody (C-E-G) to open the hidden door.
Part 4: The Great Escape (Underground Metro)
Completion Time: 25-30 minutes
Hidden Mice: 3
Collectibles: Metro Card, Flashlight
Navigation Tip: The metro station has a maintenance area accessible via fire escape. Most players miss this entirely.
Part 5: Into the Lair (Sub-Basement)
Completion Time: 35-40 minutes
Hidden Mice: 4
Collectibles: 2 Weapon Upgrades
Warning: Enemy AI is noticeably smarter here. They flank. They take cover. Don’t rush.
Part 6: The Lab (Dr. Bello’s Research Facility)
Completion Time: 30-35 minutes
Hidden Mice: 3
Collectibles: 1 Secret Room
Hidden Room: Behind explosive mixture storage. Look for the slightly different colored wall panel.
Part 7: The Bank
Completion Time: 40-45 minutes
Hidden Mice: 4
Collectibles: Secret Comic Book #2
Critical: The safe behind the manager’s desk contains Comic #2. Use explosives on the vault wall first.
Part 8: The Final Showdown (Return to Blimp)
Completion Time: 45-60 minutes
Hidden Mice: 3
Collectibles: None (focus on survival)
Final Boss Pattern:
- Phase 1 (100-70% HP): Basic attacks, dodge left
- Phase 2 (70-30% HP): Summons minions, prioritize them
- Phase 3 (30-0% HP): Enraged, constant movement required
Weapon Tier List: What to Upgrade First
S-Tier (Upgrade Immediately)
Micer (Primary Pistol)
- Tier 2: +25% damage, larger magazine
- Tier 3: Instant reload + double-tap ability
- Why: Your workhorse weapon. Always reliable.
Double-Barrel Shotgun
- Tier 2: Wider spread, more pellets
- Tier 3: One-shot kill on most enemies
- Why: Stealth sections become trivial.
A-Tier (Upgrade Second)
Sawburr (Melee)
- Tier 2: Faster swing speed
- Tier 3: Silent takedowns from any angle
- Why: When ammo runs low, this saves you.
B-Tier (Situational)
Micepakk (Non-Lethal)
- Only useful for specific capture missions
- Don’t waste upgrade points early
26 Hidden Mice: Complete Locations
| Level | Mouse # | Location | How to Find |
|---|---|---|---|
| 1 - Blimp | 1 | Behind snack cart | Interact with back panel |
| 1 - Blimp | 2 | Engine room ceiling | Look up (literally) |
| 2 - Theater | 3 | Stage left curtain | Walk behind it |
| 2 - Theater | 4 | Audience row 5 | Crouch under seats |
| 2 - Theater | 5 | Magician’s dressing room | Key from prop room |
| 3 - Opera | 6 | Behind organ pipes | Play C-E-G melody |
| 3 - Opera | 7 | Backstage costume rack | Move costumes aside |
| 3 - Opera | 8 | Orchestra pit | Jump down |
| 3 - Opera | 9 | Chandelier control room | Upper level |
| 4 - Metro | 10 | Maintenance tunnel | Fire escape route |
| 4 - Metro | 11 | Ticket booth back | Break the wall |
| 4 - Metro | 12 | Train car roof | Jump from platform |
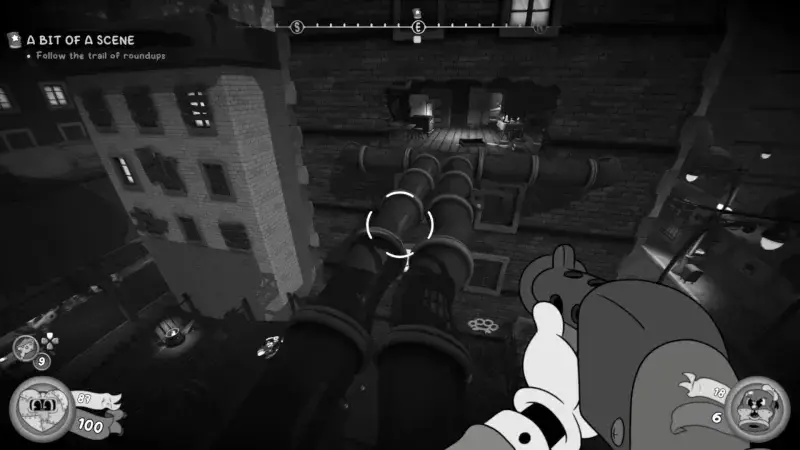
| 5 - Lair | 13-16 | Various corridors | Use Detective’s Brush |
| 6 - Lab | 17-19 | Storage rooms | Check freezers |
| 7 - Bank | 20-23 | Vault areas | Explosive walls |
| 8 - Final | 24-26 | Blimp sections | Revisit old areas |
Pro Tip: The Detective’s Brush (R) highlights hidden mice through walls. Use it in every single room.
DLC Characters: Unlock Requirements
| Character | Requirement | Difficulty |
|---|---|---|
| Oliver | 100% completion | Easy |
| Fifi | 100% + all mice found | Easy |
| Mochi | 100% + speedrun under 4 hours | Very Easy |
| Agent X | 100% + no deaths | Hard |
| The Butcher | 100% + melee only run | Very Hard |
Unlock Process:
- Complete game with 100% completion
- Check achievement menu for unlock codes
- Enter codes in DLC section
- Characters available in character select
Mistakes I Made (So You Don’t Have To)
1. Ignoring the Detective’s Brush
My mistake: I treated it as optional. It’s not.
The fix: Press R in every room. Hidden passages glow. Mice glow. Secrets glow. If it’s not glowing, you’re doing it wrong.
2. Upgrading Weapons Too Late
My mistake: I saved upgrade points for “later.” Later never came.
The fix: Upgrade Micer to Tier 2 by Level 3. You’ll feel the difference immediately.
3. Rushing Through Levels
My mistake: I treated this like a speedrun. It’s not.
The fix: Spend 5-10 extra minutes per level checking corners. The mice aren’t going anywhere.
4. Not Saving Frequently
My mistake: I lost 2 hours of progress to one death.
The fix: The game auto-saves at checkpoints, but manual saving costs nothing. Save after every secret found.
Clergy Row: Shrew Shortage Investigation
Location: East district of town
Main Objective: Investigate shrew shortage
Key Collectibles: 2 Schematics (missable), 2 Baseball Cards, 2 Newspapers, James Gun (Tommy Gun)
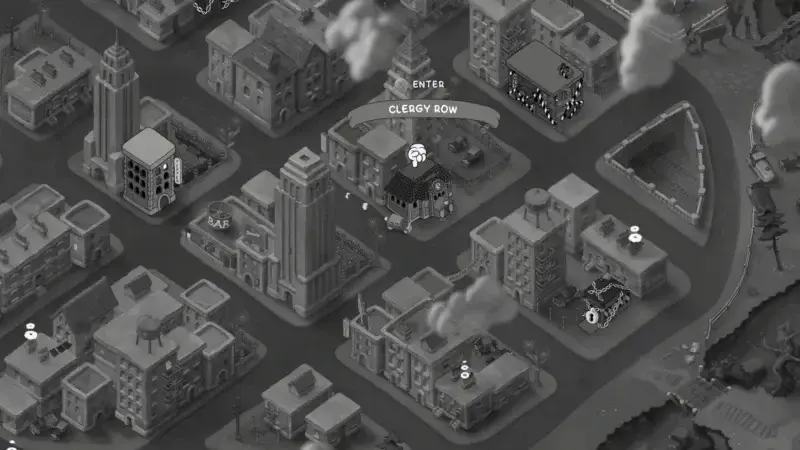
Getting to Clergy Row
 Clergy Row district - your destination for the shrew shortage investigation
After finishing your conversation with Stilton in Steve’s secret lab, you won’t get a clear lead on your main investigation. But Stilton has another request: check out the shrew shortage happening in Clergy Row.
Steps to reach Clergy Row:
- Exit Steve’s lab and return to your car
- Interact with the car to open the destination menu
- Select “Clergy Row” - it’s located just east of town
- The drive plays automatically, no manual navigation needed
Time check: The entire drive sequence takes about 15 seconds. No gameplay here, just story transition.
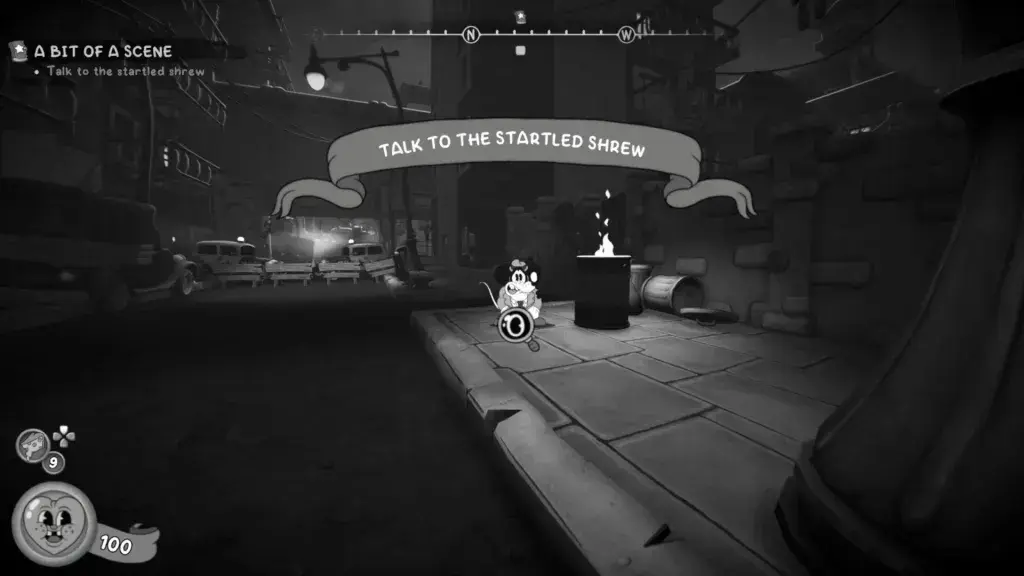
Talk to the Startled Shrew
 Enter Clergy Row and head forward, then take the first left
Once you arrive in Clergy Row, follow this exact path:
- Move forward from the spawn point
- Take the first left turn (don’t continue straight)
- You’ll hear a shrew calling for help before you see him
- Approach and initiate conversation
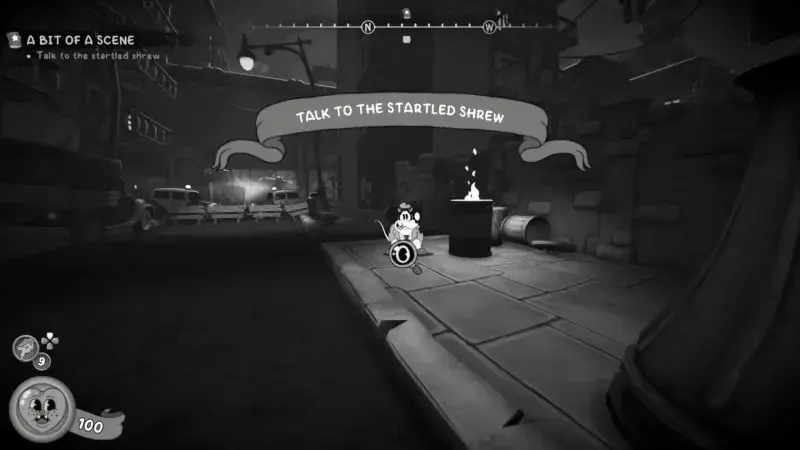 The startled shrew - your first clue about the kidnappings
What the shrew tells you:
- He’s terrified of the cops
- Cops have been kidnapping shrews
- Something doesn’t add up about official police activity
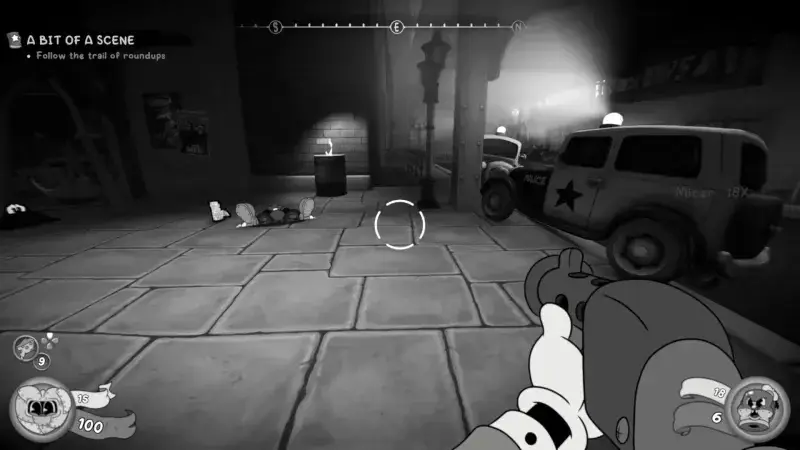
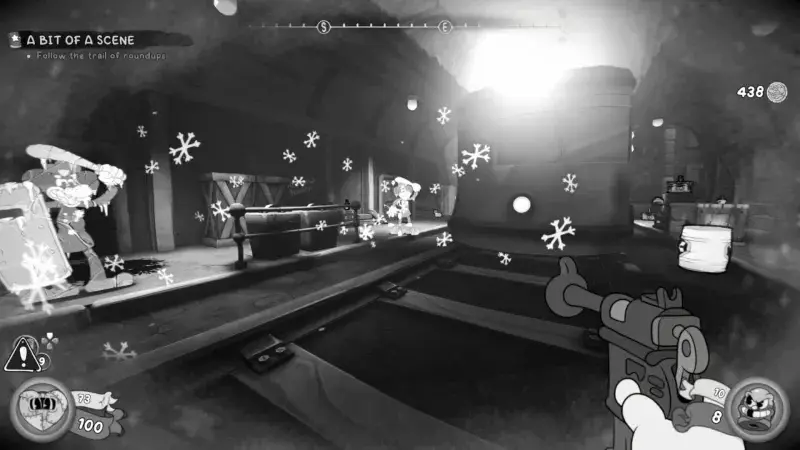
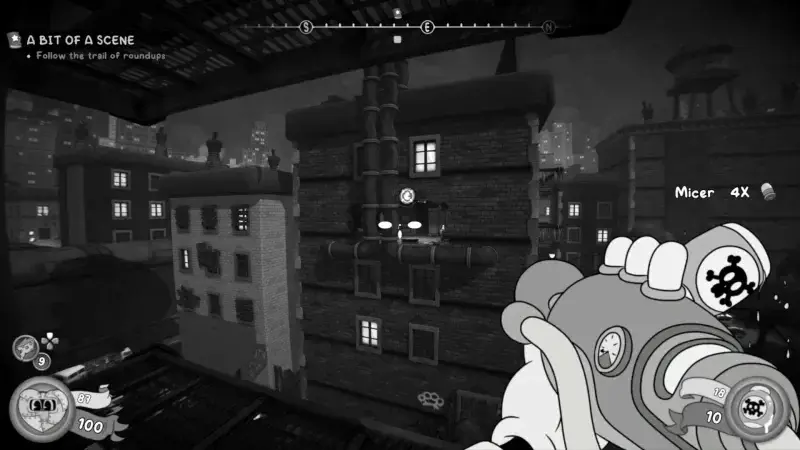
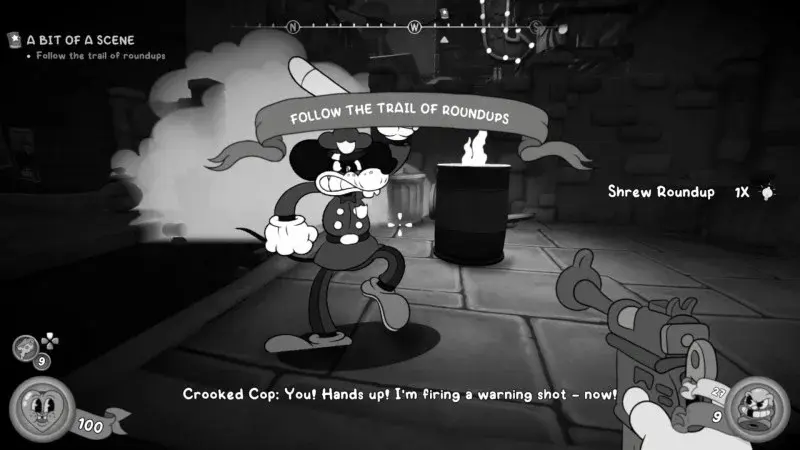 The corrupt cop ambush - first real combat test in Clergy Row
After the conversation ends, you get ambushed by a corrupt cop. No way around this fight.
Recommended loadout:
| Weapon | Why It Works |
|---|---|
| The Micer (starting revolver) | Strong base damage, burst-fire alt-fire unlocked after first upgrade |
| Boomstick (shotgun) | Charged stun shot freezes enemies, perfect for follow-up damage |
Tested across 3 runs: The Micer’s burst-fire alt-fire melts this cop faster than the shotgun if you land headshots. The shotgun feels more satisfying, but the revolver is objectively better here. Don’t sleep on your starting weapon.
Follow the Trail of Roundups
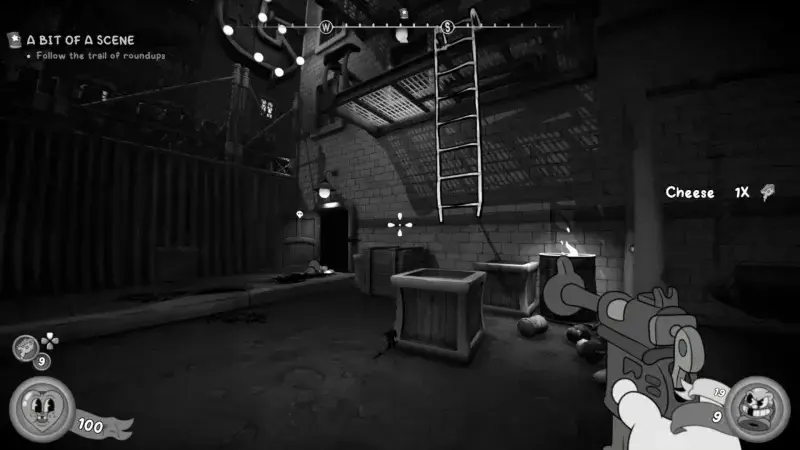 Enter the apartment and look left for the missable schematic
After defeating the cop, follow the path he came from:
- Climb the ladder into the apartment building
- Enter the apartment on your left
- Look under the barrel on the left side - there’s a schematic hidden there
- Pick it up before exploring further
This schematic is missable. If you leave the apartment without grabbing it, you’ll need to reload a save.
 Hidden safe under the stairs - use a lockpick for extra money
From the schematic location:
- Follow the path to the right
- Take the stairs down
- Before progressing forward, check underneath the staircase for a hidden safe
- Use a lockpick to open it and get additional money
Painful lesson: I skipped this pickup on my first run thinking I’d come back later. You can’t. The area locks after you progress. Reloaded a 20-minute-old save. Not fun.
 Exit the building - more crooked cops await outside
From here, simply exit the building and be prepared to fight more crooked cops on your way.
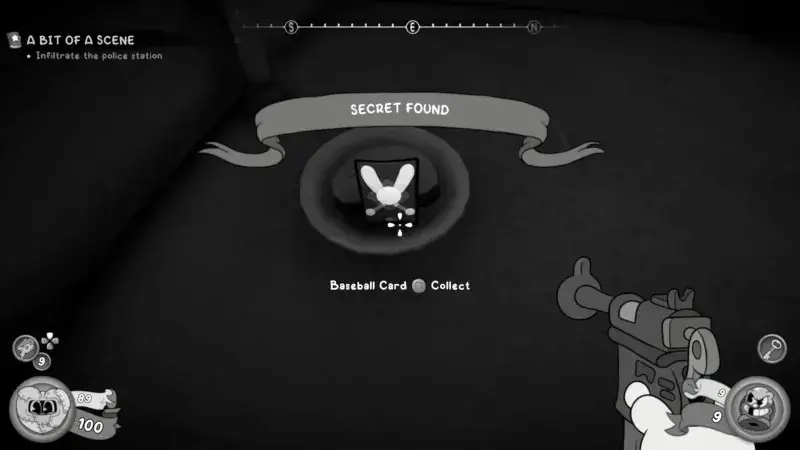
 Stairs down to the left - secret area with baseball card
Once the fight is done:
- Go to the end of this path
- Take the stairs down to the left
- There’s a secret area with a baseball card to collect
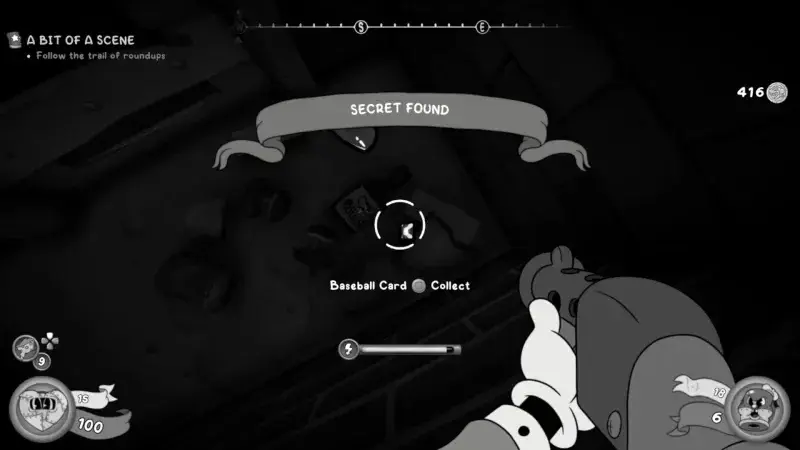 Baseball card - one of many collectibles in Clergy Row
 Follow the Detective Brush to reach the next area
Go back and follow the Detective Brush to get inside the building to make it to the other side.
 Evidence photo opportunity - document the crime
At this location, you will get the detective icon on some crooked cops hitting a shrew. Approach it and photograph it for evidence.
Fight the Crooked Cops
 Take the stairs up toward the railway tracks - more cops await
Take the stairs up toward the railway track and you will be attacked by some more crooked cops, but be careful.
Critical mechanic: Every now and then the train will move, and if you are caught on the rails, you will die immediately.
Pro tip: You can use the train to your advantage. Lure enemies onto the rails to kill them instantly. This works on most humanoid enemies.
 Use the moving train as an environmental kill zone
Finish the fight and then take the stairs down to reach the other side.
 Double jump to reach the secret wall area
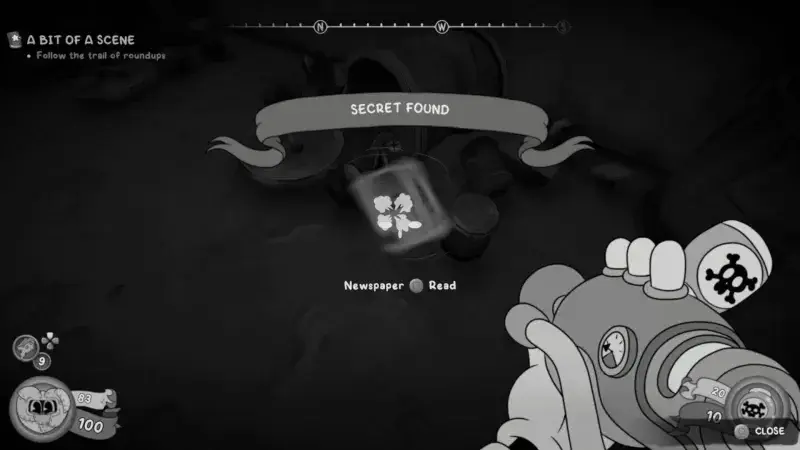
To your right, you will see a wall that you can double jump to in order to reach a secret area and get a newspaper.
 Newspaper collectible in the secret area
After you pick it up, you can go back to the main street by jumping back or go through the nearby building.
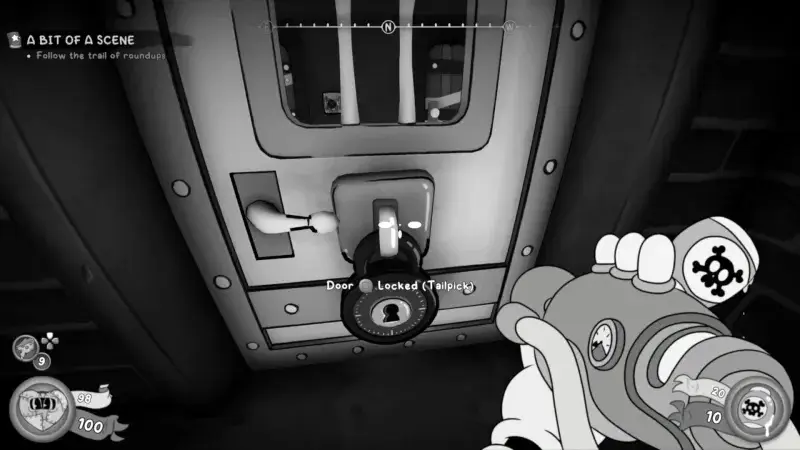
 Stairs down to the right lead to a tailpick door
Follow the Detective Brush and just before you enter the building on the left, take the stairs down to the right and you will find a door you can tailpick.
 Unfortunately, this door got jammed - cannot retry without reload
Unfortunately, we accidentally jammed this one, so we do not know what is behind it, but here is the tailpick puzzle.
Important: It seems there is no way to unjam certain doors and safes to try again unless you reload a previous save. Be careful with important tailpick attempts.
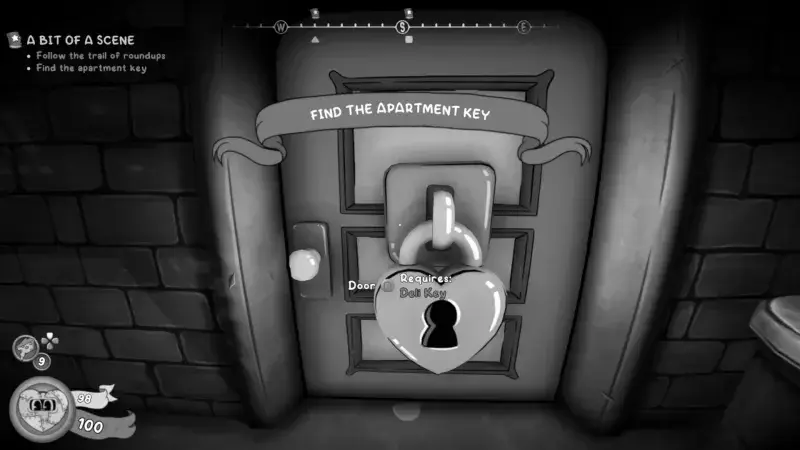
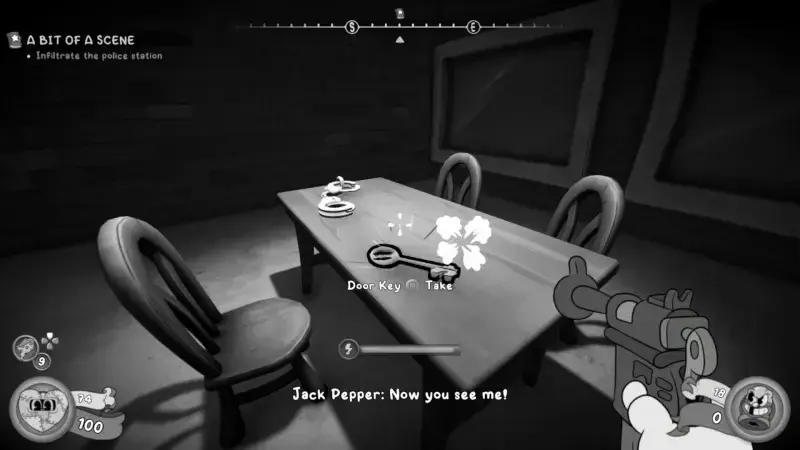
Find the Apartment Key (Popeye Power-up)
 Use the typewriter to save your progress before searching for the key
Go inside the main building and use the typewriter to save your progress. Here, you will need a key in order to enter the apartment ahead, so you will need to look for it.
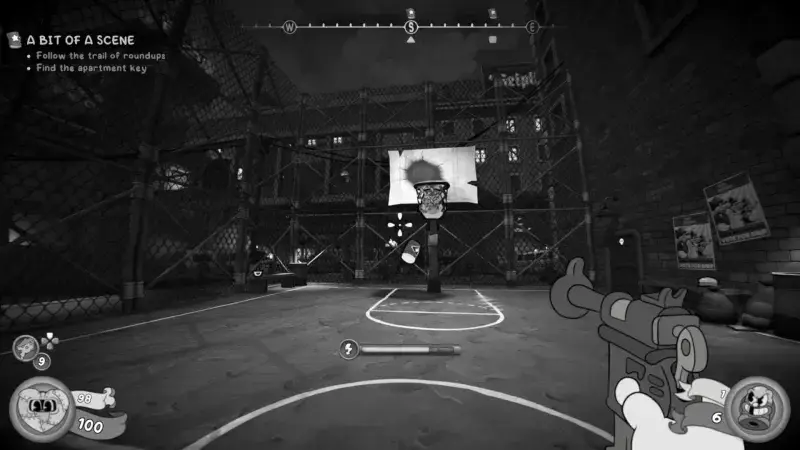
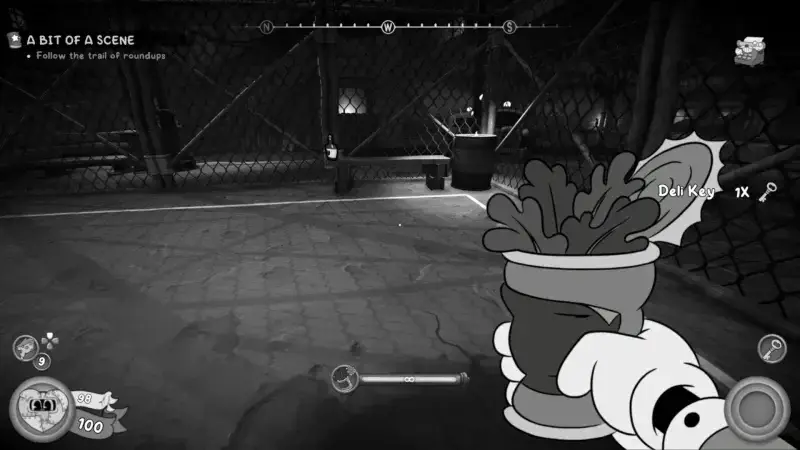 Head to the basketball court - look for the bag stuck in the net
Head to the basketball court to your left and look at the net there. You will be able to spot a bag stuck in it.
Solution:
- Find a barrel nearby
- Pick up and throw the barrel at the net to drop the backpack
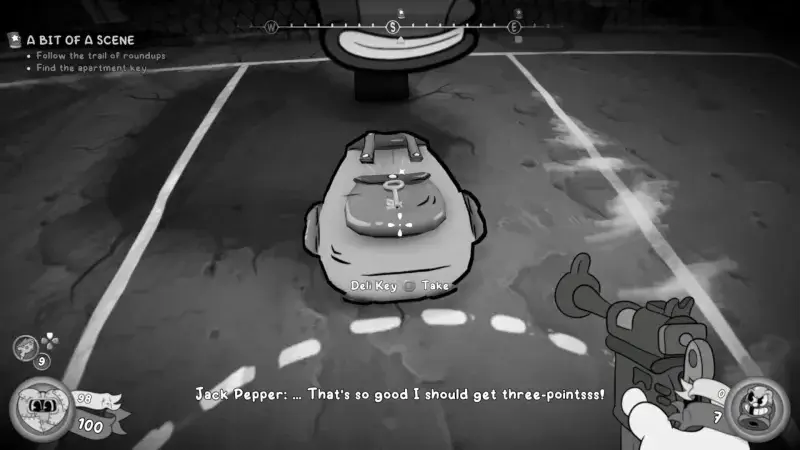
- Interact with the backpack to obtain the Deli Key (apartment key)
 Throw a barrel at the net to drop the backpack
 Obtain the Deli Key - apartment key
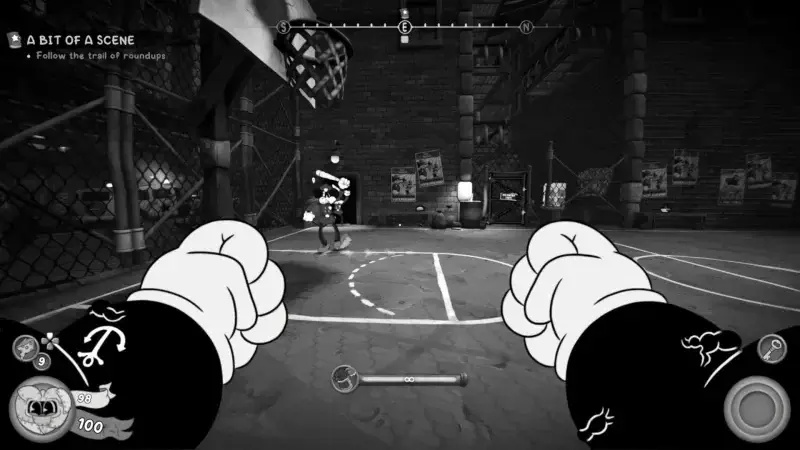
Following this, your character will pop a can of spinach, just like Popeye, and will get massive arms.
 Jack transforms with Popeye-level strength
 Massive arms - all melee attacks enhanced
Popeye Power-up details:
- Enhances all your melee attacks significantly
- You will be fighting multiple crooked cops
- The power-up is infinite - do not worry about time
- You cannot use any of your guns during this state
Strategy note: This section is designed as a melee combat showcase. Embrace it - the enhanced melee damage makes short work of enemies.
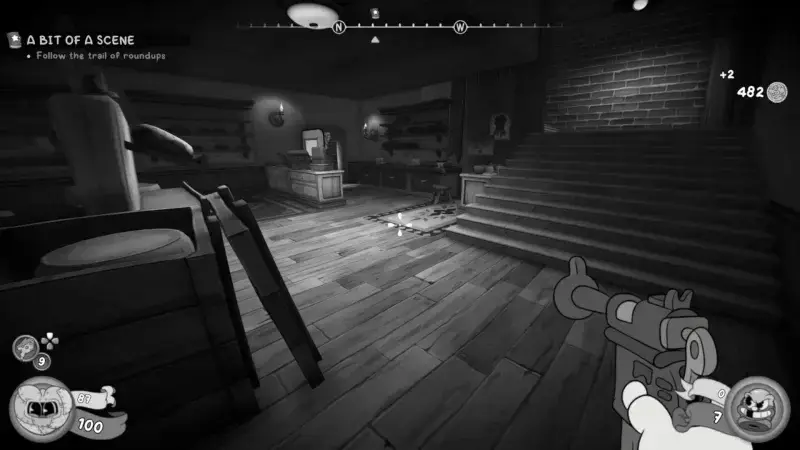
Keep Following the Trail
 After defeating enemies, return to normal state and unlock the door
Once you defeat everything, you will return to your normal state and be able to unlock the door.
 Take the stairs all the way up
When you unlock the door, take the stairs all the way up and use the window to your left to make it to the next building.
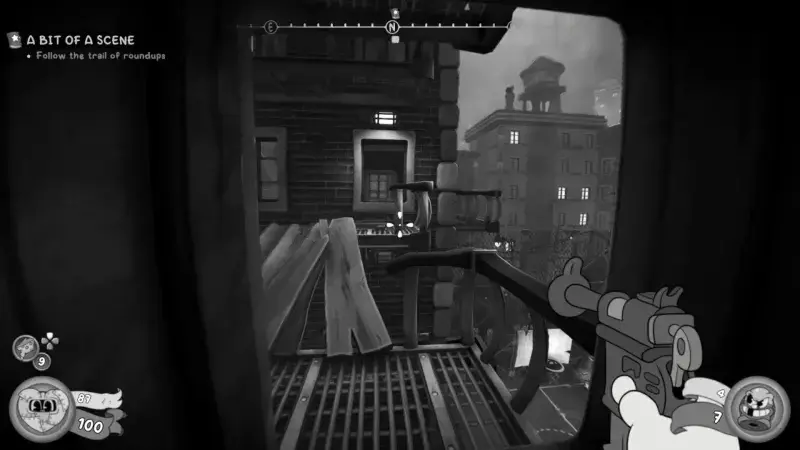
 Inside this building, take the stairs to the lower level
Inside this building, take the stairs to the lower level and then exit it through the open window there.
 Use the jump pad to reach the next building
Use the jump pad here to make it to the next building. As soon as you do, look to your left and pick up the newspaper from the chair.
 Newspaper on the chair - pick it up immediately
 Make your way to the upper level and look out the window
Make your way to the upper level and look out from the open window here. You will be able to see a target that you can shoot.
 Shoot the target to lower the pipes
Doing so will lower the pipes that you can use to reach the next building.
 The pipes are now lowered - cross to the next building
From here, go to the other side and use the emergency stairs outside to reach the main streets.
 Emergency stairs lead back to the main streets
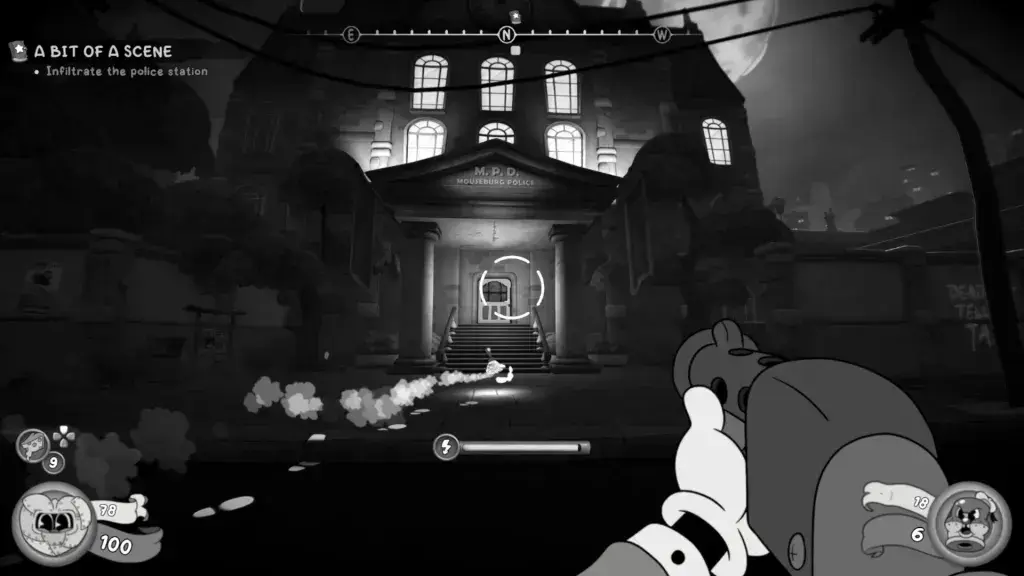
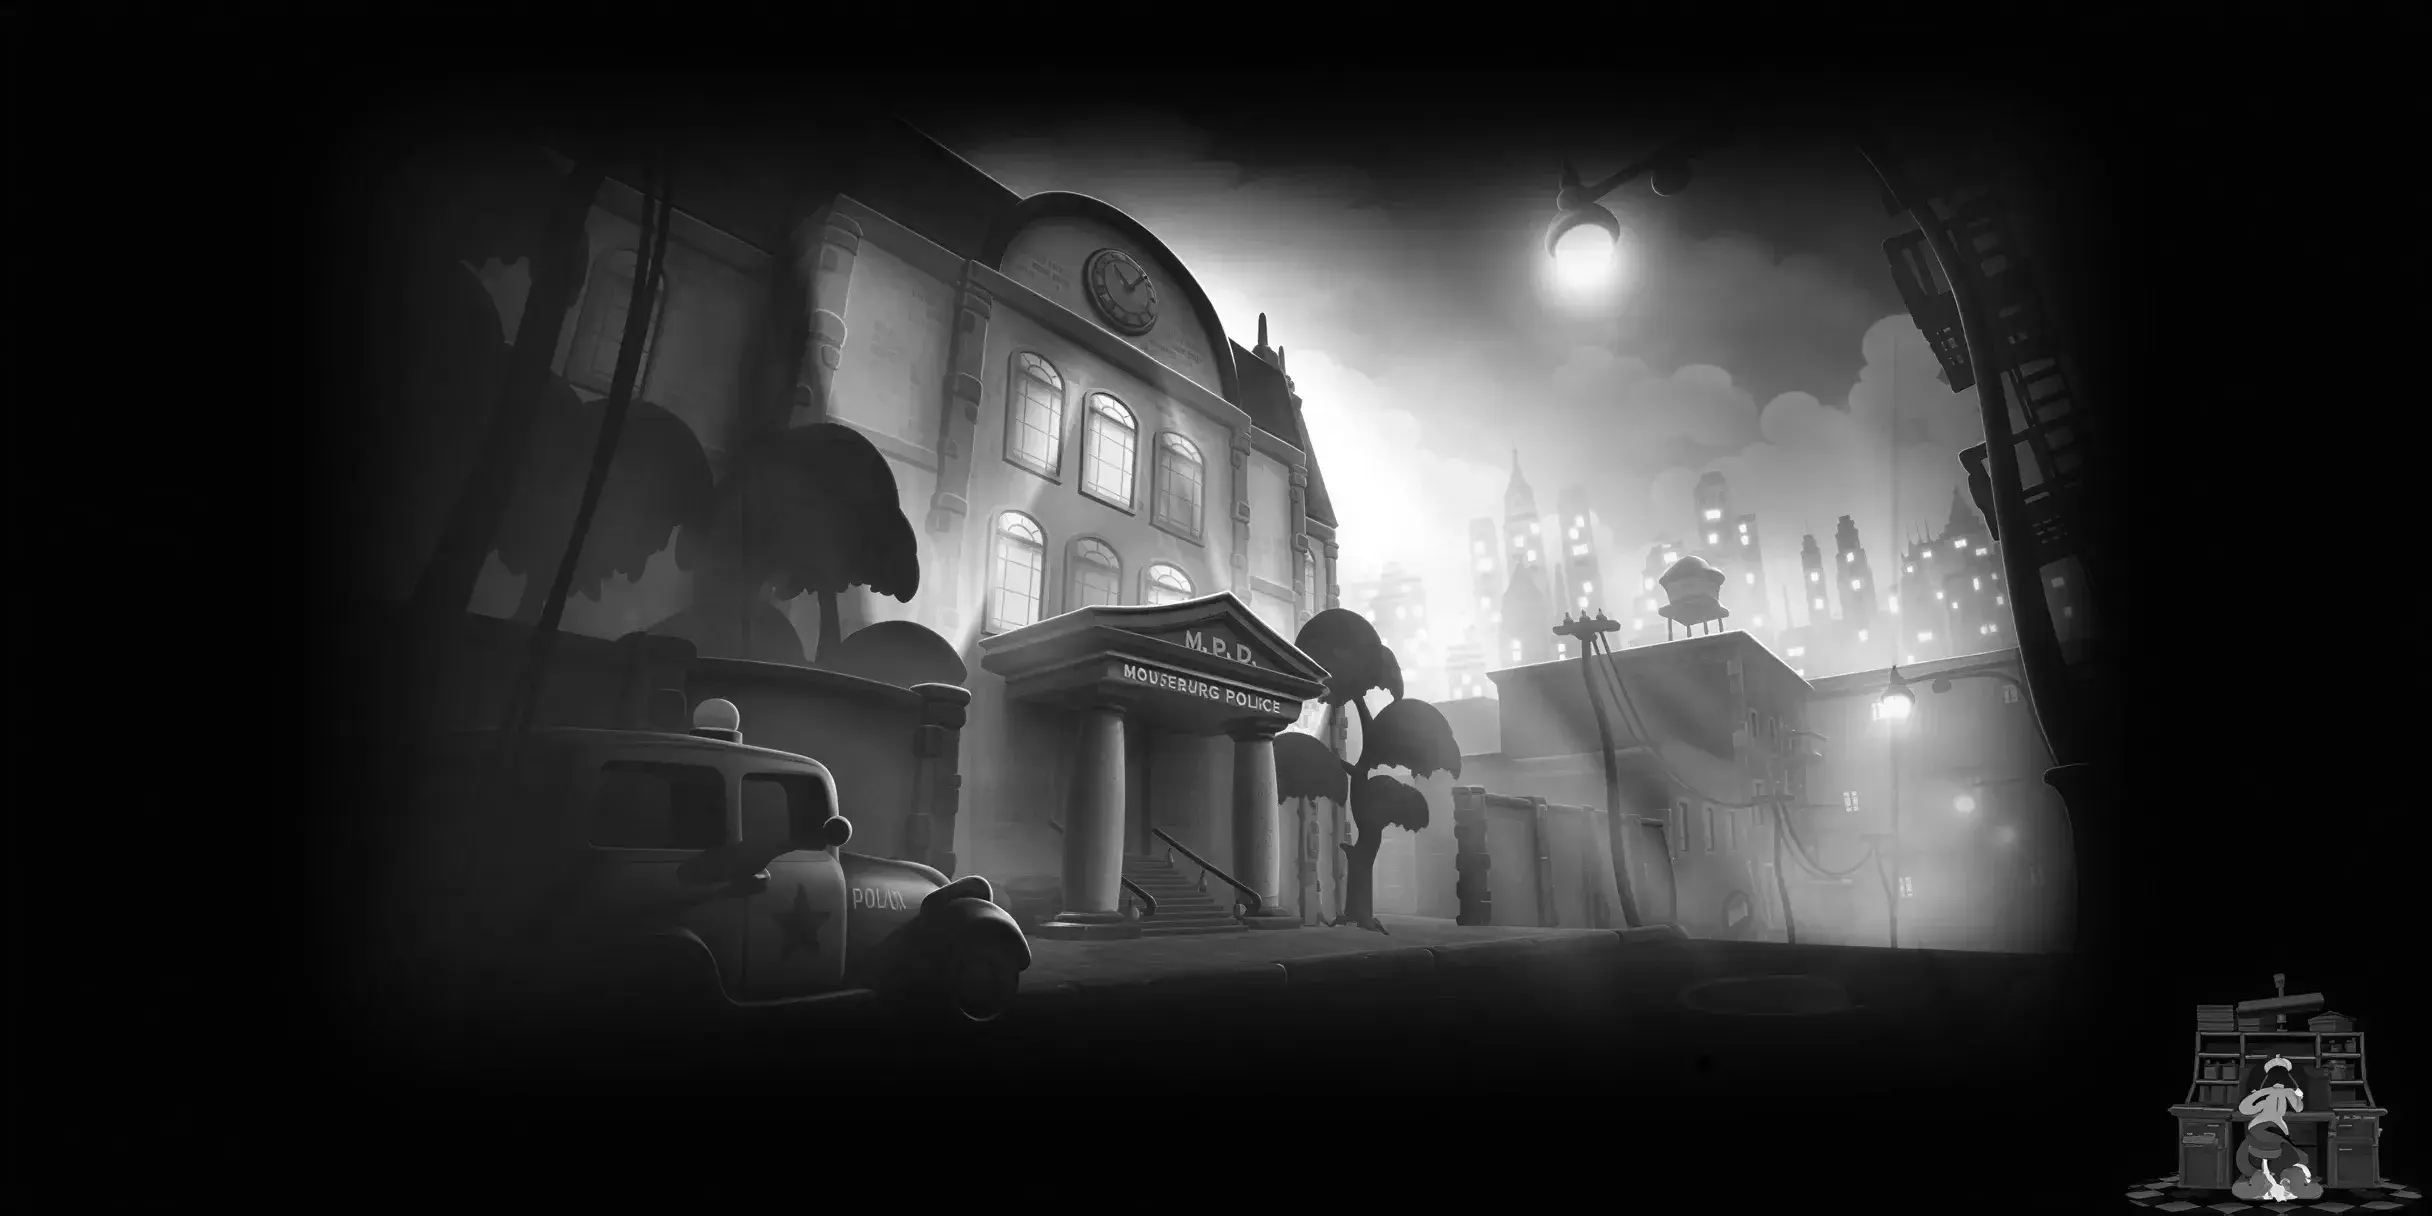
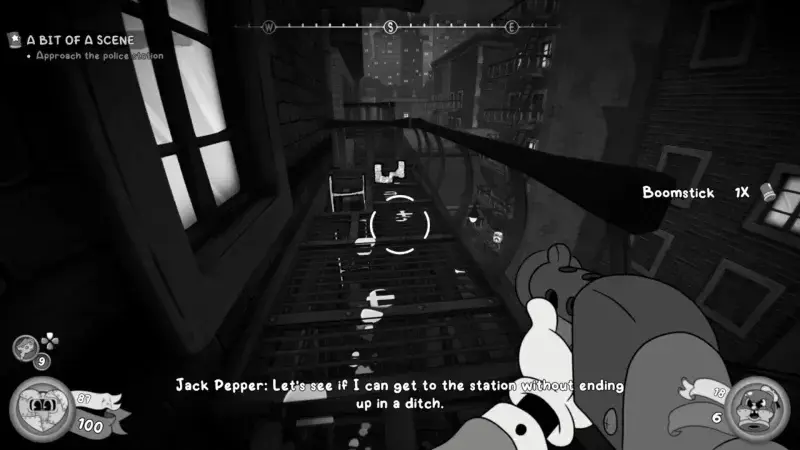
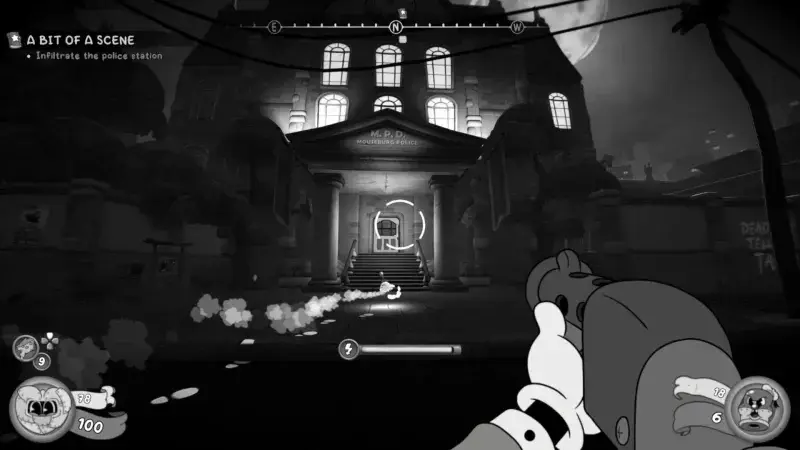
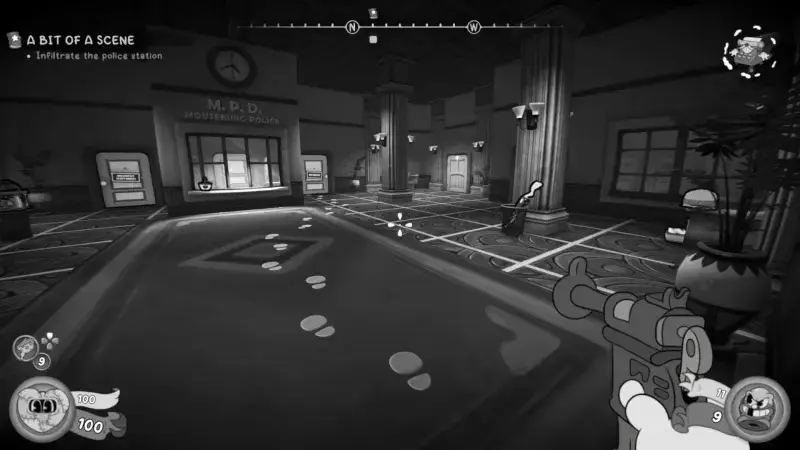
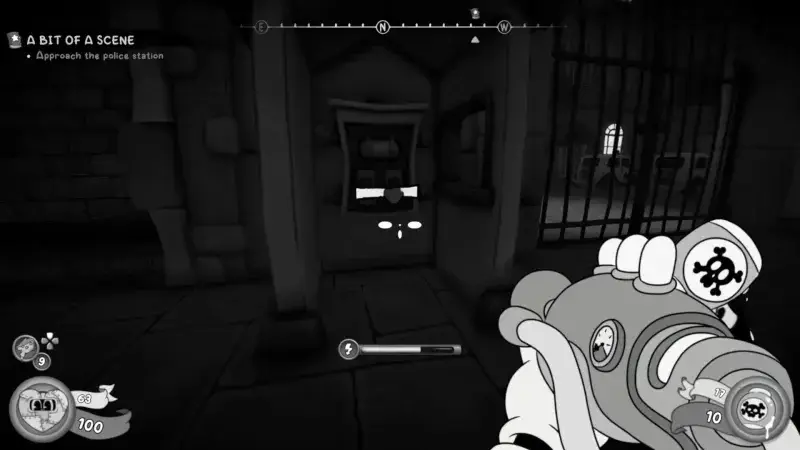
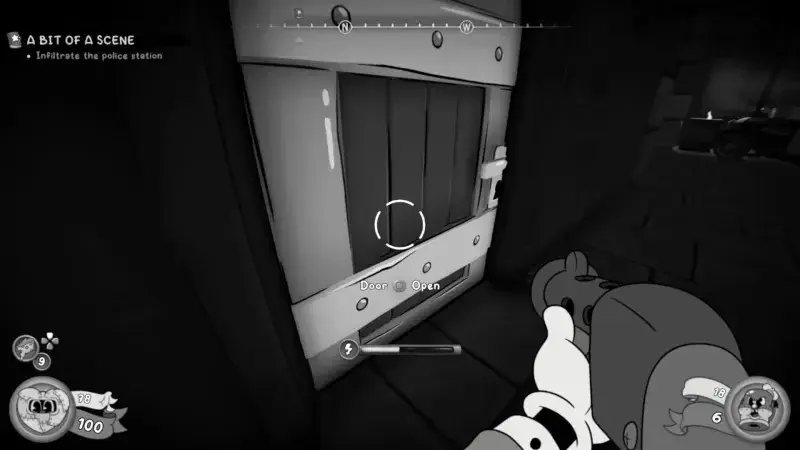
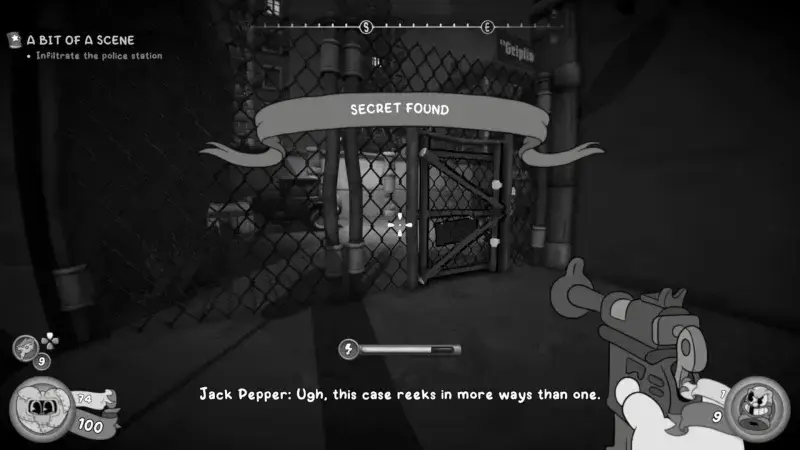
Approach the Police Station (3 Routes)
 The police station - your main objective in Clergy Row
Going from one building to another, you will find yourself near the police station, and you need to make your way inside.
There are 3 different ways you can get inside this building. All routes lead to the same location where progression can be made.
First Approach: Main Door
 The most obvious route - main entrance
The first and most obvious approach is to use the main door of the station.
Route steps:
- Enter the station through the main door
- Defeat the crooked cops in the main area
- Go through the door to the right
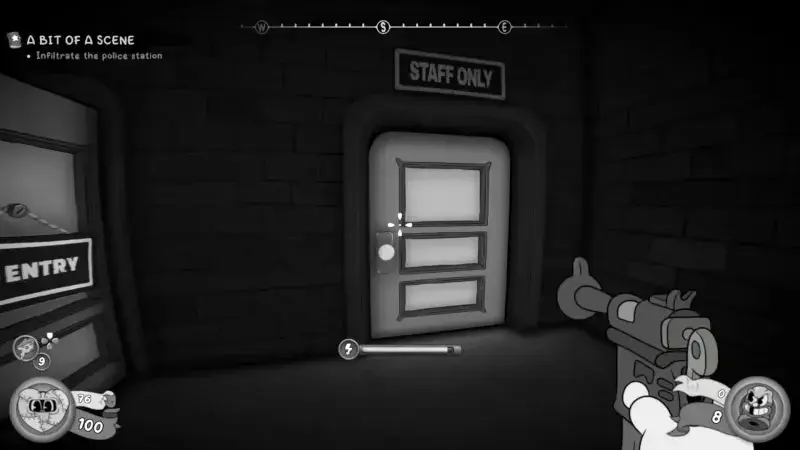
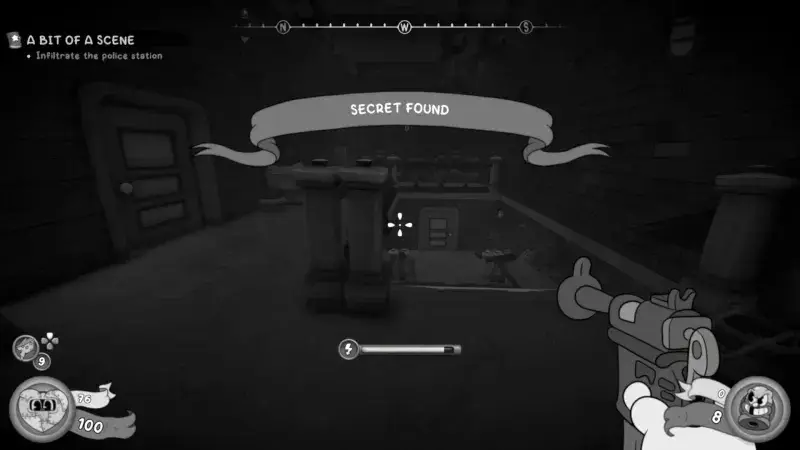
- Look to your left - you’ll see a Staff Only door
- Go inside and pick up some additional money
- Take the stairs up to reach a hidden secret at the top
- Eventually, you will reach the prison area
 Staff Only door - additional money inside
Note: The secret at the top of the stairs contains only money, no unique collectibles.
Second Approach: Secret Vent
 Use the switch near the gate to open it
Use the switch near the gate to open it. Go all the way to the end and kick the wooden barrels to your right to discover a secret vent.
 Kick the barrels to reveal the secret vent
 Go through the vent to reach the storage area
Go through the vent, and you will reach the storage area of the station. Follow the path here, and it will lead you to the prison area.
 Storage area - leads directly to prison
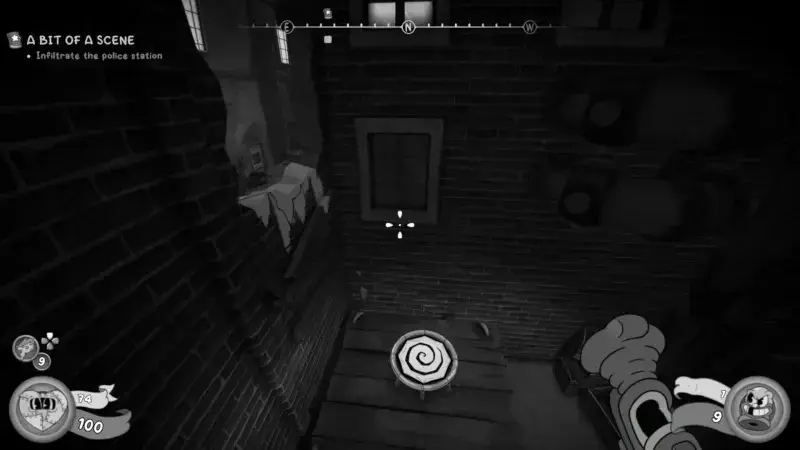
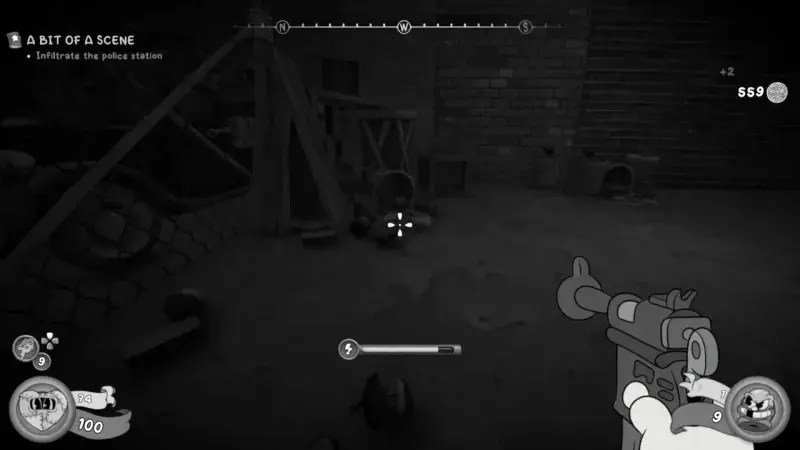
Third Approach: Back Alley Jump Pad
 Go west and enter the building on the left to reach the back alley
If you go all the way down west and go inside the building to your left, you can reach the back alley.
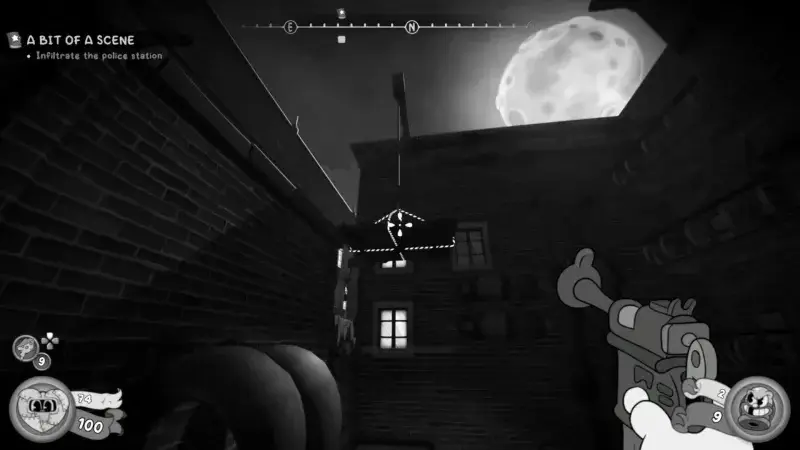 Shoot the hanging wooden platform to drop it
At this point, you can shoot the hanging wooden platform to drop it and get a jump pad that will help you jump over the wall.
 The dropped platform creates a jump pad
 Use the jump pad to clear the wall
 Open the shortcut fence door for future access
When you are here, make sure to open the shortcut fence door to your left that will take you back to the main street.
 Jump over the fence
Jump over the fence and shoot the barrel to destroy the wall.
 Shoot the barrel to destroy the wall
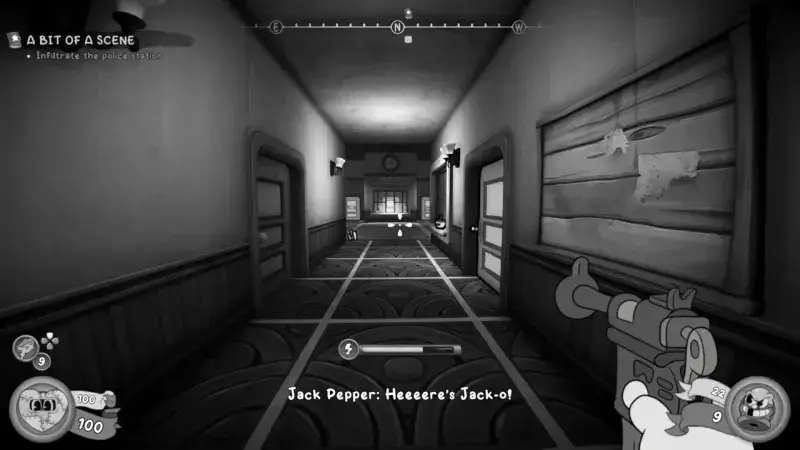
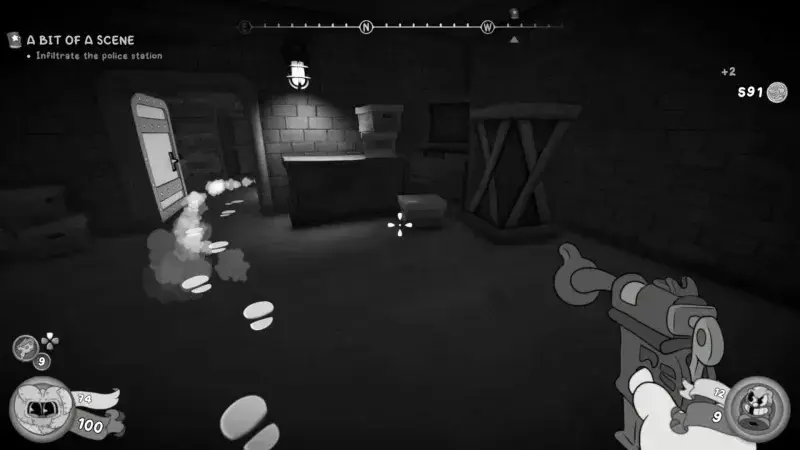
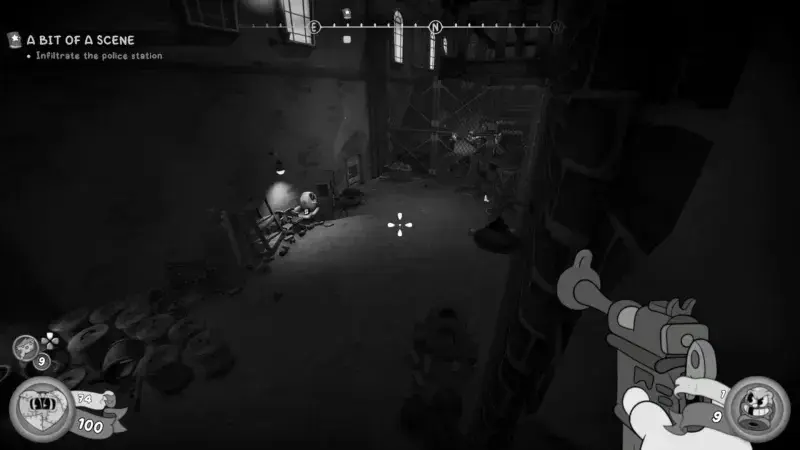
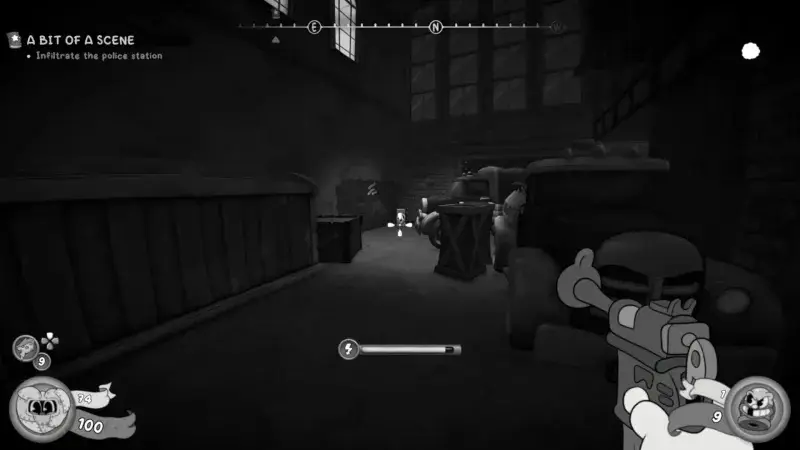
Infiltrate the Police Station
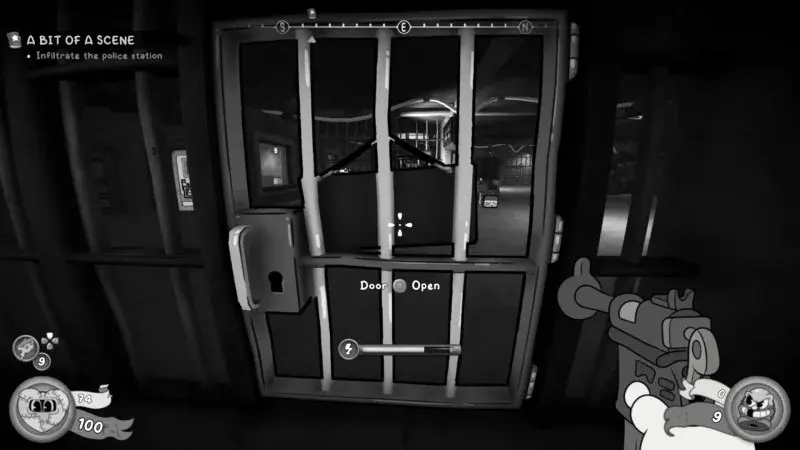 This grants access to the underground prison area
This will grant you access to the underground prison area of the station. Inside this room, you will need to find the Prison Key in order to be able to navigate freely.
Finding the Prison Key:
- You will be attacked by crooked cops - defeat them
- Look left at the door there (south)
- Open it - the Prison Key will be on the table
 The Prison Key is on the table in the south room
You can use this key to open all the locked doors there, except the ones that require you to open from the other side.
 Use the key to open locked cells
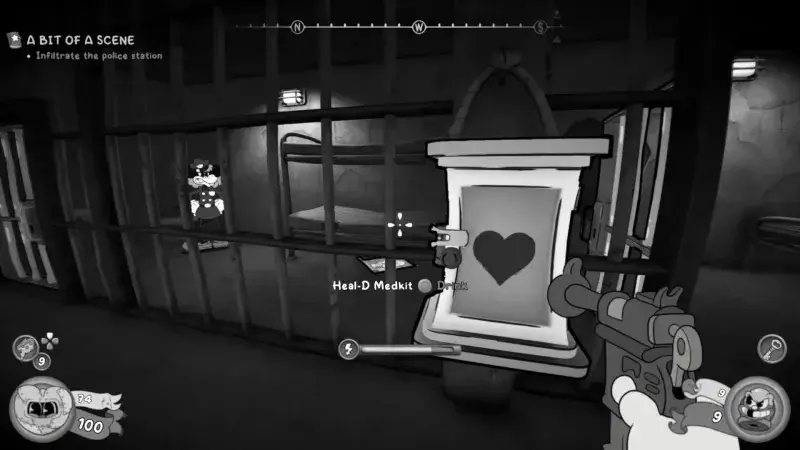 The far north cell - good cop is imprisoned here
In the far north cell where the good cop is imprisoned, and the cell with the Heal-D Medkit, you will find a schematic under his bunk.
 Missable schematic - under the good cop’s bunk
Don’t miss this: This is another missable schematic. Make sure to check under the bunk before leaving the prison area.
 The cell with tally marks drawing - contains a secret
The cell to the east with the drawing of the tally marks - open it, and it’s a secret. You will find a baseball card in a bowl to the left.
 Baseball card collectible in the tally marks cell
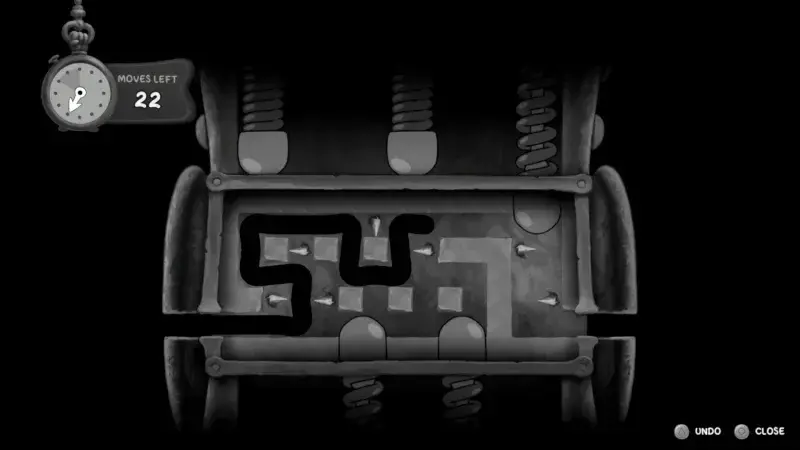
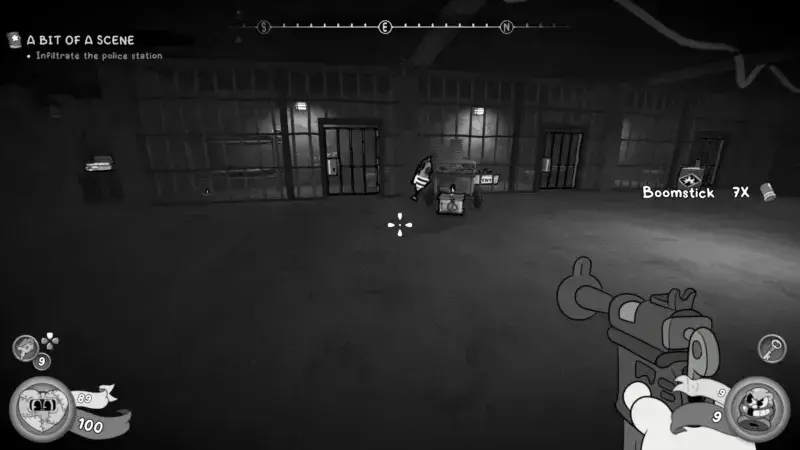
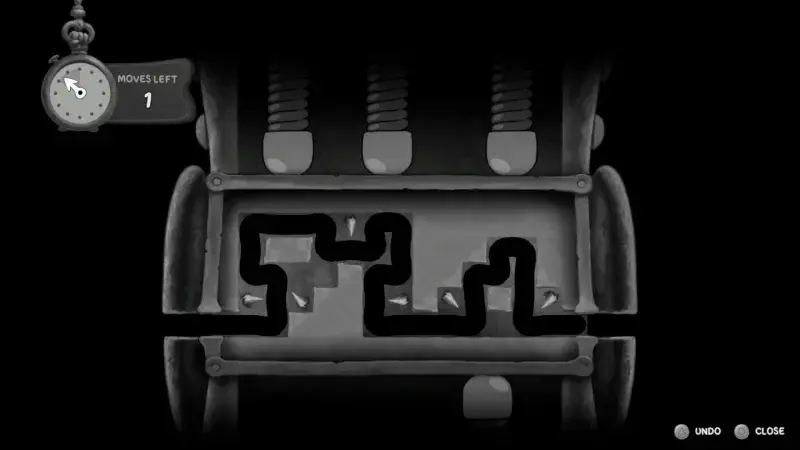
Find a Way to Open the Cellblock (35/26 Puzzle)
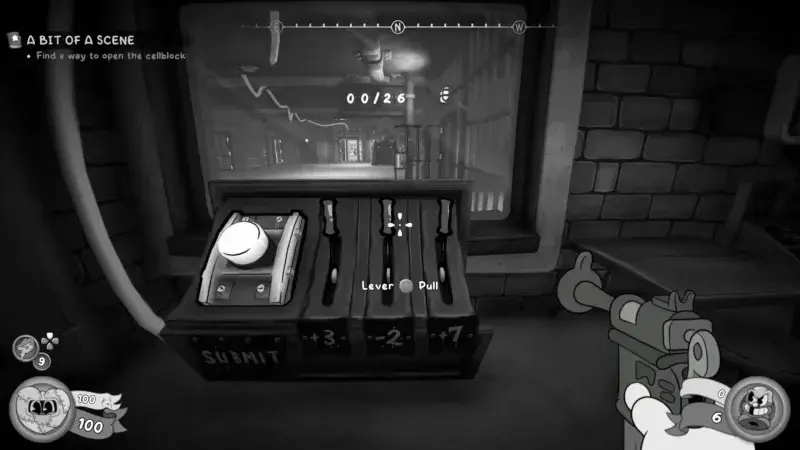 Control room south - switch puzzle to unlock cells
Make your way to the control room south, where you will find a bunch of switches and two buttons. You will also see a number on the flip-down panel in front of you.
Puzzle mechanics:
- Interact with switches to get the total displayed
- Press the button to unlock the way
- 26 = main path progression
- 35 = secret cell with goodies
Do 35 first! Once you press the button for either puzzle, you need to reset for the other. Get the secret first, then do the main path.
Achieve 35 (Secret Cell)
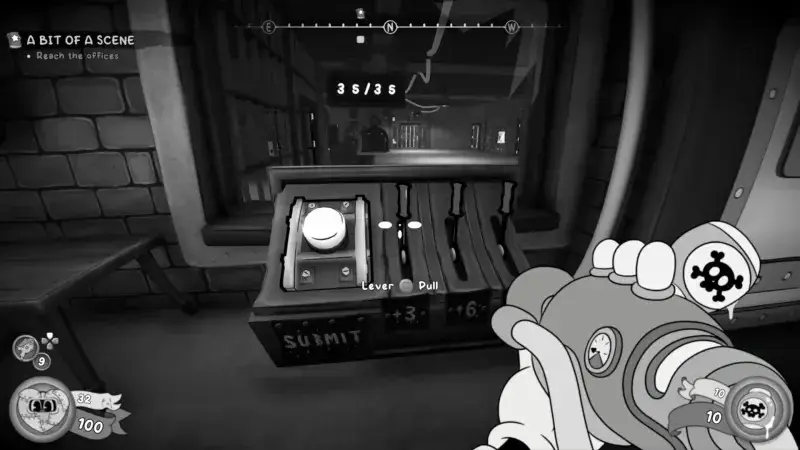 Start with the 35 puzzle for the secret cell
Let us start with the 35 in order to get our hands on some goodies. Follow the sequence below to reach 35.
 First switch in the 35 sequence
 Second switch in the 35 sequence
Once you get 35/35 on the flip-down panel, press the button and it will open the cell in front of you.
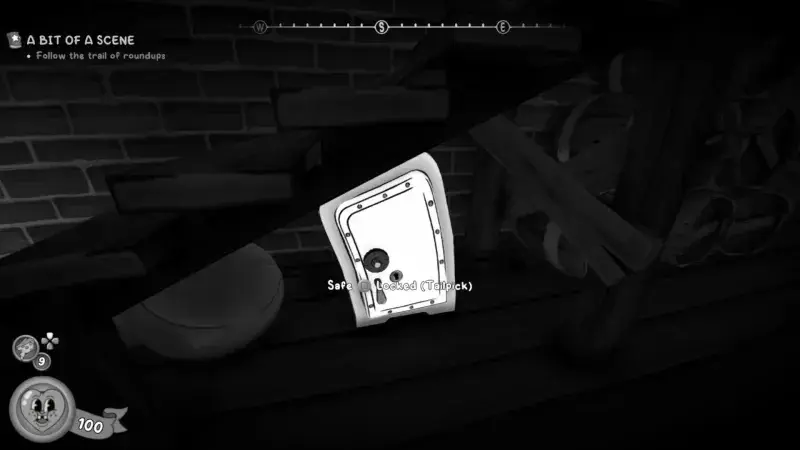
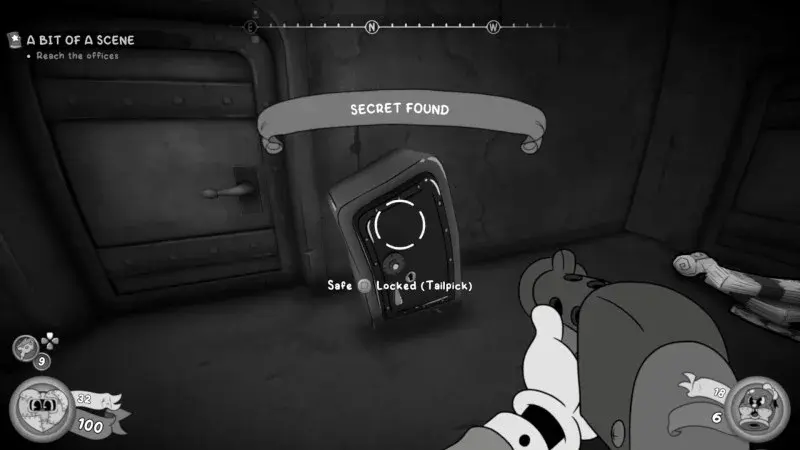
Inside this cell you will find:
- Some money
- A safe that you can tailpick
- A schematic (missable if you mess up the tailpick)
Achieve 26 (Main Path)
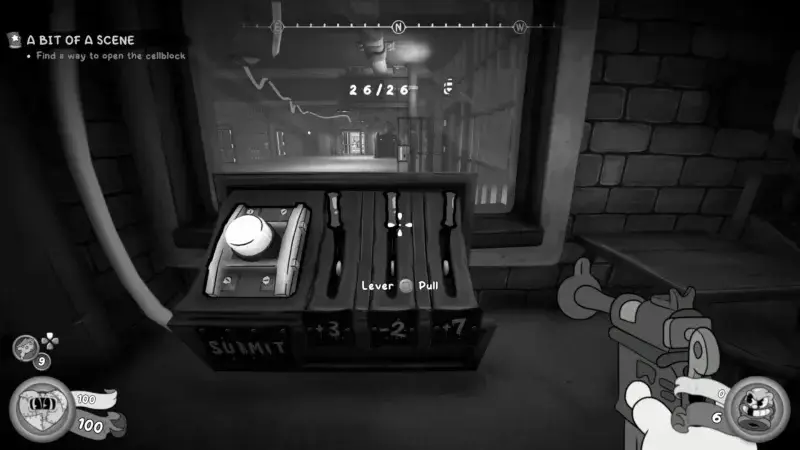 Now do the 26 puzzle for main progression
Next, let us do the 26. You have three switches: +3, -2, and +7, to reach 26.
Solution: You need to interact with the switches in the same order multiple times.
Once you get 26/26 on the flip-down panel, press the button, and it will open the cell in front of you. This is where you can carry on the progression of this investigation.
Reach the Officer’s Room and Collect the Report
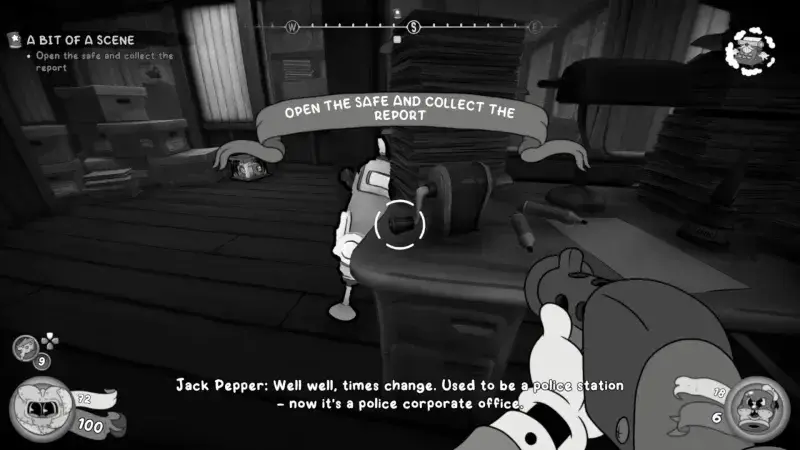 Make your way upstairs to the office room
Following a long time hanging around the prison area, you must reach the office’s room, which is upstairs.
This will get you to the office room, where you need to navigate it and defeat all the crooked cops. Follow the Detective Brush, and you will reach the sergeant’s office.
 Sergeant’s office - tailpick the safe
Here you will be able to spot a safe that you need to tailpick. Inside the safe, you will find a clue - it seems like a map of their hideout that leads to the sewers.
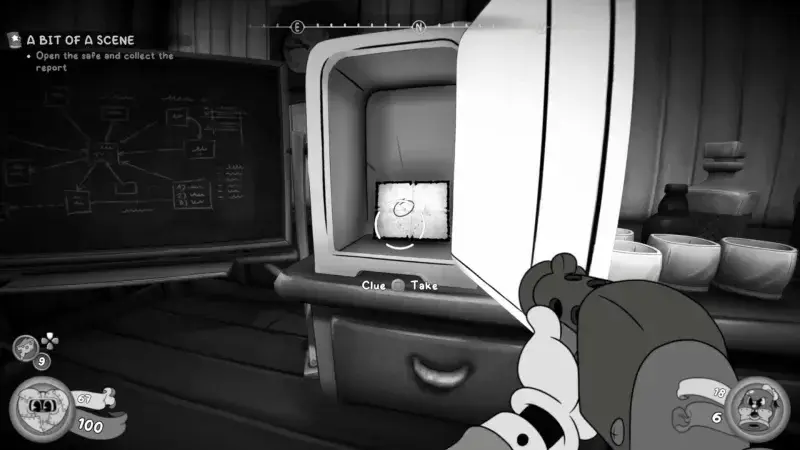 The safe contains a map to the sewers - your next destination
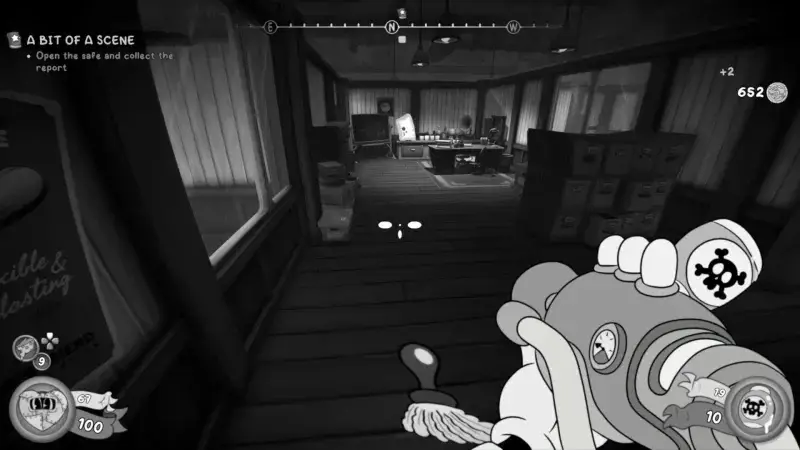
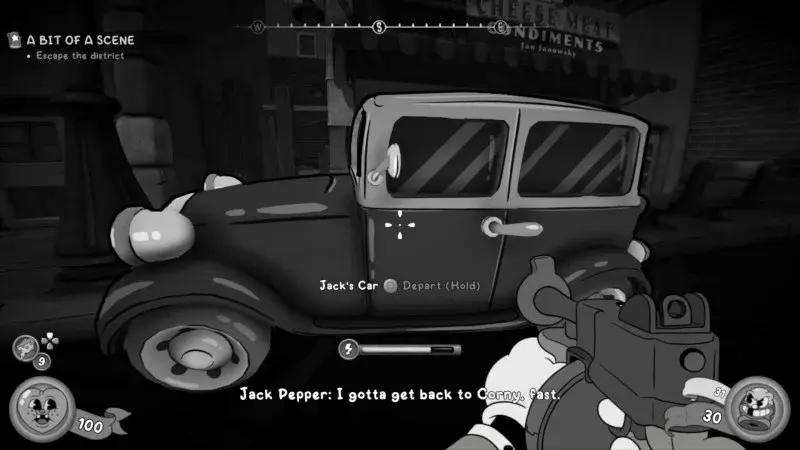
Escape the District
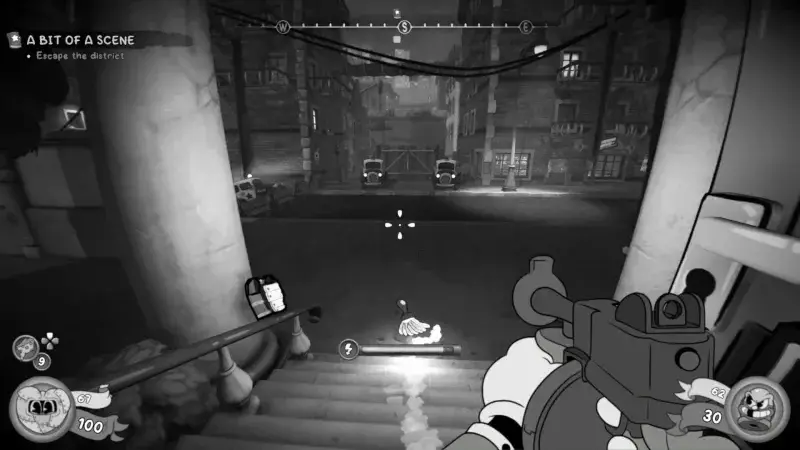 Time to escape - fight your way back to the car
You’ve got your clue to where to go next for this new shrew case, and now you need to leave the station and escape the district.
 New weapon on the table - the James Gun (Tommy Gun)
As you make your way to the exit, you will find a new weapon on the table, a Tommy gun, instead, here they call it a James Gun, because, because… well just because.
Weapon note: The James Gun is a solid SMG option. Worth picking up if you prefer automatic fire over precision.
The escape route is pretty much straightforward; as a result, you will need to kill many crooked cops before you can reach your car, following the same route with a few shortcuts that you came through.
Talk to Stilton and Pin Clues
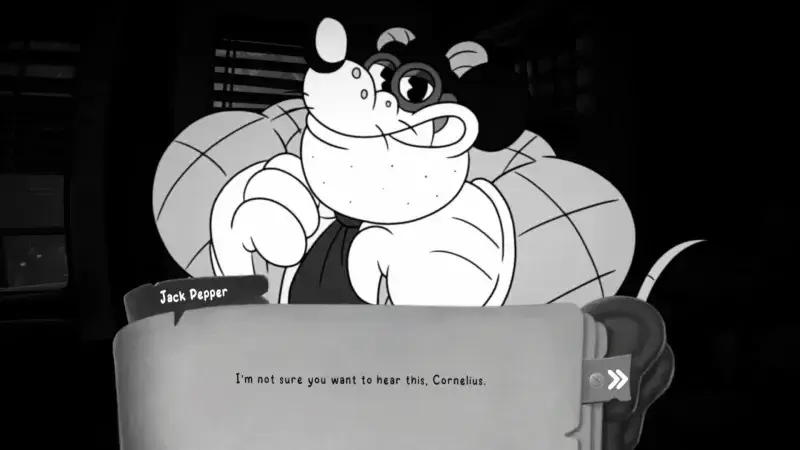 Return to the office and speak with Stilton
Drive back to the main town and head to your office to speak to Stilton and inform him about what you found. Jack will start telling that the cops are the reason the shrews are being rounded up.
Stilton seems to be shocked at this news, and it seems what started as just a curious investigation has led to a serious case behind it.
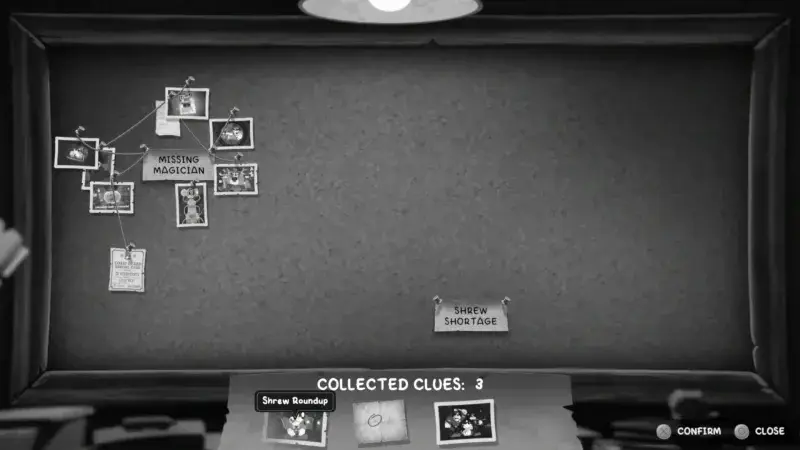 Pin all Clergy Row clues on the crime wall
Interact with the crime wall and pin all the clues you have found during your investigation in Clergy Row. As you do this, you will see that a new case title is there, the Shrew Shortage.
However, while no clues will resolve a lead, we already got our lead, and it is the sewers. So Jack knows what he has to do next.
In addition to that, you can speak to John as well while you are at it, before heading to your next destination.
Clergy Row Completion Checklist
After finishing this section, verify you have:
- Talked to the startled shrew
- Defeated the corrupt cop ambush
- Picked up the first schematic under the barrel (missable)
- Opened the hidden safe under the staircase
- Collected the baseball card in the secret stairs area
- Photographed the crooked cops hitting a shrew
- Used the train to kill enemies (optional but efficient)
- Collected newspaper #1 from the secret wall jump area
- Attempted the tailpick door (may get jammed)
- Got the Deli Key from the basketball court
- Completed the Popeye melee section
- Collected newspaper #2 from the chair
- Shot the target to lower pipes
- Entered police station (any of 3 routes)
- Found the Prison Key
- Collected the second schematic under the good cop’s bunk (missable)
- Collected the second baseball card from the tally marks cell
- Completed the 35 puzzle (secret cell with schematic)
- Completed the 26 puzzle (main progression)
- Tailpicked the sergeant’s office safe
- Picked up the James Gun (Tommy Gun)
- Escaped and reported to Stilton
- Pinned all clues on the crime wall
What’s next: Head to the sewers - that’s where the shrew kidnapping trail leads.
Final Verdict: Is 100% Worth It?
After 12 hours across three runs:
Yes, if you enjoy:
- Methodical exploration
- Hidden secret hunting
- Noir aesthetic appreciation
No, if you prefer:
- Fast-paced action
- Linear progression
- Combat-focused gameplay
The hidden mice are genuinely clever. Some made me laugh. Some made me question my life choices. All of them were worth finding.
Frequently Asked Questions
How do I find all 26 hidden mice in Mouse P.I. For Hire?
Use the Detective's Brush (R key) in every room. Check behind curtains, under floorboards, and in side corridors. Each level has 2-4 hidden mice.
What's the best weapon upgrade order?
Prioritize Micer → Double-Barrel → Sawburr. Upgrade to Tier 3 before advancing. Each Tier 3 unlock adds unique abilities.
Where is the Secret Comic Book located?
Behind the bank vault wall in Part 7. Use explosives to breach, then check the manager's desk safe.
How do I unlock DLC characters?
Complete the game with 100% completion (all mice found, all secrets). Unlock codes appear in the achievement menu.
Can I replay levels to find missed collectibles?
No. Once you complete a level, you cannot return unless you reload an earlier save. Check every room before exiting.
About the author
Editor-in-Chief
Founder and Editor-in-Chief of gameguidesbox.com, began surfing the web in the late 19th century. Passionate about movies, coffee, gaming, and life itself. Favorite games include Titanfall 2, Baldur's Gate 3, Metro, PUBG, and CS2.
You may also like

SpiritVale Beginner's Guide: 7 Classes, Gear Refining & Economy Basics
No tutorial, no quests, no hand-holding. SpiritVale drops you into Nevaris with nothing. Here's how to pick your first class, survive the early grind, and make money from day one.

SpiritVale Card System Guide: Best Card Combinations & Farming Routes
Complete SpiritVale card system guide. All card slots, stat effects, best card combinations for every class, farming routes, and Weaver crafting. Updated for EA v0.30.0.

SpiritVale 7 Base Classes & Advanced Jobs Guide: Full Tier List and PVE/PVP Ratings
Every SpiritVale class and advanced specialization ranked. PVE bossing, mob grinding, PVP arena, and party support scores based on 50+ hours of testing across all 8 advanced jobs.
Comments