Marathon Assassin Build: Best Solo Loadout Guide
Solo players dominate with Assassin. Discover the exact Cores, Implants, and weapons that make Assassin the most broken solo shell in Marathon.
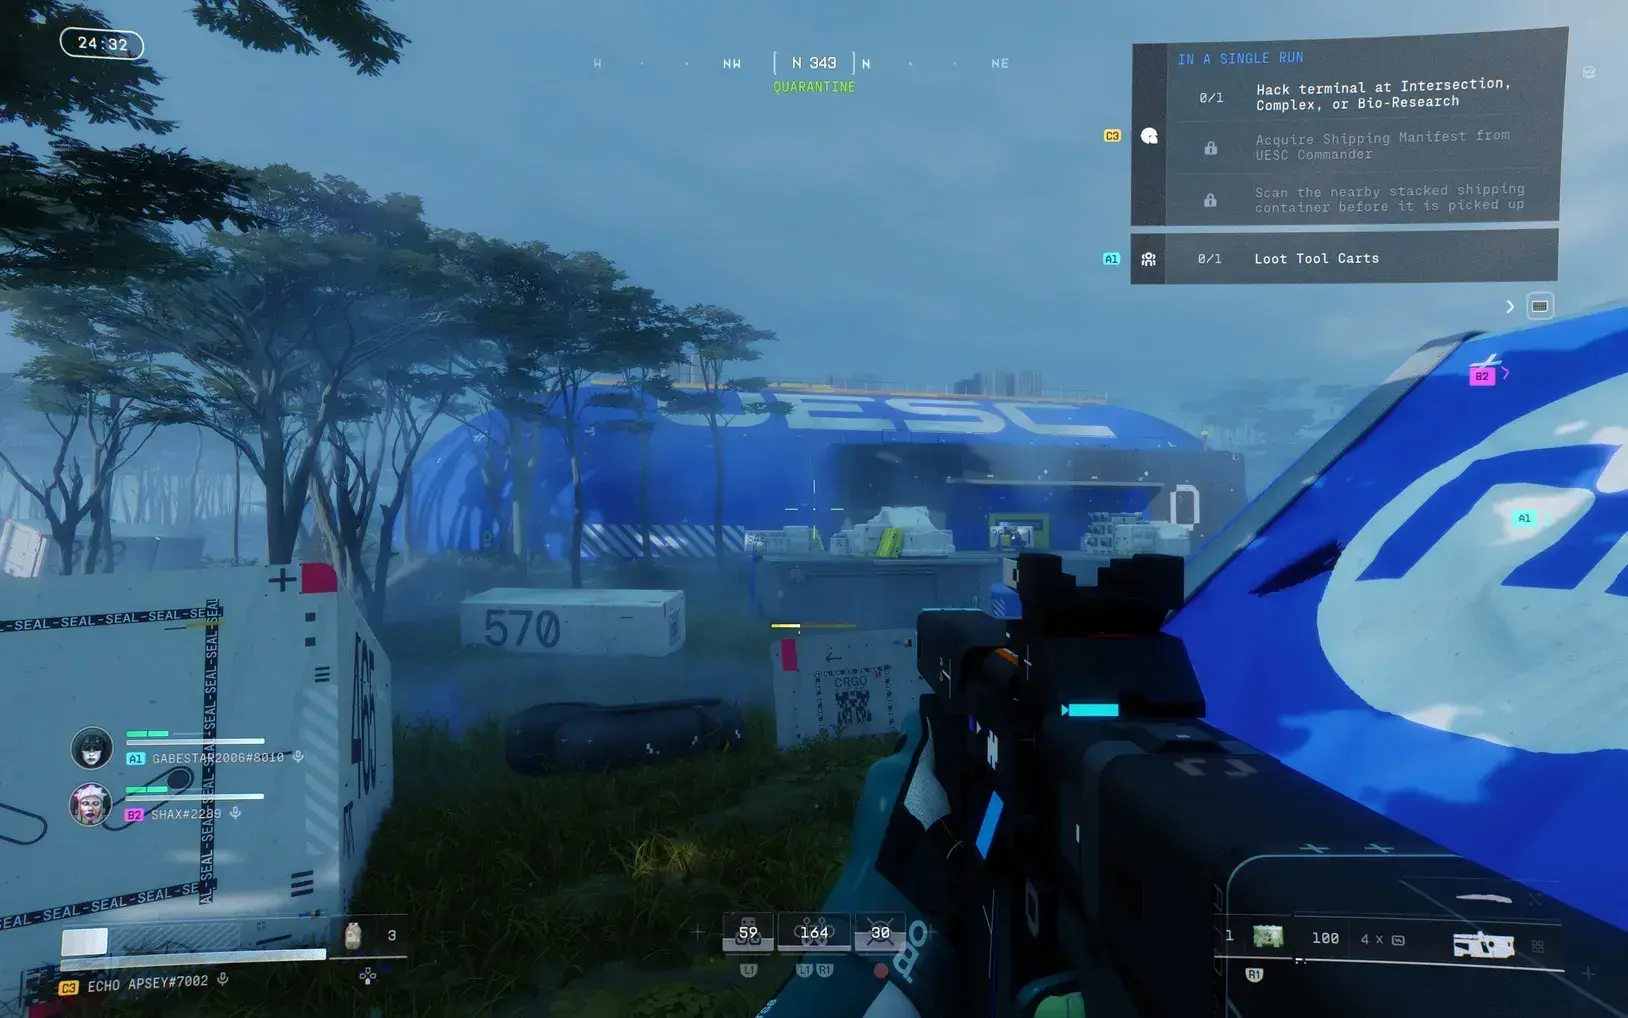
If you’re playing solo in Marathon and not using Assassin, you’re making it harder than it needs to be. Assassin dominates solo queue with Active Camo, smoke manipulation, and unmatched escape potential. This guide breaks down the exact build used by top solo players.
Table of Contents
- Why Assassin Dominates Solo Play
- Assassin Abilities Breakdown
- Best Assassin Builds by Game Stage
- Weapon Synergies and Loadouts
- Engagement Rules and Combat Tactics
- Counters and How to Play Around Them
Why Assassin Dominates Solo Play
Assassin is built for one thing: self-sufficiency. While other shells rely on team synergy, Assassin creates their own opportunities.
Solo Play Advantages
| Advantage | How It Works | Impact |
|---|---|---|
| Engagement Control | Active Camo lets you pick when to fight | Avoid bad 1v3 situations |
| Escape Potential | Smoke + invisibility = clean exits | Survive mistakes that kill other shells |
| Ambush Power | Invisible flanks catch teams off-guard | Win fights before enemies react |
| Loot Priority | Slip past fighting squads | Loot rooms they just cleared |
Community Consensus
“Assassin is probably one of the best Shells to use when playing solo. In squads, he’s not that strong. But in Solo, he’s one of the best due to being pretty safe and able to outrun danger easily.” - Skycoach.gg
“For solo players, Assassin is the meta. Smoke + invisibility gives you options no other shell has.” - Reddit r/Marathon
Shell Tier Rankings (Solo)
| Tier | Shell | Solo Rating |
|---|---|---|
| S | Assassin | 9.5/10 |
| S | Triage | 9.0/10 |
| A | Vandal | 8.5/10 |
| A | Recon | 8.0/10 |
| B | Destroyer | 7.0/10 |
| B | Thief | 7.0/10 |
| C | Rook | 6.0/10 |
Assassin Abilities Breakdown
Understanding your toolkit is the difference between feeding and extracting.
Prime Ability: Shroud
Description: Deploy a smoke screen that obscures vision.
Key Mechanics:
- Creates a smoke field lasting 15-20 seconds
- Blocks enemy vision (not bullets)
- Synergizes with multiple Cores
- Cooldown: 45 seconds (base)
Pro Tip: Use Shroud at choke points during extraction. Teams won’t push through smoke without intel.
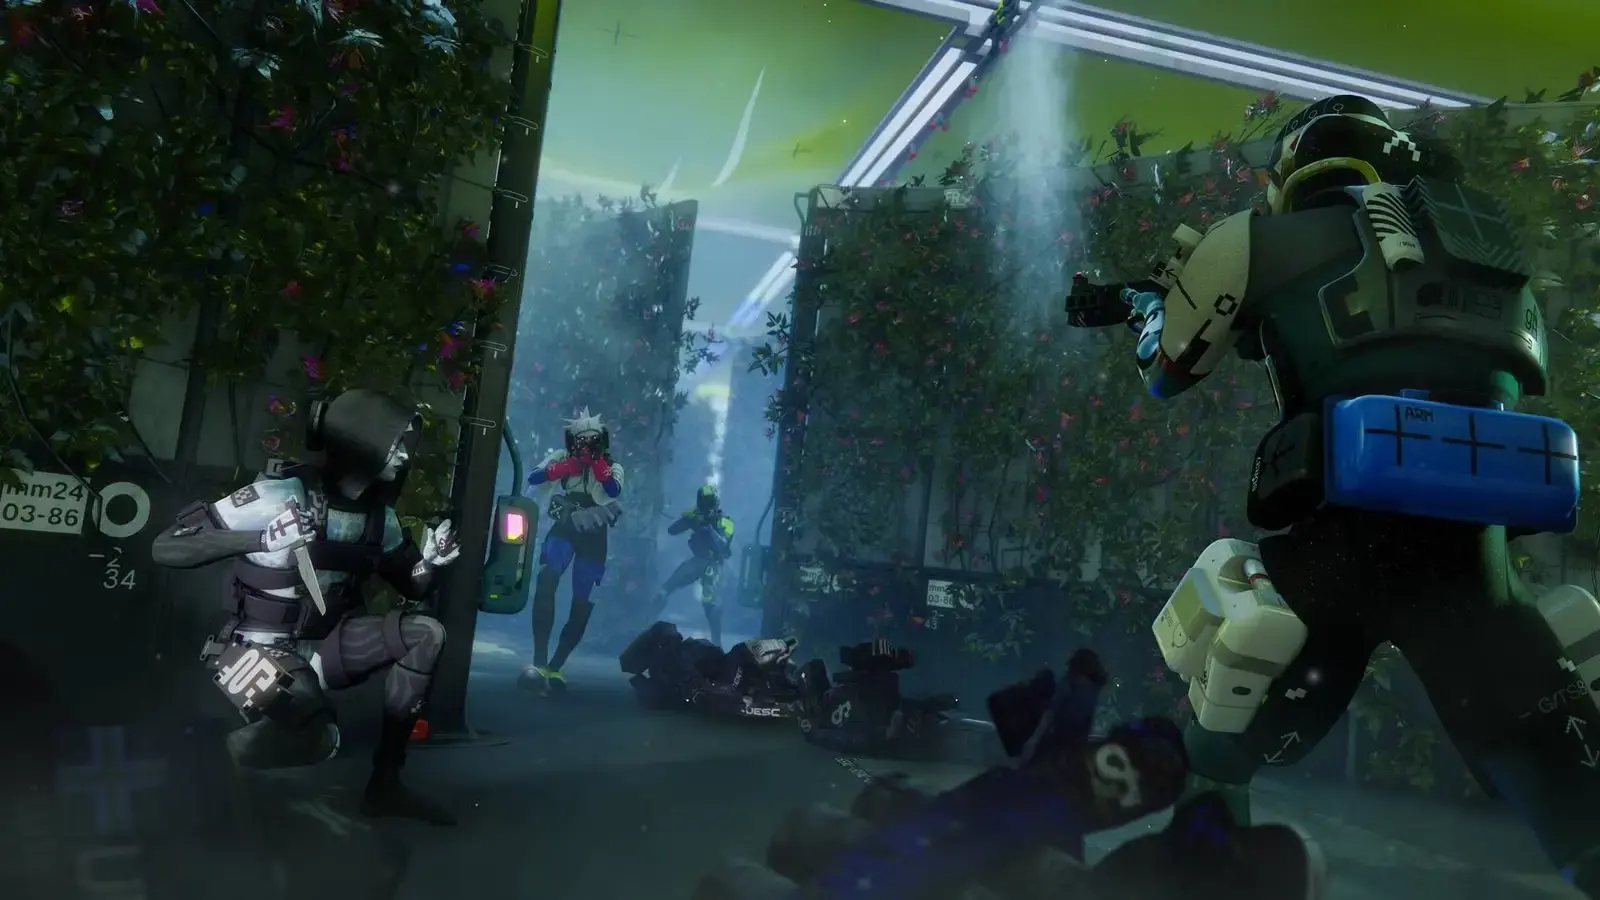
Tactical Ability: Active Camo
Description: Turn invisible for a short duration.
Key Mechanics:
- Duration: 8-10 seconds (base)
- Breaking invisibility: Attacking, taking damage, or ability expiration
- Generates Heat while active
- Cooldown: 60 seconds (base)
Critical Rule: Do NOT panic-cast Active Camo. Wasted camo = dead Runner.
Passive Traits
| Trait | Effect | Usage |
|---|---|---|
| Shadow Dive | Enhanced movement while in smoke | Reposition during fights |
| Stalker Protocol | Reduced audio footprint while invisible | Flank without detection |
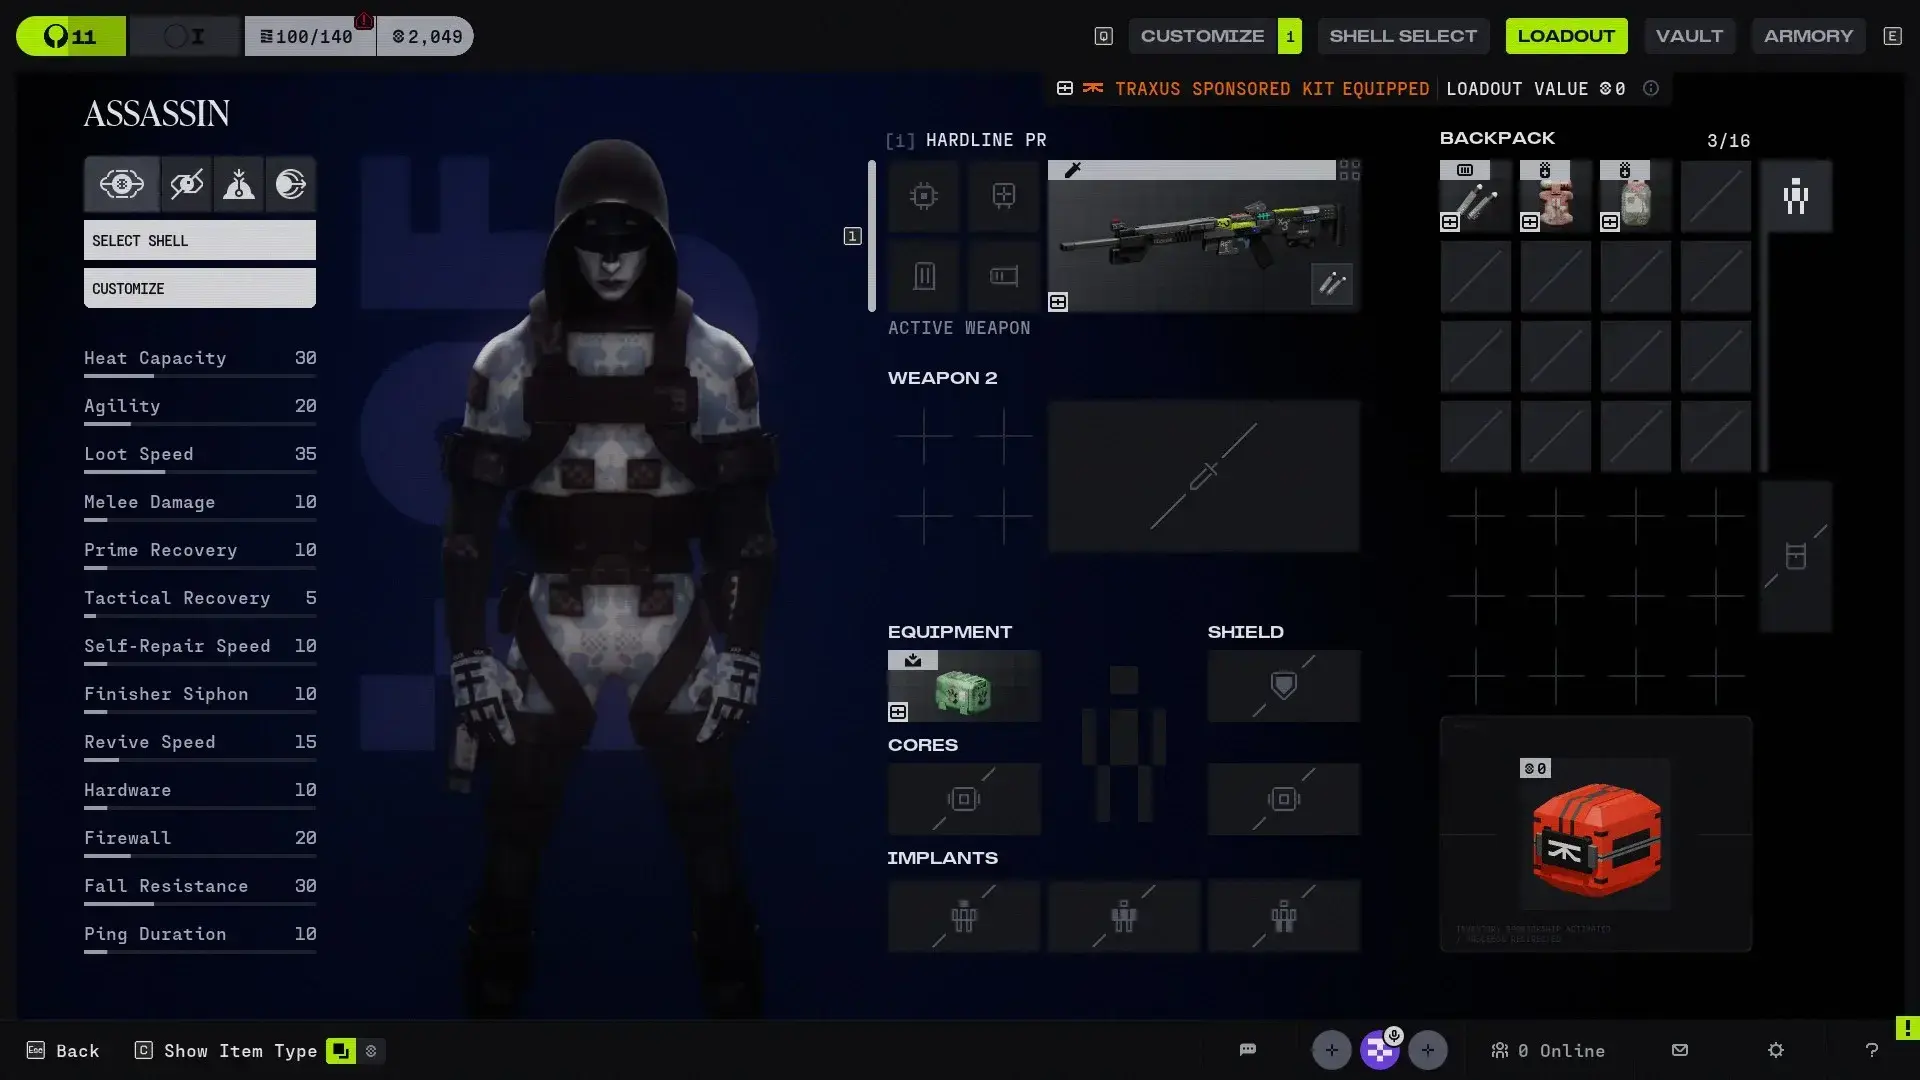
Base Stats
| Stat | Rating | Notes |
|---|---|---|
| Tactical Recovery | Bad (5/10) | Priority upgrade stat |
| Heat Capacity | Decent (10/10) | Manage sprint/jump usage |
| Melee Damage | Decent (10/10) | Knife builds viable |
| Prime Recovery | Decent (10/10) | Smoke uptime is good |
Build Rule: Fix Tactical Recovery first. Then stack movement and close-range damage so invisibility windows end in kills. - LevelUpper.com
Best Assassin Builds by Game Stage
Early Game Build (First 10 Runs)
Focus on accessibility. These Cores and Implants are cheap and available from starting vendors.
| Slot | Equipment | Source |
|---|---|---|
| Primary Weapon | WSTR Combat Shotgun | Starting loadout / loot |
| Secondary Weapon | Bully SMG | Starting loadout / loot |
| Backpack | 8XS Base Pack | Default |
| Shield | Protector V1 | Default |
| Equipment | Smoke Grenade | Default |
| Core Slot 1 | Breathing Space | 70 Credits (Sekiguchi) |
| Core Slot 2 | Ghost Protocol | 70 Credits (Sekiguchi) |
| Head Implant | Sprint Kit V1 | Vendor |
| Torso Implant | Knife Fight V1 | Vendor |
| Legs Implant | Bionic Leg Upgrades V1 | Vendor |
Core Synergy:
- Breathing Space: Reload faster in smoke
- Ghost Protocol: Smoke lasts longer
Why This Works:
- Cheap to replicate if you crash/lose gear
- Smoke duration + reload speed = safe fights
- No expensive Implants to grind for
Mid Game Build (Runs 10-50)
You’ve earned Credits. Time to upgrade to Deluxe Cores and V3-V4 Implants.
| Slot | Equipment | Source |
|---|---|---|
| Primary Weapon | WSTR Combat Shotgun | Loot / Armory |
| Secondary Weapon | Bully SMG | Loot / Armory |
| Backpack | 12XS Expanded | Vendor upgrade |
| Shield | Protector V2 | Vendor upgrade |
| Equipment | Smoke Grenade | Default |
| Core Slot 1 | Flexweave Casing | 200 Credits (Sekiguchi) |
| Core Slot 2 | Patience | 200 Credits (Sekiguchi) |
| Head Implant | Augmented Capacitors V2 | Vendor |
| Torso Implant | Knife Fight V3 | Vendor |
| Legs Implant | Bionic Leg Upgrades V2 | Vendor |
Core Synergy:
- Flexweave Casing: Move + ADS faster while invisible
- Patience: Invisibility timer pauses when stationary
Why This Works:
- Stationary camo = ambush setup
- Faster ADS while invisible = first shot advantage
- V3 Implants provide meaningful stat boosts
End Game Build (Runs 50+)
Prestige Cores and max-level Implants. This is the meta solo build.
| Slot | Equipment | Source |
|---|---|---|
| Primary Weapon | WSTR Combat Shotgun | Fully modded |
| Secondary Weapon | BR33 Volley Rifle | Fully modded |
| Backpack | 16XS Ammo Pack | Max upgrade |
| Shield | Protector V3 | Max upgrade |
| Equipment | Smoke Grenade | Default |
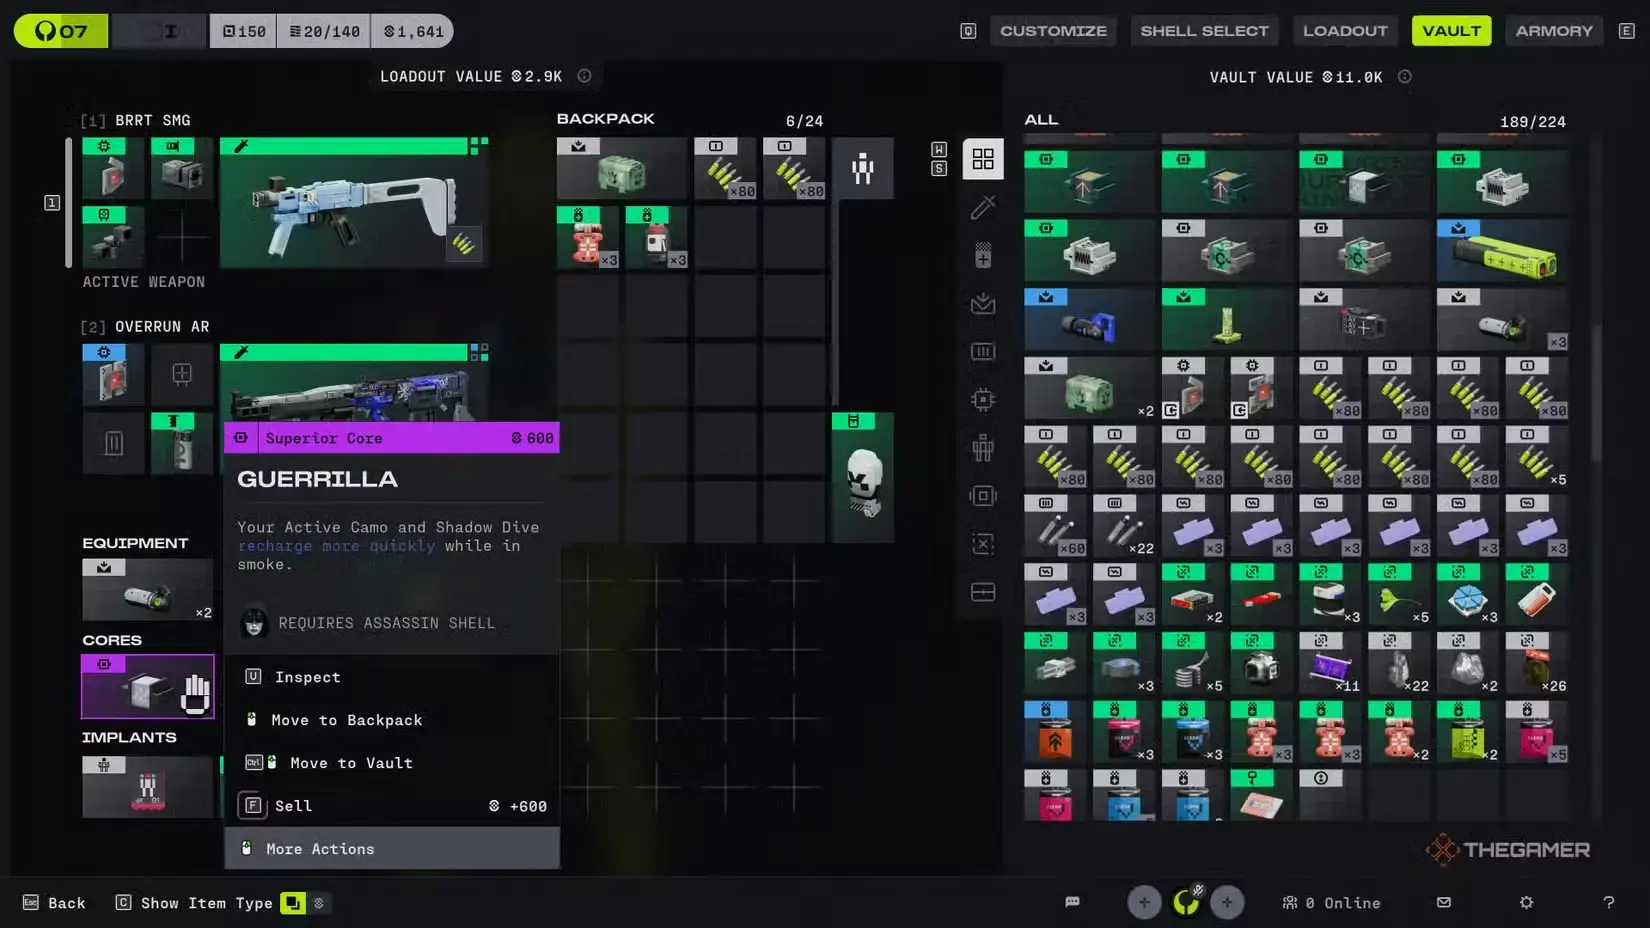
| Core Slot 1 | Minus Sights | 2500 Credits (Prestige) |
| Core Slot 2 | Guerrilla | 2500 Credits (Prestige) |
| Head Implant | Energy Harvesting V4 | Vendor max |
| Torso Implant | Nimble Fingers V3 | Vendor max |
| Legs Implant | Graceful Landings V4 | Vendor max |
Core Synergy:
- Minus Sights: ADS for short time = automatic invisibility
- Guerrilla: Active Camo + Shadow Dive recharge faster in smoke
Why This Works:
- Near-permanent invisibility uptime
- Smoke = cooldown reduction zone
- BR33 burst + invisibility = instant deletes
Alternative: Melee Assassin Build
For players who want maximum burst damage from invisibility.
| Slot | Equipment | Effect |
|---|---|---|
| Core Slot 1 | Shadow Strike | Knife damage +150% from invisibility |
| Core Slot 2 | Ghost Protocol | Smoke duration +50% |
| Head Implant | Ping+ V4 | Loot speed + awareness |
| Torso Implant | Knife Fight V4 | Melee damage +50% |
| Legs Implant | Graceful Landings V4 | Mobility + cooldown reduction |
Playstyle:
- Pop Active Camo
- Flank behind enemy
- Knife delete (one-shot with Shadow Strike)
- Smoke and escape
Warning: Silent Killer Prestige Core is NOT recommended. Requiring back-hit melee is too conditional. If you’re already behind someone, you’ve already won. - LevelUpper.com
Weapon Synergies and Loadouts
Primary Weapon Options
| Weapon | Type | Range | Why It Works |
|---|---|---|---|
| WSTR Combat Shotgun | Shotgun | Close | Two-tap delete at close range |
| BR33 Volley Rifle | Precision | Mid | 3-round burst + invisibility = free damage |
| Bully SMG | SMG | Close-Mid | High DPS, ammo efficient |
| Misriah 2442 | Shotgun | Close | Alternative to WSTR |
Meta Loadout Combinations
Close Range Dominance:
- Primary: WSTR Combat Shotgun
- Secondary: Bully SMG
- Playstyle: Aggressive smoke pushes
Balanced Approach:
- Primary: BR33 Volley Rifle
- Secondary: WSTR Combat Shotgun
- Playstyle: Mid-range poke + close range finisher
Pure Stealth:
- Primary: Misriah 2442
- Secondary: Knife (melee focus)
- Playstyle: Invisible flanks + knife deletes
Mod Recommendations
For WSTR Combat Shotgun:
- Chip Mod: Damage increase
- Barrel Mod: Range extension
- Magazine Mod: Reload speed
For BR33 Volley Rifle:
- Chip Mod: Damage increase
- Scope Mod: Zoom level
- Magazine Mod: Capacity
Universal Priority:
- Damage mods first
- Reload speed second
- Range/utility last
Engagement Rules and Combat Tactics
The Golden Rules
-
Never take a fair 1v1 in open ground.
- If you’re visible and trading shots, you’re doing it wrong.
-
Use Active Camo to break aim tracking.
- Pop camo, reposition, shoot from new angle.
-
Smoke is your reset button.
- Fight going bad? Drop smoke and disappear.
-
Don’t chase kills through smoke.
- Enemy could be waiting with gun pointed at exit.
-
Recon is your hard counter.
- See a drone pulse? Change direction immediately.
Solo Engagement Flowchart
See Enemy Team
    ↓
Are they fighting AI/another team?
    ├─ YES → Wait, loot nearby, extract
    └─ NO → Are you in cover?
            ├─ YES → Pop camo, flank, first shot
            └─ NO → Drop smoke, reposition, THEN engage
Extraction Tactics
Solo Extract Checklist:
- Check extraction timer
- Pop smoke at extract point
- Wait 10 seconds (listen for footsteps)
- Active Camo if team nearby
- Extract when clear
Pro Tip: Take fights only when you can finish fast. Open with WSTR in tight entries, then swap to Bully while you reposition off smoke. - KBoosting
Heat Management
Assassin generates Heat from:
- Sprinting
- Sliding
- Jumping
- Active Camo usage
Heat Management Tips:
- Burst movement (sprint → stop → sprint)
- Don’t spam Active Camo
- Use cover to cool down
- Heat Capacity Implants help but aren’t essential
Counters and How to Play Around Them
Hard Counter: Recon Shell
Why It Counters:
- Tracker Drone reveals invisible players
- Interrogation shows enemy positions
- Cluster Payload explodes drones for area denial
How to Play Around:
-
Don’t hide when you see a pulse sweep.
- Recon knows where you are. Run instead.
-
Change direction entirely.
- Sprint out of the sector, don’t try to out-stealth.
-
Kill Recon first in team fights.
- No Recon = free invisibility for rest of match.
Soft Counter: Triage Shell
Why It Counters:
- Healing sustains through your burst
- Revive negates your pick potential
How to Play Around:
-
Delete Triage first.
- No healer = team crumbles.
-
Bait out healing cooldowns.
- Pop camo, force healing, retreat, re-engage.
-
Use smoke to block line of sight.
- Triage can’t heal through smoke.
Situational: Destroyer Shell
Why It Counters:
- Riot Barricade blocks your shots
- Search and Destroy missiles punish stationary camo
How to Play Around:
-
Don’t shoot into barricade.
- Reposition or wait it out.
-
Keep moving when invisible.
- Stationary = missile target.
-
Flank around the shield.
- Barricade is frontal only.
General Counter Play Rules
| Enemy Shell | Priority Target | Escape Plan |
|---|---|---|
| Recon | Kill first | Run if detected |
| Triage | Kill first | Bait cooldowns |
| Destroyer | Ignore unless blocking | Flank around shield |
| Vandal | Respect burst | Don’t peek angles |
| Assassin | Listen for footsteps | Smoke vs smoke |
Marathon Database
Looking for a full breakdown of every weapon, runner, core, implant, mod, and item? Check out the Marathon Database — a complete interactive reference with filters and hover details for all in-game content.
Frequently Asked Questions
Why is Assassin the best solo shell in Marathon?
Assassin's Active Camo and smoke abilities let you control engagements, escape bad fights, and ambush enemies. No other shell offers this level of solo survivability.
What weapons work best with Assassin?
WSTR Combat Shotgun for close range + Bully SMG for mid-range. BR33 Volley Rifle works for players who prefer distance engagements.
Which Cores should I use on Assassin?
Early game: Breathing Space + Ghost Protocol. Mid game: Flexweave Casing + Patience. End game: Minus Sights + Guerrilla.
How do I counter Recon shells as Assassin?
Recon drones detect invisibility. When you see a pulse sweep, immediately change direction and sprint out of the sector. Don't try to hide.
About the author
Editor-in-Chief
Founder and Editor-in-Chief of gameguidesbox.com, began surfing the web in the late 19th century. Passionate about movies, coffee, gaming, and life itself. Favorite games include Titanfall 2, Baldur's Gate 3, Metro, PUBG, and CS2.
You may also like
Marathon PvP Not Spawning? Developer Response + How to Find More Fights
Tired of running solo with no PvP action? Bungie finally responded to the 'PvP is infrequent' complaints. Learn which maps actually spawn players and how to force more encounters.
Marathon Ranked Mode Guide: Release Date, Requirements, Rewards & How It Works
Ranked mode drops March 21 in Marathon. We break down unlock requirements, gear ante rules, all 6 rank tiers, weekend-only schedule, and exclusive rewards you can't miss.

Marathon Beginner Guide: 7 Essential Tips to Avoid 80% of Early Mistakes
New to Marathon? Don't waste runs learning the hard way. These 7 essential tips cover heat management, knife combat, loot priority, and extraction planning that every beginner needs to know.
Comments