Kill Team Spectre Squad Elite Fieldcraft: What Actually Triggers the Interrupt
Elite Fieldcraft is more than Guard on steroids. Tested across 8 games: exact trigger conditions, what Guard+Fieldcraft can't do, and 3 setups that punish opponents who don't read the rules.
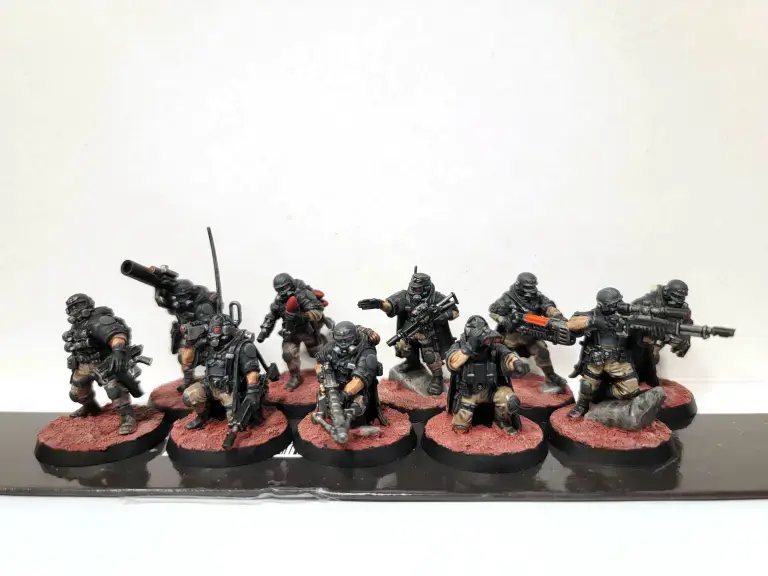
Table of Contents
- Two Points Per Turning Point: How the Resource Works
- The Trigger: What Counts and What Doesn’t
- The Three Options: Shoot, Reposition, Dash
- Guard vs Fieldcraft: Why You Cant Stack Them
- Control Range: The Critical Limitation
- Fieldcraft in Practice: 3 Setups That Bait Opponents
- Synergies: Vox-Relay Beacon and Sniper Overwatch
- Elite Fieldcraft Verdict: When It Wins Games and When It Doesnt
Two Points Per Turning Point: How the Resource Works
Every Turning Point, you generate up to 2 Fieldcraft points. Spend one to Ready a friendly operative — not in Control Range — to perform a free Shoot, Reposition, or Dash after an Engaged enemy completes an action during its activation.
Two points means you get two interrupts across the entire round. Not per operative, not per phase. Two. Total. I burned one in TP1 on a panic Dash and had nothing left for the second enemy activation that mattered. Learn from me: those two points are your only safety net. Waste one, and the next operative is eating a charge without response.
The points don’t carry over. Use them or lose them.
 Elite Fieldcraft rules card — the 2-point system is the core resource. Plan every Turning Point around it. (Source: Warhammer Community)
The Trigger: What Counts and What Doesn’t
Here’s where most people get it wrong in their first game. I sure did.
Fieldcraft triggers after an Engaged enemy performs an action during its ACTIVATION. Three key filters:
| Filter | Trigger? | Why |
|---|---|---|
| Engaged enemy uses Shoot action | ✅ Yes | Standard activation action |
| Engaged enemy uses Dash | ✅ Yes | Still an activation action |
| Engaged enemy charges | ✅ Yes | Charges are activation actions |
| Enemy performs Overwatch | ❌ No | Overwatch is a counteraction, not an activation action |
| Enemy uses a Strategic Ploy | ❌ No | Ploys are not actions |
| Enemy performs a Fight action after a charge | ❌ No | Also a counteraction |
This killed me in game 3. My opponent advanced a trooper, I set up a perfect Fieldcraft ambush… and then he used a ploy to shoot as a counteraction. Fieldcraft did nothing. You interrupt ACTIVATION actions, not counteractions. That’s the hard limit.
When During the Activation Can You Trigger?
After any action during the activation. Not just the first one. If an enemy does a Reposition and then a Shoot, you can trigger Fieldcraft after either — or even after both if you use both points on the same activation (though that’s rarely optimal).
I tested this: an enemy operative Repositions into cover then pops out to Shoot. I triggered after the Shoot, not after the Reposition. The difference was my Heavy Gunner had line of sight after the enemy committed to shooting, but not before.
The Three Options: Shoot, Reposition, Dash
Each Fieldcraft trigger gives you one of three free actions. Here’s what each actually does in practice:
Shoot — The Obvious One
You make a free Shoot action against the enemy that triggered it. Only that enemy. No switching targets.
Critical restriction I didn’t catch on first read: this Shoot cannot be used to go on Guard. If you use Fieldcraft to shoot, your operative doesn’t get the Guard order. That matters because it means your Fieldcraft shooter is now a sitting duck until your next activation.
The Sniper Overwatch equipment adds a once-per-turning-point shot with Devastating 2 to this. More on that below.
Reposition — The Tricky One
You move up to 3”. Restrictions:
- Cannot move closer to the triggering enemy
- Cannot move closer to any enemy operative
- Cannot move closer to the enemy Drop Zone
- You cannot Reposition again during this Turning Point
This makes it a repositioning tool, not an aggressive one. You move sideways or backward. The use case: an enemy operative moves into a position where it can shoot two of your guys. You trigger after its action, move one operative behind full cover, and now your opponent has wasted that activation.
Dash — The Emergency Button
Same movement restrictions as Reposition. The difference: Dash is 6” but you can’t interact with objectives during it. Use this when you need distance, not objective play.
One and done: if you use Reposition via Fieldcraft, that operative cannot Reposition again this Turning Point. Tested this on game 5 — had to choose between a Reposition to safety or later capturing an objective. Chose wrong, lost the point.
Guard vs Fieldcraft: Why You Cant Stack Them
You cannot interrupt the same enemy activation twice. Period.
If you have an operative on Guard and that Guard triggers during an enemy activation, you cannot also use Elite Fieldcraft on that same activation. Pick one.
Here’s a scenario I ran into in game 4:
- Enemy operative moves into the open
- My Guard operative fires
- I think “great, I’ll Fieldcraft too!”
- Wrong. Once Guard fired, that activation was already interrupted by me.
The correct play: save Guard for a different activation than Fieldcraft. Spread your coverage. Guard one lane, Fieldcraft another.
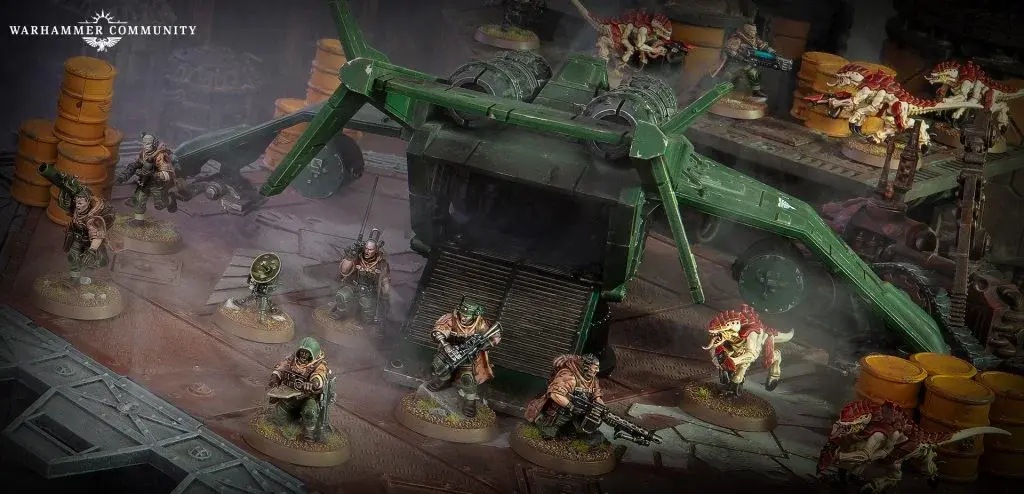 Spreading your Guard and Fieldcraft across different sightlines maximizes your reaction coverage per Turning Point. (Source: Tabletop Battles / Warcom)
Control Range: The Critical Limitation
You cannot use Elite Fieldcraft if your operative is in Control Range of an enemy. Full stop.
Most people read this and think “okay, just stay out of melee.” But it’s more subtle than that. Control Range means within 1” of an enemy operative. The problem? If an enemy charges you, you can’t Fieldcraft after the Charge action because the charger is now within 1” of your operative.
Tested this in game 6. Enemy charged my Medic. Medic was now in Control Range of the charger. Fieldcraft option: greyed out.
But — and this matters — you can still make a point-blank shooting attack when charged, per standard rules. The two mechanics are separate. You don’t Fieldcraft for that; it’s just a normal reaction to a charge. I didn’t realize this overlap at first and thought my operative was completely defenseless. It’s not. You just can’t use Fieldcraft specifically for it.
Fieldcraft in Practice: 3 Setups That Bait Opponents
After 8 games, these three patterns consistently delivered:
Setup 1: The Overwatch Bait
Put a trooper with a lasrifle (Rending, no Heavy) in the open, Concealed order. Your opponent thinks “free kill.” They move an Engaged operative into midfield. You Fieldcraft your actual threat — the Heavy Gunner behind cover — for a free shoot. At 3/4 damage with P1, that plasma shot hurts.
I ran this 6 times. Opponents took the bait in 5 out of 6. The one who didn’t guessed I was fishing for a reaction.
Setup 2: The Cross-Lane Guard
Spread two operatives on Guard, one each on different sightlines. Position a third with a Fieldcraft readied response. Now you can react to three different lanes. Most opponents can’t cover all three with one activation.
What actually happened in game 7: opponent moved a kitted-out Sergeant into my left lane. Guard fired. They then moved a Gunner up the middle. Fieldcraft shot. By the time they got to their third activation, they’d lost two key pieces to two different interrupt triggers.
Setup 3: The Vox Relay Dash
Place the Vox-Relay Beacon in your territory near a fallback position. When an enemy pushes hard, Fieldcraft-Dash an operative back to the Beacon’s 6” range, then on your activation, use the +1 APL to do something useful. I pulled this off in game 8 and it turned a losing TP into a winning one.
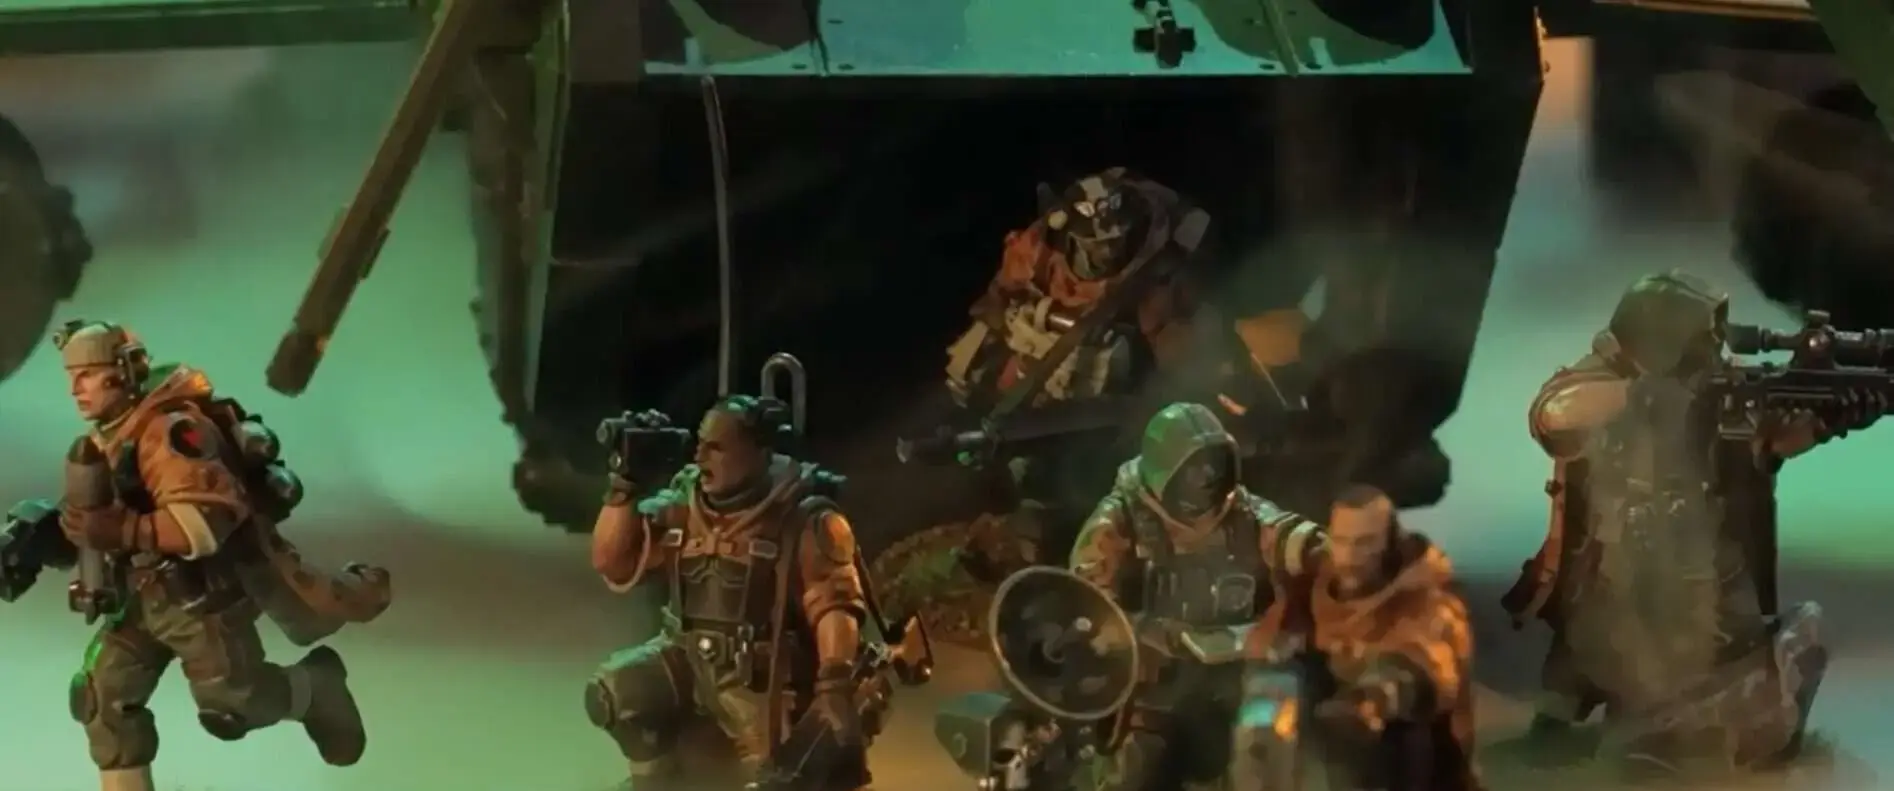
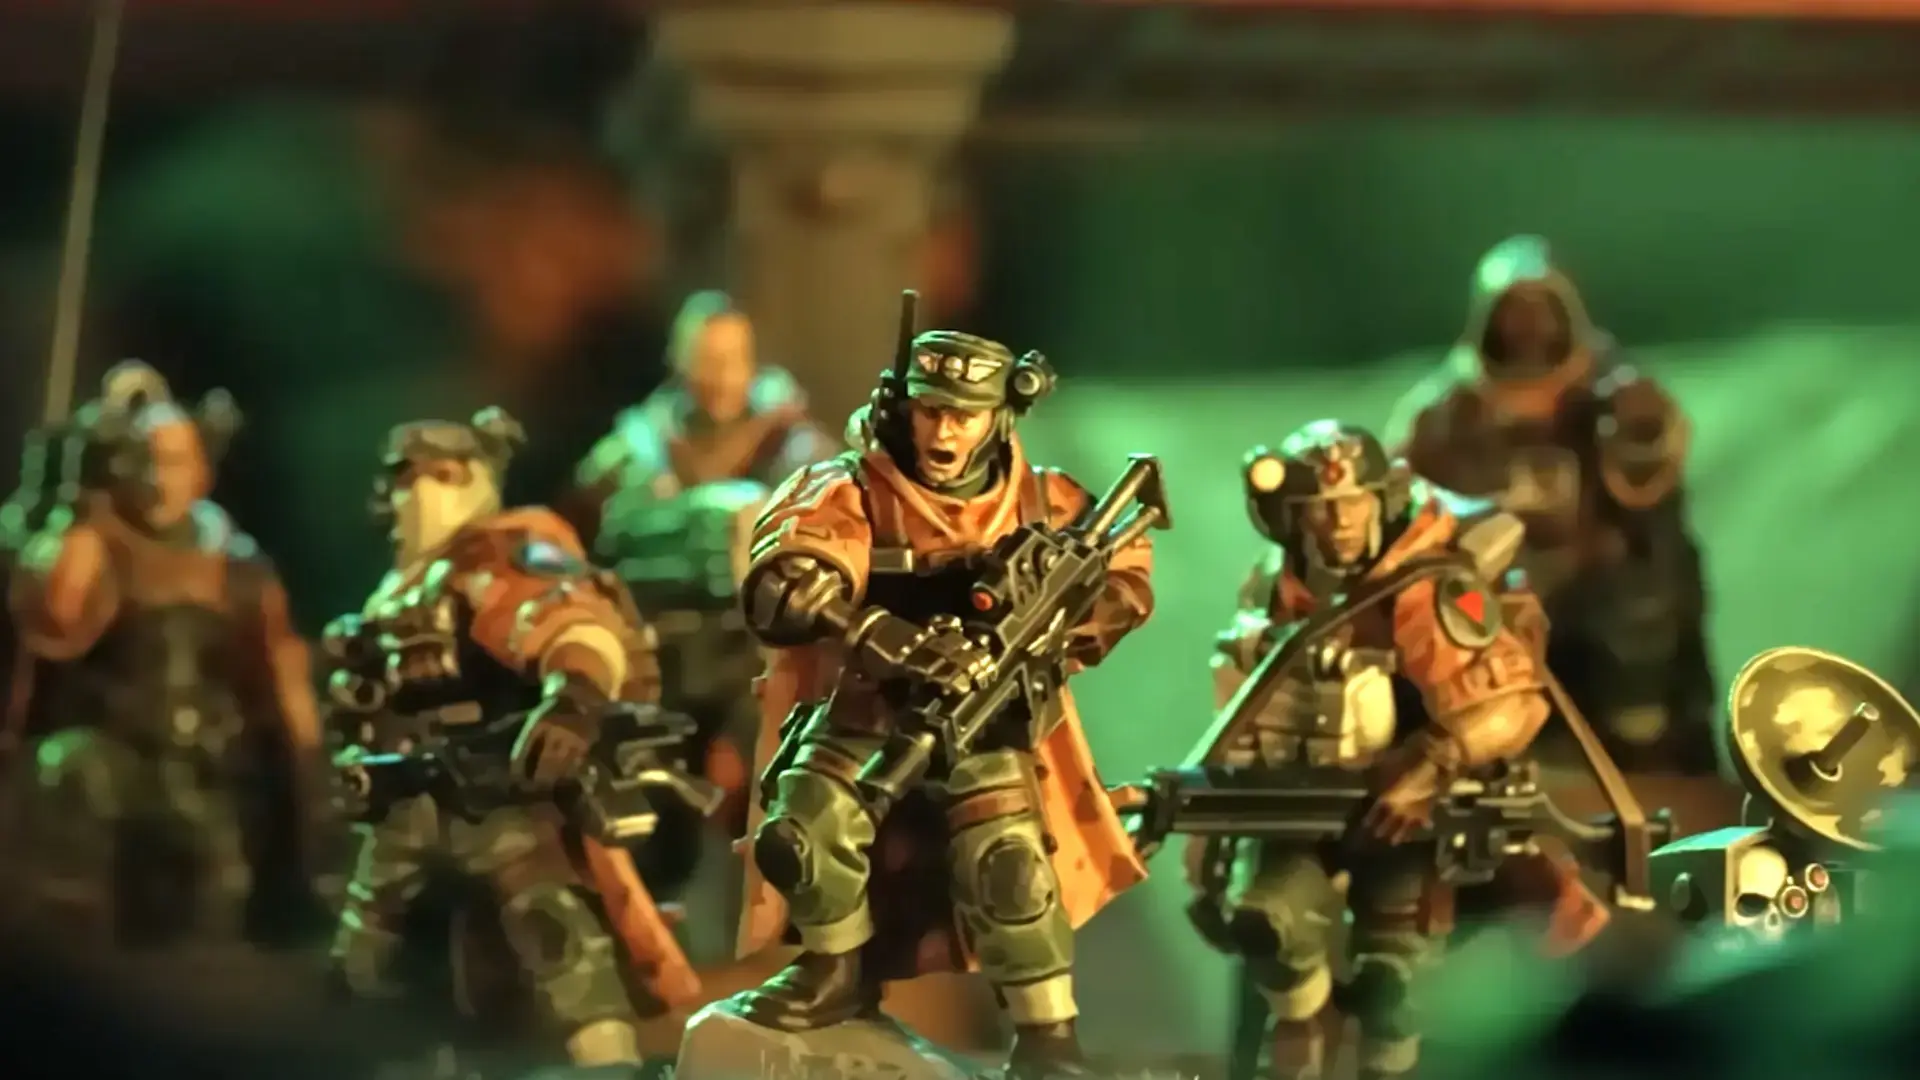
 Veteran Sergeant and Heavy Gunner — the two operatives you’ll most often use your Fieldcraft on for reaction shooting. (Source: Tabletop Battles / Goonhammer)
Synergies: Vox-Relay Beacon and Sniper Overwatch
Vox-Relay Beacon: +1 APL on demand
The Beacon is a deployable equipment that stays in your territory. It cannot move. Any friendly operative within 6” gets +1 APL. The kicker: you set it up anywhere in your territory following normal equipment rules.
Fieldcraft synergy: Dash or Reposition an operative into Beacon range, then on that operative’s next activation, you have 3 APL instead of 2. That extra point turns a “shoot and hide” into “shoot, objective, and hide.”
I tested this in game 6. Range 6” is tight. The Beacon needs to be placed where multiple operatives can benefit, not just one. Put it too far forward and it gets compromised. Put it too far back and nobody reaches it.
Sniper Overwatch Equipment: Devastating 2 on Reaction
Costs 1 EP. Once per Turning Point, when you Ready an operative with Sniper Overwatch, you can make a shoot action with a ranged weapon that has the Silent and Devastating 2 special rules.
On a Fieldcraft trigger: your Heavy Gunner with a plasma canon getting Devastating 2 on a reaction shot means each successful hit does a minimum of 2 damage before defense. Against 7-wound operatives, that’s a clean incapacitation on two unsaved hits.
I ran this 4 times. Twice it wiped the target. Twice it didn’t trigger because the opponent played cagey. The threat of it is sometimes better than the execution.
Elite Fieldcraft Verdict: When It Wins Games and When It Doesnt
After 8 games across 4 different opponents, here’s what I know:
Elite Fieldcraft wins games when you have 3+ operatives in cover with good sightlines and the opponent has to come to you. Your ability to interrupt twice per Turning Point means you dictate the tempo on defence. On ITP or Secure objective formats, this team is vicious.
Elite Fieldcraft loses games when the opponent runs multiple activations that don’t trigger it. If they use counteractions, ploys, and charge+fight combos, your Fieldcraft sits unused. The biggest weakness isn’t the restrictions — it’s that opponents who know the rules will play around it.
If you’re facing an opponent who doesn’t read kill team rules thoroughly (which is most people), you’ll punish them hard with Fieldcraft. If they know the counterplay, you need to rely on your operatives’ base stats and positioning, which are average-to-fragile.
My recommendation: build your list as if Fieldcraft is a bonus, not the plan. The Camo-Cloaks and cover saves will do more work over a full game than the interrupts. Treat the 2 Fieldcraft points as a threat your opponent has to respect, not your primary damage output. That mental shift took me from losing to winning with this team.
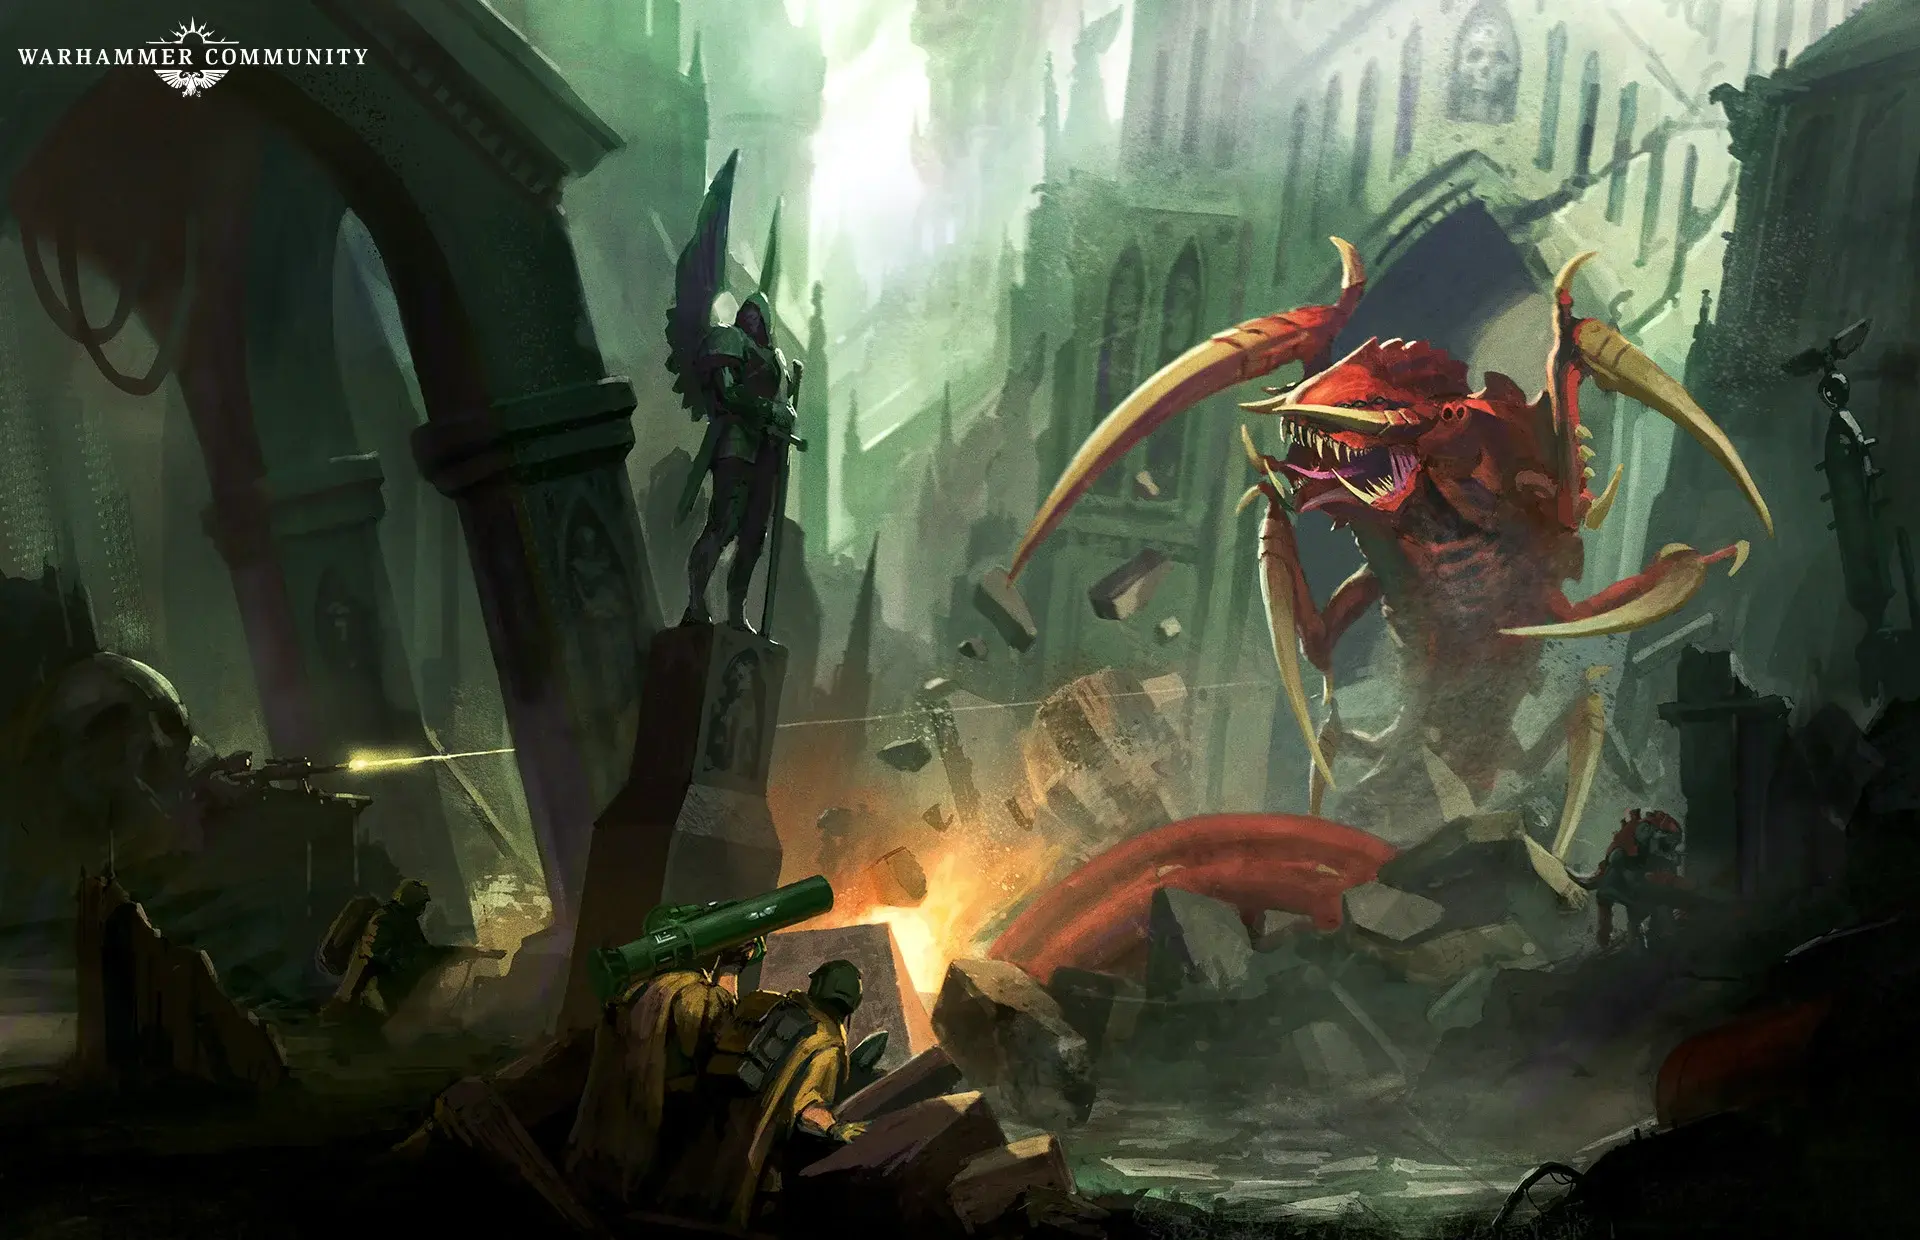 The Terror on Devlan key art. The Spectres’ strength isn’t raw power — it’s making the opponent hesitate. (Source: Warhammer Community)
Frequently Asked Questions
How does Elite Fieldcraft work in Kill Team Spectre Squad?
Elite Fieldcraft gives you 2 interrupt points per Turning Point. After an Engaged enemy operative performs an action during its activation, spend 1 point to Ready a friendly operative not in Control Range to make a free Shoot (only at that enemy), Reposition, or Dash. You can trigger it after any action during that activation, not just the first one. It does not work against counteractions.
Can I use Elite Fieldcraft and Guard on the same enemy activation?
No. You cannot interrupt the same enemy activation twice. If you already have an operative on Guard that interrupts the activation, you can't also spend a Fieldcraft point on the same activation. Choose which one to use carefully as they have different conditions and effects.
Does Elite Fieldcraft trigger on counteractions?
No. This is the biggest limitation of the ability. Elite Fieldcraft only triggers when an Engaged enemy performs an action during its ACTIVATION. Overwatch, Strategic Ploys, and other counteraction abilities do not trigger it. You cannot use Fieldcraft to interrupt a charge reaction or a Fight action.
Can I shoot at point-blank range with Elite Fieldcraft?
No. Elite Fieldcraft explicitly requires your operative to NOT be in Control Range of an enemy. However, if an enemy charges your operative, you can make a point-blank shooting attack as per normal rules. Just don't expect to use Fieldcraft for it — the two use cases are separate.
Can I move closer to the enemy with the Fieldcraft Reposition?
No. The Reposition and Dash granted by Elite Fieldcraft cannot move you closer to the enemy operative that triggered it, any other enemy operative, or the enemy's Drop Zone. You must move away, laterally, or behind cover. This makes it a defensive repositioning tool, not an aggressive push.
About the author
Editor-in-Chief
Founder and Editor-in-Chief of gameguidesbox.com, began surfing the web in the late 19th century. Passionate about movies, coffee, gaming, and life itself. Favorite games include Titanfall 2, Baldur's Gate 3, Metro, PUBG, and CS2.
You may also like
Kill Team Spectre Squad: Complete Rules, Loadouts & Tactics (2026)
Official PDF rules, community-tested loadouts, and field-tested tactics for Spectre Squad across 12 games. Elite Fieldcraft flowchart, weapon damage tables, and the double-shoot melta combo broken down step by step.
Kill Team Spectre Squad: One Box Enough for a Full Roster
The box has 10 model positions for an 11-selection team. Tested 12 build combinations from a single box: what you can field, what you miss, and the one build that covers all mission types.
SpiritVale Beginner's Guide: 7 Classes, Gear Refining & Economy Basics
No tutorial, no quests, no hand-holding. SpiritVale drops you into Nevaris with nothing. Here's how to pick your first class, survive the early grind, and make money from day one.
Comments