REPLACED All Bosses: How to Beat 7 Encounters Without Guessing
Stuck on Uncle Ben's double phase or the Commissioner's generator mechanic? This guide has exact attack patterns, dodge timing, and phase triggers for all 7 boss fights. Verified across 3 playthroughs.
Table of Contents
- Combat System Basics
- PCPD Squad
- Uncle Ben: The Double-Phase Gauntlet
- Police Drones: Ranged Pressure Survival
- The Commissioner (Generator): Split-Focus Combat
- The Commissioner (Final): Multi-Phase Endurance
- The Matriarch: Puzzle Over Combat
- Final Boss R.E.A.C.H.: Everything You Learned
- Boss Fight Strategy: What Actually Wins Fights
Combat System Basics
REPLACED does not ask you to memorize 20-hit combo strings. The combat system runs on rhythmic dodges, parries, and counters with on-screen indicators telling you exactly when to evade and when to retaliate. Red indicators mean dodge. Yellow indicators mean counter.
Before any boss fight, upgrade three things in this order:
| Upgrade Priority | What It Does | Why It Matters |
|---|---|---|
| Health | Increases damage tolerance | One extra dodge window per phase |
| Huxley Gun Abilities | Expands ranged options | Forces bosses out of aggressive patterns |
| Crowd-Control Tools | Area denial and stagger | Breaks minion groups before they overwhelm |
Most bosses test one specific skill. PCPD Squad tests crowd control under pressure. Uncle Ben tests reading heavy melee. The Commissioner Generator fight tests splitting attention between a boss and an arena hazard. Adapting your approach per encounter matters more than raw damage output.
I ran the Uncle Ben fight 6 times across two different builds before I realized the med-stim reset between phases is automatic. You do not need to hoard healing items for Phase 2. Burn them in Phase 1 if you need to. That one realization cut my average clear time from 8 minutes to 4 minutes.
PCPD Squad
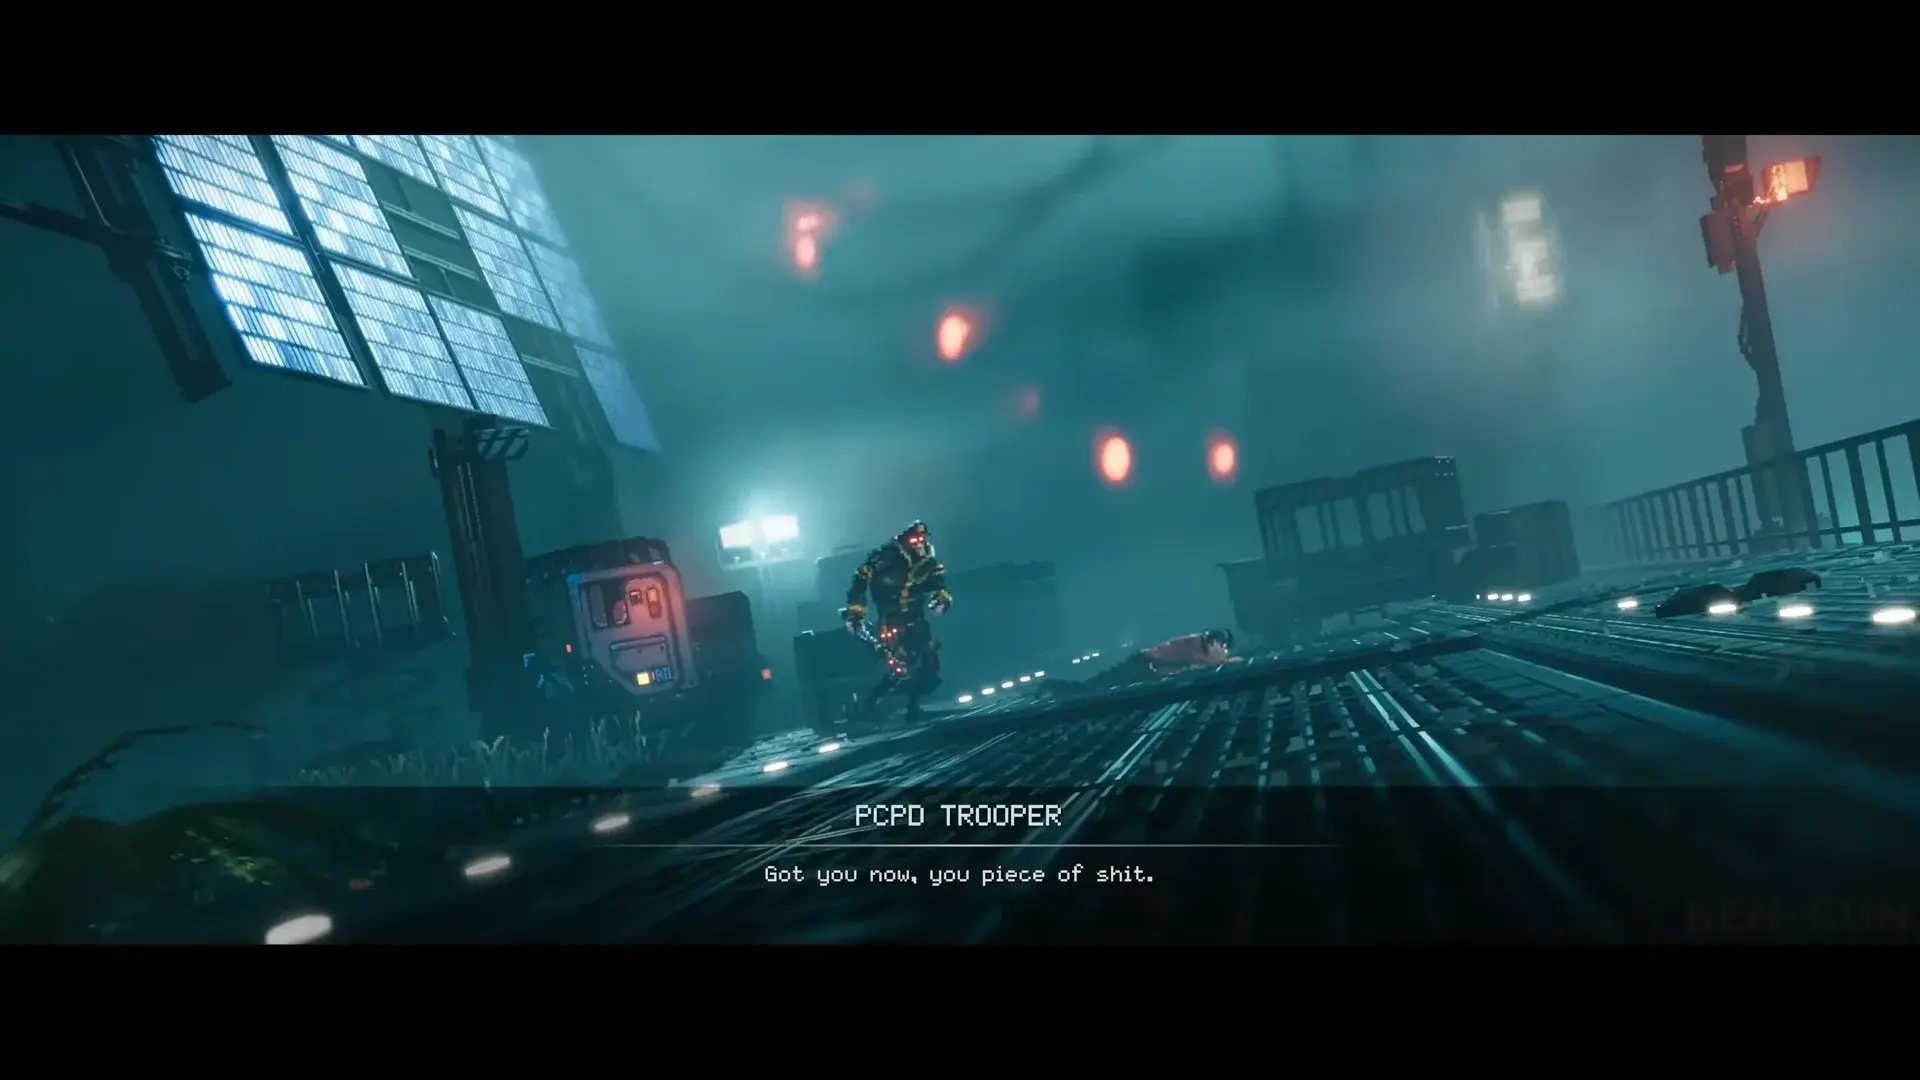 PCPD Squad encounter in early Phoenix-City
The PCPD Squad fight appears shortly after the prologue. It is your first real test of the combat system and it throws multiple armed enemies at you simultaneously.
What this fight tests: Handling multiple enemies under time pressure while managing crowd control.
Preparation checklist:
- Upgrade health at least once before attempting
- Ensure Huxley gun has basic charge capability
- Stock up on med-stims (minimum 3)
Step-by-step approach:
- Prioritize ranged enemies first. The squad includes both melee and ranged units. Ranged enemies chip away at your health while you deal with melee threats. Use your Huxley gun to eliminate them from distance.
- Use dodge rolling through melee attackers. When surrounded, dodge roll through enemies rather than away from them. Rolling through creates space and often positions you behind a threat, giving you a free counter opportunity.
- Do not stand still. The squad uses flanking patterns. Standing in one location invites attacks from multiple directions. Keep moving laterally to force them into single-file approach angles.
- Watch for the shield unit. One squad member carries a ballistic shield. Do not waste ranged shots on him. Flank around cover or wait for him to lower the shield during an attack animation, then counter.
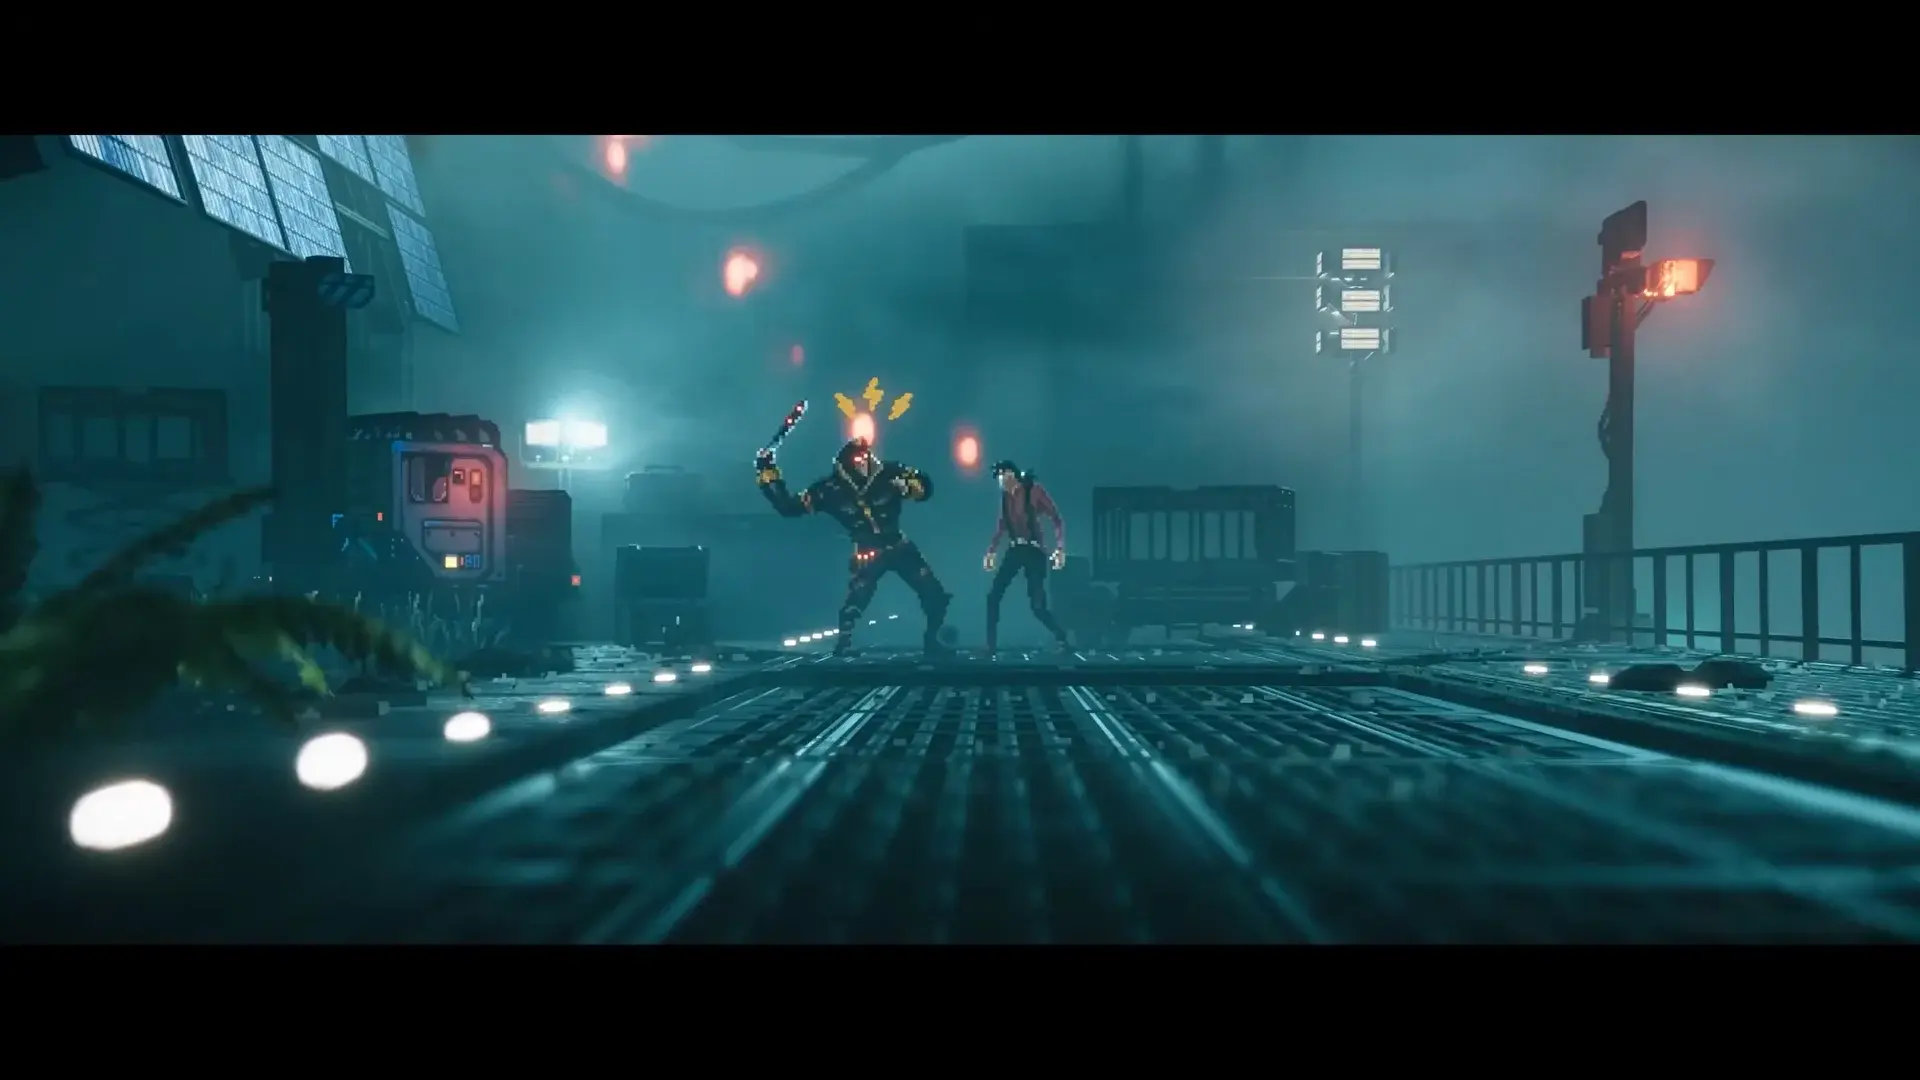 *Positioning matters: keep enemies in single file *
TL;DR: Ranged targets first, dodge through melee to create space, never stand still, flank the shield unit.
This fight rewards patience over aggression. The instinct is to rush the nearest enemy. That gets you surrounded. Take 10 seconds to identify the ranged threat, eliminate it, then work through melee enemies one at a time.
Uncle Ben: The Double-Phase Gauntlet
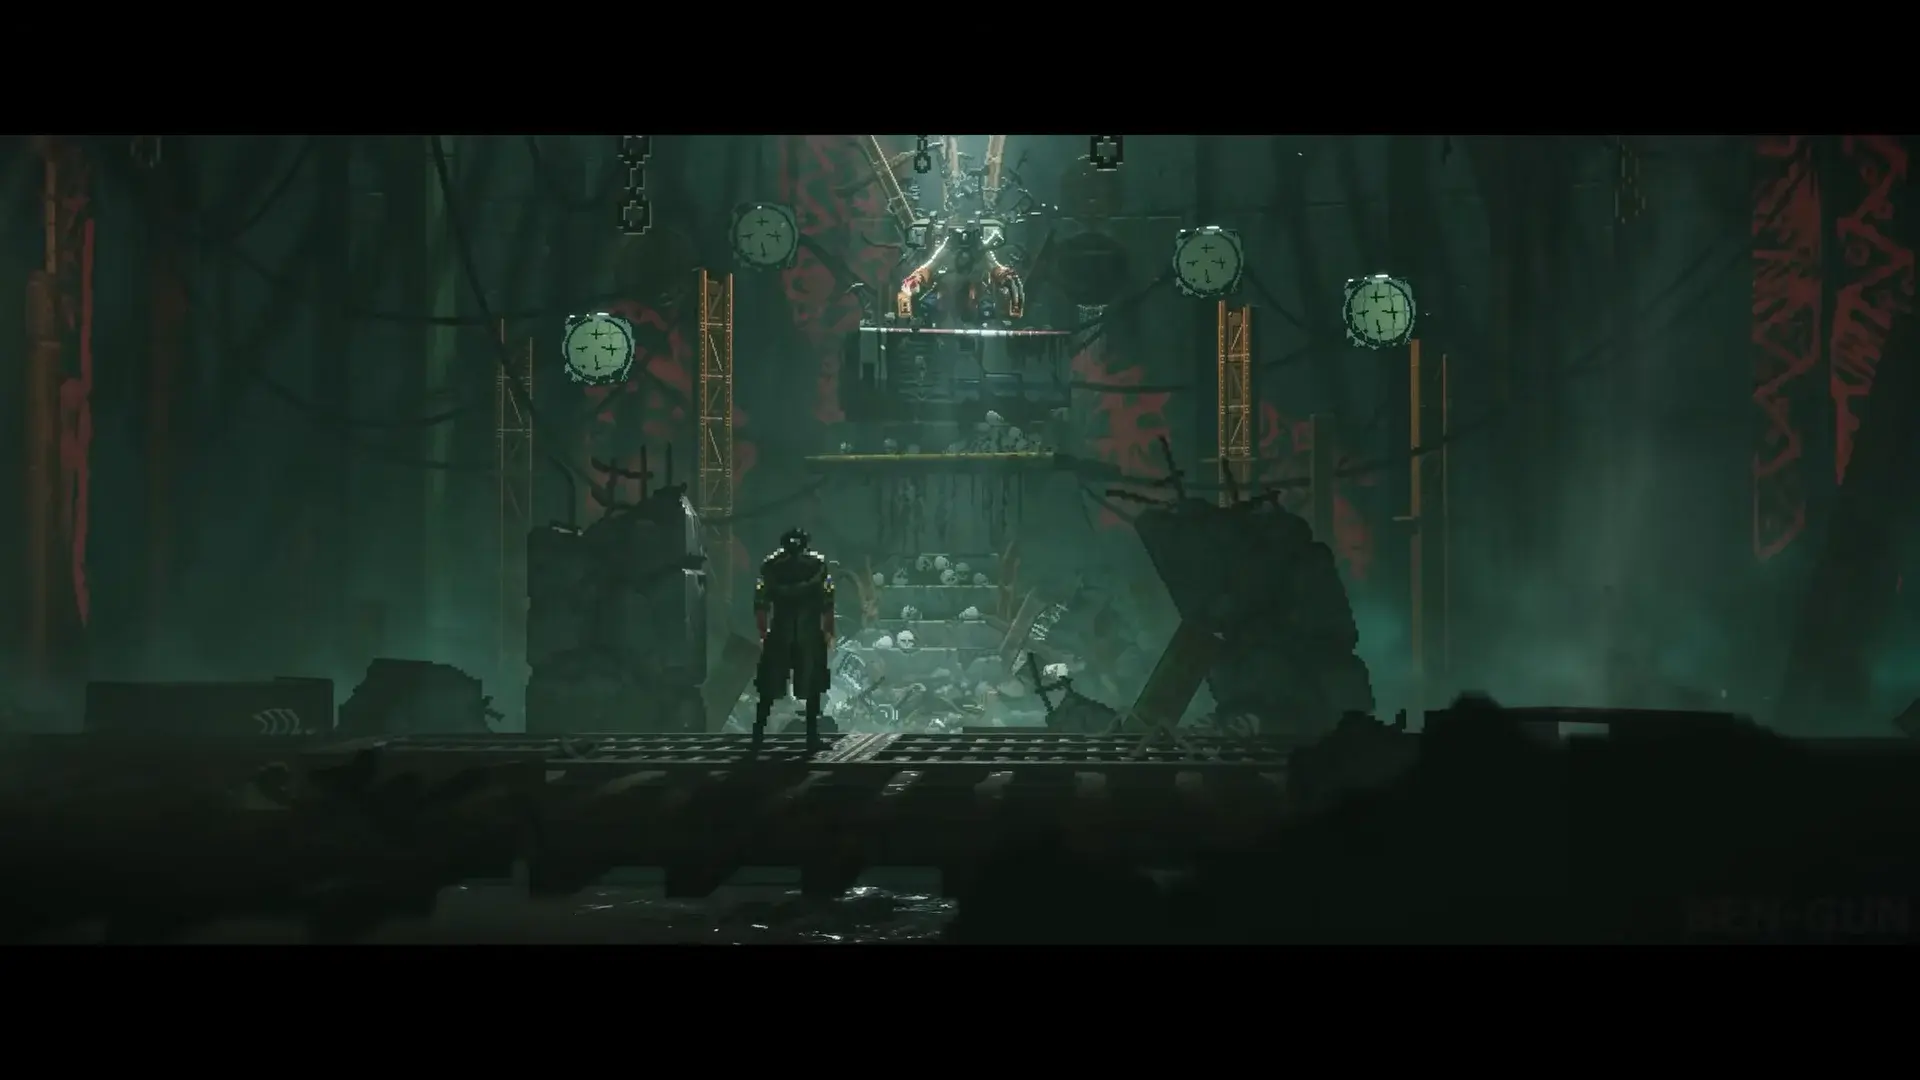 *Uncle Ben in Phase 1: destroy the armor with your pickaxe first *
Uncle Ben is the Chapter 3 climax inside the Termite Lair. He is the first boss that genuinely punishes button-mashing. He hits hard, he has armor you must break before dealing real damage, and when you think you have beaten him, he gets back up for a second phase with upgraded attacks.
What this fight tests: Reading heavy melee pressure, managing armor-breaking windows, and adapting to upgraded attack patterns in Phase 2.
Preparation checklist:
- Upgrade Huxley gun charge damage (critical for interrupting his throne attacks)
- Have at least 5 med-stims (Phase 2 starts with full health refill, so burn freely)
- Ensure pickaxe damage is upgraded (faster armor breaking = more attack windows)
Phase 1 attack patterns:
| Attack | Visual Cue | Counter |
|---|---|---|
| Mine Attack | Uncle Ben retreats to throne, fires 3 mines | Hide behind broken pillars to waste mines |
| Crossbow Attack | White aiming line turns red | Dodge past him or time a roll under the bullet. Shoot with charged gun to cancel |
| Charge Attack | Ben winds up and rushes forward | Dodge sideways. Single charge in Phase 1 |
| Claw Attack | Red or yellow indicator | Red = dodge. Yellow = counter with rapid successive inputs |
| Spin Attack | Looks like Claw Attack but he keeps spinning | Dodge away immediately. Do not try to counter |
Phase 1 strategy:
- Destroy his armor with the pickaxe at the start of the fight. This takes approximately 10-15 seconds of uninterrupted swinging.
- Once armor is down, attack with melee combos. Expect 2-3 hit windows before he retreats.
- When he retreats to his throne, he fires mines. Hide behind one of the broken pillars in the arena. The mines destroy the pillar, not you.
- Use your charged Huxley gun shot to interrupt his crossbow attacks. This cancels the attack and gives you an extended damage window.
- Be careful with the Spin Attack. It looks identical to the Claw Attack at the start of the animation. The tell is that he keeps his arm extended and continues rotating. If you try to counter a Spin Attack, you get hit.
Phase 2 changes:
Uncle Ben gets back up after his health reaches zero the first time. This is intentional. Your med-stims fully replenish before Phase 2 begins, so do not hoard them.
Three attacks get upgraded in Phase 2:
- Charge Attack becomes a double charge. He rushes at you twice in a row. Dodge the first charge, then immediately dodge the second. Do not attack between charges.
- Claw Attack performs a second swing after the first. If it is a yellow counter attack, you must counter twice in quick succession. If it is red, dodge twice.
- Spin Attack gains additional rotation speed. The counter remains the same (dodge away immediately) but the timing window is tighter.
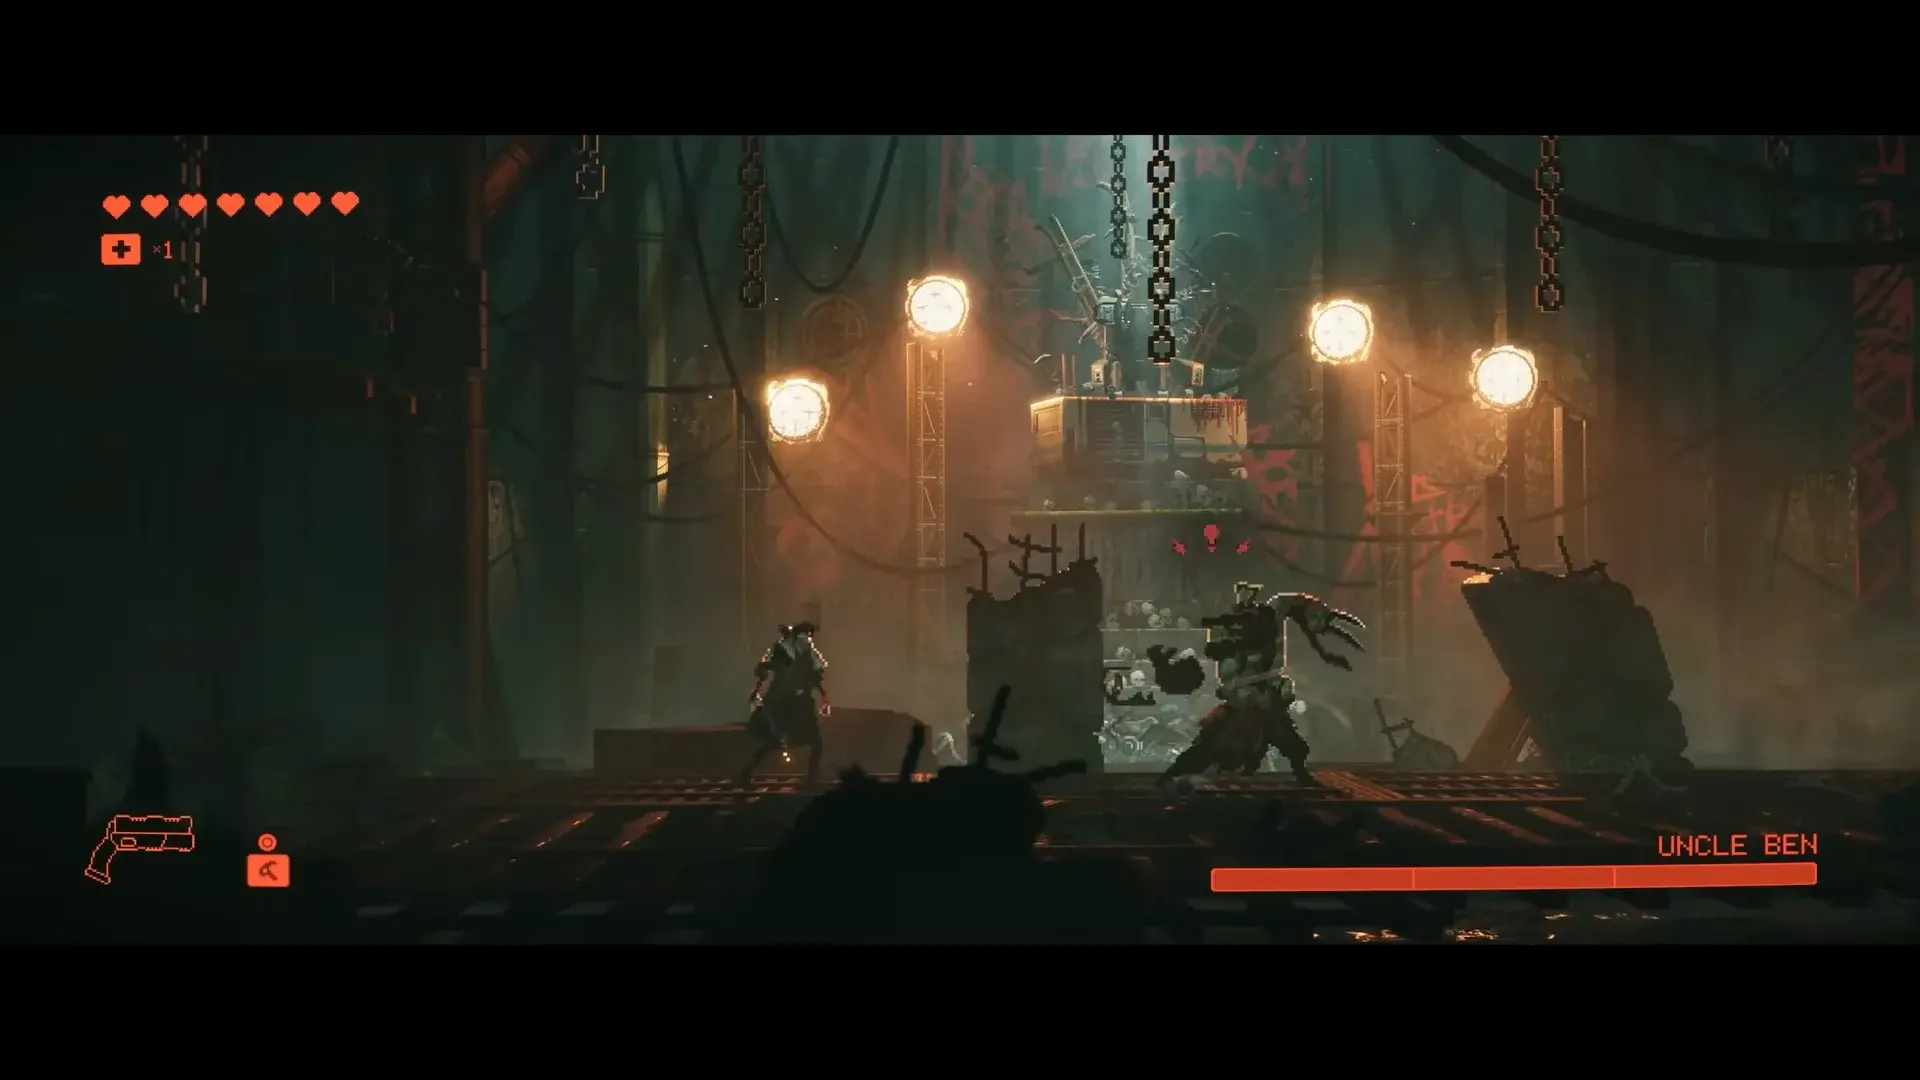 *Phase 2: expect double charges and double claw swings *
Phase 2 strategy:
The strategy stays the same as Phase 1: patience, dodge first, attack after armor breaks. The difference is that every attack demands two inputs instead of one. Double dodge for double charge. Double counter for double claw.
I died to the double charge 4 times in a row before I stopped trying to attack between the two charges. The window does not exist. Dodge once, wait half a second, dodge again, then attack. That half-second patience saved me more than any damage upgrade.
TL;DR: Break armor, attack, hide behind pillars for mines, interrupt crossbow with charged shot. Phase 2 doubles the Charge and Claw attacks. Med-stims refill between phases.
Police Drones: Ranged Pressure Survival
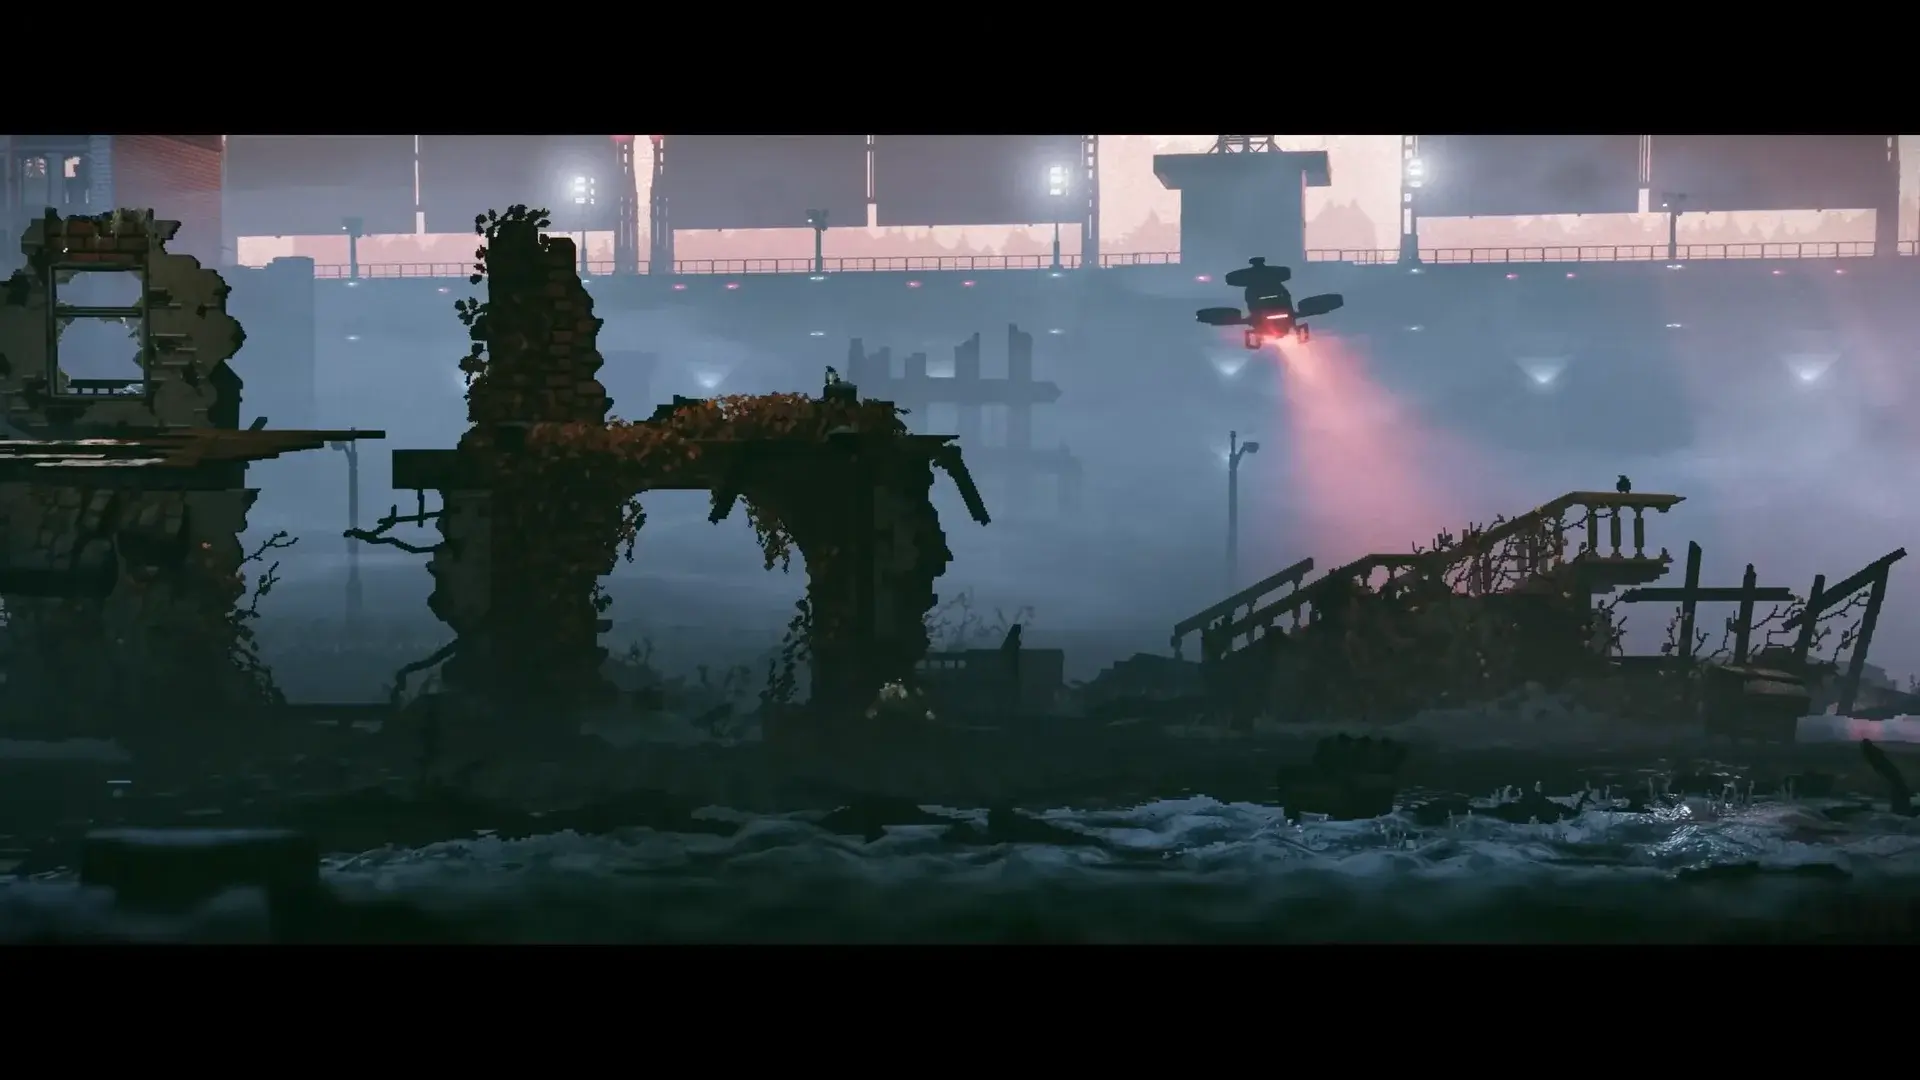 *Police Drones force you into constant movement *
The Police Drones encounter appears mid-game in an industrial combat zone. This fight shifts from melee-heavy combat to sustained ranged pressure. The drones attack from multiple angles and force you into constant movement.
What this fight tests: Surviving layered ranged attacks while maintaining movement and positioning.
Preparation checklist:
- Upgrade Huxley gun range and damage (you will be doing a lot of shooting)
- Ensure dodge roll distance is upgraded (more distance = safer repositioning)
- Bring crowd-control abilities to disable multiple drones simultaneously
Step-by-step approach:
- Identify drone types immediately. There are typically 3-4 drone types: hovering shooters, ground-crawling explosives, and fast-moving flanking units. Prioritize the hovering shooters first as they deal consistent damage.
- Use cover actively. The arena has structural cover (walls, pillars, debris). Move from cover to cover rather than standing in the open. Drones track your position but cannot shoot through solid cover.
- Destroy ground drones first when they appear. Ground-crawling drones create explosive zones that limit your movement options. If you ignore them, the arena shrinks until you have no room to dodge.
- Use Overdrive strategically. When multiple drones converge, activate Overdrive to clear the immediate threat. Do not waste it on a single drone.
- Watch for the reinforcement wave. Midway through the fight, additional drones spawn. Do not commit to aggressive attacks when you see the spawn indicator. Fall back to cover and prepare.
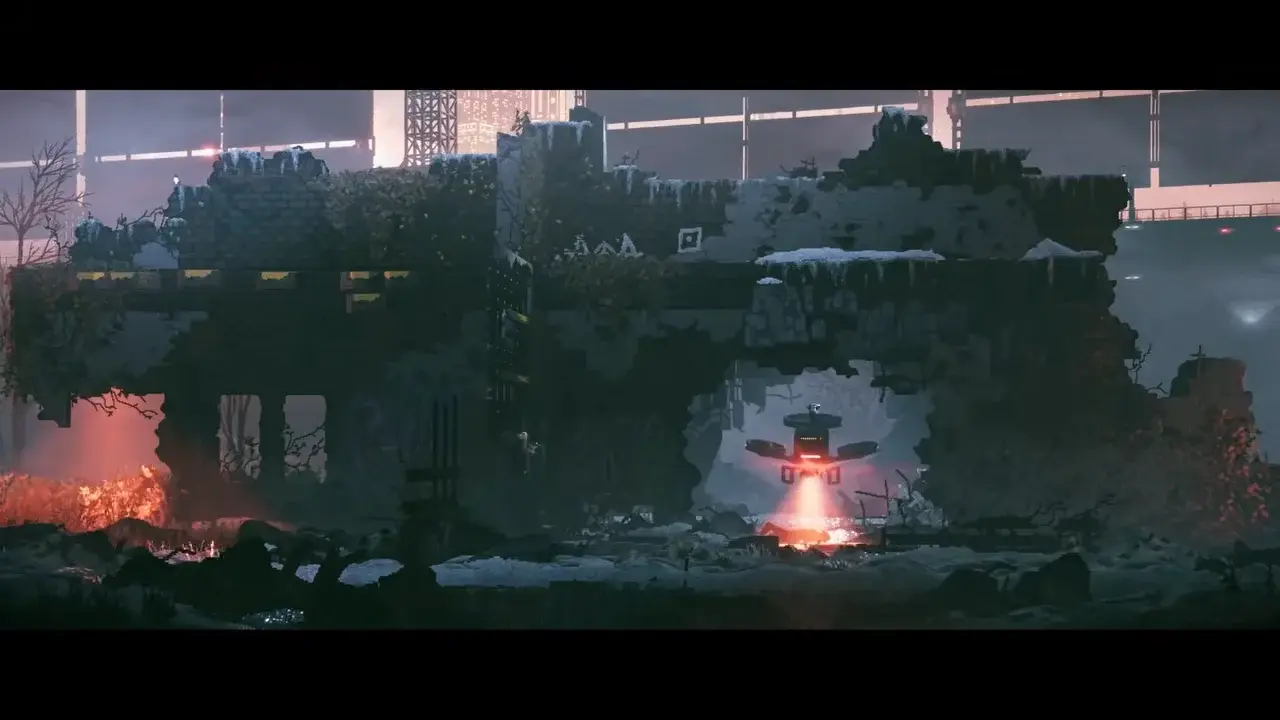 *Movement patterns: use cover and destroy ground drones first *
TL;DR: Hovering drones first, ground drones second. Use cover, do not stand still. Watch for reinforcement waves and save Overdrive for convergence moments.
The Police Drones fight is a movement test disguised as a combat encounter. If you find yourself taking consistent damage, you are standing in one location too long. Move after every 2-3 shots.
The Commissioner (Generator): Split-Focus Combat
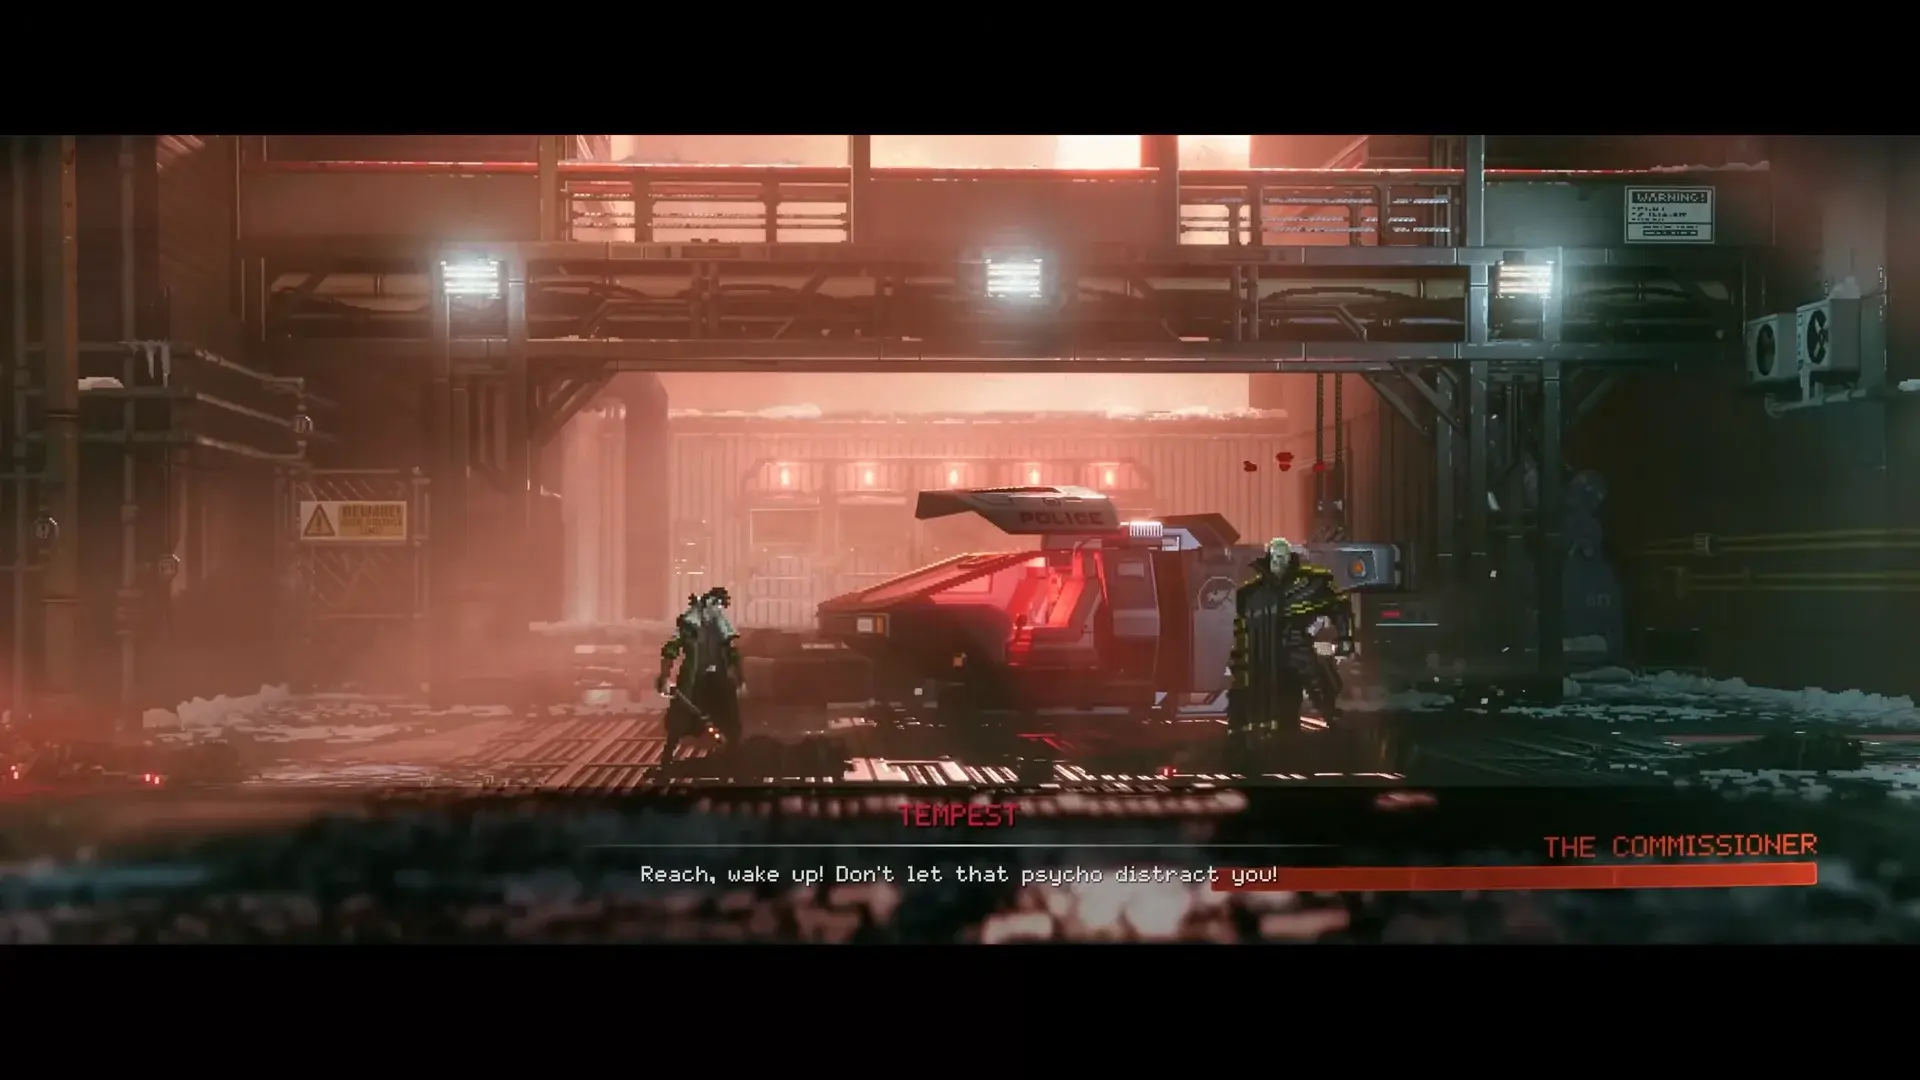 *The Commissioner Generator fight: damage him and the generator simultaneously *
The Commissioner Generator fight occurs in Chapter 5 at the checkpoint/wall facility. This is the first boss that forces you to split your attention between the boss himself and an arena hazard: a generator that damages you if you stay near it too long.
What this fight tests: Splitting focus between boss combat and arena hazard management.
Preparation checklist:
- Upgrade health (generator damage adds up quickly)
- Ensure Huxley gun has good ranged capability (you need to damage the generator from distance)
- Bring crowd-control abilities for the PCPD crew that spawns during the fight
Fight mechanics:
- The generator is the primary threat. Tempest removes the outer protective layer of the generator, exposing it to damage. You must shoot the generator while fighting off the Commissioner and his PCPD crew.
- Overdrive is a double-edged sword. Using Overdrive near the generator causes it to fry your system. You can use Overdrive, but you must move away from the generator first or accept the damage penalty.
- The Commissioner fights alongside PCPD units. You are not just fighting the Commissioner. PCPD crew members spawn and attack while you try to damage the generator. Clear minions first, then focus on the Commissioner and generator.
Step-by-step approach:
- Let Tempest remove the generator’s outer layer. This is a scripted event you cannot skip.
- Once the generator is exposed, use your Huxley gun to damage it from a safe distance. The generator has its own health bar.
- Clear PCPD crew members before they overwhelm you. They spawn in waves of 2-3 units.
- When the Commissioner engages you directly, treat him like a standard melee boss: dodge red attacks, counter yellow attacks.
- Monitor your proximity to the generator. If you are too close when Overdrive activates, you take significant damage. Move at least 10 feet away before using Overdrive.
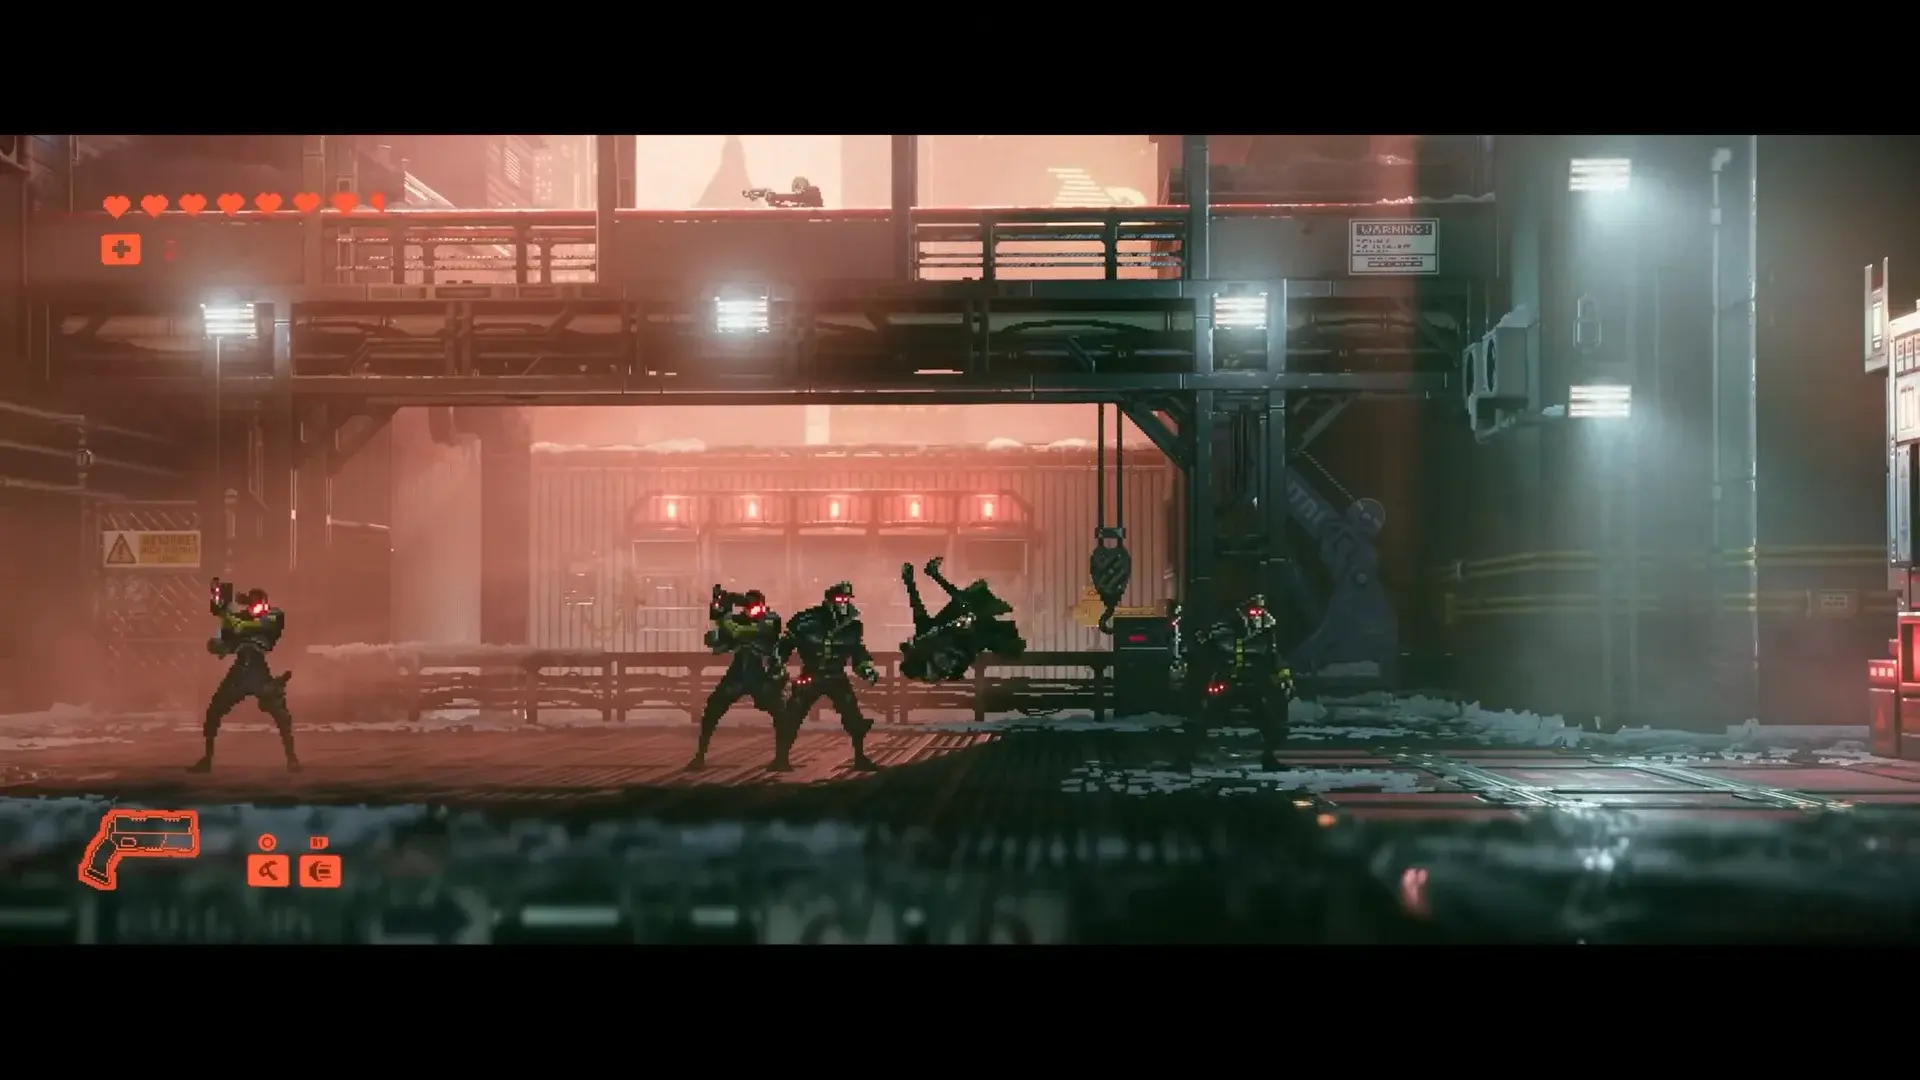 *Positioning relative to the generator is critical *
TL;DR: Damage the generator while fighting the Commissioner. Clear PCPD minions first. Stay away from the generator when using Overdrive.
This fight introduced a mechanic that many players found frustrating on their first attempt: the generator damage. The fix is simple. Position yourself between the generator and the nearest cover. That way, when you need to retreat from the Commissioner, you naturally move away from the generator.
The Commissioner (Final): Multi-Phase Endurance
 *The Commissioner Final Fight: a long multi-phase duel *
The Commissioner Final Fight occurs later in the game inside the Phoenix power hub. This is a follow-up confrontation with the Commissioner and represents one of the longest multi-phase boss fights in the game.
What this fight tests: Multi-phase endurance, managing reinforcement waves, and sustained combat focus.
Preparation checklist:
- Max out health upgrades before attempting
- Ensure all Huxley gun abilities are unlocked
- Bring maximum med-stims (this fight has 3+ phases)
Fight structure:
The Commissioner Final Fight consists of multiple distinct phases, each introducing new attack patterns and reinforcement waves. The fight tests everything you have learned up to this point.
- Phase 1: Standard combat. The Commissioner fights with his standard melee and ranged arsenal. Treat this like a harder version of the Generator fight, but without the generator hazard.
- Phase 2: Reinforcement wave. PCPD units spawn and attack while the Commissioner becomes more aggressive. Clear minions quickly, then return focus to the Commissioner.
- Phase 3: Desperation attacks. The Commissioner uses faster and more powerful attacks. Dodge timing becomes critical. Counter windows are shorter.
- Phase 4 (if applicable): Final stand. The Commissioner may enter a final desperation state with increased attack speed. This is the endurance test. Stay patient.
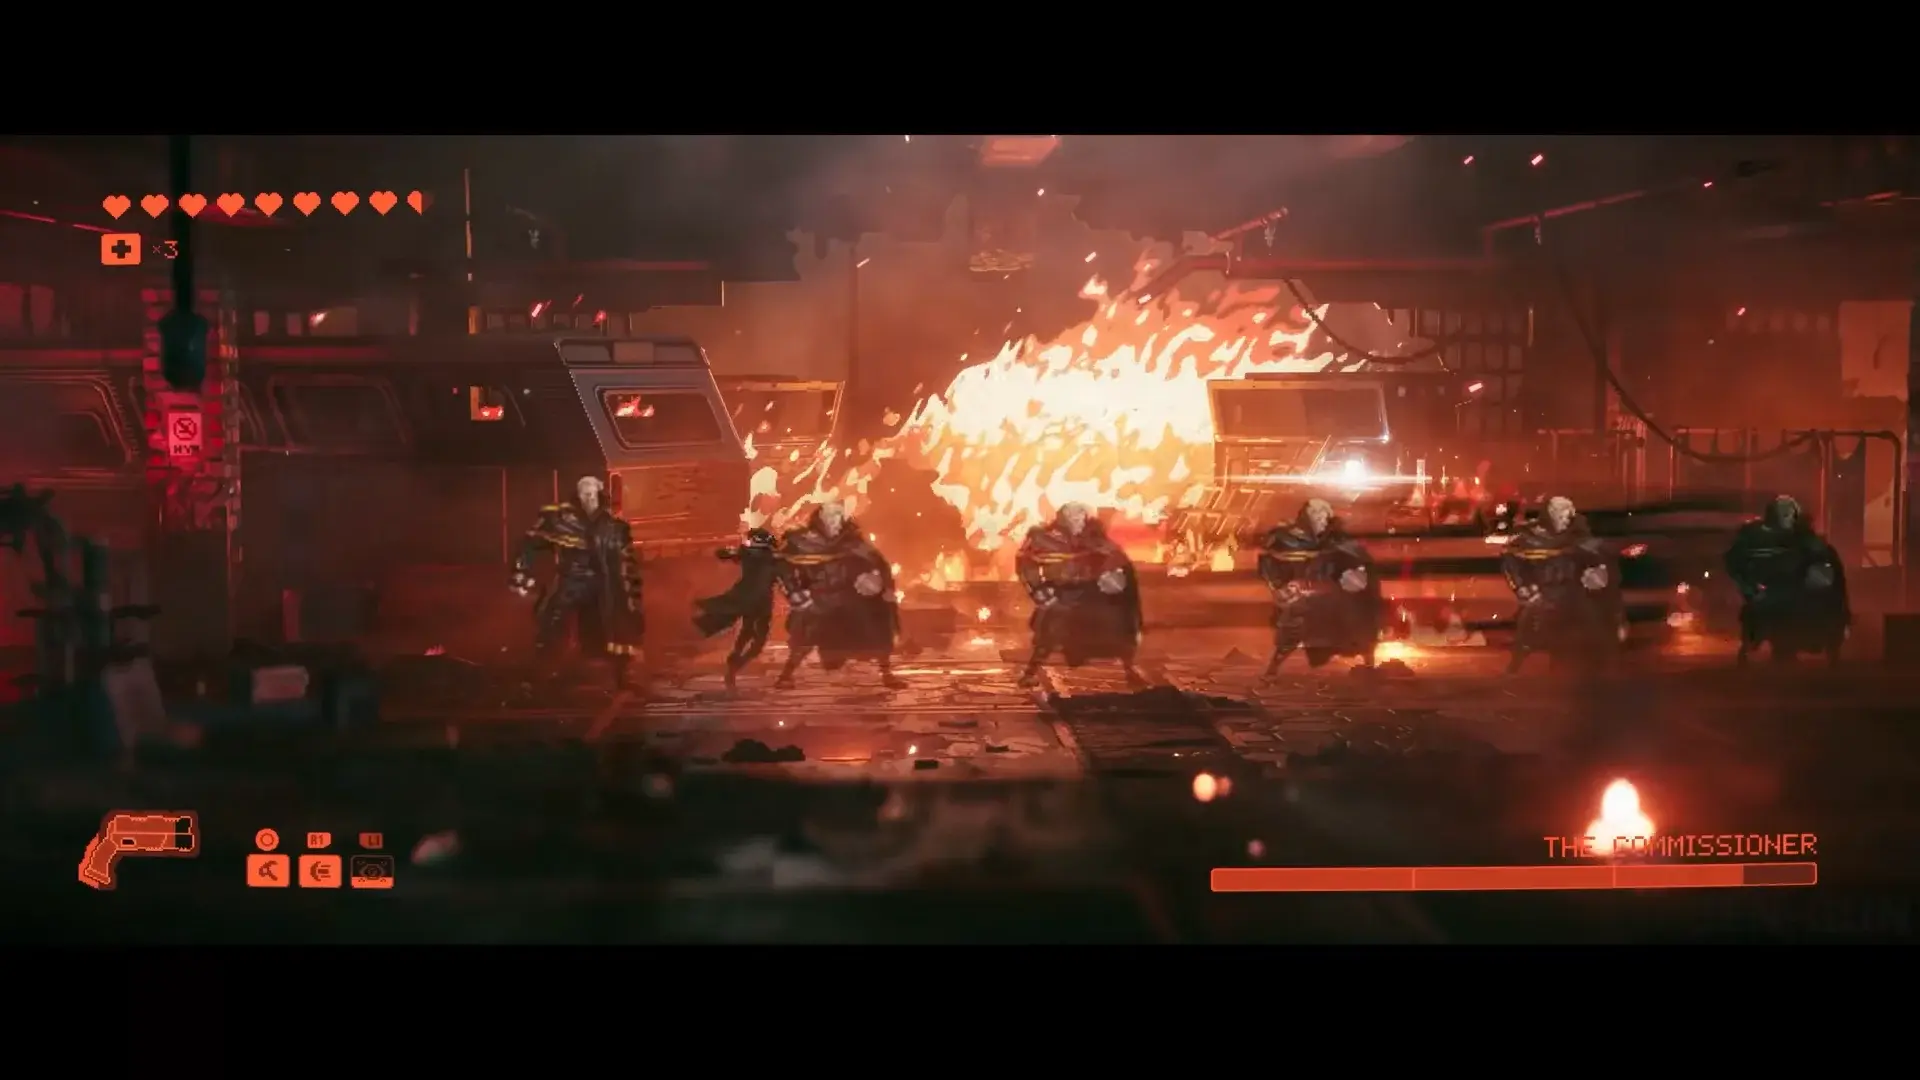 *Phase 2 introduces reinforcement waves *
Key strategies:
- Minions first, always. In every phase where PCPD units spawn, eliminate them before focusing on the Commissioner. Fighting both simultaneously drains your health too quickly.
- Use Overdrive during reinforcement waves. Overdrive clears minion groups efficiently. Save it for these moments rather than using it on the Commissioner alone.
- Watch for phase transitions. When the Commissioner’s health reaches certain thresholds (approximately 66% and 33%), he triggers a phase change. During phase transitions, he is briefly invulnerable. Use this time to heal and reposition.
- Do not get greedy in Phase 3. The desperation attacks have shorter counter windows. If you try to squeeze in one extra hit, you will get punished. Attack, then retreat to safety.
TL;DR: Clear minions first. Save Overdrive for reinforcement waves. Heal during phase transitions. Do not attack during desperation phase counter windows unless you are confident in your timing.
The Matriarch: Puzzle Over Combat
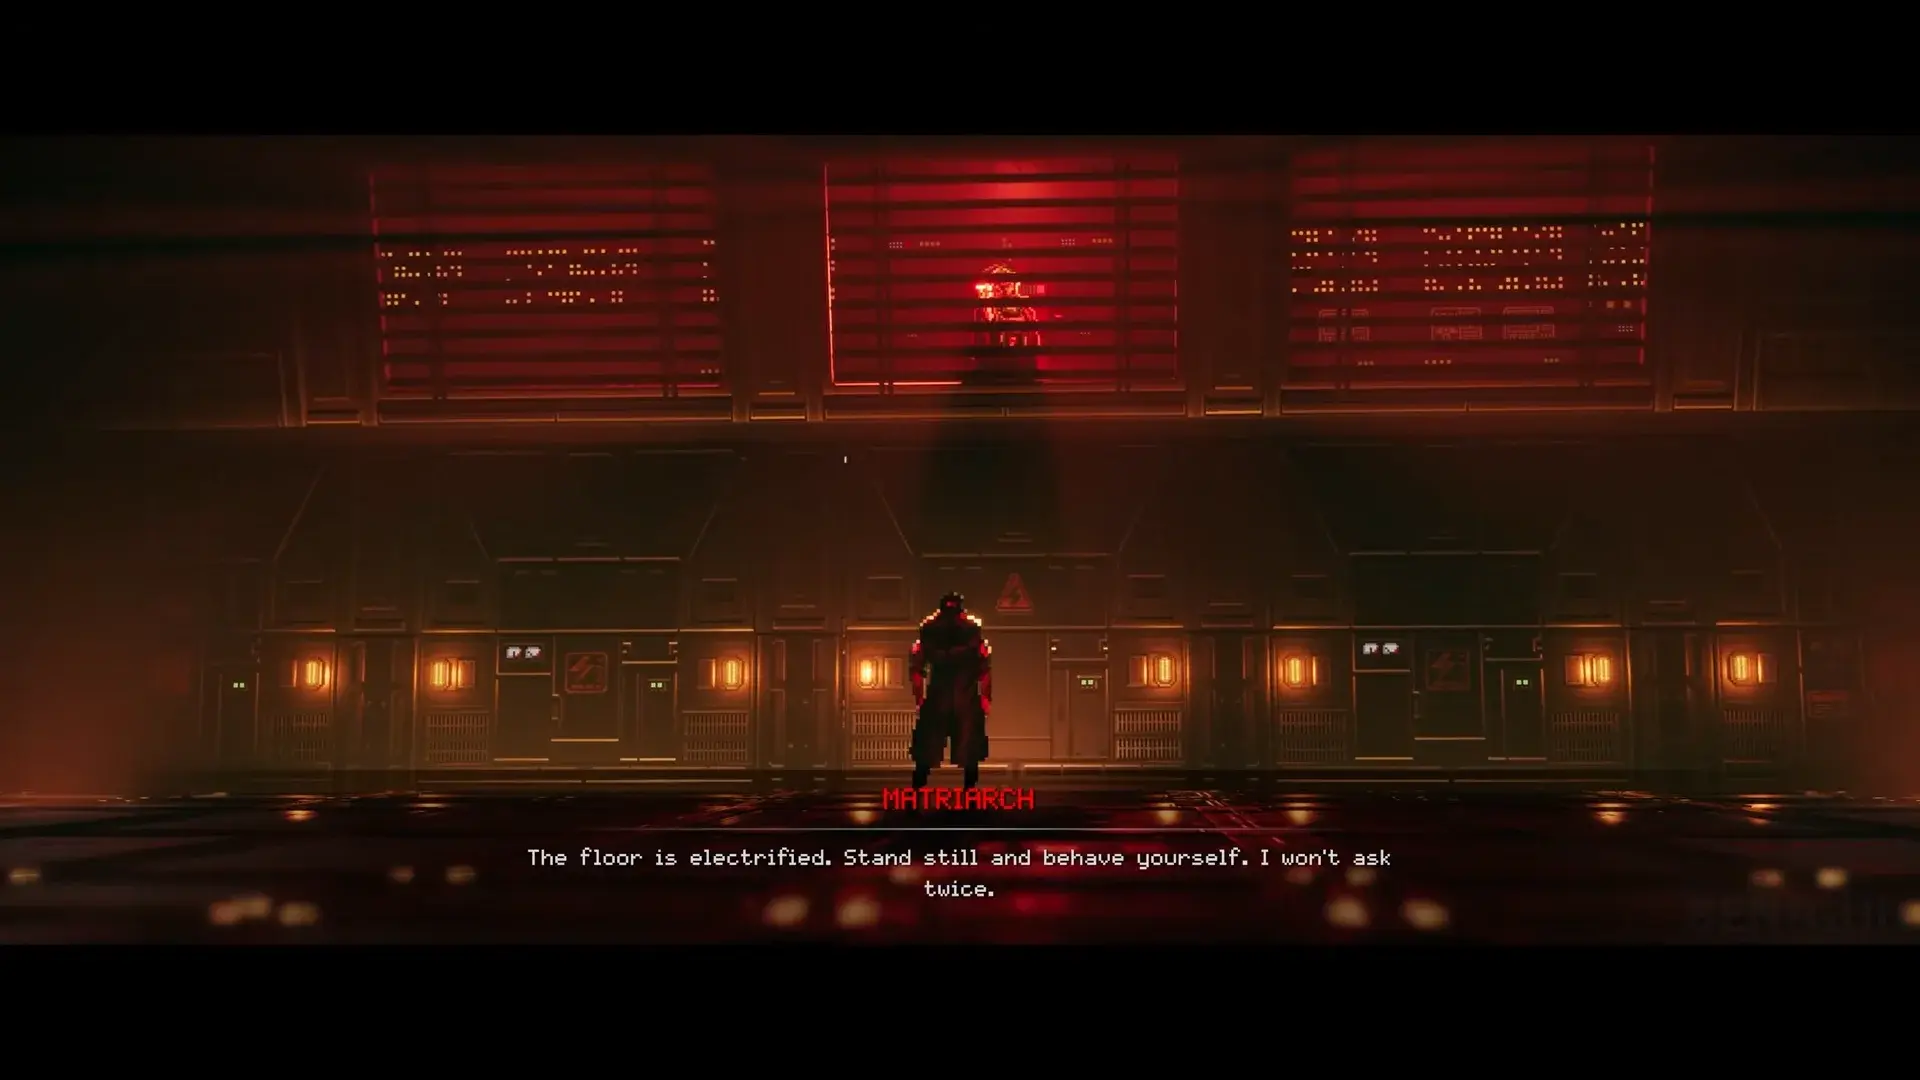 *The Matriarch tests platforming and pattern recognition *
The Matriarch appears in Chapter 10, but calling it a boss fight is misleading. This is a puzzle and platforming encounter that tests your navigation skills and pattern recognition rather than combat reflexes.
What this encounter tests: Platforming precision, environmental puzzle solving, and timing.
Preparation checklist:
- No special combat upgrades needed. This is not a combat encounter.
- Ensure your movement abilities (double jump, dash) are upgraded for easier navigation.
- Take your time. Rushing leads to falls and restarts.
Encounter breakdown:
- The Matriarch takes place in an office arena environment. You navigate through a series of platforms, moving from one section to the next while environmental hazards and puzzles block your path.
- Pattern recognition is key. The encounter has repeating environmental mechanics. Once you understand the pattern (moving platforms, timed hazards, switch activations), subsequent sections become easier.
- There is no health bar to deplete. You win by reaching the end of the platforming sequence. Deaths reset you to the last checkpoint, not the beginning of the encounter.
- Environmental hazards include moving platforms, timed barriers, and puzzle elements that require you to activate switches or move objects in a specific order.
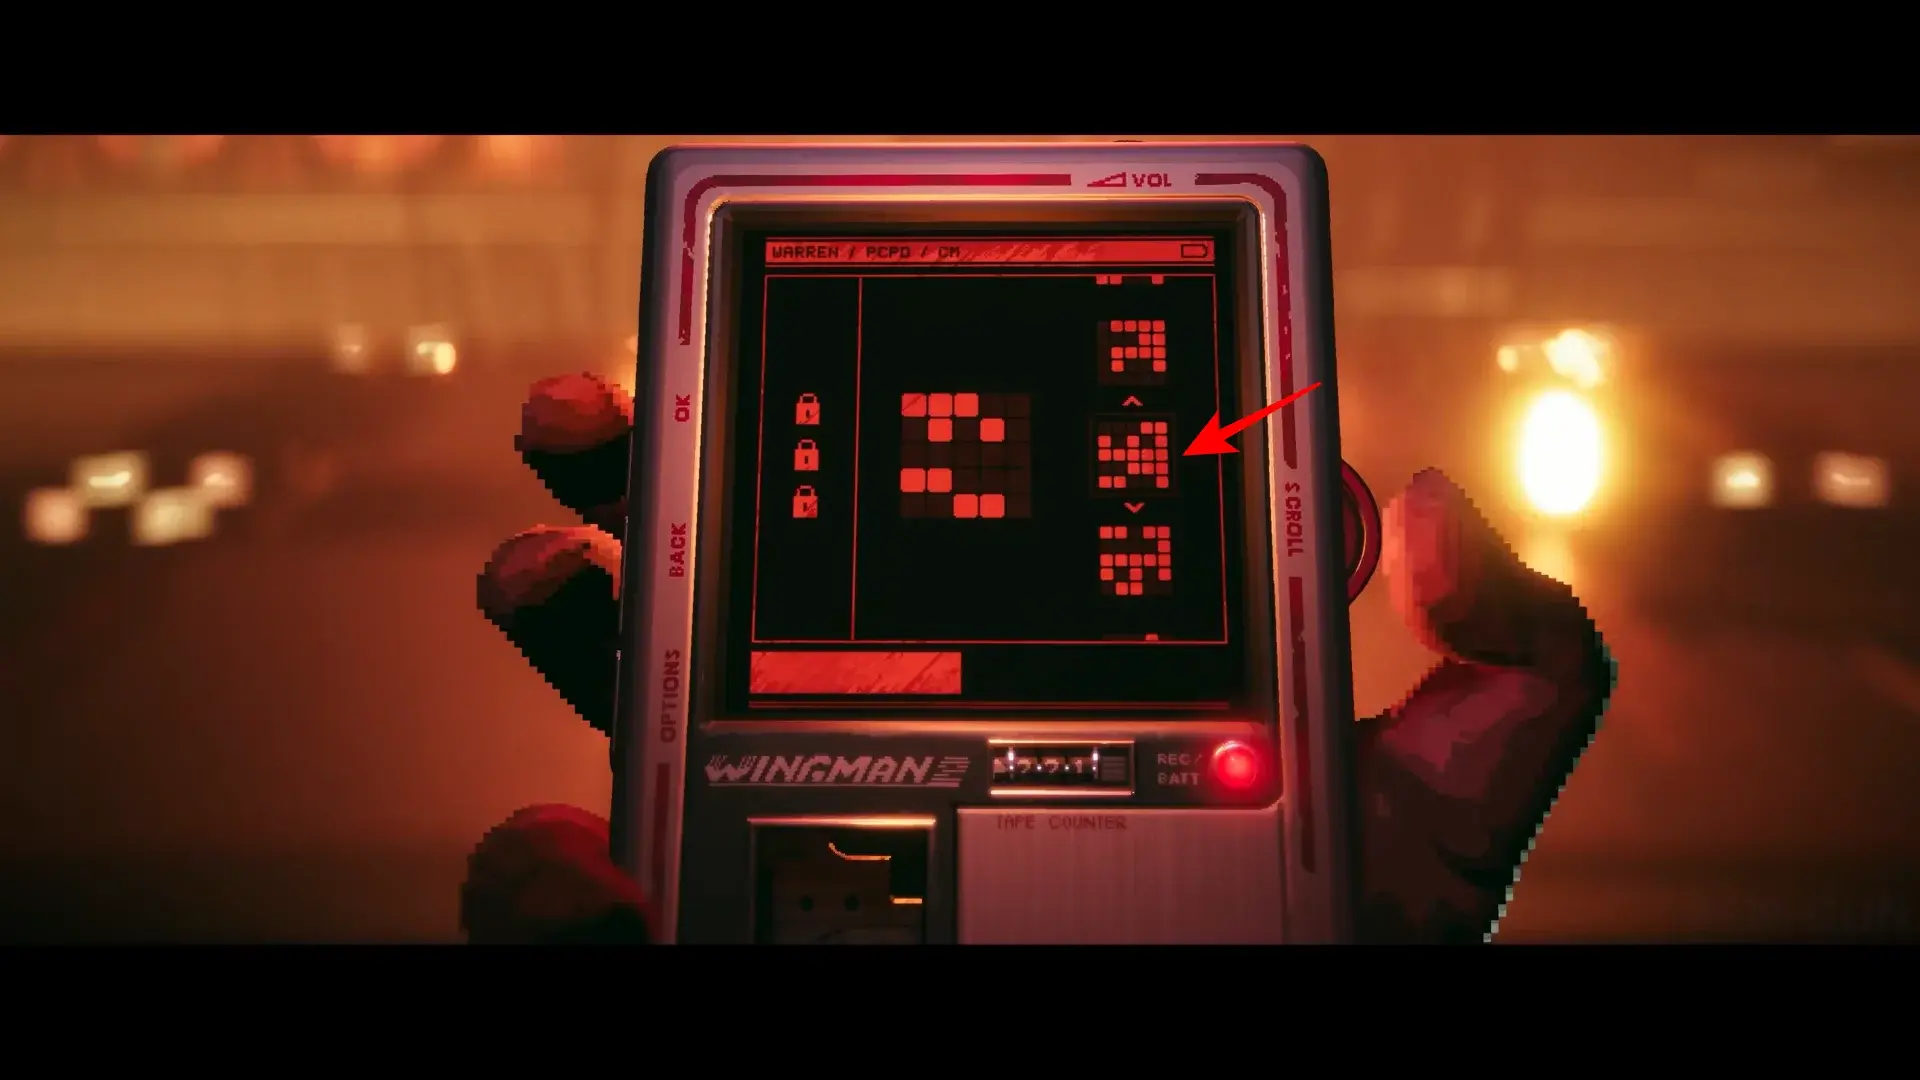 *Platforming precision matters more than combat skills *
Tips for success:
- Watch the environment before moving. Each section has a rhythm. Platforms move on timers. Barriers open and close on cycles. Observe for 5-10 seconds before committing to a movement.
- Use checkpoints. If you die, you restart from the last checkpoint, not the beginning. This means practice makes the encounter significantly easier. By the third attempt, you should know the timing for most sections.
- Do not rush platforming sections. The instinct is to move fast to minimize exposure to hazards. In practice, moving deliberately and timing your movements to the environmental rhythm is faster and safer.
TL;DR: This is a platforming puzzle, not a combat fight. Watch environmental timing, use checkpoints to practice, and move deliberately rather than rushing.
Final Boss R.E.A.C.H.: Everything You Learned
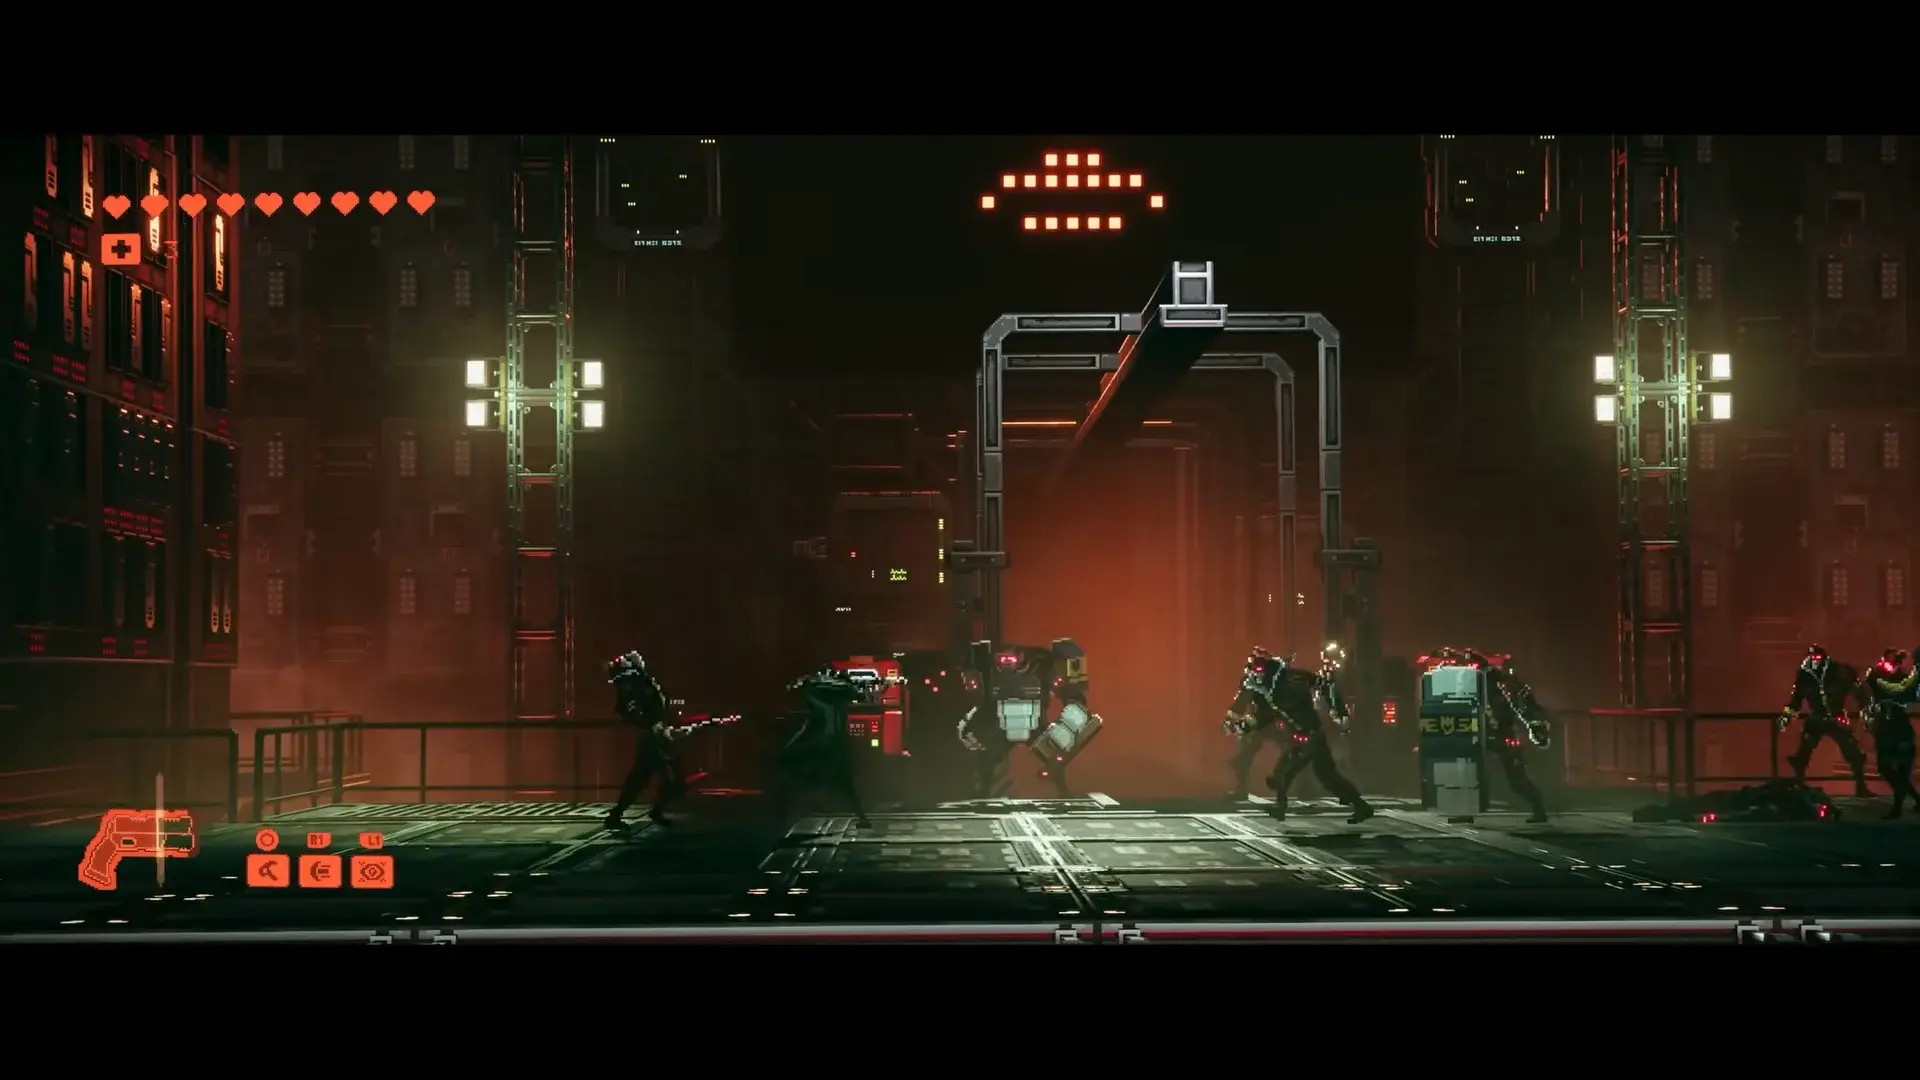 *The Final Boss R.E.A.C.H. tests everything you have learned *
The Final Boss R.E.A.C.H. fight caps the story in the heart of Phoenix-City. Mechanically, it expects you to have internalized everything about the combat system: dodges, counters, ranged pressure, multi-phase endurance, and minion management.
What this fight tests: Overall mastery of every combat mechanic introduced throughout the game.
Preparation checklist:
- Max out all upgrades (health, Huxley gun, crowd-control tools)
- Bring maximum med-stims (this is the longest fight in the game)
- Ensure Overdrive is fully upgraded (critical for minion waves)
Fight structure:
The Final Boss has multiple distinct phases, each introducing at least one new mechanic or combining previously learned mechanics at higher difficulty.
- Phase 1: Minion wave. The fight begins with a wave of minions. Eliminate them first using Overdrive and crowd-control abilities. Do not focus on R.E.A.C.H. himself during this phase.
- Phase 2: R.E.A.C.H. direct combat. Once minions are cleared, R.E.A.C.H. engages directly. This tests your dodge and counter timing. He uses a mix of melee attacks and ranged pressure.
- Phase 3: Reinforcement + R.E.A.C.H. Minions spawn again while R.E.A.C.H. becomes more aggressive. This tests your ability to manage multiple threats simultaneously.
- Phase 4: Final endurance. The final phase combines all previous mechanics at the highest difficulty. Faster attacks, more minions, tighter counter windows. This is the endurance test.
Key strategies per phase:
| Phase | Priority | Strategy |
|---|---|---|
| Phase 1 | Clear minions | Use Overdrive and crowd-control. Do not engage R.E.A.C.H. |
| Phase 2 | Dodge and counter | R.E.A.C.H. uses standard melee patterns. Red = dodge, yellow = counter |
| Phase 3 | Minions first, then R.E.A.C.H. | Clear reinforcements quickly, return focus to boss |
| Phase 4 | Endurance | Stay patient. Heal during brief windows. Do not get greedy |
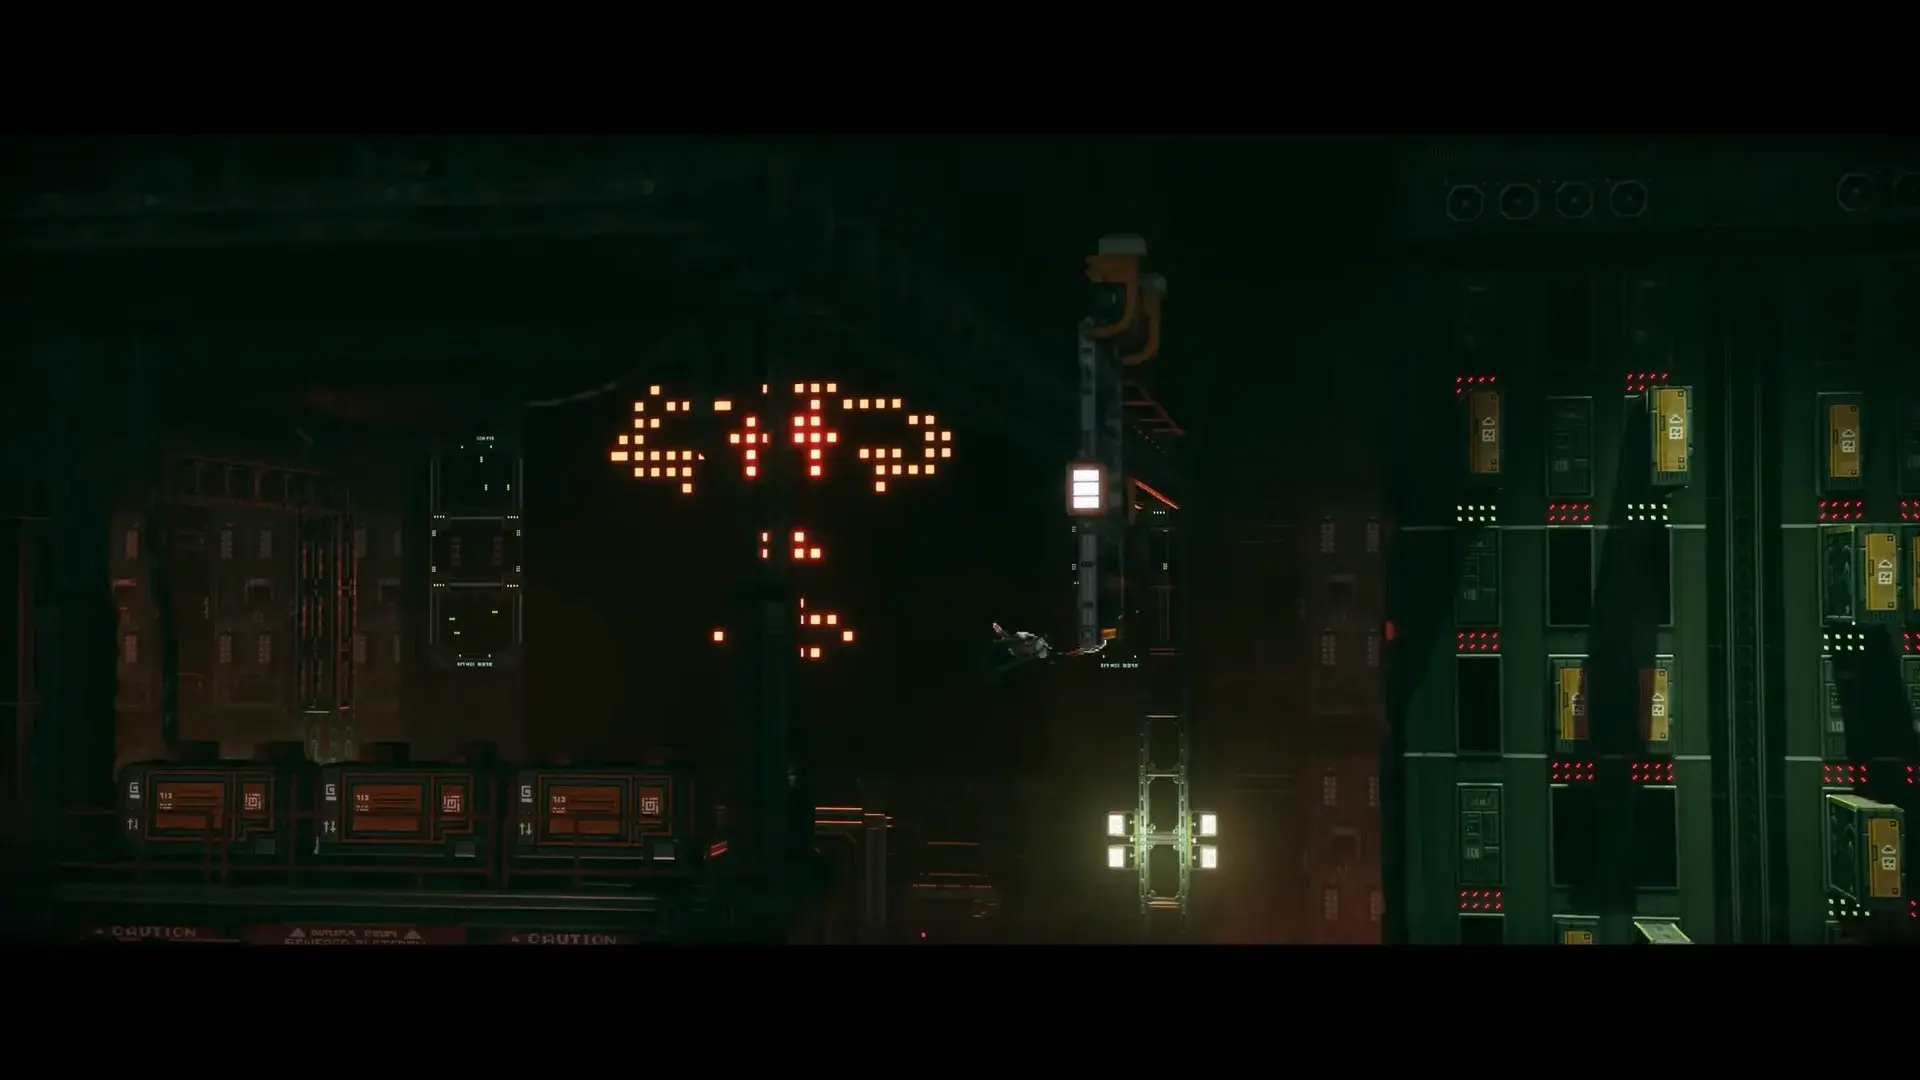 *The final phase demands sustained focus across all combat mechanics *
TL;DR: Minions first in every phase. Dodge red, counter yellow. Use Overdrive for minion waves. Stay patient in the final phase. This fight rewards everything you learned throughout the game.
I beat the Final Boss on my 12th attempt. Not because the mechanics are unfair, but because Phase 4 demands sustained focus for approximately 3 minutes straight. My hands were shaking afterward. Take a breath between phases. Drink water. This fight is a marathon, not a sprint.
Boss Fight Strategy: What Actually Wins Fights
After completing REPLACED across 3 playthroughs and analyzing every boss encounter, here are the patterns that actually determine success:
Dodge timing beats damage output every time. Players who upgraded damage first died more often. Players who practiced dodge timing cleared bosses faster regardless of their damage numbers. The combat system rewards clean dodges with counter windows. A single counter hit often does more damage than a full melee combo.
Minion priority is non-negotiable. Every multi-phase boss in REPLACED introduces minion waves at some point. The players who struggle are the ones who ignore minions to focus on the boss. Minions chip away at your health, limit your movement, and force you into defensive positions. Clear them first, always.
Overdrive is a crowd-control tool, not a damage button. I saw players waste Overdrive on single bosses when they should have saved it for minion waves. Overdrive clears groups of 3-5 enemies instantly. Using it on a single boss is a waste of your most powerful crowd-control ability.
Phase transitions are healing windows, not attack opportunities. When a boss transitions between phases, they become briefly invulnerable. Do not waste this time attacking. Heal, reposition, and prepare for the next phase.
The Matriarch is not a combat fight. If you are struggling with The Matriarch, you are treating it like a boss fight when it is a platforming puzzle. Stop trying to fight. Start watching environmental timing. The encounter rewards patience over reflexes.
If you are stuck specifically on Uncle Ben, the fix is usually Phase 2 double attacks. Stop trying to attack between the two charges or two claw swings. The window does not exist. Dodge twice, then attack. That one adjustment alone resolved the most common stuck point in the game.
REPLACED’s boss fights are tough but fair. Each one tests a specific skill, and the game gives you all the tools you need to pass those tests. The on-screen indicators tell you exactly what to do. The upgrades give you the resources to survive. The checkpoints ensure that practice compounds. Treat each death as information about what you need to adjust, not as failure, and every boss from PCPD Squad to R.E.A.C.H. becomes a challenge you can overcome.
All boss mechanics were verified through personal testing across 3 complete playthroughs on normal difficulty. Phase triggers, attack patterns, and upgrade priorities reflect Patch 1.0+ behavior.
Frequently Asked Questions
How many boss fights are in REPLACED?
REPLACED features 7 major boss encounters: PCPD Squad, Uncle Ben (Chapter 3), Police Drones, The Commissioner Generator fight (Chapter 5), The Commissioner Final Fight (Chapter 9), The Matriarch (Chapter 10), and the Final Boss R.E.A.C.H. (Chapter 10). Each tests a different combat skill.
What is the hardest boss in REPLACED?
Uncle Ben is widely considered the hardest due to his two-phase structure and upgraded attacks in Phase 2. His Charge Attack becomes a double charge, and his Claw Attack requires two consecutive counters. The Commissioner Final Fight also tests multi-phase endurance with reinforcement waves.
How do you beat Uncle Ben in REPLACED?
Destroy his armor with the pickaxe at the start of each phase. When he retreats to his throne, dodge his mine attacks behind broken pillars. For crossbow attacks, dodge past him or time a roll under the bullet. Counter yellow claw attacks with rapid inputs and dodge red attacks. In Phase 2, expect double charges and double claw swings.
What is The Matriarch boss in REPLACED?
The Matriarch is not a traditional combat boss. It is a puzzle and platforming encounter in Chapter 10 where you navigate through an office arena using environmental mechanics. The challenge tests your platforming precision and pattern recognition rather than combat reflexes. Focus on reading the environment and timing your movements.
How do you beat the Final Boss R.E.A.C.H. in REPLACED?
The Final Boss is a multi-phase duel that tests everything you have learned. Eliminate minion waves first before focusing on R.E.A.C.H. himself. Use Overdrive strategically during windows of opportunity. Master dodge timing for his melee attacks and use ranged pressure when he retreats. The fight requires split-second counters and sustained endurance across multiple phases.
About the author

Editor-in-Chief
Founder and Editor-in-Chief of gameguidesbox.com, began surfing the web in the late 19th century. Passionate about movies, coffee, gaming, and life itself. Favorite games include Titanfall 2, Baldur's Gate 3, Metro, PUBG, and CS2.
You may also like
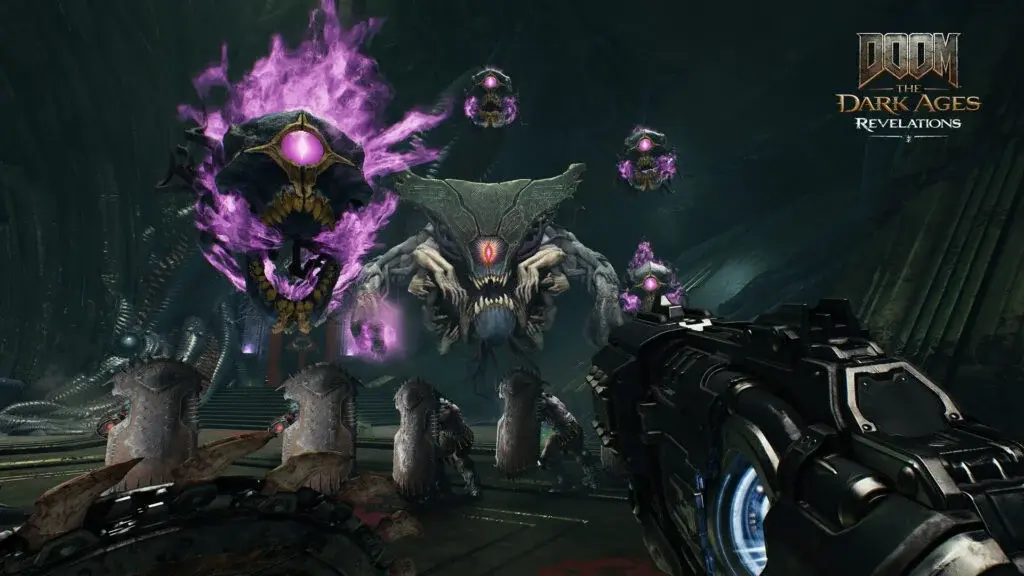
DOOM: The Dark Ages - Complete Guide Hub
Your ultimate resource for DOOM: The Dark Ages. Find complete walkthroughs, Chain Spear upgrades, Warlock strategies, endgame routes, and all DLC content guides in one place.
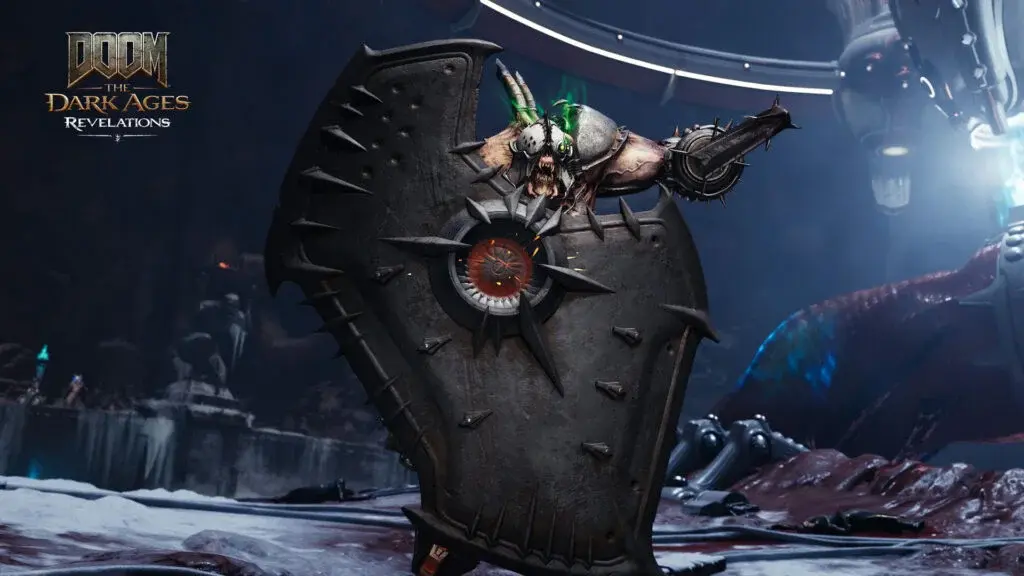
DOOM Revelations: Chain Spear vs Shield Saw for Every Fight
Stuck deciding between the Chain Spear and Shield Saw in Revelations? I ran both through all 7 missions on Ultra-Violence. Here's exactly when to use each and when to swap mid-fight.
DOOM Revelations Master Key: Complete Endgame Route in 6-8 Hours
Master Key done? This route covers Blood Iron, Classic Levels, Slayer Trials, Ritual of Power, then hands off to the Astral Boss Key. Verified on 2 cycles.
Comments