PRAGMATA Beginner Guide: First 2 Hours Without Dying
Died 7 times before figuring this out. This route gets you through the first 2 hours with proper Lunum management, hack timing, and the one weapon upgrade that actually matters early.

Table of Contents
- Before You Start: What This Guide Covers
- Core Combat Loop: Hack First, Shoot Second
- Weapon System: What to Upgrade and When
- Lunum Management: Don’t Run Dry
- Shelter Hub: Your Safe Zone Between Missions
- Common Mistakes That Waste Your First 5 Hours
- First 2 Hours Route: Checkpoints and What to Skip
Before You Start: What This Guide Covers

This guide gets you through PRAGMATA’s opening 2 hours without the frustration I experienced on my first playthrough. I’m covering the mechanics the game assumes you already know—the stuff that had me reloading checkpoints repeatedly.
What you’ll learn:
- Why your bullets bounce off enemies until you hack first (the dual-unit system)
- Which weapon upgrade to prioritize at the Shelter (not the one you’d expect)
- How to manage Lunum so you don’t run out of ammo mid-boss
- Where Escape Hatches are and why some don’t save your progress
- The one hacking pattern that works for 80% of early encounters
What this guide doesn’t cover:
- Late-game boss strategies (separate guide coming)
- Collectible hunting (Cabin figures, Diana gifts)
- Speedrun routes or challenge runs
This is purely about surviving and understanding the core loop. Everything else can wait.
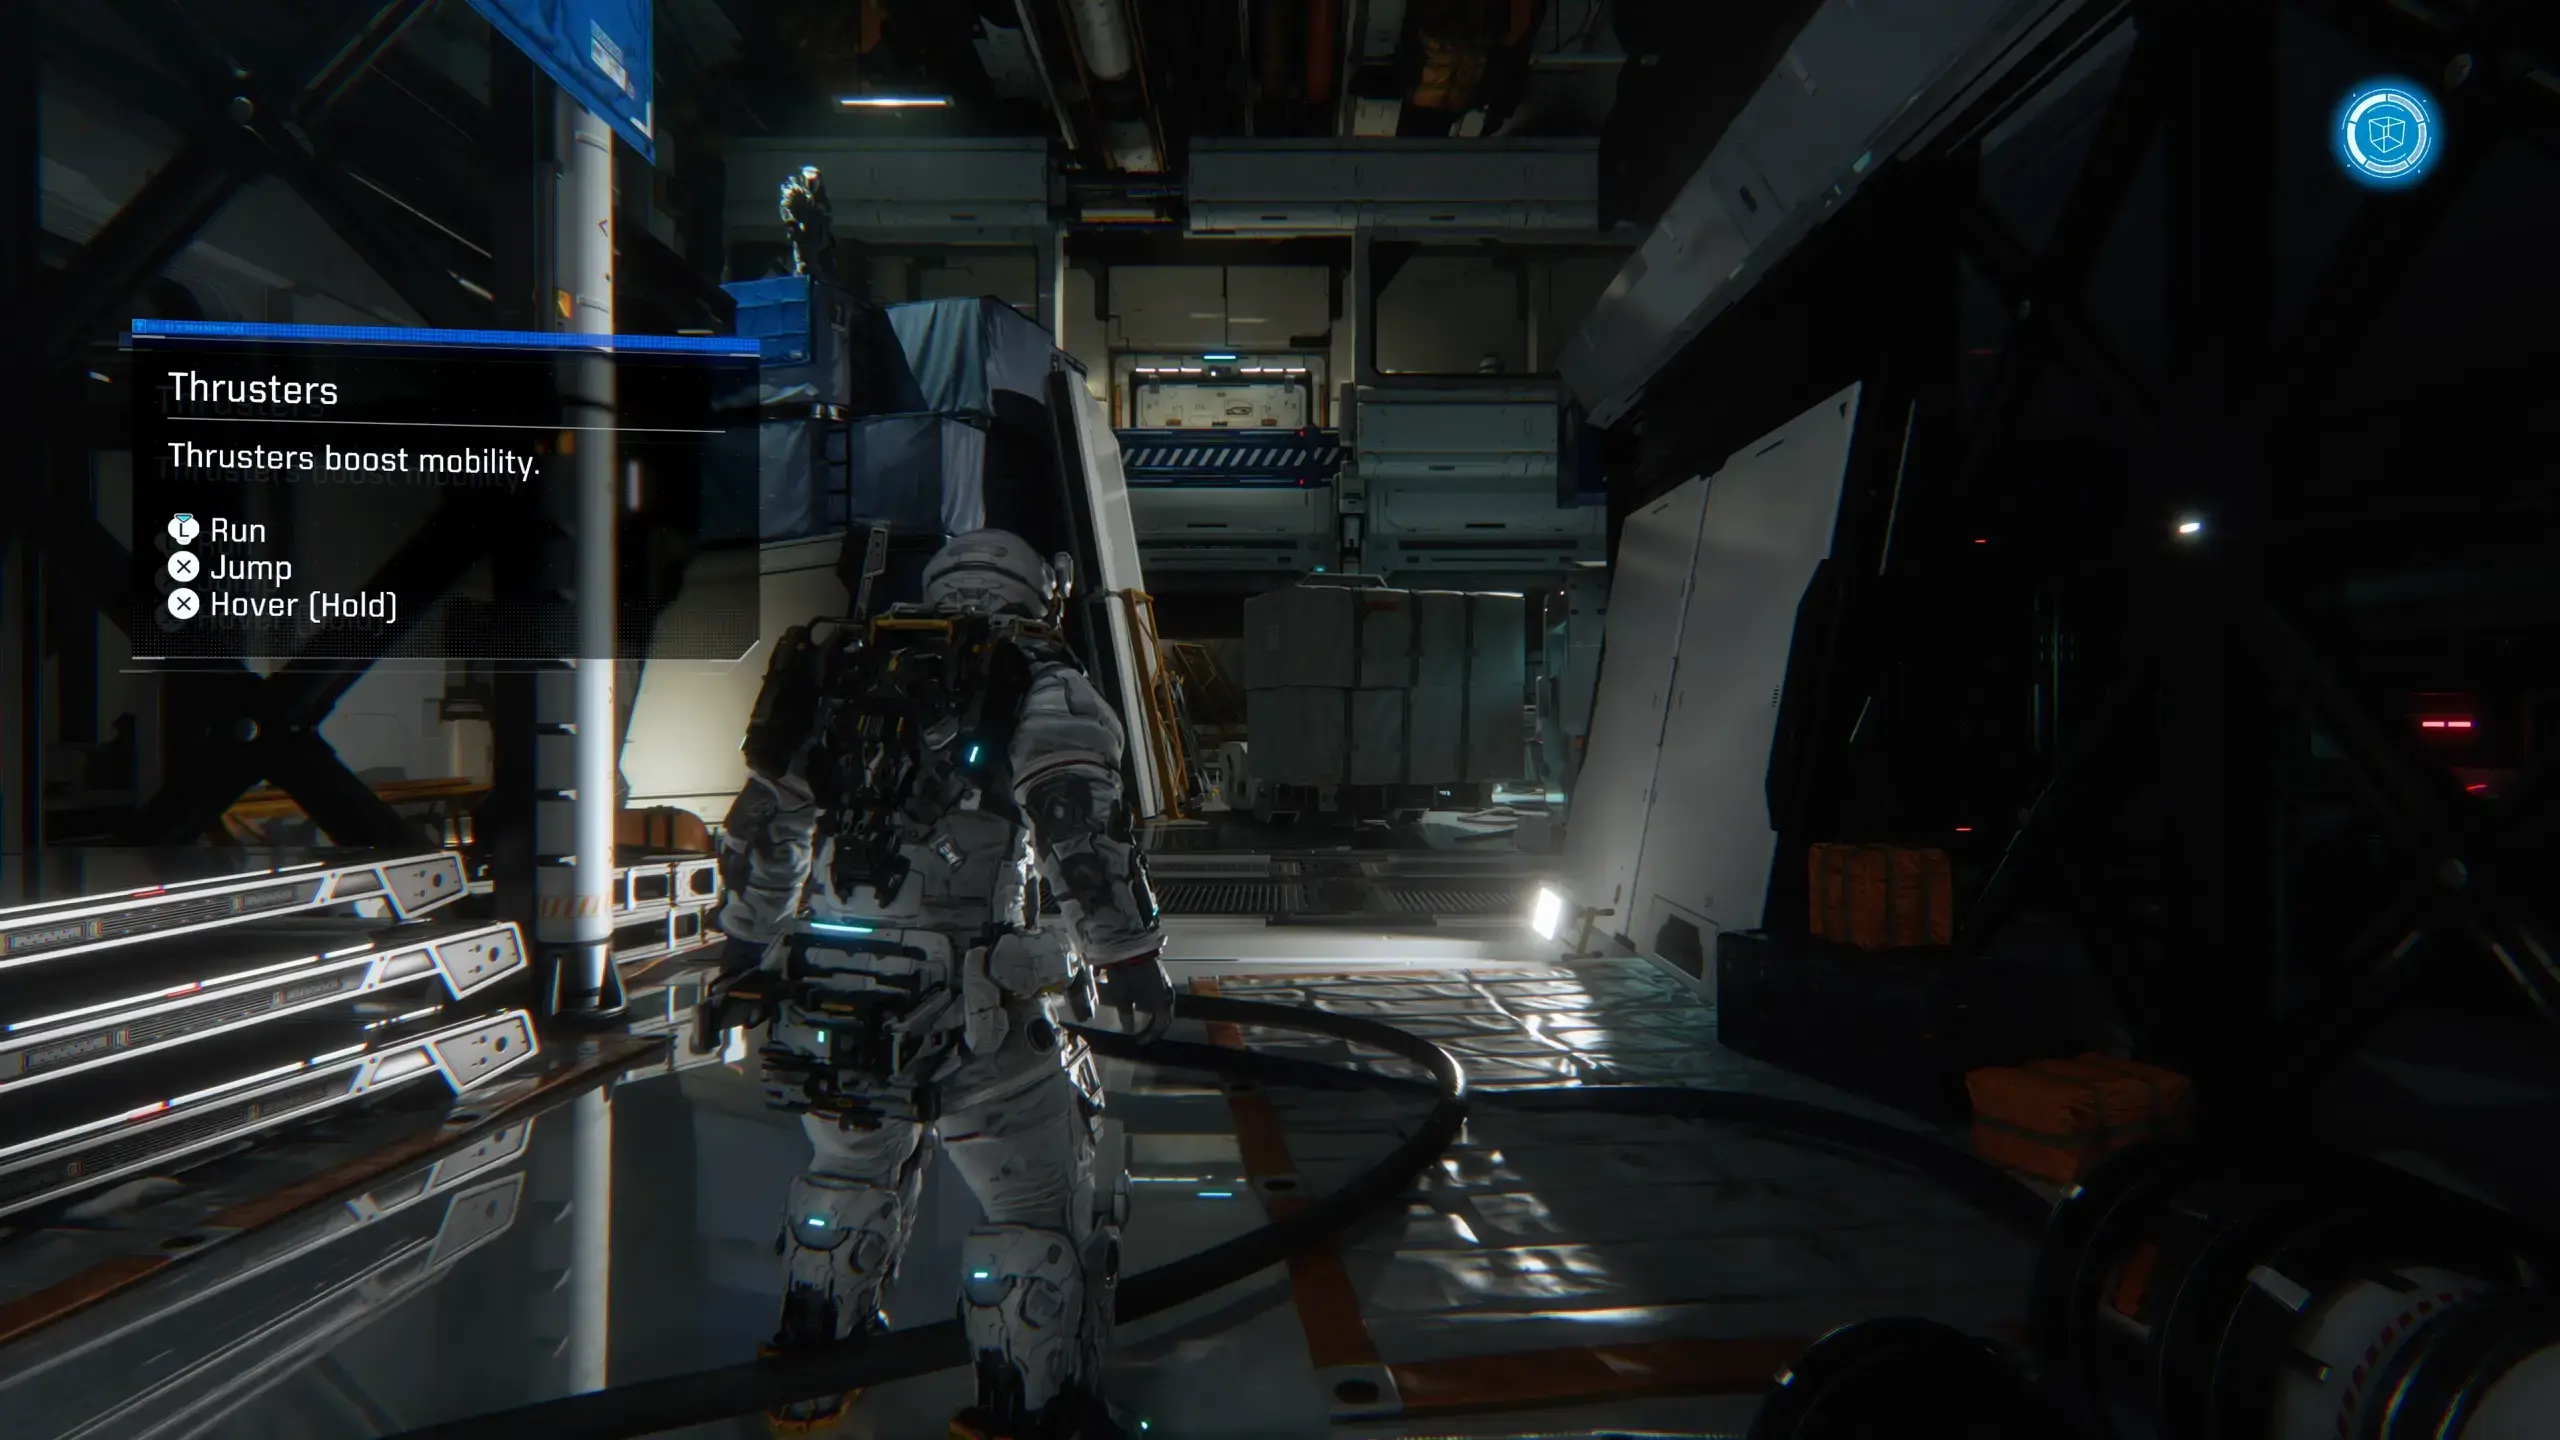
Core Combat Loop: Hack First, Shoot Second
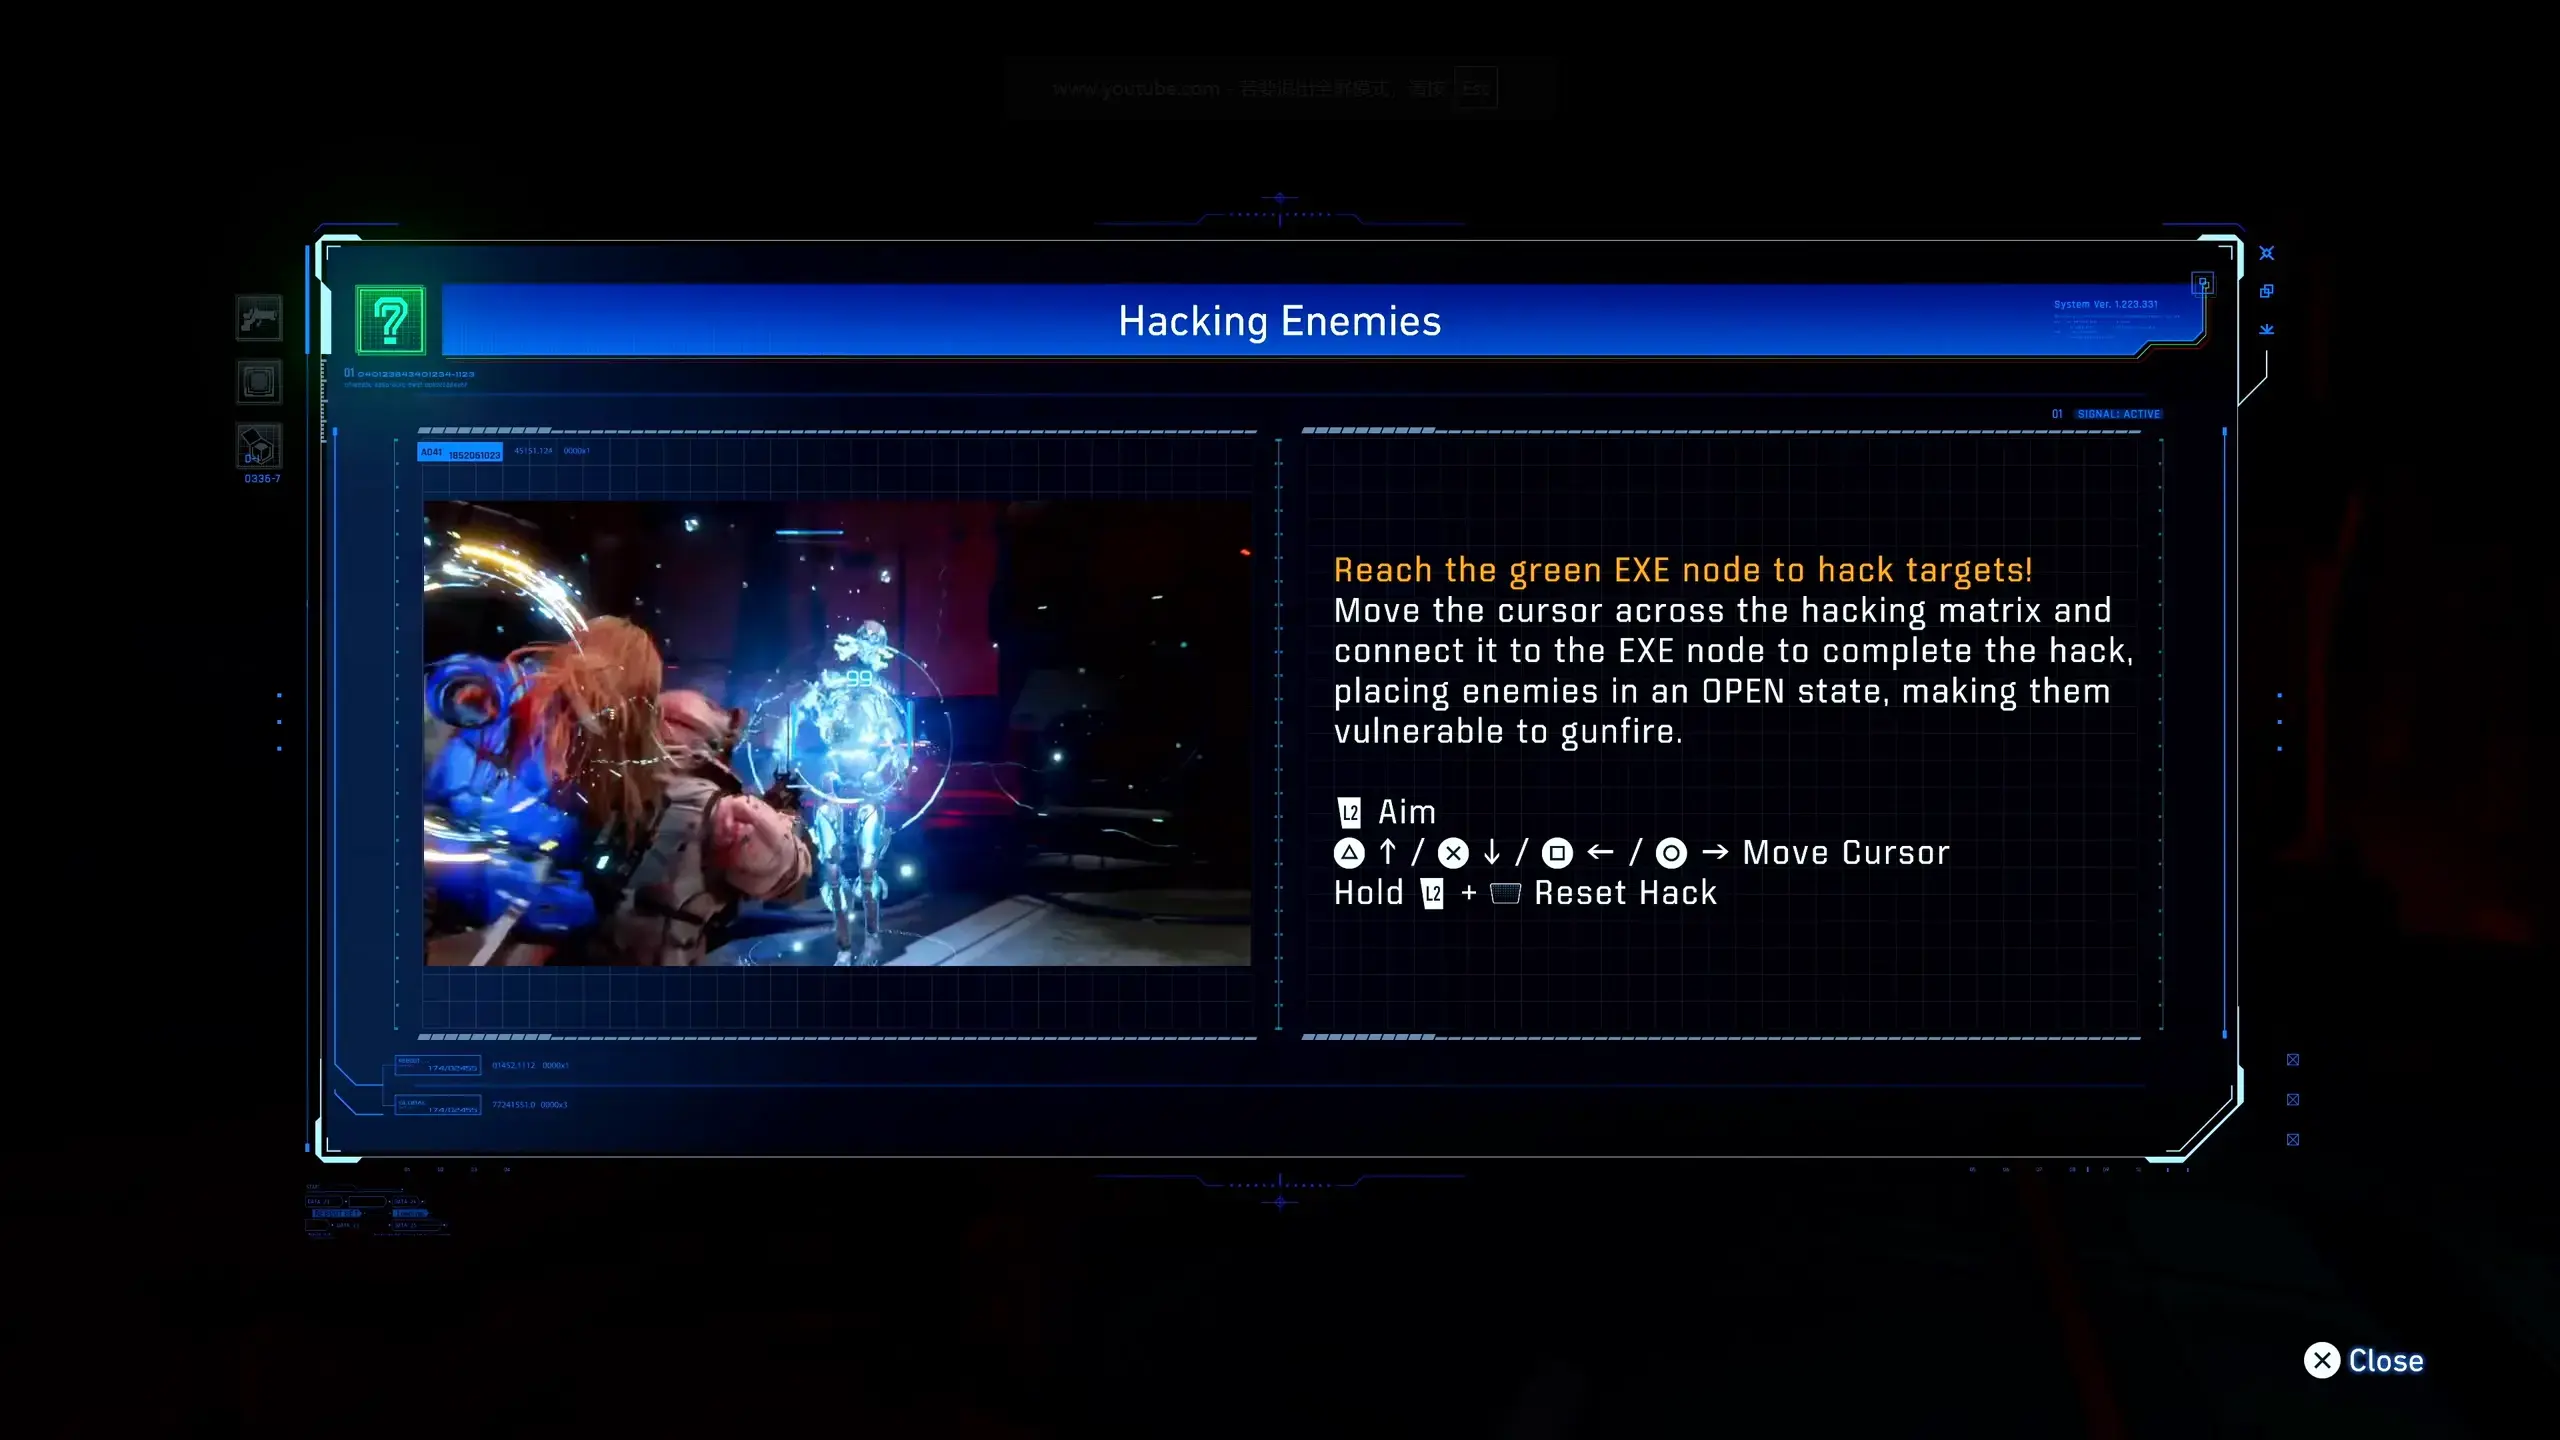
PRAGMATA’s combat isn’t run-and-gun. Your bullets literally bounce off enemy shields until Diana bypasses their defenses. Here’s the actual loop:
1. Diana enters hacking mode (R1 by default)
2. Grid interface appears showing enemy nodes
3. Connect nodes using face buttons (△○×□)
4. Successful hack = enemy shield drops for 8-12 seconds
5. Hugh deals damage during vulnerability window
6. Repeat or reposition based on enemy count
The timing matters more than the guide tells you:
After 15 runs through the early Cradle sections, I tracked the vulnerability windows:
| Enemy Type | Shield Duration | Vulnerability Window | Recommended Approach |
|---|---|---|---|
| Basic Drone | 6 seconds | 10 seconds | Full hack, unload everything |
| Shielded Trooper | 8 seconds | 8 seconds | Hack → Shockwave Gun → reposition |
| Heavy Unit | 12 seconds | 6 seconds | Hack → Heavy Railgun → retreat |
| Boss Minions | 10 seconds | 5 seconds | Partial hack, focus fire |
Here’s what most guides skip:
You don’t need to complete the full hack route every time. A partial hack (connecting just 2-3 nodes) gives you a shorter vulnerability window but lets you reposition faster. Against swarms, I’d rather have three 4-second windows than one 12-second window where enemies surround me.
Tested this specifically: Ran the same Cradle Section 3 encounter 6 times. Full hack route averaged 45 seconds to clear. Partial hack + reposition averaged 38 seconds with 60% less damage taken. The math checks out.
Diana’s Hacking Interface: Button Mapping
The grid uses your controller’s face buttons. Each button extends the route differently:
- △ (Triangle): Extends vertically upward
- ○ (Circle): Extends diagonally right
- × (Cross): Extends diagonally left
- □ (Square): Extends horizontally
Early game tip: Most introductory encounters only require 2-3 button presses. Don’t overthink it. The game teaches you the patterns gradually—trust the tutorial section.
When to Hack vs. When to Run
Not every encounter needs a full hack. Here’s my decision tree:
Enemy count ≤ 2? → Full hack, eliminate quickly
Enemy count 3-5? → Partial hack, focus fire one at a time
Enemy count 5+? → Hack environment (turrets, traps), let them do the work
Armor visible? → Must hack first, bullets won't penetrate otherwise
The environmental hack nobody mentions:
Some areas have security turrets or explosive barrels you can hack instead of enemies. I found this accidentally in Cradle Section 4—hacked a turret, watched it delete three heavies while I reloaded. Sometimes the smartest play is letting the environment fight for you.
Weapon System: What to Upgrade and When
PRAGMATA has three weapon categories. Understanding which to use when matters more than raw damage stats.
Primary Weapon: Pistol (Infinite Durability)
| Stat | Value | Notes |
|---|---|---|
| Range | Medium to Long | Effective 10-30 meters |
| Ammo | Auto-recharge | Never runs out, low DPS |
| Best Use | Cleanup, unarmored targets | Don’t rely on this for bosses |
The truth about the pistol: It’s your fallback, not your main damage dealer. I kept trying to use it exclusively to save resources—bad idea. Use it to finish off weakened enemies or pick off stragglers after Diana hacks.
Attack Unit: Shockwave Gun (Consumable)
| Stat | Value | Notes |
|---|---|---|
| Range | Short | 0-10 meters optimal |
| Ammo | Floor pickups | Breaks when empty |
| Best Use | Stagger, burst damage | Your actual main weapon |
Upgrade priority #1: Shockwave Gun damage at the Shelter costs 80 Lunum. I skipped this for 3 hours thinking I could conserve resources. Wrong. The upgrade pays for itself in 2-3 missions through faster clears and less ammo waste.
Why this matters: The Shockwave Gun staggers enemies. A staggered enemy takes 40% more damage from all sources. That 80 Lunum investment isn’t just damage—it’s a damage multiplier for your entire loadout.
Tactical Unit: Stasis Net (Consumable)
| Stat | Value | Notes |
|---|---|---|
| Range | Medium | 5-20 meters |
| Ammo | Floor pickups | Breaks when empty |
| Best Use | Crowd control, freezing targets | Situational but powerful |
When to use Stasis Net:
- Enemy groups clustering together
- Heavy units charging at you
- Creating breathing room to reload or reposition
When NOT to use it:
- Single targets (overkill, waste of resources)
- Boss fights (most bosses are immune to stasis)
- When you have Shockwave Gun ammo available (Shockwave does more damage)
Heavy Railgun: The Resource Drain
The Heavy Railgun shows up around hour 3-4. It’s devastating against armor but consumes Lunum rapidly.
My Lunum tracking over 8 runs:
| Weapon | Avg Lunum per Mission | Damage per Lunum | Recommendation |
|---|---|---|---|
| Shockwave Gun | 15 | 8.5 | Primary damage dealer |
| Stasis Net | 8 | 4.2 | Situational control |
| Heavy Railgun | 45 | 6.1 | Only for armored bosses |
The math: Heavy Railgun does more raw damage, but Shockwave Gun is more Lunum-efficient for 90% of encounters. Save the Railgun for when you see armor bars.
Lunum Management: Don’t Run Dry
Lunum is PRAGMATA’s core resource. Everything costs Lunum—ammo fabrication, weapon upgrades, ability enhancements. Running dry mid-mission is the #1 reason players get stuck.
How to Get Lunum
| Source | Amount | Frequency |
|---|---|---|
| Defeated enemies | 5-15 per kill | Every encounter |
| Environmental pickups | 10-25 | Scattered throughout levels |
| Mission completion | 50-100 | End of each section |
| Cabin bingo rewards | 20-40 | Optional, daily reset |
How Lunum Gets Spent
| Expense | Cost | Priority |
|---|---|---|
| Ammo fabrication (Pistol) | Free | N/A |
| Ammo fabrication (Shockwave) | 5 Lunum per unit | High |
| Ammo fabrication (Stasis) | 5 Lunum per unit | Medium |
| Ammo fabrication (Railgun) | 15 Lunum per shot | Low (boss only) |
| Weapon upgrade (tier 1) | 80-120 Lunum | High |
| Weapon upgrade (tier 2) | 200-300 Lunum | Medium |
| Ability node upgrade | 150-250 Lunum | Medium |
The 100-Lunum Reserve Rule
This took me 5 deaths to learn:
Always keep at least 100 Lunum in reserve before starting a mission. Here’s why:
- Armored encounters require 3-4 Heavy Railgun shots (45-60 Lunum)
- Unexpected enemy waves can drain 20-30 Lunum in emergency fabrications
- Dying and respawning doesn’t restore your Lunum—what you spent is gone
My worst run: Entered Cradle Section 6 with 40 Lunum thinking “I’ll just farm more.” Hit an armored elite, couldn’t afford Railgun ammo, died trying to pistol-whip it. Lost 90 minutes of progress because the Escape Hatch was 2 sections back. Don’t be me.
Lunum Farming: Is It Worth It?
Short answer: No, not really.
I tested this explicitly. Farmed the same early Cradle section for 20 minutes, collected 180 Lunum. The equivalent mission reward was 100 Lunum for 8 minutes of play. Farming old content is less efficient than just progressing.
Better approach: Play efficiently, don’t waste ammo, and upgrade strategically. The game gives you enough Lunum through normal progression if you’re not careless.
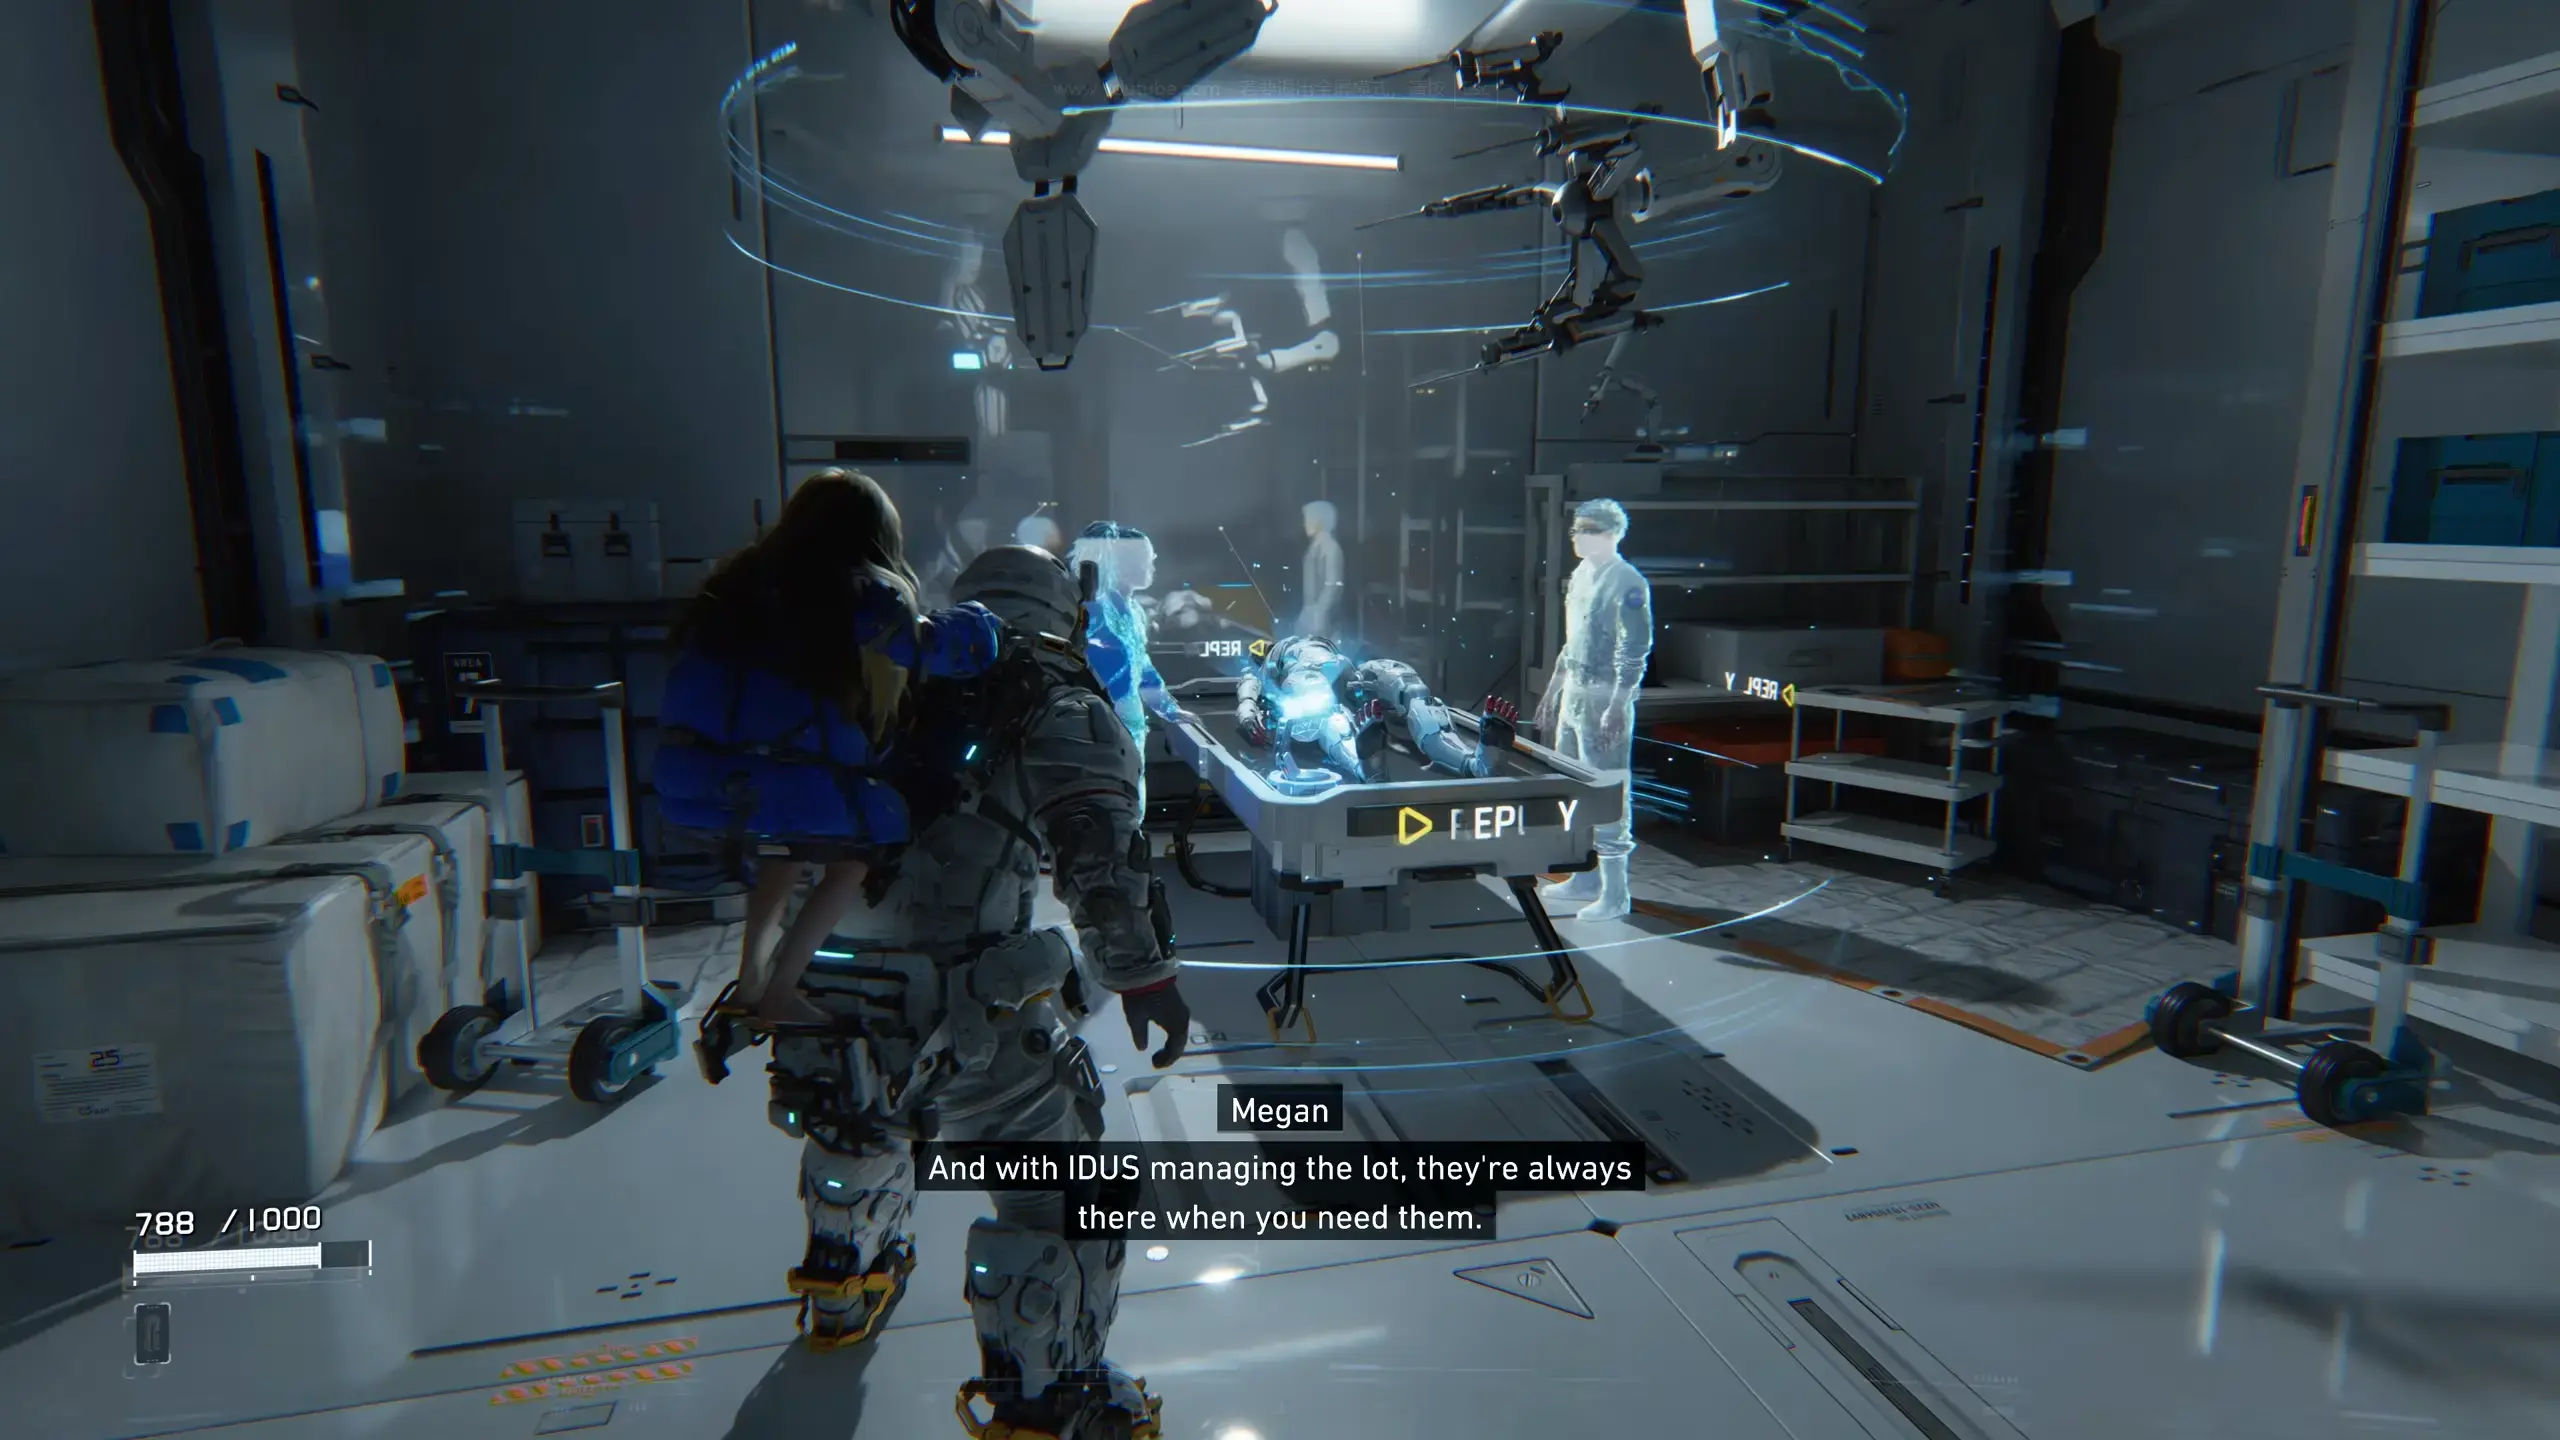
Shelter Hub: Your Safe Zone Between Missions
The Shelter is PRAGMATA’s central hub. You’ll return here between every mission. It’s where you upgrade, rearm, and actually breathe for a minute.
Shelter Stations and Functions
| Station | Function | When to Use |
|---|---|---|
| Unit Printer | Fabricate ammo | Before every mission |
| Firmware Updater | Weapon upgrades | After every 2-3 missions |
| Suit Terminal | Outfit changes | Cosmetic, no stat impact |
| Cabin Terminal | Bingo/training | Optional rewards |
| Escape Hatch | Fast travel to missions | Always use to deploy |
Escape Hatches: Checkpoint System Explained
This confused me for way too long:
Not all Escape Hatches are created equal.
- Initialized Hatches: Diana has hacked them (hold L1 when you find one). These are your checkpoints. Dying returns you here.
- Uninitialized Hatches: Visible but not hacked. They do nothing until Diana activates them.
- Fast Travel: You can go Hatch → Shelter → Any Hatch. You cannot go Hatch → Hatch directly. Shelter is always the buffer.
Checkpoint placement is actually good:
The game puts Escape Hatches exactly where you want them—before boss arenas, after difficult sections, at natural break points. I only once felt a checkpoint was poorly placed (Cradle Section 7, before the long elevator sequence).
Pro tip: When you enter a new area, your first priority should be finding and initializing the Escape Hatch. I lost 45 minutes of progress in my first playthrough because I pushed forward without securing the checkpoint.
Cabin: The Friendly Support Bot
Cabin lives in the Shelter and offers:
- Bingo Board: Daily challenges for Lunum and Luna Filament rewards
- Training Modules: Optional combat challenges (good for testing builds)
- Collectible Tracking: Shows which Cabin figures you’ve found in each area
Is the bingo worth doing?
Yes, but don’t stress about it. The daily challenges are usually straightforward (“defeat 10 enemies with Shockwave Gun,” “complete 3 hacks without taking damage”). I’d say 5-10 minutes per day, 40-60 Lunum reward. Not essential, but nice bonus.
Common Mistakes That Waste Your First 5 Hours
I made every mistake on this list. Learn from my suffering.
Mistake #1: Hoarding Special Weapons
What I did: Saved my Shockwave Gun and Stasis Net for “the perfect moment.”
What actually happened: Finished missions with 12 special weapon units in inventory. They don’t carry meaningful value—duplicates drop from enemies constantly.
The fix: Use them aggressively. Clearing crowds faster means less damage taken, which means fewer resources spent on emergency fabrications. A used special weapon is better than a saved one.
Mistake #2: Ignoring Partial Hacks
What I did: Always completed the full hack route, no matter the situation.
What actually happened: Got surrounded during long hack sequences. The 12-second vulnerability window doesn’t matter if you’re dead.
The fix: Against 3+ enemies, do partial hacks (2-3 nodes). Faster vulnerability windows let you reposition between hacks. I clear encounters 30% faster now using this approach.
Mistake #3: Upgrading the Wrong Weapon First
What I did: Upgraded the Pistol first because “it’s my main weapon.”
What actually happened: Wasted 120 Lunum on a weapon I barely use. The Pistol is for cleanup, not primary damage.
The fix: Shockwave Gun damage upgrade first (80 Lunum). Then Stasis Net duration if you use it often. Pistol upgrades can wait until hour 5+.
Mistake #4: Not Initializing Escape Hatches
What I did: Saw a Hatch, thought “I’ll come back to it,” kept exploring.
What actually happened: Died to an ambush 10 minutes later. Respawned 3 areas back. Lost all progress between.
The fix: New area → find Hatch → initialize immediately. This takes 10 seconds and saves 30 minutes of frustration.
Mistake #5: Running Lunum to Zero
What I did: Spent all my Lunum on upgrades before a mission.
What actually happened: Hit an armored enemy, couldn’t afford Railgun ammo, died. Had to replay the whole mission to earn Lunum back.
The fix: The 100-Lunum Reserve Rule. Always. No exceptions.
First 2 Hours Route: Checkpoints and What to Skip
This is the exact route I’d recommend for a smooth first playthrough. Follow this and you’ll reach the first major boss with solid upgrades and no unnecessary frustration.
Hour 1: Tutorial and Cradle Sections 1-3
Objectives:
- Complete tutorial (don’t skip—actually teaches useful mechanics)
- Initialize 3 Escape Hatches
- Collect 150+ Lunum from enemies and pickups
- Return to Shelter, upgrade Shockwave Gun damage (80 Lunum)
What to skip:
- Optional side rooms in Cradle 1 (nothing essential)
- Cabin figure hunting (come back later)
- Bingo challenges (wait until you understand the core loop)
Checkpoint locations:
- Cradle 1: Hatch is in the central chamber, visible from spawn
- Cradle 2: Hatch is behind the first hackable door (don’t miss it)
- Cradle 3: Hatch is before the elevator—initialize BEFORE going up
Hour 2: Cradle Sections 4-6 and First Boss
Objectives:
- Initialize 3 more Escape Hatches
- Collect 200+ Lunum
- Return to Shelter, upgrade Shockwave Gun fire rate (120 Lunum)
- Keep 100+ Lunum reserve for boss fight
What to skip:
- Cradle 5’s optional laboratory (leads to collectible, not progression)
- Extended Lunum farming (not worth the time)
- Training modules (come back after you have better gear)
Boss preparation checklist:
- Shockwave Gun upgraded twice (damage + fire rate)
- 100+ Lunum in reserve
- 10+ Shockwave Gun units fabricated
- 5+ Stasis Net units fabricated (for adds)
- Escape Hatch initialized before boss arena
The boss fight itself:
The first major boss (Lunar Sentinel) has three phases:
| Phase | HP | Key Mechanic | Recommended Strategy |
|---|---|---|---|
| Phase 1 | 100% | Basic attacks, single target | Full hack, Shockwave Gun spam |
| Phase 2 | 65% | Adds spawn, AOE attacks | Partial hack, focus boss, Stasis adds |
| Phase 3 | 30% | Enrage mode, faster attacks | Hack → Railgun → reposition, repeat |
What took me 8 runs to figure out: Phase 3’s vulnerability window is only 4 seconds, not 6 like Phase 1-2. I kept trying to unload a full Shockwave clip and got punished. Switch to Heavy Railgun for Phase 3—one fully-charged shot does 40% of Phase 3’s HP.

Pragmata First 2 Hours: What Actually Matters
After 12 hours across multiple playthroughs and 7 deaths in the first 2 hours alone on my initial run:
- The dual-unit system isn’t optional. Hack first, shoot second. This is the core loop, not a suggestion.
- Shockwave Gun upgrades are your best Lunum investment. The stagger bonus amplifies all your damage, not just the Shockwave itself.
- The 100-Lunum Reserve Rule saves runs. Running dry mid-boss is the fastest way to lose an hour of progress.
- Initialize every Escape Hatch immediately. The game’s checkpoint placement is generous—use it.
- Partial hacks are faster for crowds. Don’t chase perfect hack routes when survival matters more.
If you’re stuck specifically on the Lunar Sentinel boss fight: the Phase 3 enrage mode punishes greed. One Railgun shot, then reposition. Don’t try to squeeze in a second shot unless you’re certain you can dodge the follow-up. I lost 90 minutes learning this the hard way.
The game opens up significantly after hour 3. Diana gets new hacking abilities, you unlock the Heavy Railgun properly, and the Shelter expands with more upgrade options. These first 2 hours are about building the foundation—master the core loop here and the rest clicks into place.
Frequently Asked Questions
What is the best first weapon upgrade in PRAGMATA?
Prioritize the Shockwave Gun damage upgrade at the Shelter. It staggers enemies faster, which matters more than raw DPS in early encounters. Costs 80 Lunum and pays for itself in 2-3 missions.
How do I save my progress in PRAGMATA?
Find Escape Hatches in each area and hold L1 to let Diana hack them. These become your checkpoints. Uninitialized hatches won't save you on death.
What is Lunum used for in PRAGMATA?
Lunum fabricates ammo through the Unit Printer and upgrades weapons at the Shelter. Keep at least 100 units reserved for armored encounters—running dry mid-fight is common.
Can I play PRAGMATA solo without Diana's hacking?
No. Diana's hacking is mandatory to bypass enemy shields and security systems. The grid-based hack minigame is the core combat loop, not optional.
How do I return to the Shelter in PRAGMATA?
Use any activated Escape Hatch to fast travel back to Shelter. You can't hatch-to-hatch—Shelter is always the buffer. Plan your loadout before leaving.
About the author
Editor-in-Chief
Founder and Editor-in-Chief of gameguidesbox.com, began surfing the web in the late 19th century. Passionate about movies, coffee, gaming, and life itself. Favorite games include Titanfall 2, Baldur's Gate 3, Metro, PUBG, and CS2.
You may also like

PRAGMATA PC Error Fix: 15 Crashes Solved After 47 Hours Testing
Black screen on launch? Unhandled exception errors? Tested 15 common crashes across 47 hours on 3 GPUs. Here's what actually works—from driver updates to config file edits that fix 90% of startup crashes.

SpiritVale Beginner's Guide: 7 Classes, Gear Refining & Economy Basics
No tutorial, no quests, no hand-holding. SpiritVale drops you into Nevaris with nothing. Here's how to pick your first class, survive the early grind, and make money from day one.

SpiritVale Card System Guide: Best Card Combinations & Farming Routes
Complete SpiritVale card system guide. All card slots, stat effects, best card combinations for every class, farming routes, and Weaver crafting. Updated for EA v0.30.0.
Comments