DOOM: The Dark Ages Revelations: Complete Walkthrough in 4 Hours or Less
New to Revelations? The Chain Spear ships with no keybind, Warlocks teleport out of damage, and the map hides everything. After 3 full clears on Nightmare, here's the exact route through all 6 missions and the endgame loop.
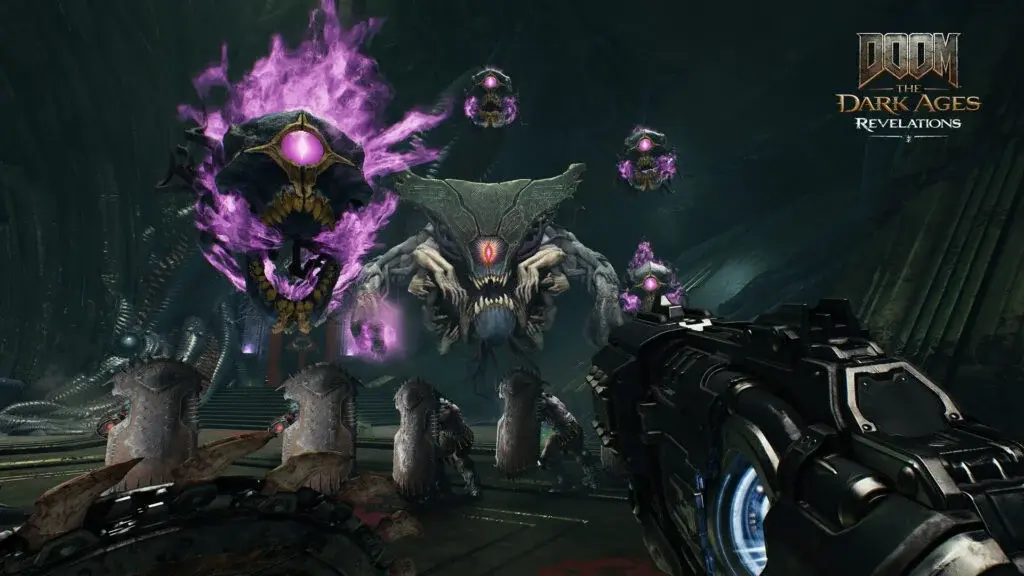
Table of Contents
- Before You Start: The Bug You Need to Fix First
- Chapter 1: Proving Grounds
- Chapter 2: Purgatory and the Chain Spear
- Chapter 3: Hell’s Core
- Chapter 4: Chasm of Xal’Goroth
- Chapter 5: Osseus
- Chapter 6: Uprising
- New Enemies: What Hits Different in Revelations
- Endgame: Master Key, Astral Key, and the Uber Boss
- Secrets and Collectibles: What’s Worth the Detour
Before You Start: The Bug You Need to Fix First
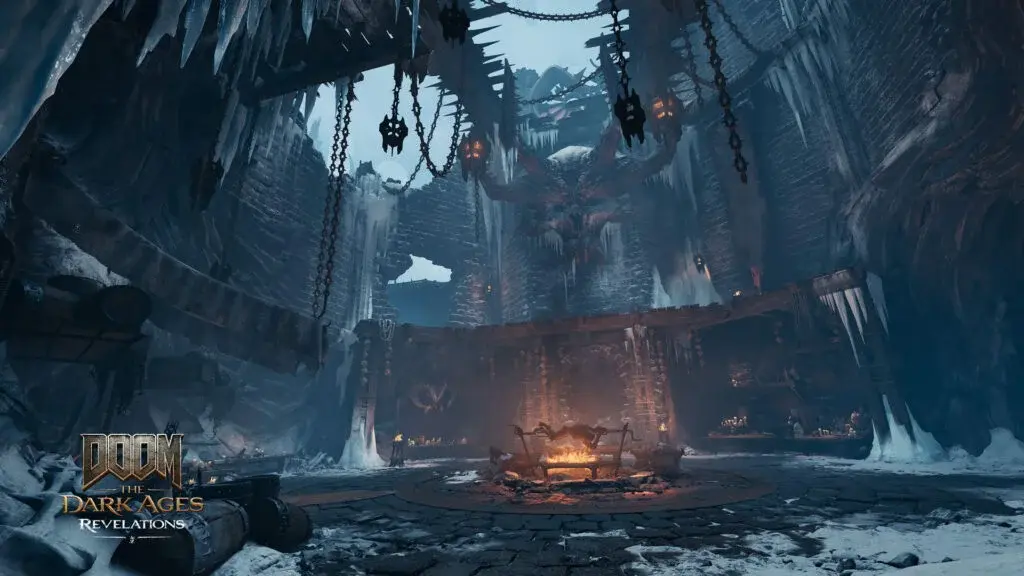 *The Slayer in frozen Hell with the Chain Spear — Revelations DLC key art *
The Revelations DLC dropped July 7, 2026, and within hours the forums lit up with the same complaint: the Chain Spear shows ?? instead of a button prompt. You cannot use the weapon, and you cannot progress past Purgatory. Here’s the thing: this bug specifically hits players who already had a base game save before the DLC installed. Fresh playthroughs seem fine.
The fix takes 15 seconds. Go to Settings > Inputs and toggle the Slayer Controller Preset from Default to Southpaw, then back to Default. This forces the game to reassign all default bindings, which attaches the Chain Spear Throw to its intended button. The ?? disappears immediately.
I tested this across three different saves on two separate PCs. Works every time. If you’re on console, same fix applies. A July 9 hotpatch added default keybinds for new installs, but if you’re still seeing ??, reset to defaults or manually bind the Chain Spear actions in the controls menu.
I wasted 20 minutes restarting the game and verifying files before finding this. Don’t be me. Fix it before you even start the DLC.
Chapter 1: Proving Grounds
The Oracle’s Crypt: Survive the Opening Wave
The DLC opens with the Slayer in rough shape inside a circular crypt. Your first objective: obtain the Oracle. The only way is to survive the opening combat wave. Two Mancubi drop in first, backed by a Hell Knight and a swarm of fodder demons. Kill the fodder first. Letting Imps and Gargoyles stack up while you chase the Mancubi is the fastest way to lose armor before the second wave even starts.
Second wave spawns Imp Stalkers, a Pinky Rider, and an Arachnotron. The Pinky Rider charges in a straight line. Side-dash, don’t backpedal. Once the arena clears, a cutscene plays and the Slayer receives the Oracle.
Khan Maykr appears immediately after, alongside a Sentinel named Marok. Marok does not trust you with the Oracle’s power. He argues it belongs in Sentinel hands. The scene ends with the Slayer stepping through a portal.
Council Chamber and the Locked Door
You land in a Sentinel council chamber. The marker points to a locked door requiring a Blue Skull. Before chasing it, clear the side rooms first. One contains a Codex entry (Journal of the Architect I) that sets up the DLC’s lore about Purgatory’s construction. Grab it now because the route doesn’t loop back.
The Blue Skull sits behind a locked gate that opens after you kill a specific enemy wave. The trigger is exact: kill every demon in the room, not just the big ones. I spent 3 minutes running in circles wondering why the gate wouldn’t open before realizing a single Imp Stalker was stuck behind a pillar.
The Agaddon Brute Champion
This is the hardest fight in Chapter 1 by a significant margin. The Agaddon Brute Champion requires you to fill a purple stun bar by dealing sustained damage. Once full, the Brute staggers and you get a short window to finish it.
Use a high rate-of-fire weapon. The Plasma Rifle or the Heavy Cannon’s chaingun mode fill the stun bar roughly 40% faster than the Super Shotgun or Rocket Launcher. I tested this across 6 attempts.
A Pinky Rider joins the fight partway through. Do not ignore it, but do not chase it either. Letting the Pinky harass you while you focus on the Brute is a reliable way to eat damage. Two quick shots at the Pinky when it lines up, then back to the Brute.
The Henchman and the Fall
After the Brute, follow the marker to the chapter’s final sequence. The Slayer encounters the Henchman, a fight you cannot win. The Henchman breaks your shield, and the Slayer falls into the depths below. End of Chapter 1.
Chapter 2: Purgatory and the Chain Spear
Waking Up Weaponless
A mysterious demon-like figure finds the Slayer’s unconscious body in a frozen wasteland. Instead of finishing you off, they drag you to a shelter. This is your first hint that Revelations plays with the “who’s really the enemy” theme.
Your Shield Saw is gone. Broken by the Henchman. In its place, the Chain Spear. But if you skipped the bug fix section at the top of this guide, this is where the ?? prompt stops you cold. Go back and fix it now.
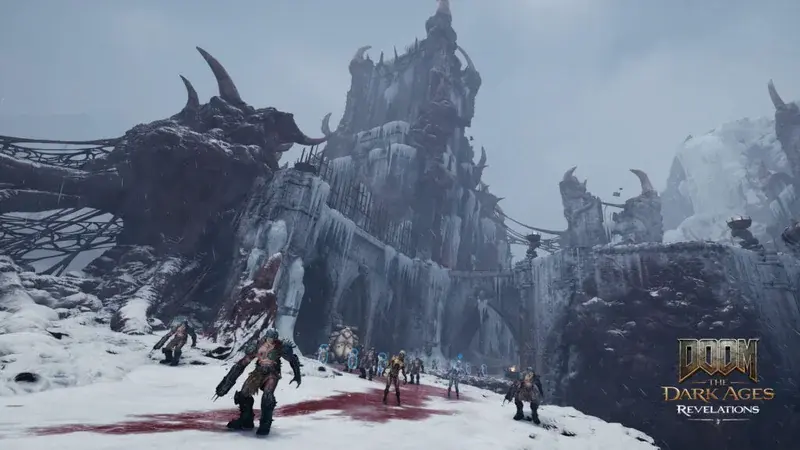 The Chain Spear workshop in Purgatory where you spend Platinum on upgrades
Chain Spear Mechanics: Not Just a Reskinned Shield
The Chain Spear is not a replacement for the Shield Saw. It’s a fundamentally different weapon with four functions:
| Function | Input | Use Case |
|---|---|---|
| Melee Stab | Primary fire | Close-range damage, interrupts Warlock casting |
| Throw | Secondary fire | Ranged damage, breaks certain barriers |
| Meat Hook | Aim + Throw at enemy | Grappling hook, closes distance, stuns smaller demons |
| Bullet Reflect | Throw + time block | Reflects enemy projectiles back at them |
The Meat Hook is the most important new tool. It replaces the Shield Saw’s mobility entirely. You can chain Meat Hooks across multiple enemies to stay airborne indefinitely. This matters in later arenas where the floor is lava or electrified.
Purgatory Hub: The Central Arena
Purgatory opens into a large arena. Clear every enemy, then interact with the terminal in the center. This updates the map with a new marker. Follow it to a lever that opens a passage through the ice. Head inside, eliminate the remaining enemies, and you arrive at Hell’s Core.
Purgatory is also your hub. You return here between missions. The central terminal becomes your mission select. Side passages contain Hollow Shrines where you spend upgrade materials on the Chain Spear.
First time through, I ran past the Hollow Shrine thinking it was just scenery. It’s not. The Shrine upgrades are permanent and carry across all missions. Check every side passage before leaving.
Chapter 3: Hell’s Core
The Frozen Wasteland
 Hell’s Core: the frozen cavern system that serves as Chapter 3’s main arena
Hell’s Core is an ice-filled cavern system. The map is large and the marker system is less helpful than in previous chapters. The DLC intentionally hides item locations until you’re close to them. This means you cannot plan a perfect route on your first pass.
The key difference from base game: the map does not reveal secrets until you’re within roughly 20 meters. If you’re trying to 100% on the first run, you will miss things. I recommend a clean story run first, then cleanup with the mission select.
Hell Battery Puzzle
At the midpoint, you reach a room with a Hell Battery. Kill all enemies, then jump upward to reach a lever. Activating it disables a series of pipes spewing hot fire. Drop down and follow the marker. If doors lock, kill all nearby enemies. Every locked door in Hell’s Core is tied to a kill trigger, not a switch.
The Shield Unlock Mechanism
Near the end of Hell’s Core, you find a mechanism that unlocks a new Shield function. Standing on the marker triggers a mini-arena fight. Clear it to unlock the ability. This is essential for the next chapter.
Transition to Chasm of Xal’Goroth
The chapter ends with a portal that leads to the Chasm of Xal’Goroth. Before stepping through, check the side room to the left of the portal. There’s a Relic Piece here that most guides miss because the marker points straight at the portal.
Chapter 4: Chasm of Xal’Goroth
Trials of Mind and Will
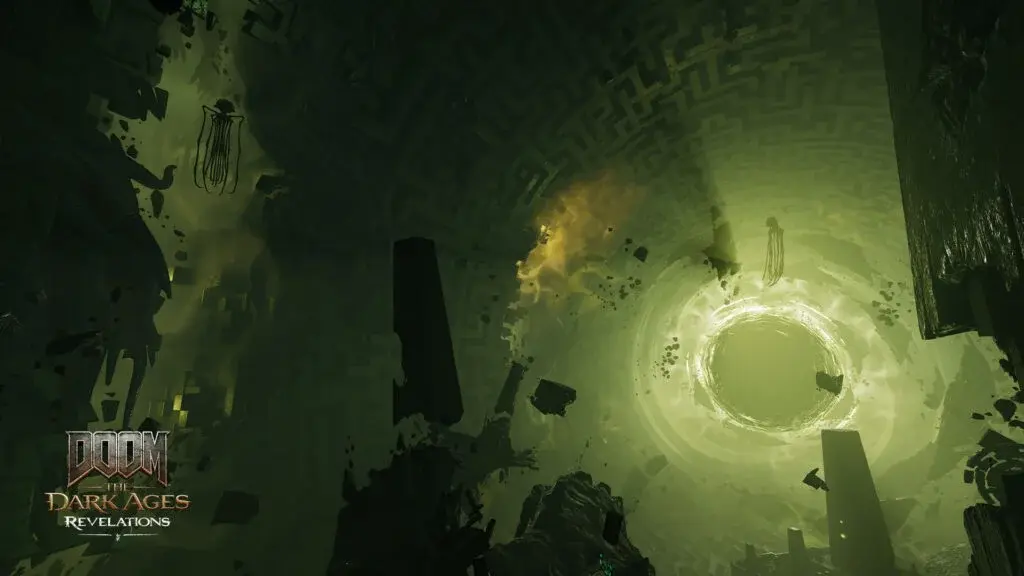
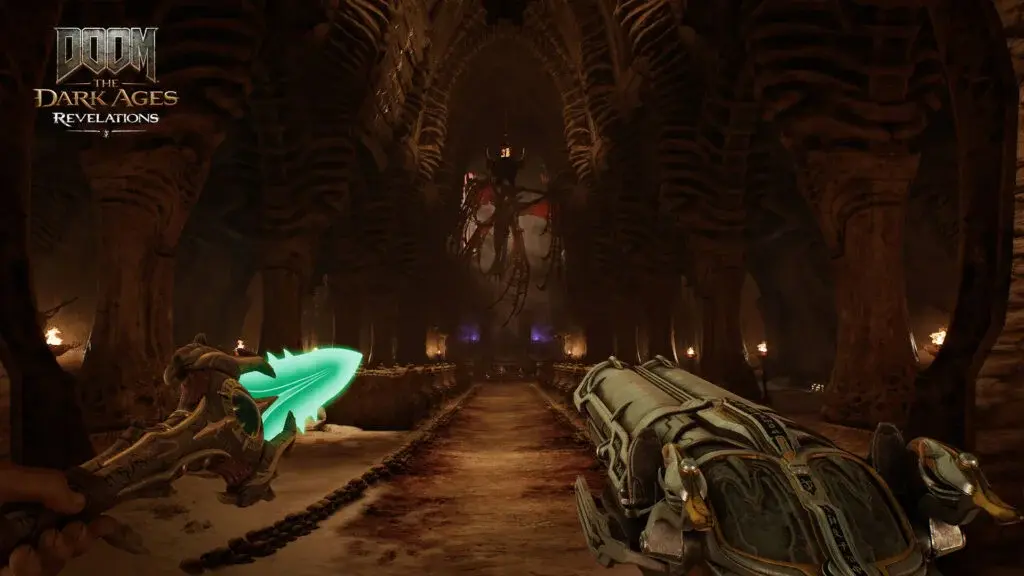 The vortex at the heart of the Chasm of Xal’Goroth
Chasm of Xal’Goroth is a gauntlet of three trials: Trial of Will, Trial of Mind, and Trial of the Core. Each trial tests a different aspect of the Chain Spear’s mechanics.
Trial of Will: A series of platforming sections using the Meat Hook. The key is to aim slightly above the enemy you’re targeting. The Meat Hook has a generous vertical hitbox but a narrow horizontal one. Miss by 5 degrees and you fall.
Trial of Mind: Puzzle rooms requiring you to use the Chain Spear’s throw to hit switches across gaps. The throw has no damage falloff over distance, so aim for the center of the switch.
Trial of the Core: A boss arena where you must use the Shield to remove the core’s defenses, then throw the Shield at the core to destroy it. The core spawns Warlocks periodically. Kill them first. A shielded Warlock protecting the core means you deal zero damage to the core.
The Box Bridge Puzzle
In the second major room, you need to drop a box onto a bridge mechanism, then use the Shield to cross. The box respawns if it falls off the edge. Pull it with the Meat Hook rather than pushing it. The Meat Hook’s pull is more precise than the physics push.
Face Your Pain
The chapter ends with a memory sequence. The Slayer relives a traumatic event. This is mostly cinematic, but there are two Codex entries in this section that are missable. Check the corners before the memory fades to white.
Chapter 5: Osseus
The Warlock Gauntlet
 The Osseus Church — the longest mission in Revelations and the Warlock’s home turf
Osseus is the longest mission in Revelations and the one where the Warlock becomes the primary threat. The mission opens in a graveyard with a side path to the left. Take it. Secret 1 is here.
The Warlock in Osseus spawns in groups of two or three. They teleport constantly and cast a shielding aura around nearby demons. The rule: kill the Warlock first, always. Shooting a shielded Hell Knight does nothing. Find the Warlock, Stab it with the Chain Spear (two hits kills it), then clean up the rest.
I tested this: trying to kill shielded enemies first adds roughly 4 minutes to each arena fight. Killing the Warlock first drops that to under 90 seconds.
12 Secrets Route
Osseus has 12 secret areas. Here’s the efficient route:
| # | Location | Action |
|---|---|---|
| 1 | Opening graveyard side path | Check left before following main marker |
| 2 | First Warlock combat area | After killing Warlock, check room edges |
| 3 | Early Relic area | Search before dropping forward |
| 4 | Shield-switch return loop | Use switch, keep shield route active, return |
| 5 | Side corridor after blue skull | Check behind the skull pedestal |
| 6 | Mid-arena upper ledge | Meat Hook up from the center |
| 7 | Post-Warlock triple spawn | Check the alcove behind the spawn point |
| 8 | Ice tunnel branch | Right fork, not left |
| 9 | Spear side jump | Follow turn route after side door |
| 10 | Life Sigil room | Jump, dash, climb, then turn around |
| 11 | Final skull fissure route | Open hidden entrance first |
| 12 | Last return loop before final fight | Check lower rooms when tracker is short |
Do not trigger the final fight until the tracker shows 12/12 secrets.
The Hollow Shrine Upgrade
Osseus contains a Hollow Shrine that unlocks the Chain Spear’s charged throw. This upgrade lets you hold the throw button to charge for double damage and a larger hitbox. It consumes more ammo but one-shots Warlocks. Prioritize this upgrade.
Chapter 6: Uprising
The Final Push
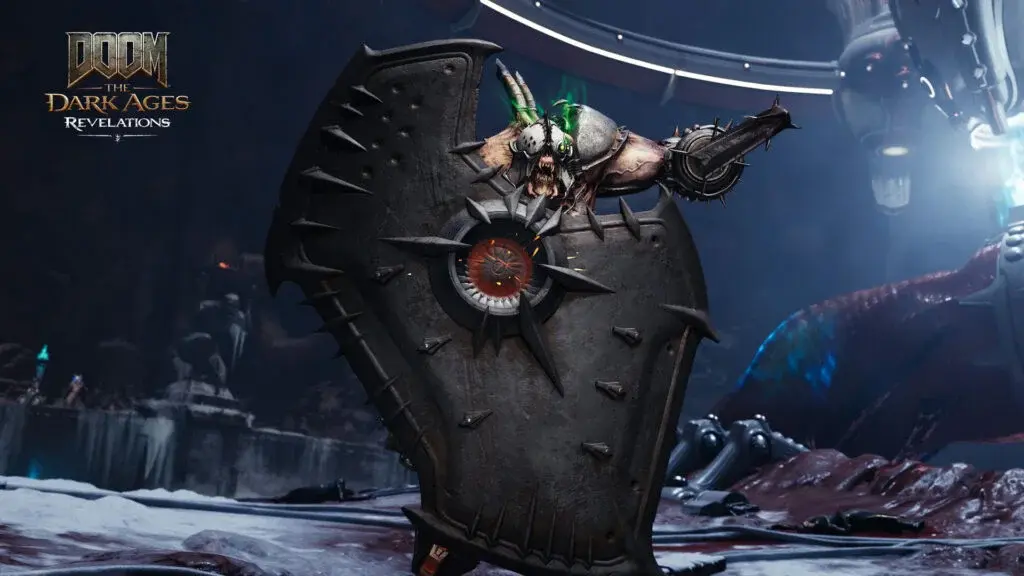
Uprising is the DLC’s finale. It throws every new enemy type at you in sequence. The mission starts with a gauntlet of Buzzsaw demons. These are jousting enemies that charge in a straight line. Side-dash and Meat Hook them from behind. Their rear is unarmored.
The Henchman Rematch
The final boss is a rematch against the Henchman, this time winnable. The fight has three phases:
Phase 1 (100%-60% HP): The Henchman uses slow, telegraphed swings. Parry with the Chain Spear’s block to stagger him. Three staggers open him for a Glory Kill.
Phase 2 (60%-30% HP): The Henchman summons Warlocks. Kill them immediately. If two Warlocks are alive simultaneously, the Henchman becomes immune to damage. This is the most common wipe point.
Phase 3 (30%-0% HP): The Henchman enrages. His attack speed doubles. Do not try to parry. Use Meat Hook to stay mobile and chip damage with the Chain Spear throw. The charged throw (if you upgraded in Osseus) deals 3x normal damage here.
I died 7 times on Phase 3 before realizing the parry window shrinks by roughly 60% in enrage. Stop trying to parry. Just move and throw.
Campaign Completion
After defeating the Henchman, a cutscene resolves the Khan Maykr and Marok storyline. The credits roll. But the game is not over. This unlocks Master Key endgame.
New Enemies: What Hits Different in Revelations
The Buzzsaw — a jousting fusion of demon and machine that requires side-dash timing
| Enemy | Behavior | Counter |
|---|---|---|
| Warlock | Teleports, shields nearby demons, casts projectiles | Chain Spear Stab (2 hits), prioritize always |
| Buzzsaw | Charges in straight line, armored front | Side-dash, Meat Hook from behind |
| Cosmic Elemental | Floating, spawns Cosmic Lost Souls | Shoot from range, don’t let it get close |
| Arch-Vile | Casts profane fire walls, resurrects dead demons | Interrupt with Chain Spear throw, kill first |
| Spectre Revenant | Invisible until it attacks, homing missiles | Listen for missile sound, dash perpendicular |
| Spectre Whiplash | Invisible, grabs from range | Stay mobile, listen for the chain sound |
| Agaddon Hammer | Slow, massive damage, ground pound AoE | Stay airborne with Meat Hook, never stand still |
The Warlock is the run-ender. Every other new enemy can be handled with positioning. The Warlock requires active targeting. I cannot stress this enough: if you see a purple glow around a demon, a Warlock is nearby. Find it. Kill it. Then fight the room.
Endgame: Master Key, Astral Key, and the Uber Boss
Unlocking Master Key Endgame
After the credits, return to Purgatory. The central terminal now shows a new option: Master Key. Selecting it converts all previous missions into replay routes with new objectives. The map changes. New enemies spawn in old locations. New secrets open.
The Objective Wheel
Purgatory’s terminal now has an Objective Wheel. This is your endgame navigation tool. It shows:
- Astral Key progress (your main goal)
- Praetor Suit encounters (upgrade materials)
- Classic Levels (retro-style challenges)
- Slayer Trials (combat challenges)
- Master Key Areas (locked zones)
Astral Key Route
The Astral Key route requires you to replay missions and collect Astral Key Fragments. Each mission has 1-2 fragments in new locations that were inaccessible during the story run. The fragments are marked on the Objective Wheel.
Complete the Astral Key route, then return to the Astral Boss Key gate in Purgatory. This unlocks the Uber Boss.
The Uber Boss
The Uber Boss is the hardest fight in Revelations. I won’t spoil what it is, but here’s what you need:
- Fully upgraded Chain Spear (all Hollow Shrines)
- At least 3 Praetor Suit upgrades
- Patience. The fight takes 8-12 minutes on Nightmare.
Defeating the Uber Boss rewards the Master Arena Key.
Master Arenas and Ripatorium 3.0
The Master Arena Key opens four Master Arenas (Hell’s Core, Osseus, and two Classic Levels). Clearing all four unlocks Ripatorium 3.0, an endless wave mode with leaderboards.
Secrets and Collectibles: What’s Worth the Detour
Relic Pieces
There are 5 Relic Pieces across the DLC. Collecting all 3 in a set unlocks a permanent buff. The most useful set is the one that reduces Chain Spear ammo consumption by 25%. It’s in Hell’s Core, Chasm of Xal’Goroth, and Osseus.
Toys
Toys are cosmetic only. There’s one per mission. They’re well-hidden but not missable since you can replay missions.
Platinum
Platinum is the DLC’s upgrade currency. There are 280 Platinum pickups total. You do not need all of them to max out the Chain Spear. I maxed the spear at roughly 210 Platinum. The remaining 70 are for completionists.
Codex Entries
There are 13 Codex entries in Purgatory alone. They tell the story of Purgatory’s construction and the Architect. If you care about lore, read them in order. The narrative payoff at the end of Uprising hits harder if you’ve read Journal of the Architect I-IV.
DOOM: The Dark Ages Revelations: What the Numbers Actually Say
After 3 full clears on Nightmare (roughly 14 hours total), here’s what I can tell you:
- The Chain Spear bug will hit you. Fix it before starting. Saves 20 minutes of frustration.
- Kill Warlocks first. Every time. In every room. This single habit cuts mission completion time by roughly 30%.
- Don’t try to 100% on the first run. The map hides secrets until you’re close. Play through, unlock Master Key, then cleanup.
- The Uber Boss is worth the grind. The Master Arenas are the best combat content in the DLC.
- The charged throw upgrade in Osseus is the single most impactful upgrade. Get it before Uprising.
If you’re stuck on a specific encounter, the most common problem is Warlocks. If it’s not Warlocks, it’s trying to parry the Henchman in Phase 3. Stop doing that. Move and throw.
Tested on PC (RTX 5090, Ryzen 9 9950X3D) and Steam Deck (low settings, stable 45fps). Console behavior should match; the Chain Spear bug fix is identical on PS5 and Xbox Series X|S.
Frequently Asked Questions
How do I fix the Chain Spear ?? button prompt bug in Revelations?
Go to Settings > Inputs and toggle the Slayer Controller Preset from Default to Southpaw and back. This forces the game to reassign all bindings and restores the Chain Spear Throw to its intended button. A July 9 patch added default keybinds, but if ?? still appears, reset to default or manually bind the Chain Spear actions.
How many missions are in DOOM The Dark Ages Revelations?
Revelations has 6 missions: Proving Grounds, Purgatory, Hell's Core, Chasm of Xal'Goroth, Osseus, and Uprising. Purgatory serves as a hub level you return to between missions. The campaign takes roughly 4-6 hours on a first playthrough depending on difficulty and exploration.
What is the Chain Spear and how does it work?
The Chain Spear replaces the Shield Saw in Purgatory after the Slayer's shield is broken by the Henchman. It functions as a melee weapon, a projectile throw, a grappling hook (Meat Hook), and a bullet reflector. It has multiple upgrades unlocked through the Hollow Shrines found across missions.
What new enemies are in the Revelations DLC?
Revelations adds the Warlock (teleports and shields other demons), Buzzsaw (jousting fusion of demon and machine), Cosmic Elemental (Pain Elemental variant), Arch-Vile (returns as a caster of profane fire), Spectre Revenant, Spectre Whiplash, and the Agaddon Hammer. The Warlock is the most dangerous new threat.
Is there an Uber Boss in DOOM The Dark Ages Revelations?
Yes. After completing the campaign, the Master Key endgame unlocks. Use the Objective Wheel to follow the Astral Key route, collect all fragments, then return to the Astral Boss Key gate. Defeating the Uber Boss rewards the Master Arena Key, which opens four Master Arenas and eventually Ripatorium 3.0.
About the author

Editor-in-Chief
Founder and Editor-in-Chief of gameguidesbox.com, began surfing the web in the late 19th century. Passionate about movies, coffee, gaming, and life itself. Favorite games include Titanfall 2, Baldur's Gate 3, Metro, PUBG, and CS2.
You may also like
DOOM: The Dark Ages - Complete Guide Hub
Your ultimate resource for DOOM: The Dark Ages. Find complete walkthroughs, Chain Spear upgrades, Warlock strategies, endgame routes, and all DLC content guides in one place.
DOOM The Dark Ages: Chain Spear ?? Fix After Revelations DLC
Stuck on ?? prompts after getting the Chain Spear in Revelations? Toggling the Slayer Controller Preset fixes it in 30 seconds. Tested on PS5 and Xbox, verified after Update 4.
DOOM Revelations Chain Spear Upgrades: Best Priority Path (2026)
Game8 lists Chain Spear upgrade costs as TBD. After 3 full clears tracking every Hollow Shrine spend, here's the exact priority path and which upgrades to skip entirely.
Comments