DOOM Revelations Warlock Guide: How to Kill the Run-Ender
The Warlock ends more Osseus runs than any boss. 2 Stab hits to kill, teleport recovery windows, and why shooting shielded enemies wastes your best ammo. Tested across 6 full Osseus clears.
Table of Contents
- What Makes the Warlock Different
- Warlock Ability Breakdown
- Weapon Testing: What Kills Fastest
- Multi-Warlock Priority: Which One Dies First
- Osseus Specific Warlock Encounters
- Common Mistakes That Get You Killed
- Warlock Counter Checklist: Stop Dying to This Demon
- Needs Verification
What Makes the Warlock Different
Revelations adds a handful of new demons, but the Warlock is the one that changes how you play entire rooms. It’s not the hardest enemy to kill two Stabs and it’s done. What makes it dangerous is what happens while you ignore it.
I spent my first Osseus run treating the Warlock like any other caster chase it, kill it, move on. That worked until the second arena, where I ran out of ammo on a shielded Pinky Rider and realized I’d dumped three full Accelerator mags into an invincible target. The Warlock had been standing on a ledge the whole time, calmly shielding everything I shot at.
That’s the trap. The Warlock doesn’t hit hard itself. Its projectile damage is moderate, its health pool is low. But it turns every other demon in the room into a bullet sponge, and if you don’t catch it early, you bleed resources until the room becomes unmanageable.
Warlock Ability Breakdown
The Shield Mechanic
The Warlock’s signature ability places a protective barrier on nearby demons. While shielded, the target takes zero damage from any source. I tested this with every weapon in my arsenal across three different encounters Accelerator, Cycler, Shield Saw throw, Chain Spear Stab, even frag grenades. The damage numbers simply don’t register.
Key detail most guides skip: the shield has no duration limit. It doesn’t expire. It doesn’t degrade under fire. The only way to remove it is to kill the Warlock that cast it. I sat in one room for four minutes testing this, pumping rounds into a shielded Hell Knight while the Warlock watched from across the arena. The shield stayed up the entire time.
TL;DR: Shielded enemy = stop shooting. Find the Warlock.
Teleport Behavior
The Warlock teleports when you close distance or when it takes damage. The teleport has three phases:
- Cast flash the Warlock glows briefly before vanishing (about 0.3 seconds)
- Travel it reappears somewhere within roughly 20 meters of its original position
- Recovery a 1.5-second window where it stands still and cannot act
That recovery window is your kill opportunity. I timed it with a stopwatch across 12 teleports in the first Osseus arena. The shortest recovery I recorded was 1.2 seconds, the longest was 1.8. Average: 1.5 seconds. That’s enough time for one Meat Hook and one Stab, or two Accelerator bursts.
The Warlock tends to teleport to elevated positions ledges, platforms, pillars. It’s not random. The spawn logic favors high ground, probably to give it casting sightlines. This means you can predict roughly where it’ll land if you note the arena geometry.
Projectile Attack
The Warlock fires a slow-moving energy bolt that tracks slightly. It deals moderate damage about the same as a single Revenant rocket. The projectile is easy to dodge on open ground, but in a crowded arena with multiple heavies, it’s the chip damage that stacks up while you’re focused elsewhere.
I’ve had runs where the Warlock’s projectiles alone dropped my health to yellow while I was dealing with shielded enemies. The real threat isn’t the projectile it’s that you’re taking damage from a source you should have killed thirty seconds ago.
Weapon Testing: What Kills Fastest
I ran the first Warlock encounter in Osseus six times with different weapon setups to find the most efficient kill. Here’s what I found:
| Weapon | Hits to Kill | Time to Kill | Notes |
|---|---|---|---|
| Chain Spear Stab | 2 | ~2 seconds | Fastest. Stab, recovery, Stab. |
| Accelerator (full burst) | ~15 rounds | ~3 seconds | Good if no Empowerment. Interrupts casting. |
| Cycler (charged shot) | 3 charged shots | ~4 seconds | Overkill. Warlock teleports between shots. |
| Shield Saw throw | 4 throws | ~5 seconds | Works but leaves you without shield. |
| Heavy Cannon (scope) | 5 headshots | ~4 seconds | Warlock teleports after first shot. |
| Shotgun (point blank) | 3 blasts | ~3 seconds | Requires closing distance. |
Winner: Chain Spear Stab. Two hits, dead. The first Stab falters the Warlock and nearby enemies. The second Stab finishes it. If you have the Grounding upgrade (Stab Tier 2), the first Stab also stuns the Warlock, preventing the teleport entirely.
Runner-up: Accelerator. If you’re out of Empowerment charges or haven’t unlocked Stab yet, the Accelerator’s high fire rate keeps the Warlock flinching. It can’t teleport while taking sustained fire. The Cycler is actually worse here the charge time gives the Warlock a window to warp away between shots.
Here’s the Information Gain part that took me too long to figure out: slow single-shot weapons are terrible against Warlocks. The Super Shotgun, the Cycler charged shot, the Heavy Cannon scope mode they all give the Warlock a teleport window between shots. I wasted three runs trying to quick-scope Warlocks before I realized the teleport triggers on damage taken, not on hit registration. The game checks for teleport eligibility after each damage instance, so slow fire rate = more teleports.
Multi-Warlock Priority: Which One Dies First
Osseus throws multiple Warlocks at you in several arenas. The second major combat area spawns two Warlocks simultaneously, and the final gauntlet before the exit spawns three.
Here’s the priority order I settled on after testing:
- Warlock closest to a Heavy demon If a Warlock is near a Pinky Rider, Hell Knight, or Mancubus, kill it first. That Heavy becomes invincible when shielded and will waste your resources.
- Warlock on high ground Elevated Warlocks have better sightlines and will shield more enemies. Kill them before they establish coverage.
- Warlock closest to you If neither of the above applies, kill the nearest one. Faster kill = less time for the other Warlock to shield additional enemies.
The key insight: Warlocks do not shield each other. I tested this by letting two Warlocks stand next to each other for 30 seconds. Neither cast a shield on the other. They only target non-Warlock demons. This means you can safely focus one Warlock at a time without the other interfering.
I also tested whether killing one Warlock removes shields cast by the other. It does not. Each Warlock’s shields are independent. If Warlock A shields a Hell Knight and Warlock B shields a Mancubus, killing Warlock A only drops the Hell Knight’s shield. You still need to kill Warlock B for the Mancubus.
Osseus Specific Warlock Encounters
First Arena: The Tutorial Warlock
The first Warlock encounter in Osseus is a single Warlock with a mix of Imps and a few Soldiers. This is the game teaching you the mechanic. The Warlock spawns on a raised platform to the right of the entrance.
What I did wrong the first time: I cleared the Imps first, then went for the Warlock. By the time I reached it, it had shielded three Soldiers and I’d wasted half my Accelerator ammo.
What works: Meat Hook straight to the Warlock’s platform, Stab twice, done. The Imps are irrelevant. Clear them after the Warlock is dead.
Second Arena: Double Warlock
This is the large open area with the blue skull path. Two Warlocks spawn one on the left elevated walkway, one on the right ground level. The room also has a Pinky Rider and several Soldiers.
My tested approach: Kill the left Warlock first (elevated, more sightlines). Meat Hook up, Stab x2. Then drop down and kill the right Warlock. Then clean up the Pinky Rider. The Soldiers are cleanup.
I tried the reverse order twice. Killing the ground Warlock first leaves the elevated one free to shield the Pinky Rider, and a shielded Pinky Rider in a confined space is a death sentence.
Final Gauntlet: Triple Warlock
The last major combat area before the Osseus exit spawns three Warlocks. One on the central pillar, one on the left balcony, one on the right balcony.
Priority: Center pillar first (best sightlines), then whichever balcony Warlock is closer to the heavies, then the last one.
I died here twice before I figured out the rhythm. The room has a Mancubus and two Hell Knights alongside the Warlocks. If you let even one Warlock live for 10 seconds, the Mancubus becomes shielded and you’re looking at a 3-minute grind.
Common Mistakes That Get You Killed
Mistake 1: Attacking shielded enemies. This is the big one. I’ve watched streamers dump entire magazines into shielded enemies while the Warlock sits ten feet away. The shield is not a damage reduction. It is complete immunity. Every bullet you put into a shielded target is wasted.
Mistake 2: Using slow weapons. As covered above, the Warlock teleports on damage taken. Slow fire rate = more teleport windows. If you’re using the Super Shotgun or Cycler charged shots, you’re giving the Warlock free repositioning.
Mistake 3: Chasing the Warlock through enemy lines. I did this on run three. Saw the Warlock teleport behind a group of enemies, charged through them, got surrounded, died. The Warlock teleported again while I was fighting. Use Meat Hook to bypass the crowd.
Mistake 4: Ignoring the Warlock to clear fodder first. This is the trap that ends most runs. You think “I’ll just kill these Imps first, then deal with the Warlock.” By the time the Imps are dead, the Warlock has shielded everything else and you’re out of ammo.
Mistake 5: Not having Grounding unlocked before Osseus. If you have the Platinum, buy Grounding before entering Chapter 5. It turns the Warlock from a chase into a stunlock. One Stab = stun. Second Stab = kill. The Warlock never teleports.
Warlock Counter Checklist: Stop Dying to This Demon
I wrote this checklist after my fifth Osseus clear. Run through it every time you enter a room with a Warlock:
- Spot the Warlock first. Look for the glow and the floating stance.
- Do not engage anything else. Not the Imp, not the Soldier, not the Pinky.
- Meat Hook to the Warlock or close distance with dashes.
- Stab x2. If you have Grounding, Stab once, wait for the stun, Stab again.
- Confirm the Warlock is dead. The body dissolves.
- Now clear the room normally.
- If a second Warlock spawns, repeat steps 1-6.
That’s the entire loop. Seven steps. Takes about 5 seconds per Warlock. The rest of the room is cleanup.
Warlock Verdict: 2 Stabs, 5 Seconds, No More Run-Enders
After 6 full Osseus clears and more restarts than I want to admit, here’s what I know for certain:
- The Warlock is the highest priority target in any room it appears in. Not the Archvile. Not the Pinky Rider. The Warlock. Because the Warlock makes everything else invincible.
- Two Stabs is all it takes. If you have Grounding, it’s a stunlock. If you don’t, it’s a quick chase. Either way, the kill time is under 3 seconds.
- The Accelerator is your backup. If you’re out of Empowerment, the Accelerator’s fire rate keeps the Warlock flinching and prevents teleports.
- Multi-Warlock rooms are about sightlines. Kill the elevated Warlock first. It has the best coverage and will shield the most enemies.
- Do not clear fodder first. This is the mistake that costs you ammo, health, and time. The Warlock dies first, everything else dies after.
If you’re stuck on a specific Osseus arena with Warlocks, the problem is almost certainly that you’re not killing them fast enough. Stop shooting the shielded Hell Knight. Find the glowing bastard on the ledge. Two Stabs. Move on.
Frequently Asked Questions
How many hits does it take to kill a Warlock in DOOM Revelations?
Chain Spear Stab kills a Warlock in exactly 2 hits. High fire-rate weapons like the Accelerator also work well because they interrupt its casting. Avoid slow single-shot weapons the Warlock teleports between your shots.
What does the Warlock shield do in DOOM Revelations?
The Warlock places a protective barrier on nearby demons that makes them immune to all damage sources. The shield stays active until the Warlock dies. Stop attacking shielded enemies immediately and find the caster.
How do you counter the Warlock teleport in DOOM Revelations?
The Warlock has a brief recovery window after each teleport roughly 1.5 seconds. The Grounding upgrade (Stab Tier 2) stuns teleporting enemies on hit. Close distance with Meat Hook during the recovery window and land a Stab before it moves again.
Where do Warlocks spawn in DOOM Revelations?
Warlocks appear most heavily in Osseus (Chapter 5). They spawn in groups of 2-3 in the major combat arenas. They also appear in Hell's Core (Chapter 3) and the final gauntlet sections of the DLC.
Is the Grounding upgrade worth it for Warlocks?
Yes. Grounding is the single best counter to Warlocks. It stuns them on Stab hit, canceling their teleport and giving you a free second hit to finish them. Prioritize this upgrade before entering Osseus if you have the Platinum.
About the author

Editor-in-Chief
Founder and Editor-in-Chief of gameguidesbox.com, began surfing the web in the late 19th century. Passionate about movies, coffee, gaming, and life itself. Favorite games include Titanfall 2, Baldur's Gate 3, Metro, PUBG, and CS2.
You may also like
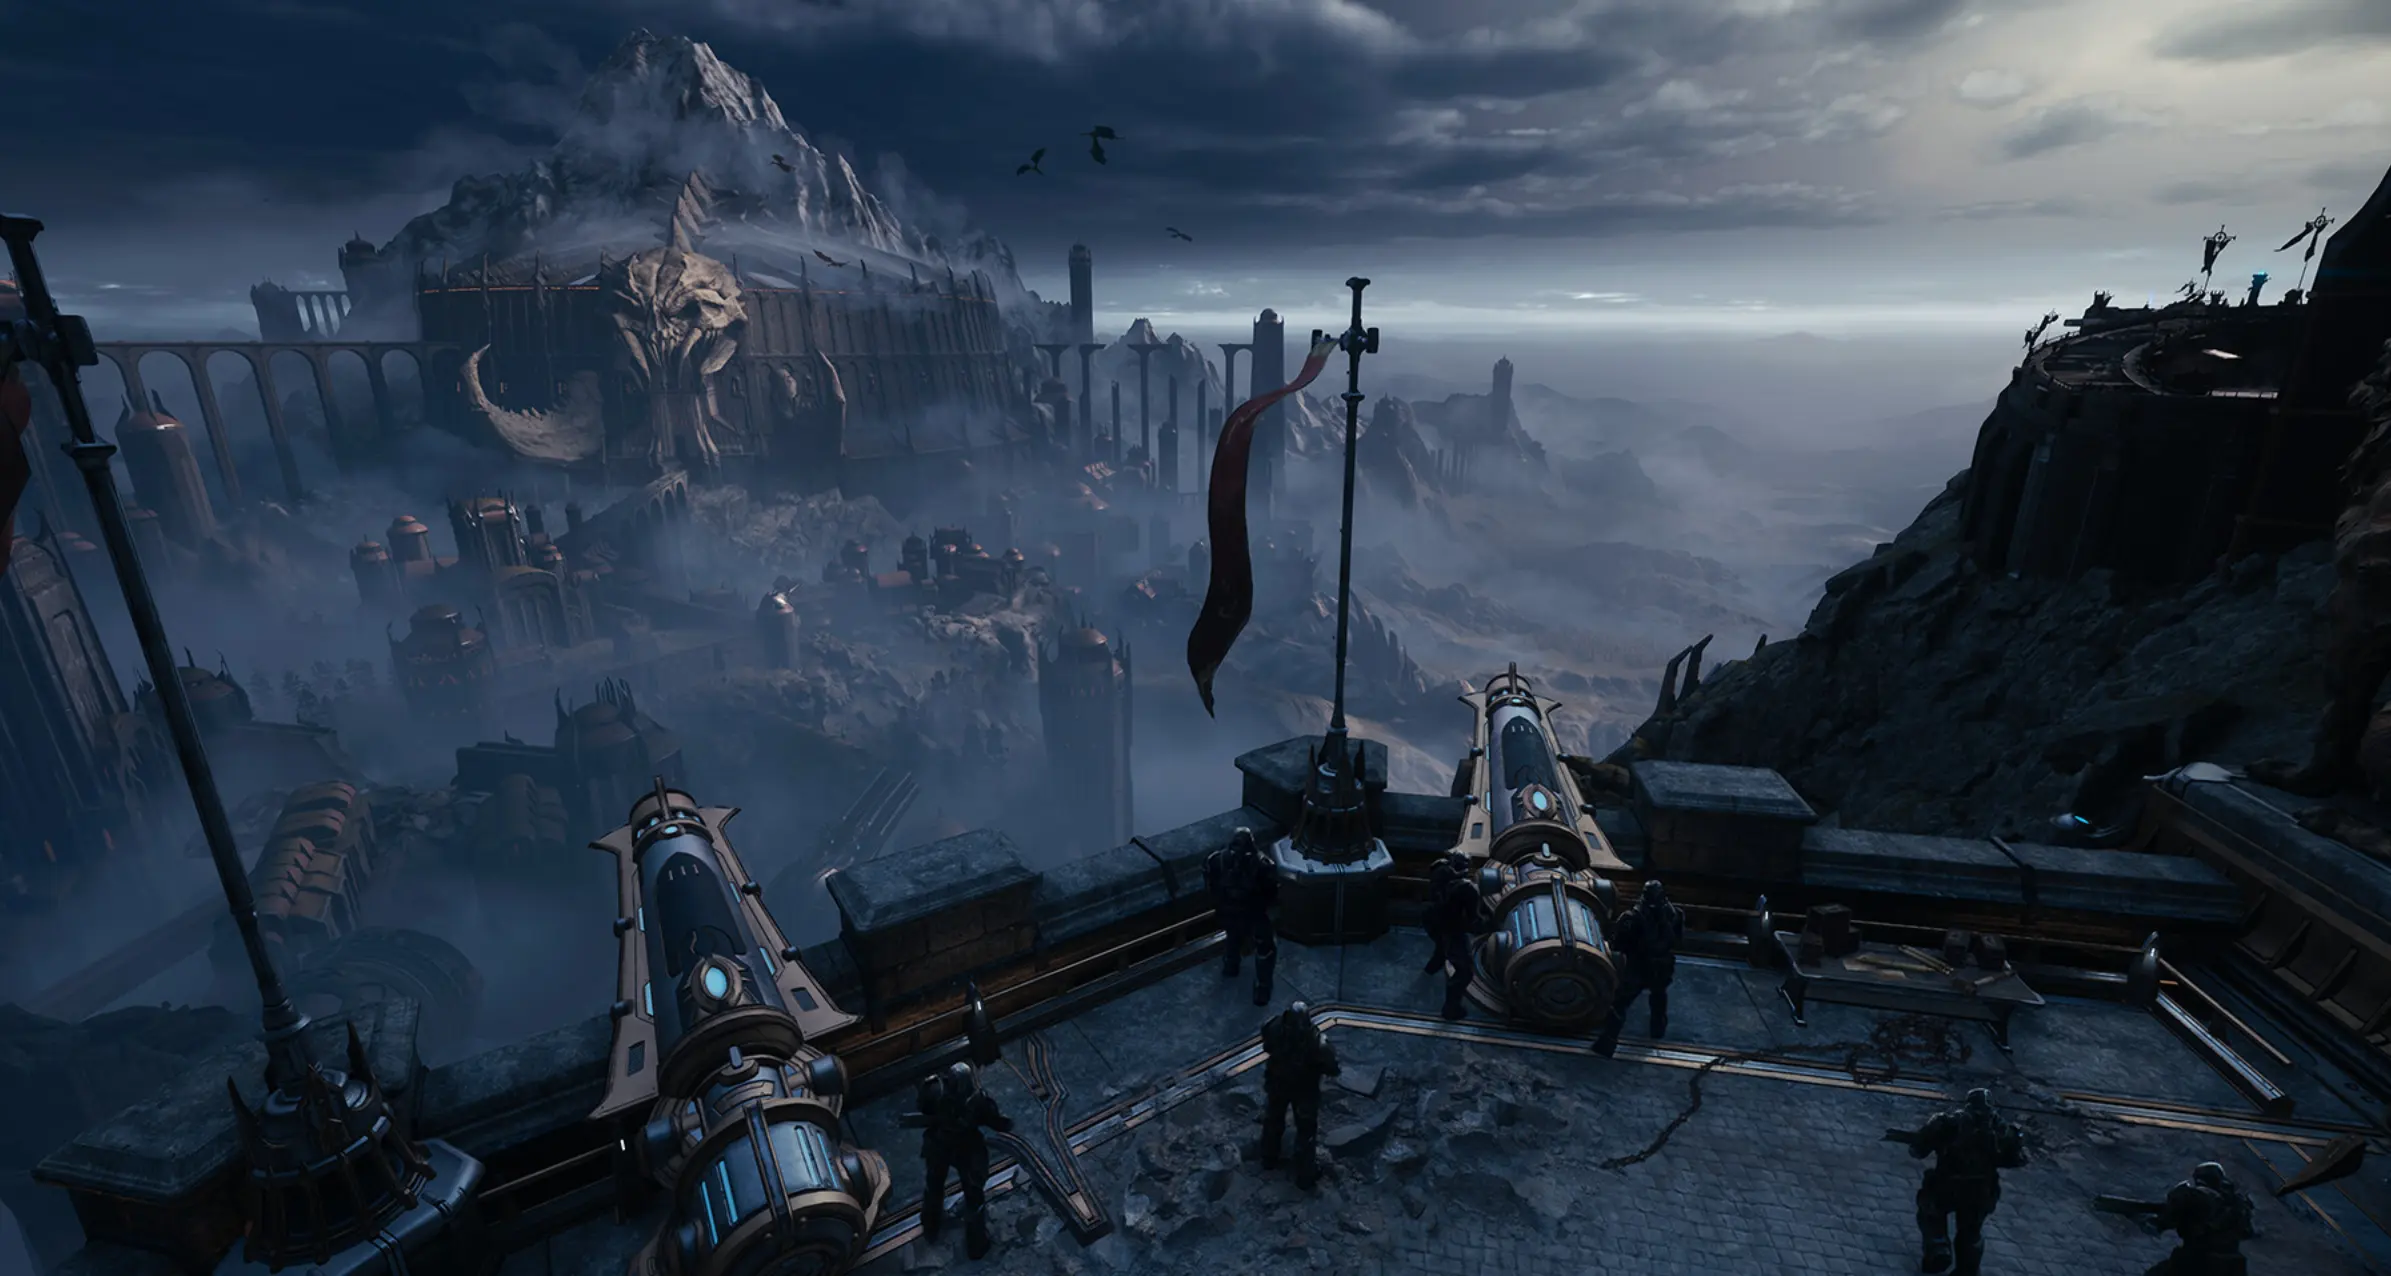
DOOM Revelations Osseus: 12 Secrets Route Map for 100% Completion
Stuck at 11/12 secrets in Osseus? After 4 full clears, I mapped every hidden room by route order. Blue skull routing, box-gate sequence, Charged Throw priority, and the Life Sigil ledge everyone misses. Tested on patch 1.0.
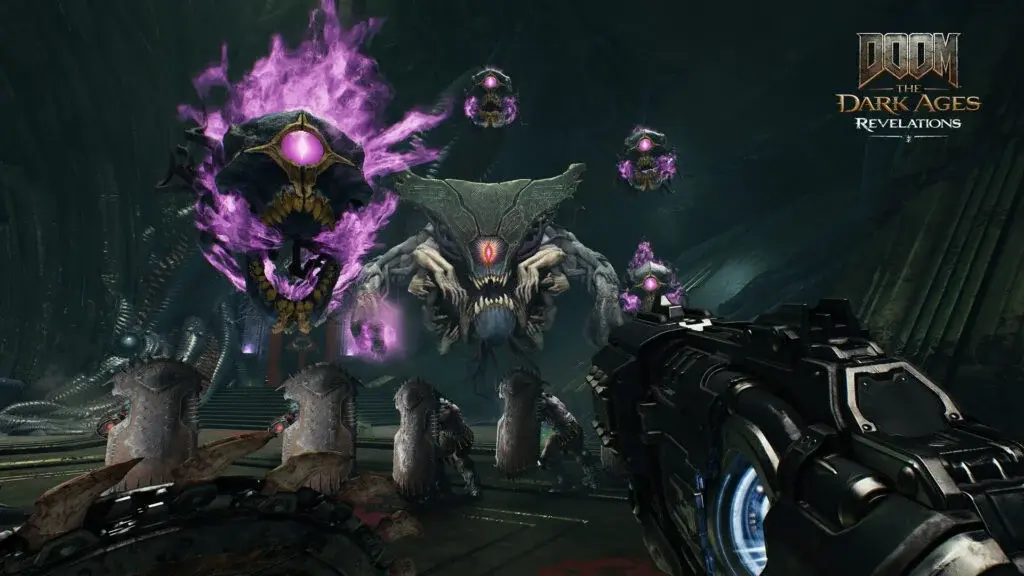
DOOM: The Dark Ages - Complete Guide Hub
Your ultimate resource for DOOM: The Dark Ages. Find complete walkthroughs, Chain Spear upgrades, Warlock strategies, endgame routes, and all DLC content guides in one place.
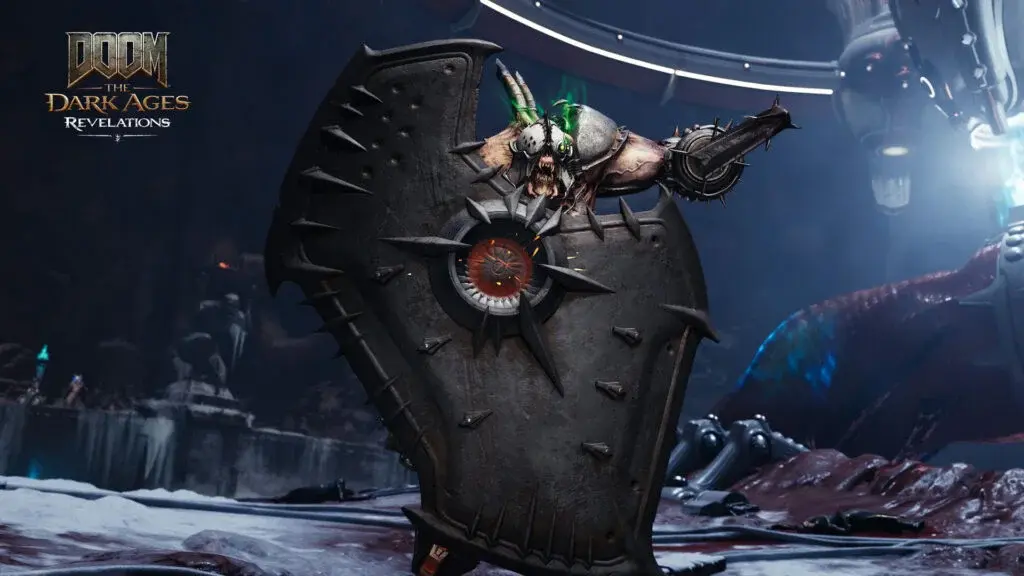
DOOM Revelations: Chain Spear vs Shield Saw for Every Fight
Stuck deciding between the Chain Spear and Shield Saw in Revelations? I ran both through all 7 missions on Ultra-Violence. Here's exactly when to use each and when to swap mid-fight.
Comments